I am the owner of a Honda motorcycle [CBX1000] who lives in Hiroshima City, Japan. I am posting about FCR carburetor and CBX1000 customization. I also post about things other than cars and motorcycles. We will post information that will make bikers around the world happy.
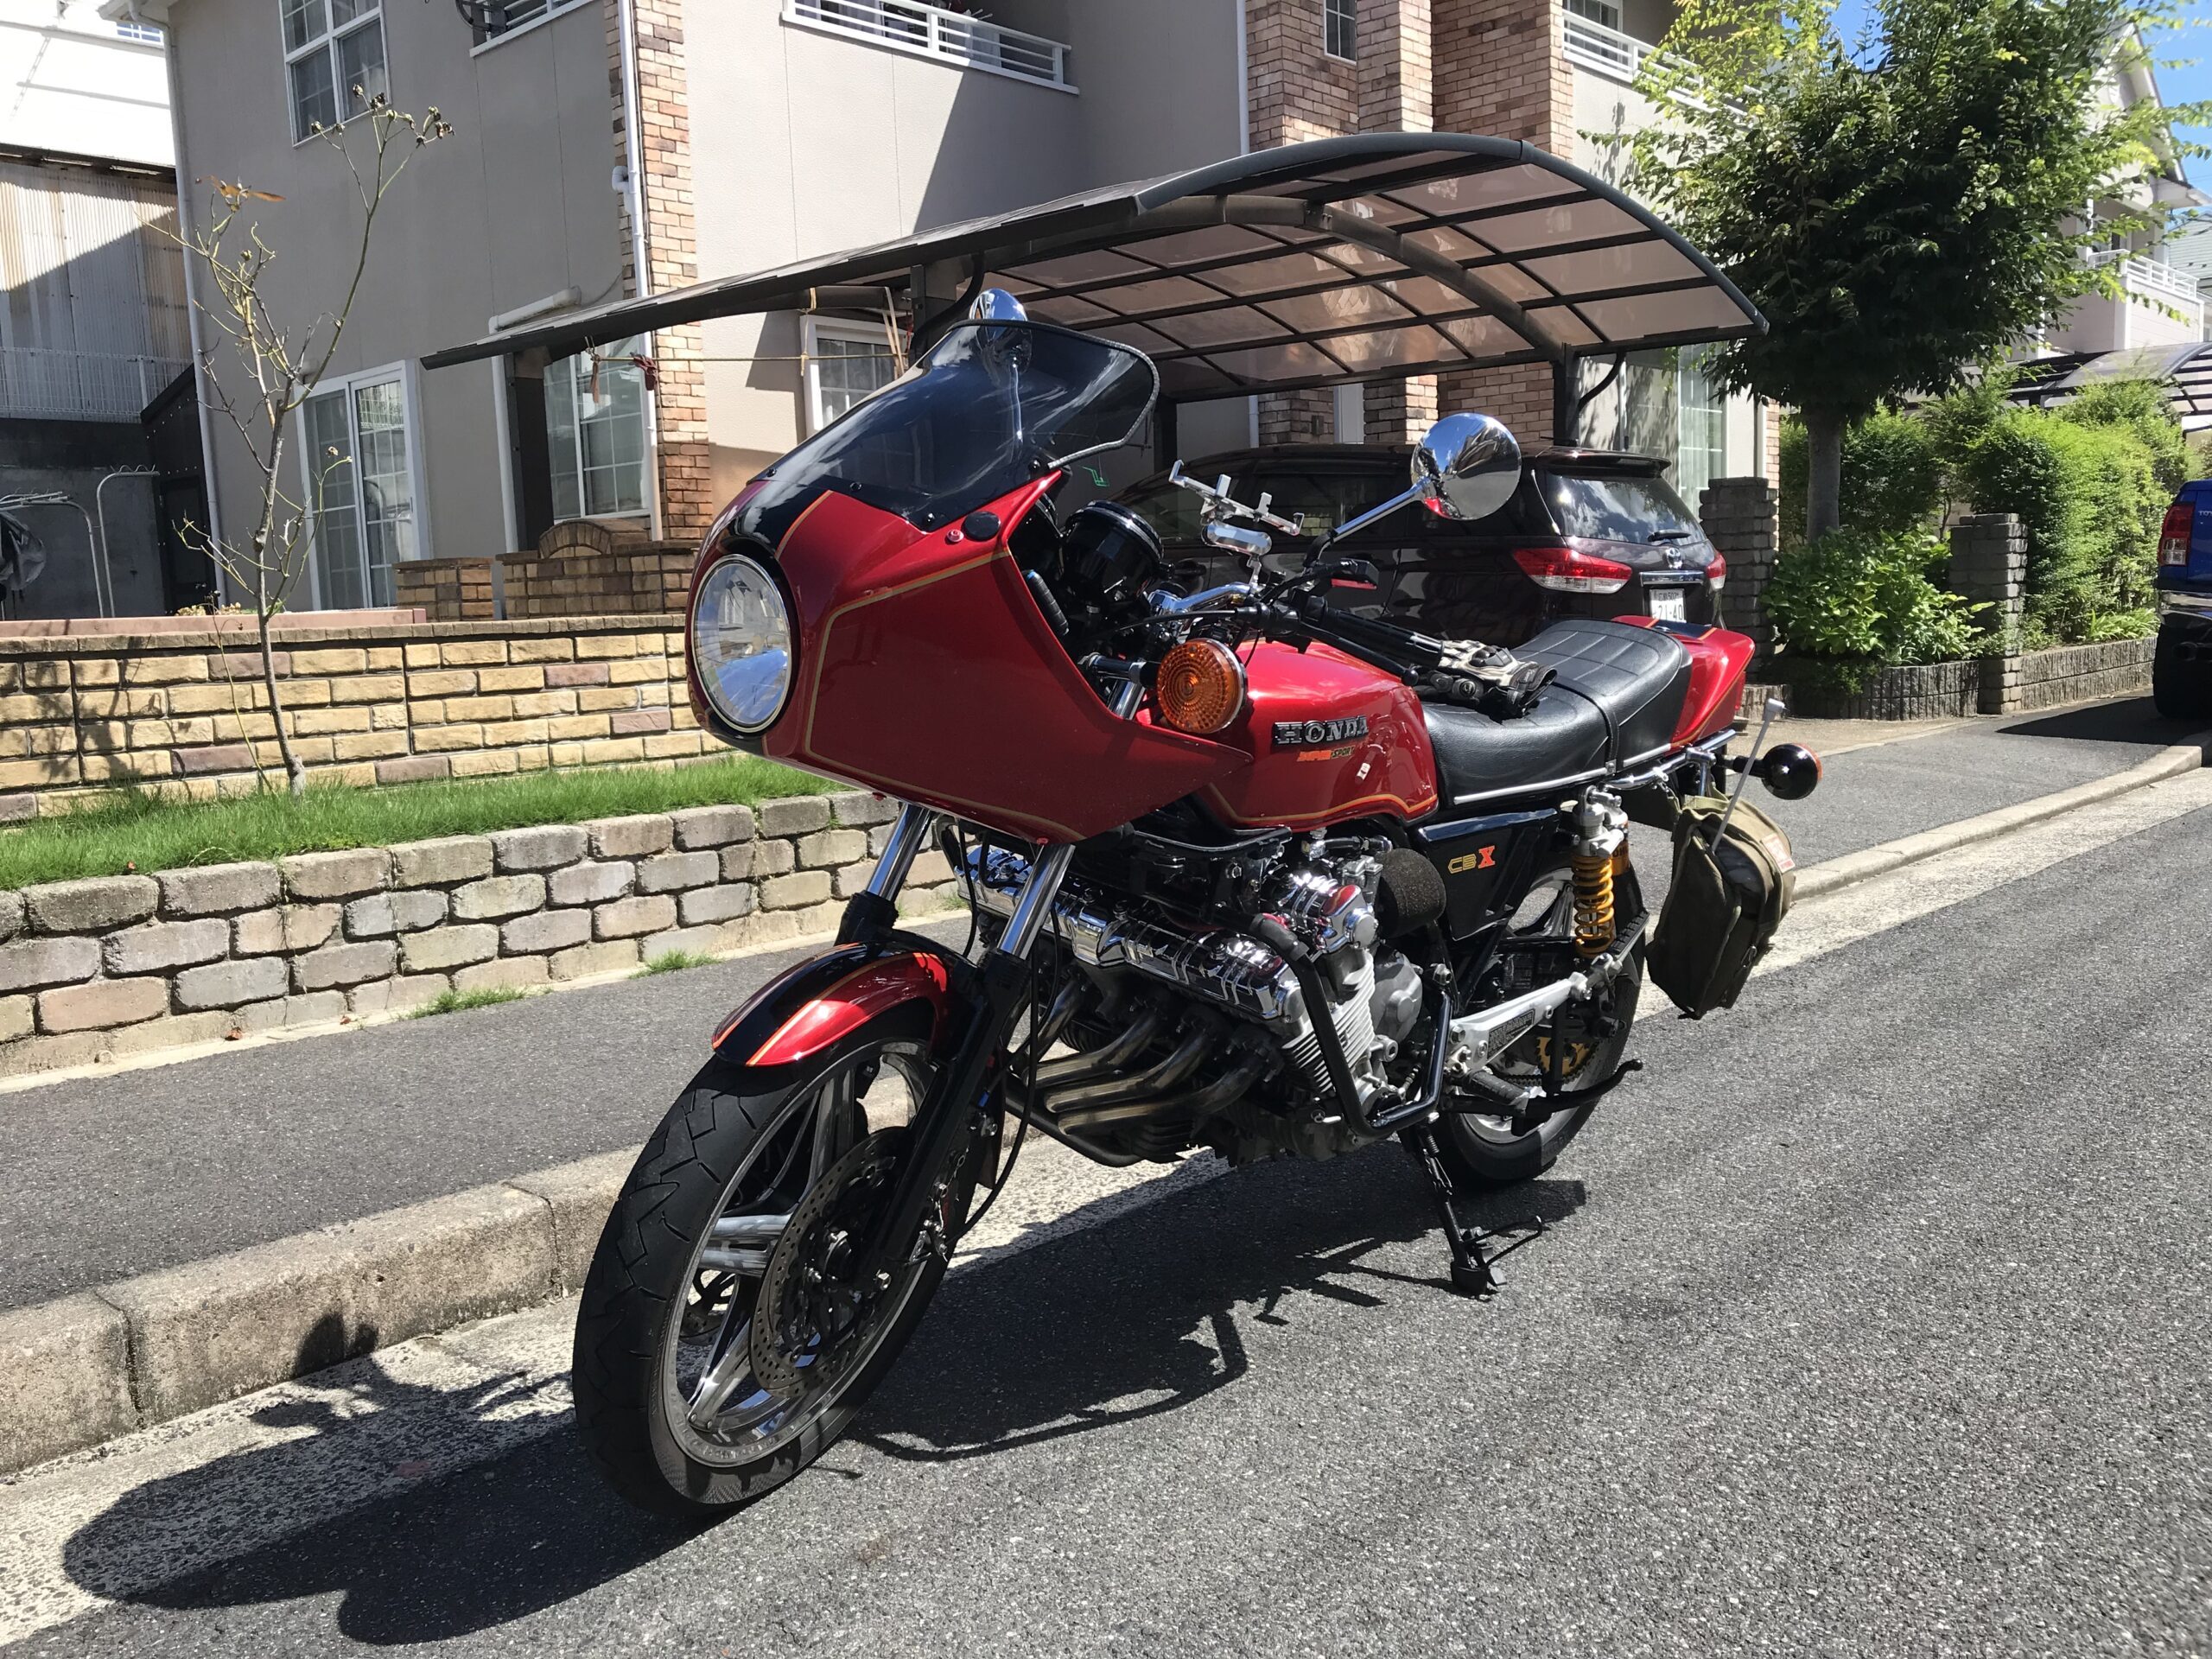
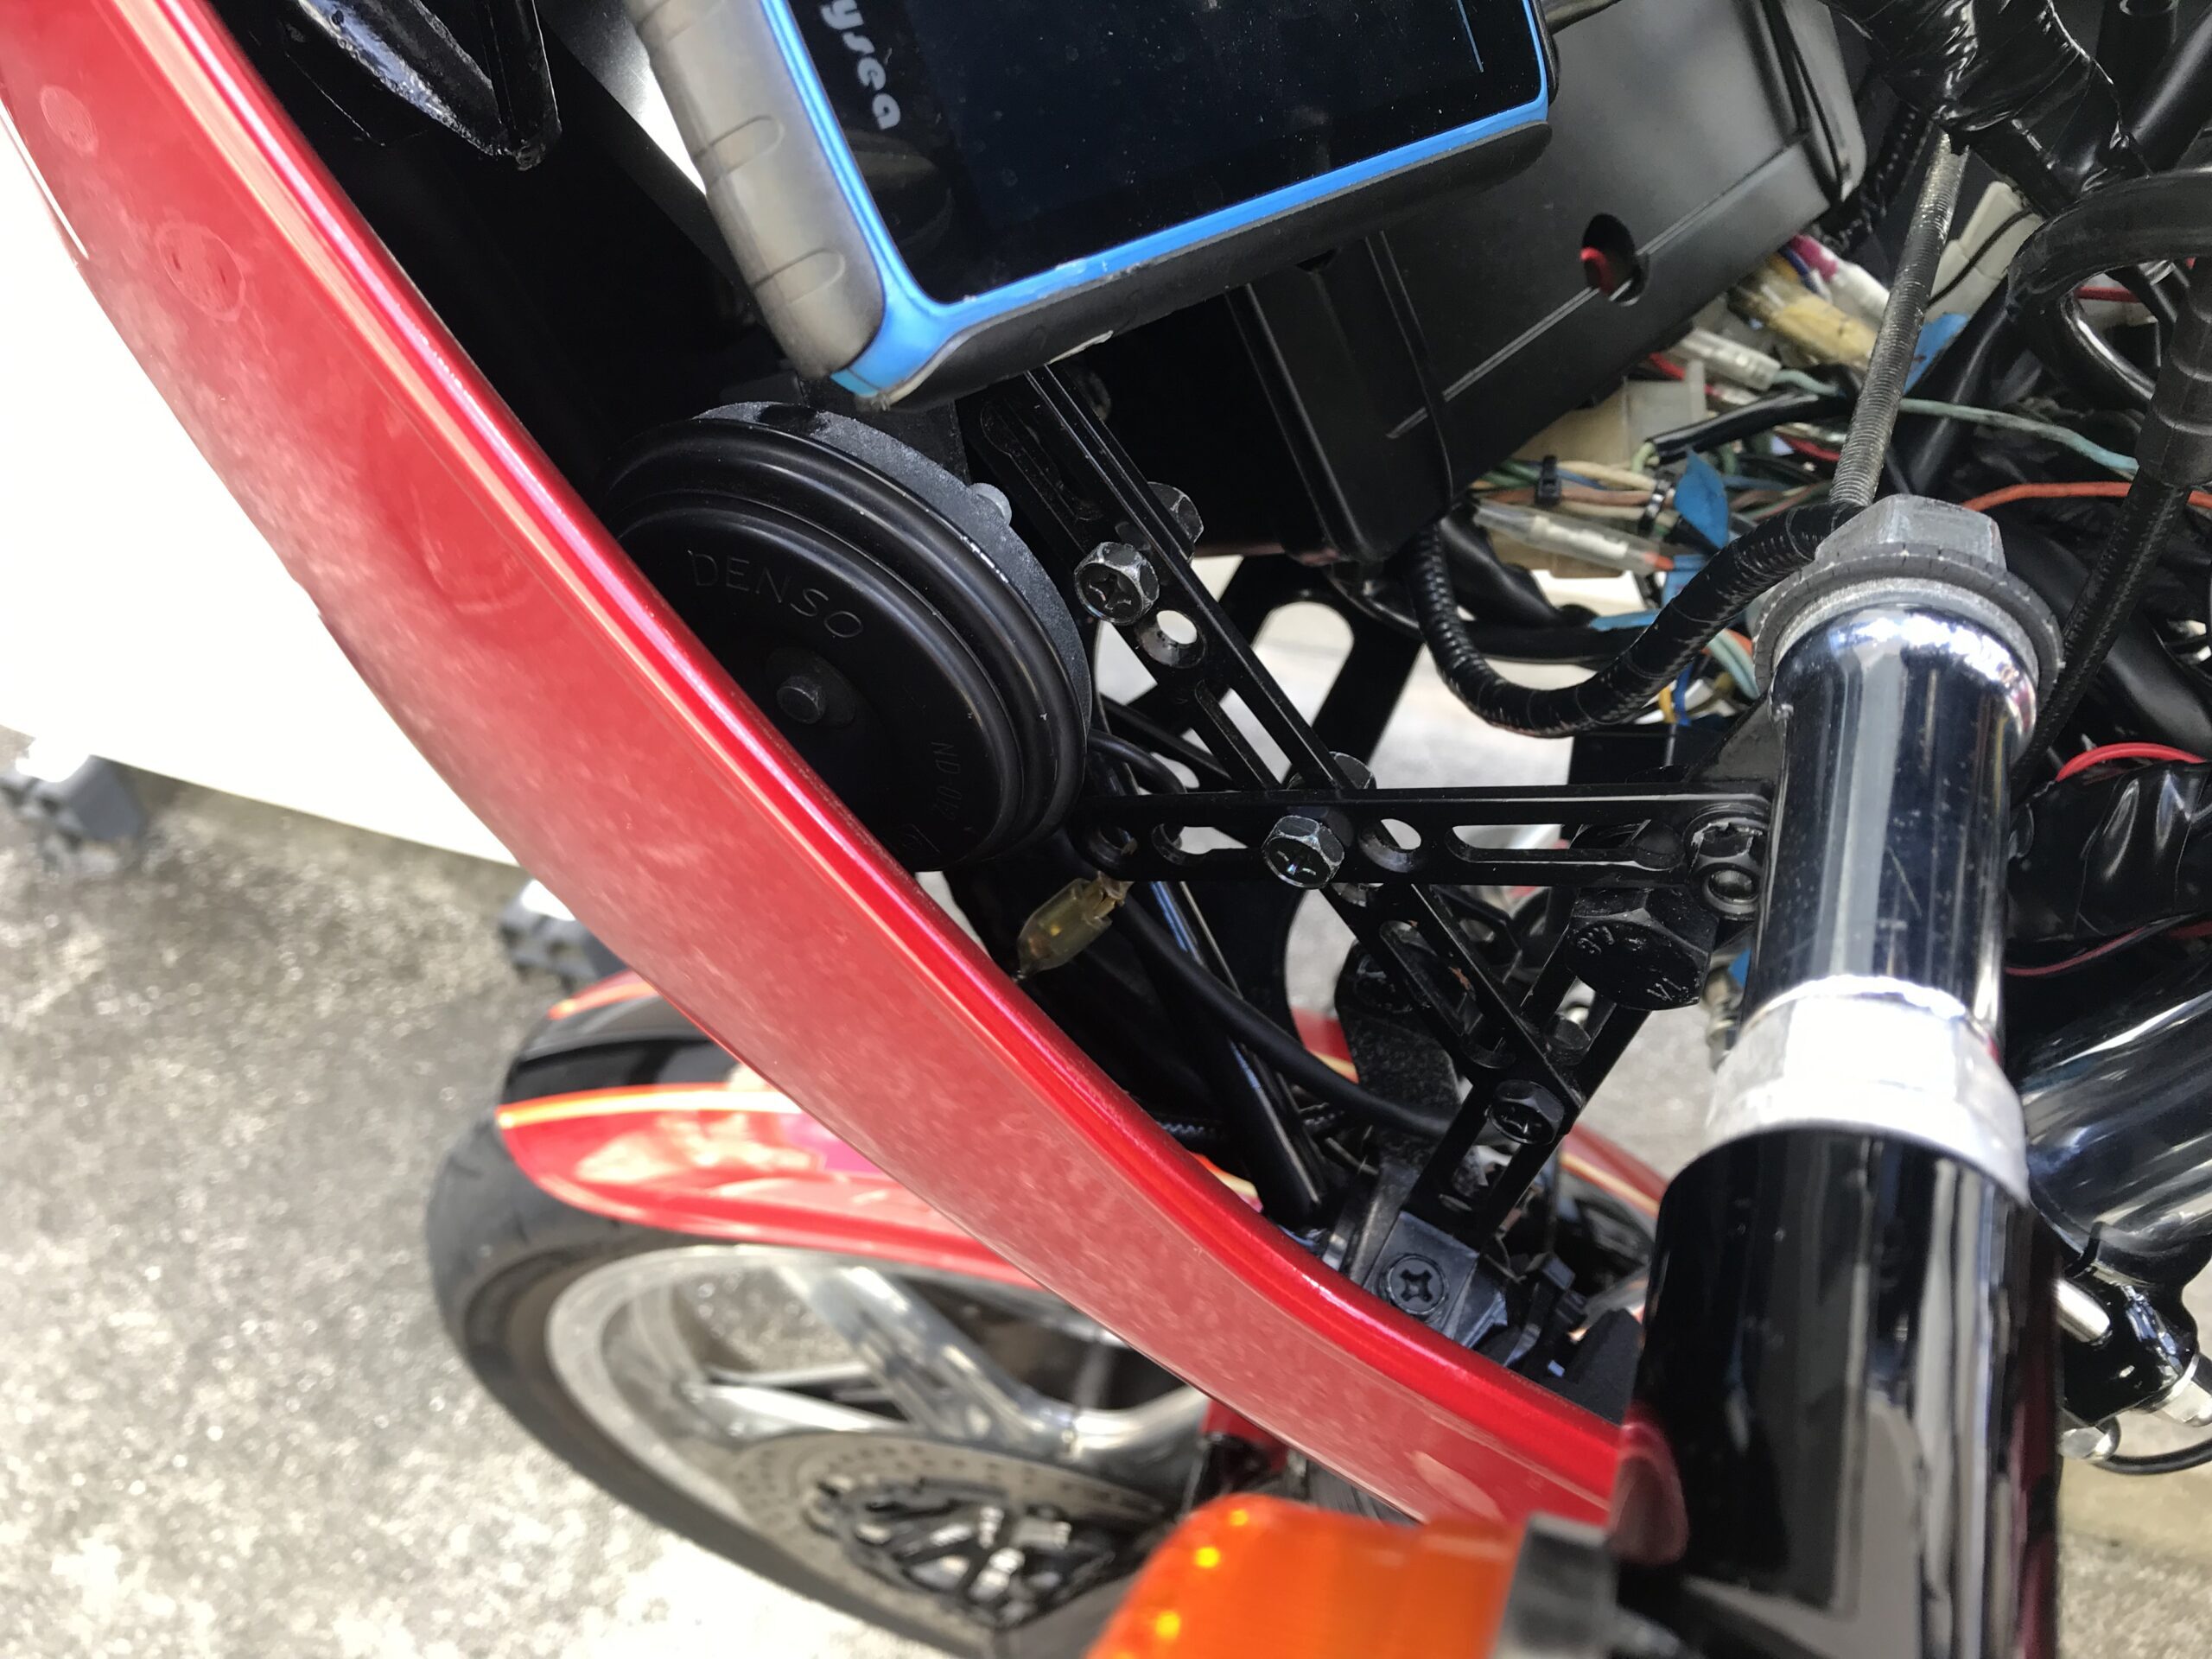
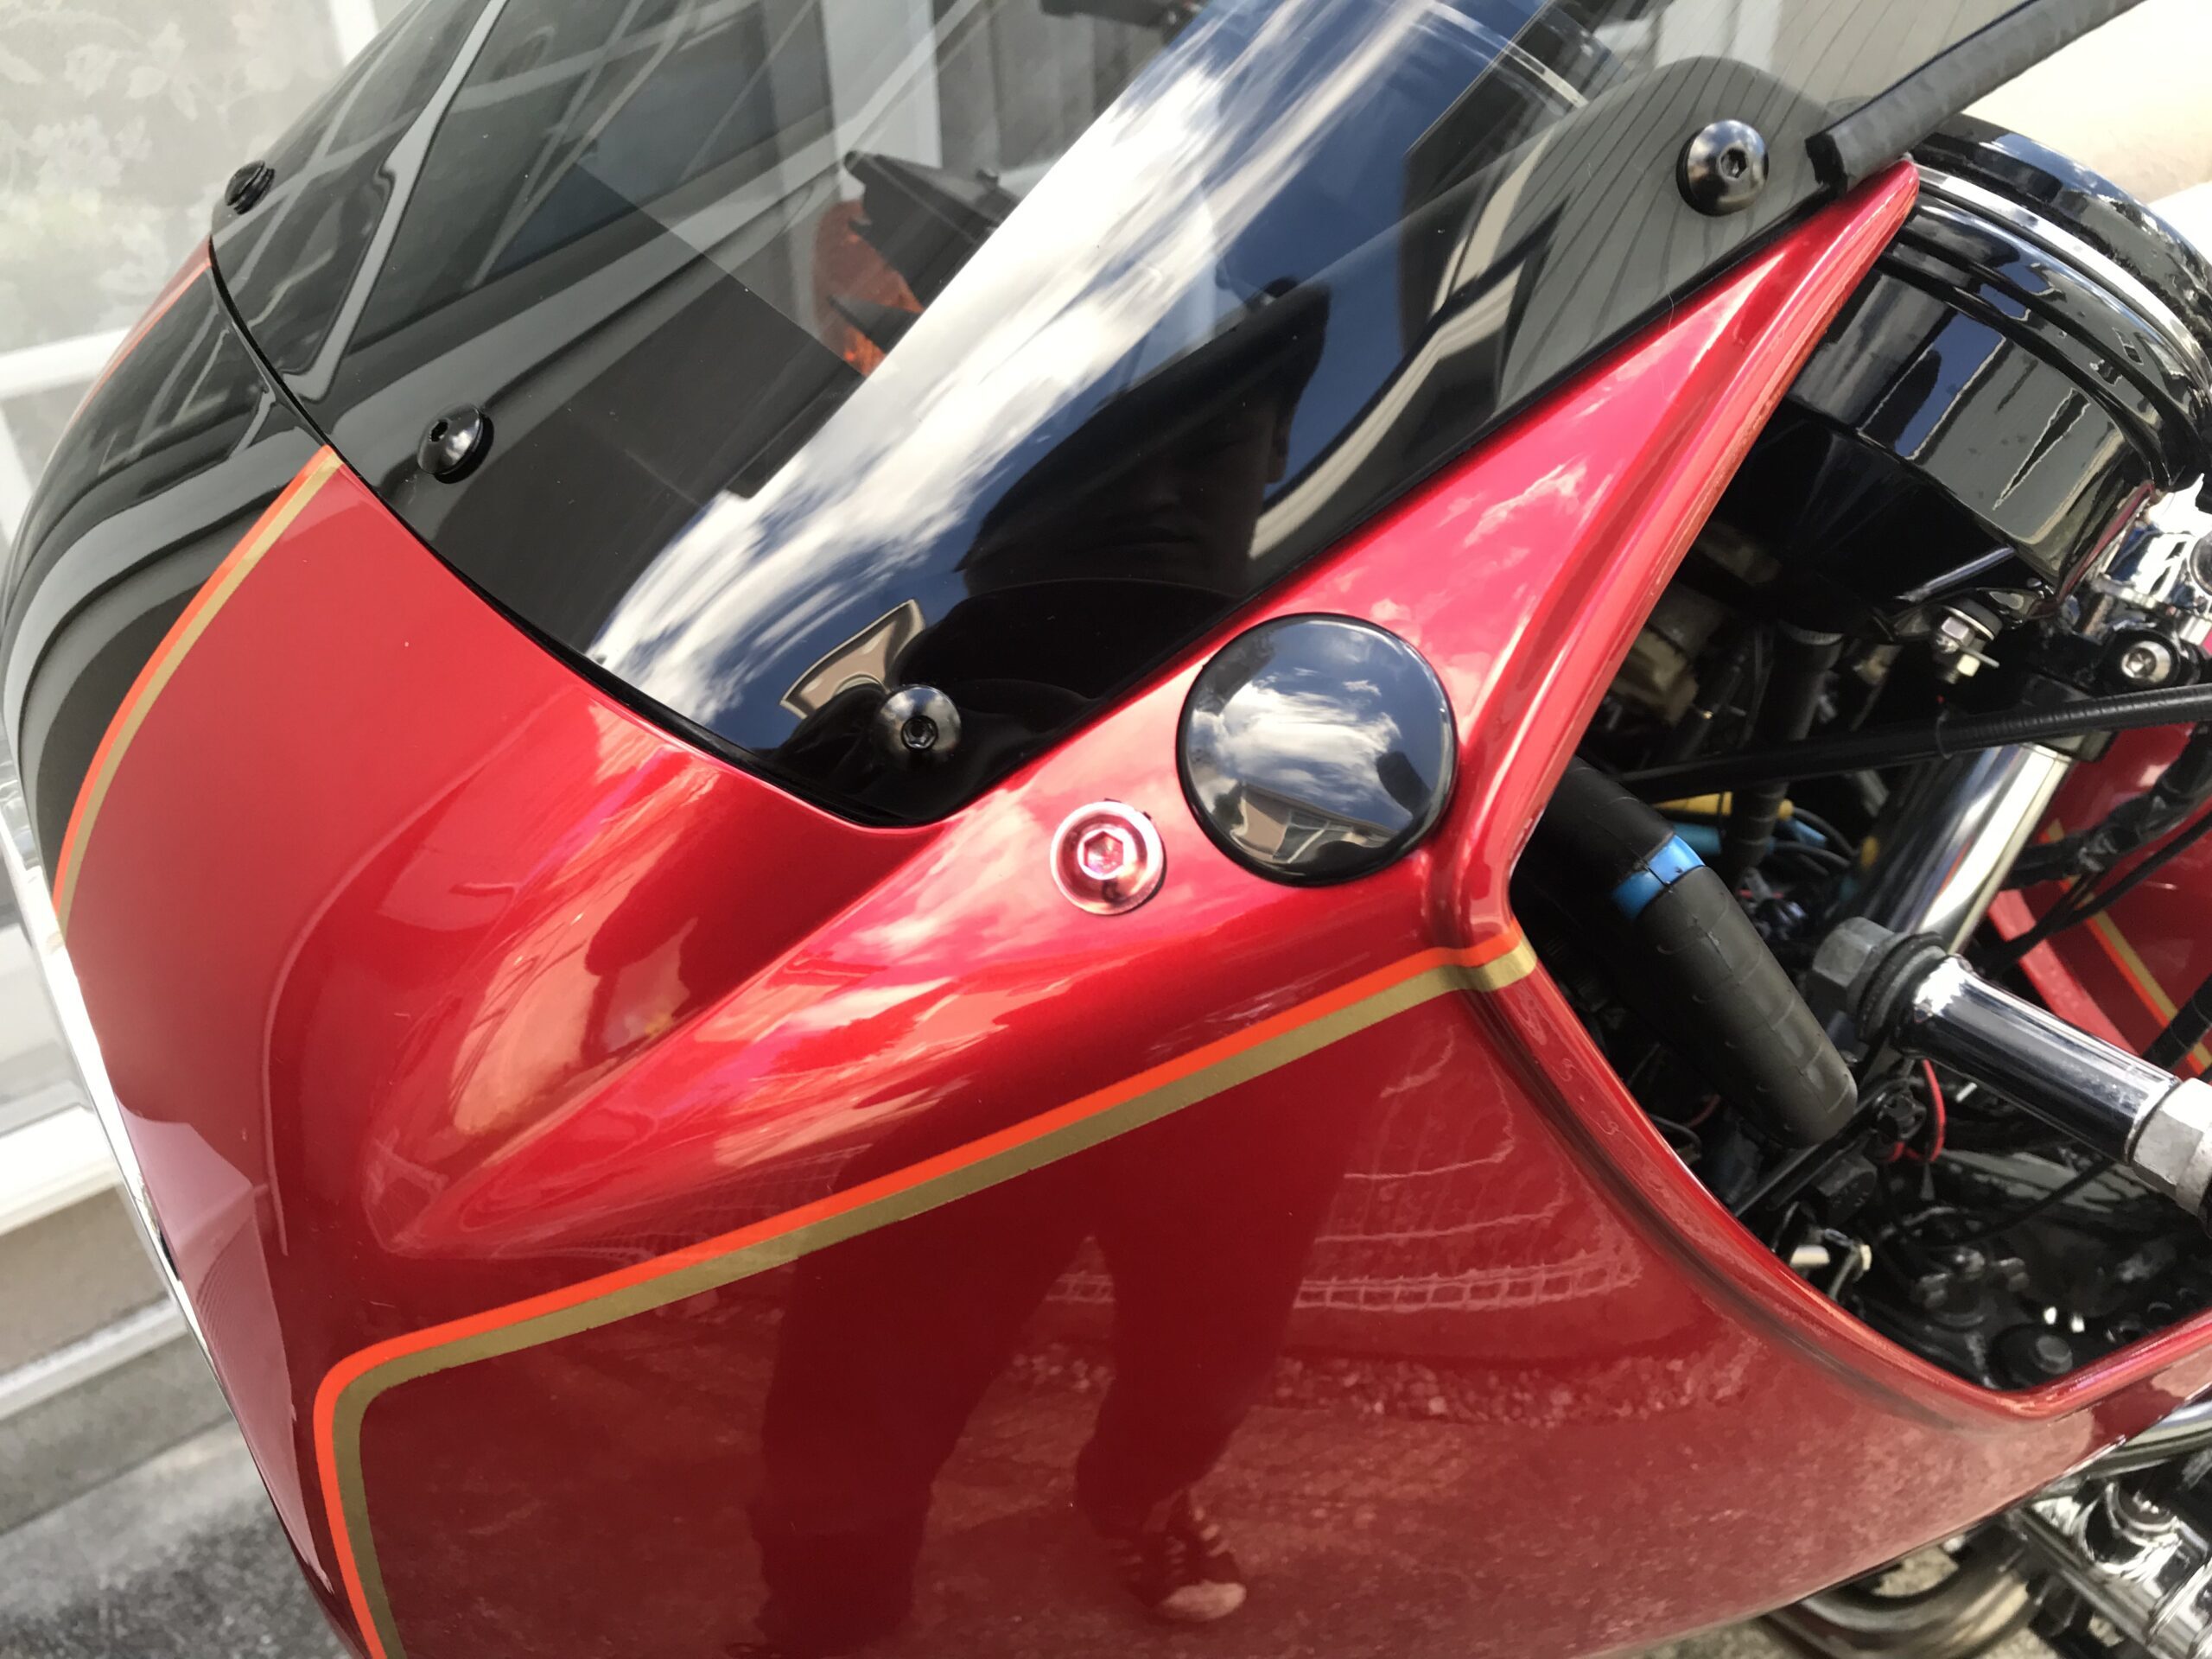
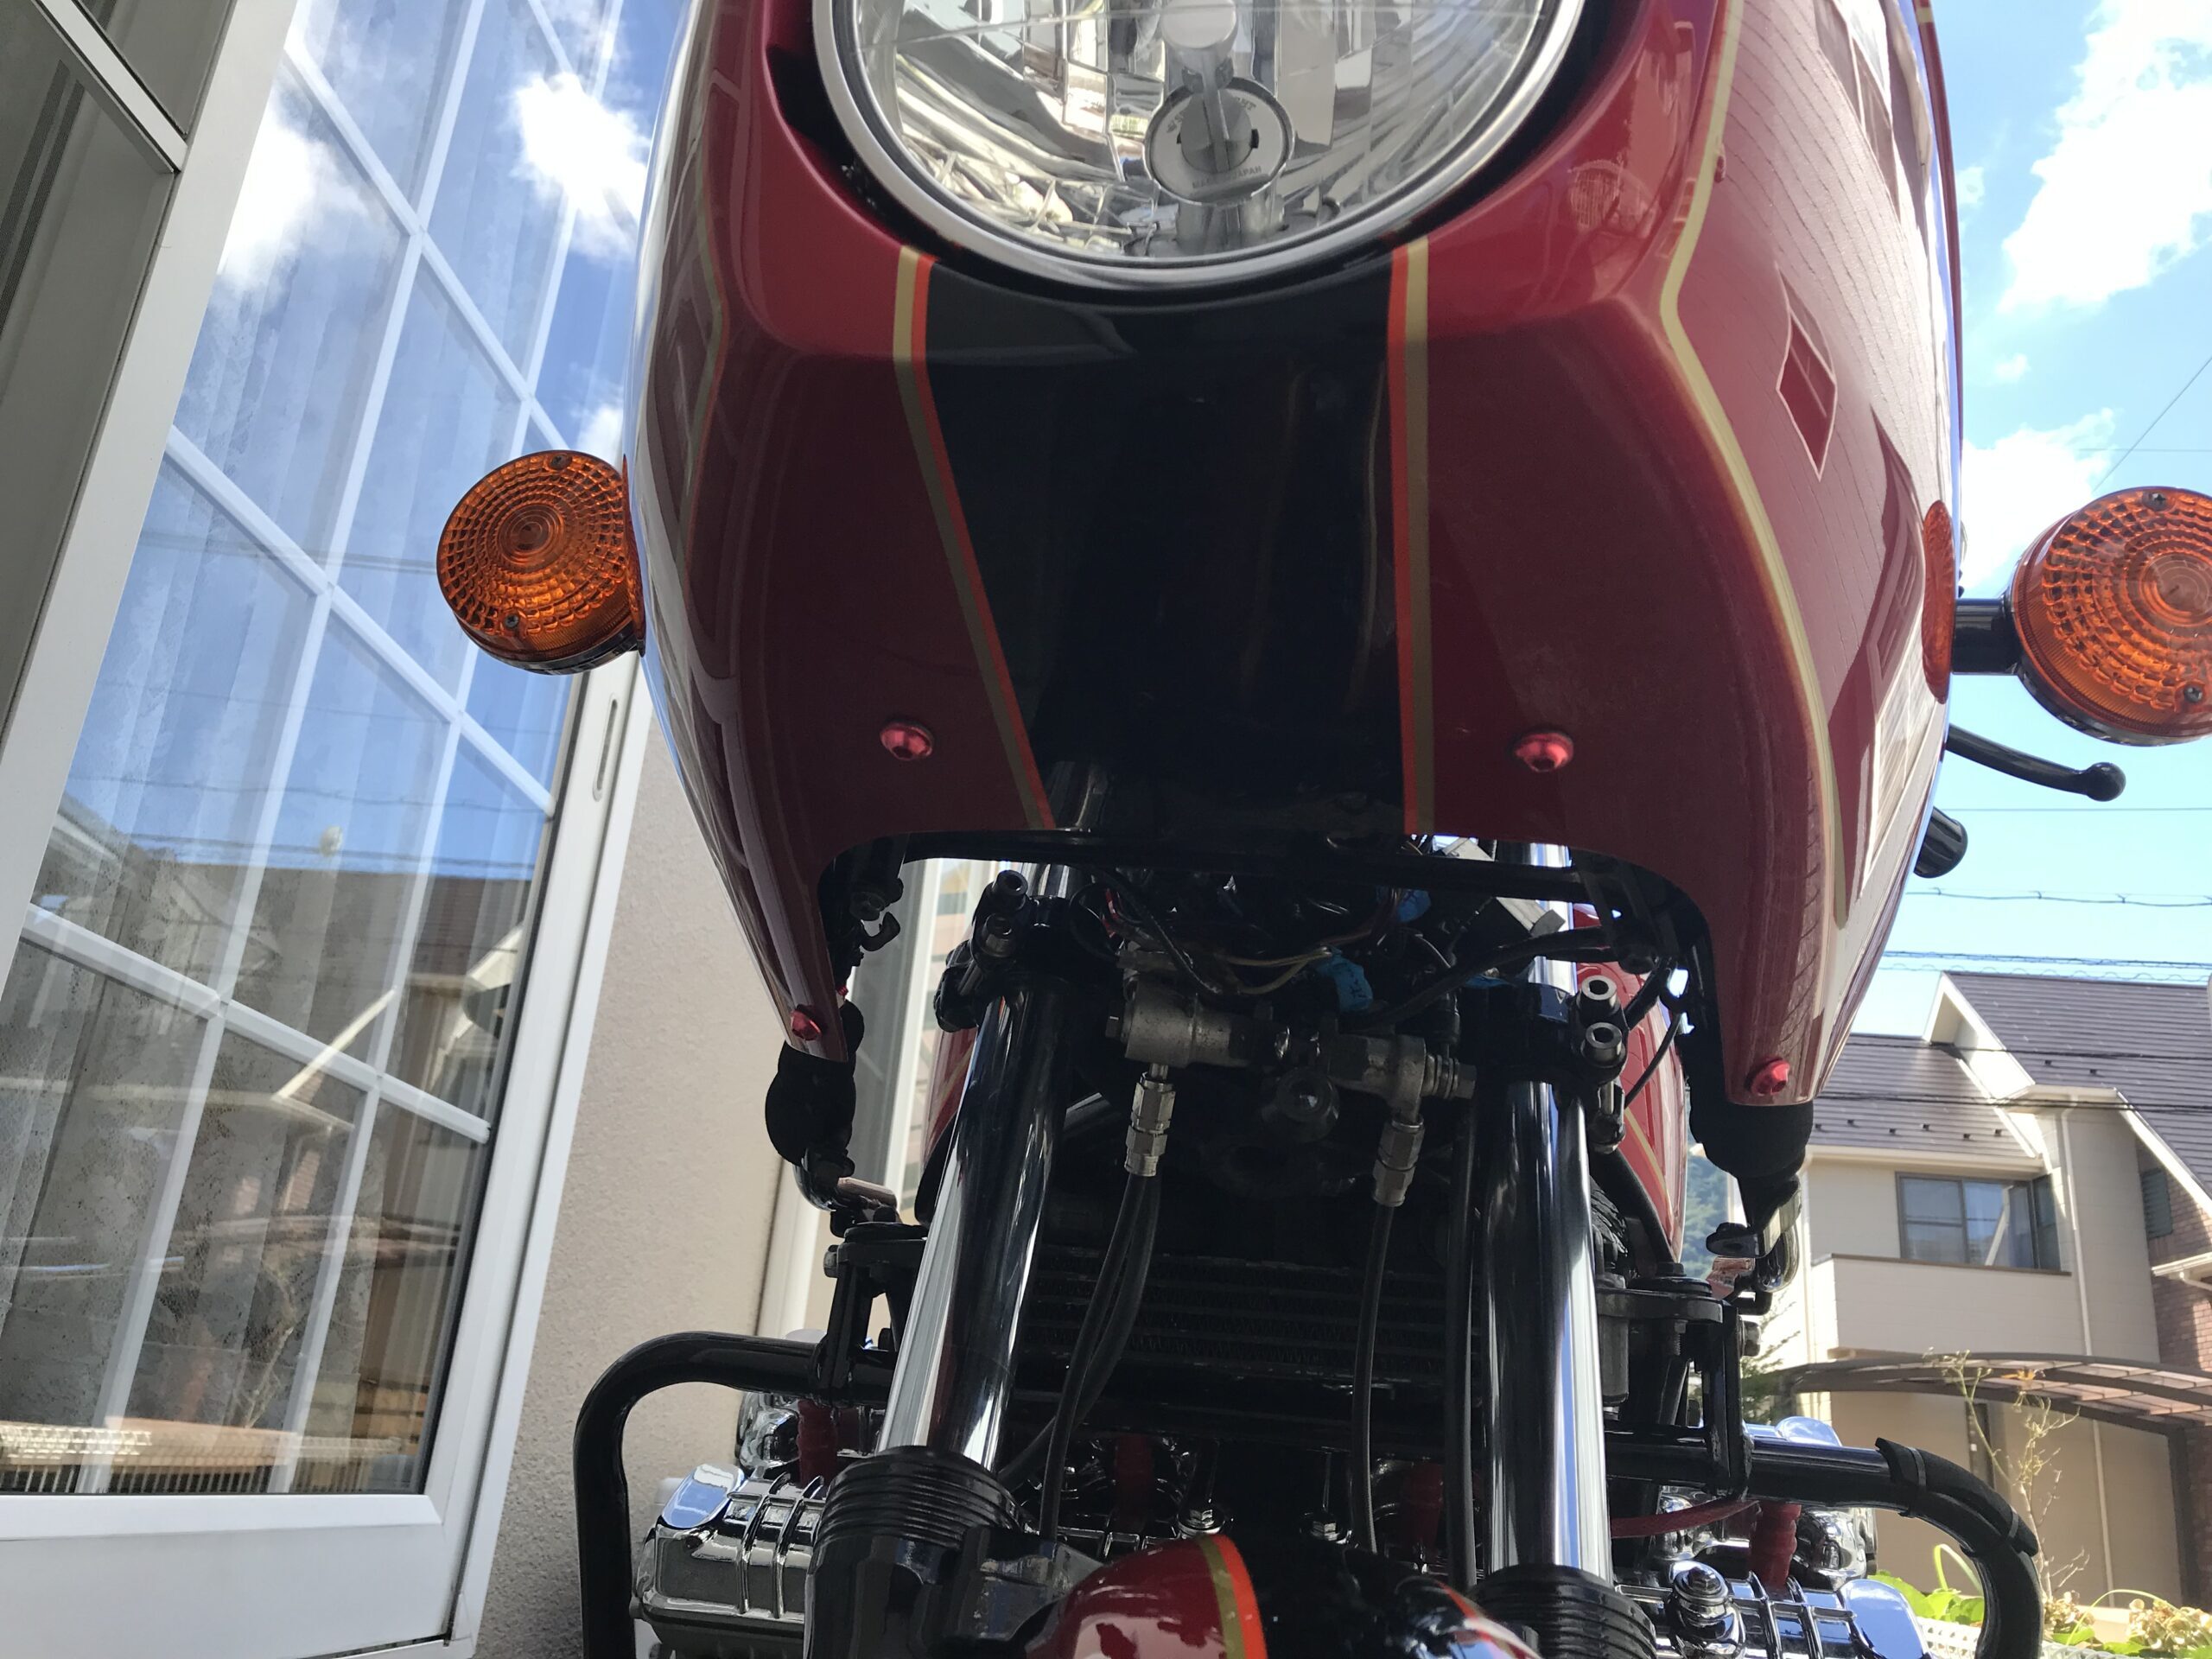
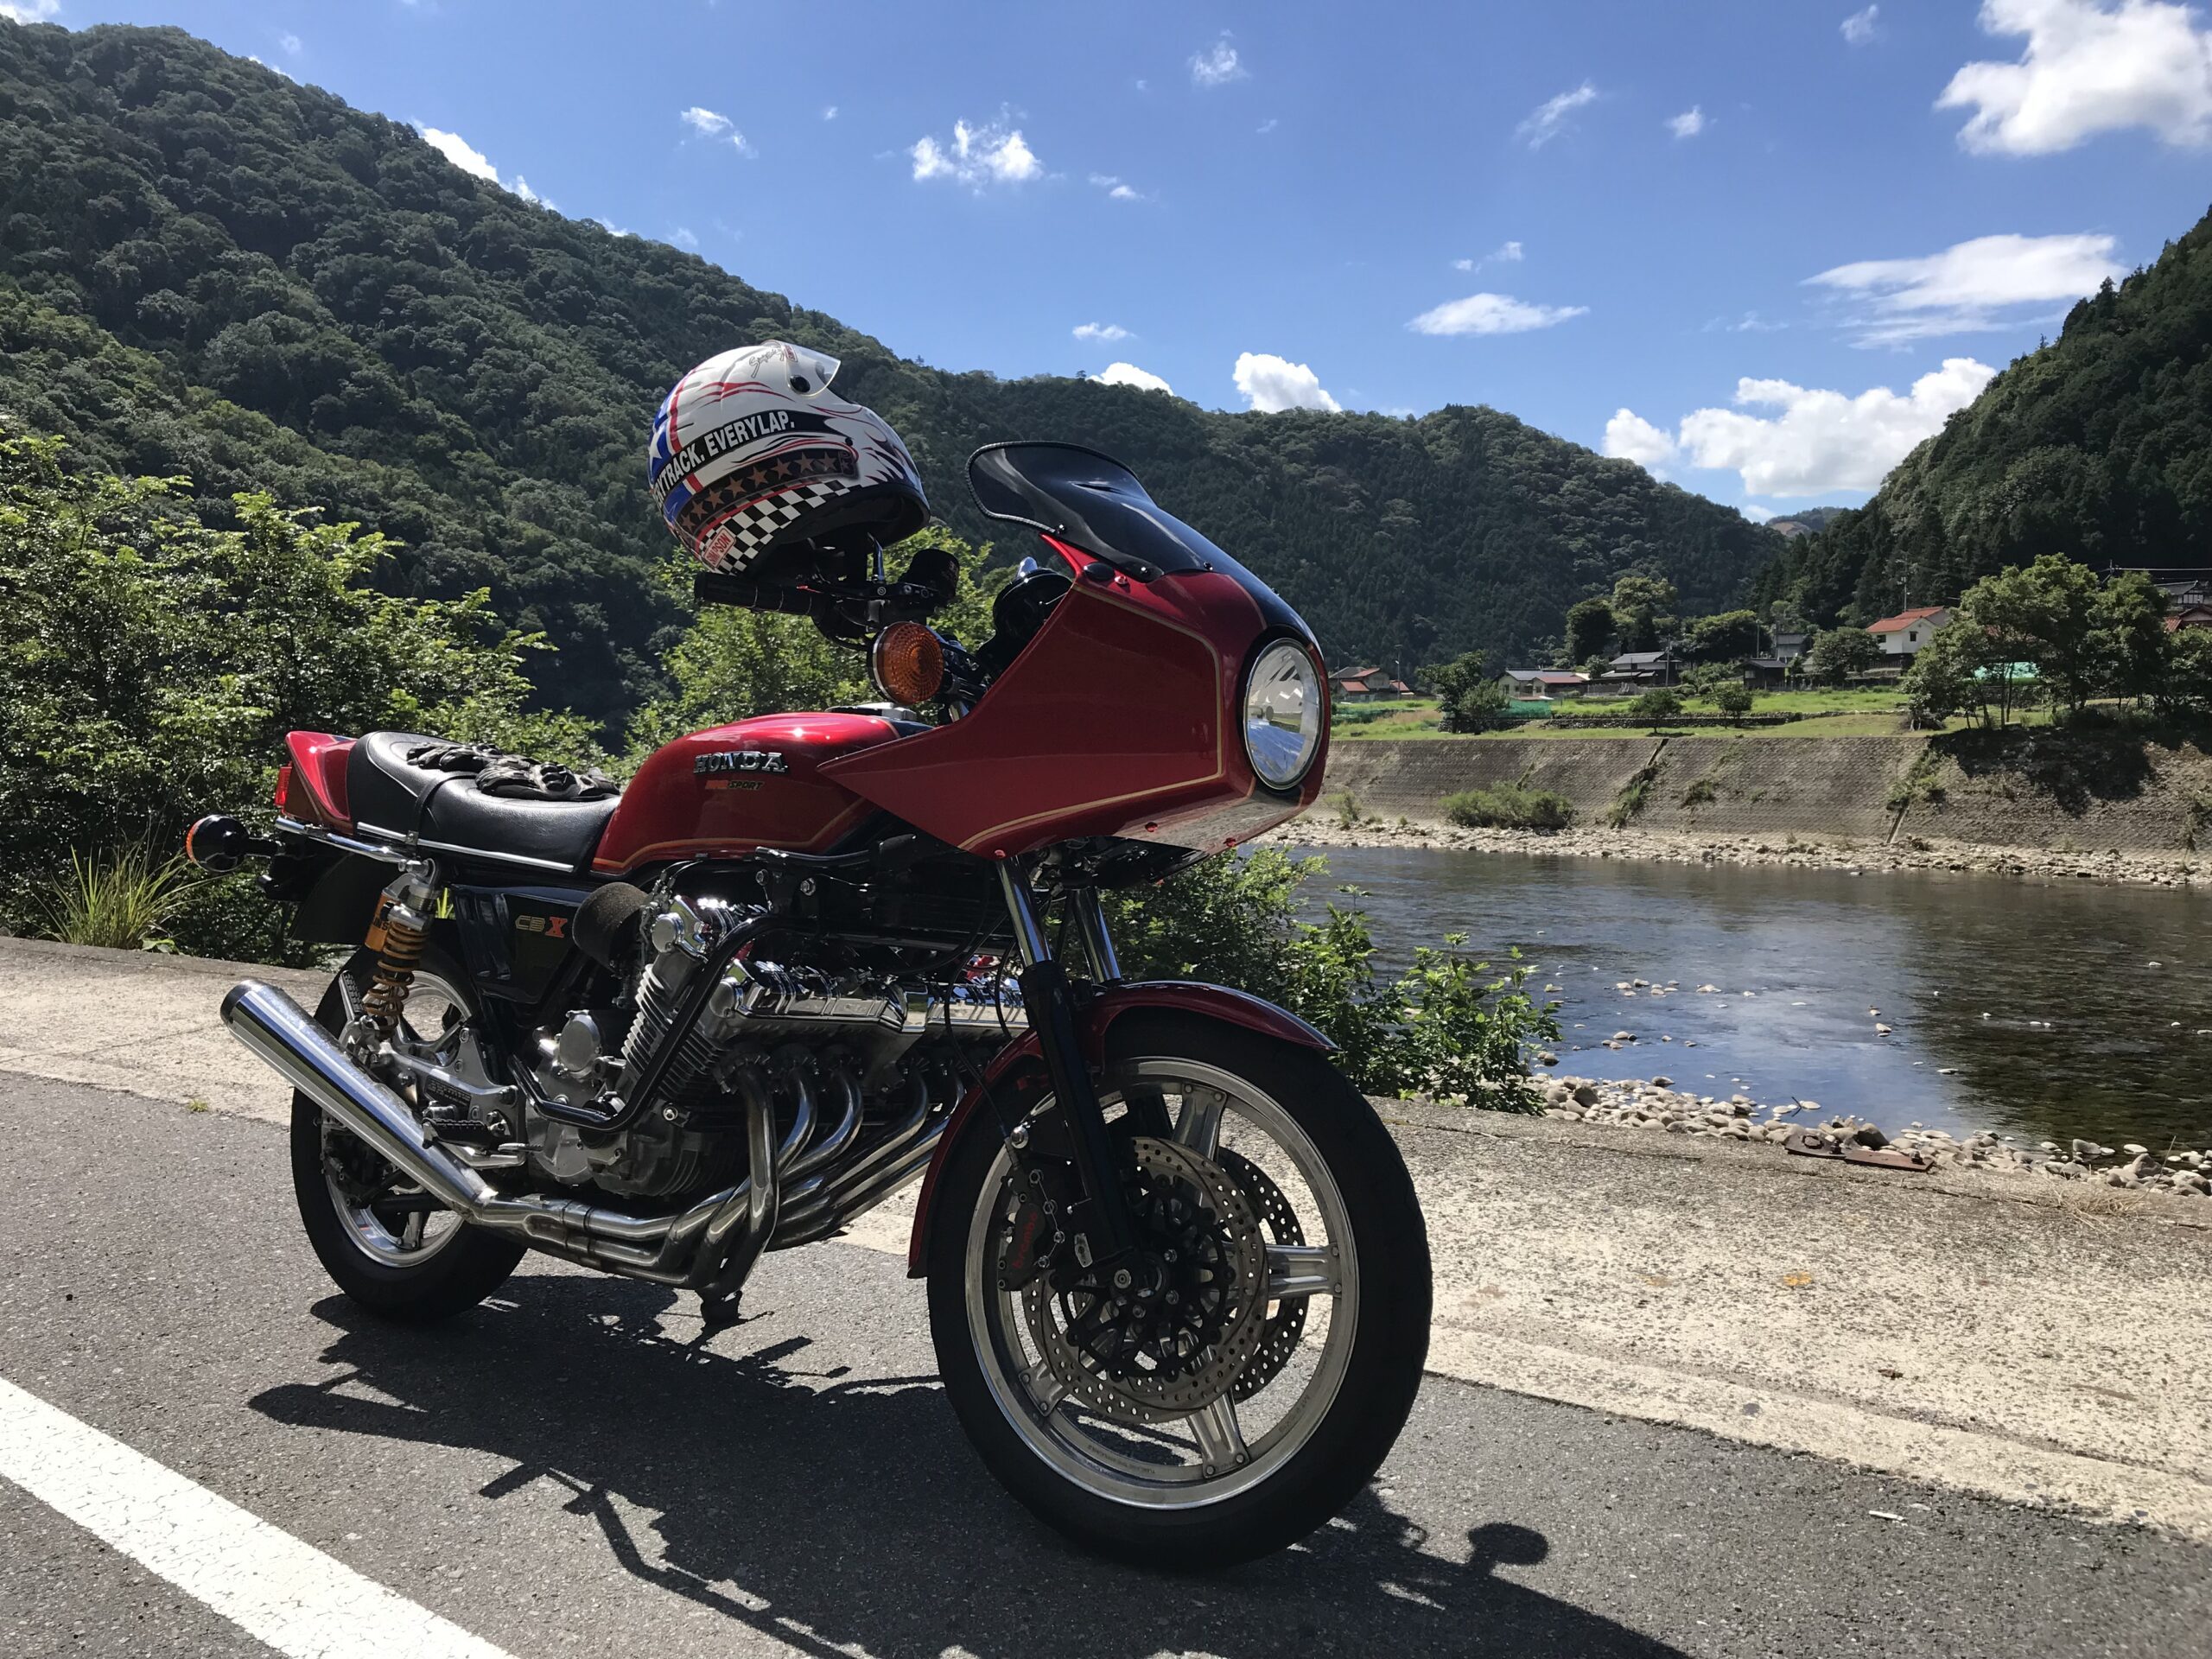
It is written like a column. *A photo gallery will be posted at the end of the post. Even if it is not a CBX1000 cowl specification, some parts may be helpful for owners who want to install a frame-mounted cowl on a naked specification motorcycle. This is a duplicate of a previous article, but There are some differences between posts made after a while after installation and posts made immediately after installation. I'll write down the specifications. I am using a late model stay for the CBX1000 early model CB1. The cowl uses a CBX400F Integra cowl. We requested that the same model be painted at the same time, including the exterior. Regarding installation, just create one additional stay, The stay of the late CBX1000 model is unprocessed. I use general-purpose L-shaped or straight stays purchased at a home center for the joints in various places. Even if the strength is 200km, there is no problem at present.
This is a pretty important point. The difference is whether the cowl is attached to the front fork or the frame. Handle mounts are characterized by the weight of the handle and ease of attachment and detachment.
If you use a frame mount, it will be a little more difficult to install and remove, but you will be able to attach a large cowl. In the case of my CBX1000, I choose a frame mount because I don't want the handle to be heavy. However, recent bikini cowls for steering wheel mounts are very light, so
It may be hard to say that weight is a disadvantage.
Attaching a frame-mounted cowl to a motorcycle with a round headlight requires a lot of work. Care must be taken when choosing a frame mount.
Is it cool to add a cowl to a naked motorcycle?
In most cases, it would be uncool to change a motorcycle that originally had a cowl to a round headlight, or to attach a cowl to a motorcycle that does not have a cowl.
The most unbalanced thing is when you attach a Kawasaki cowl to a Honda, your eyes become accustomed to it and have preconceived notions, so it looks like a very unbalanced motorcycle.
In my case, I felt that if I attached a late-model cowl to the CBX1000, it would be too big and give a strange image, so I attached a smaller cowl from the CBX400F Integra, which has a similar shape.
It doesn't look weird depending on the angle.
Since the purpose is to comfortably achieve triple-digit speeds, we ignore some disadvantages and design inconsistencies.
I installed the cowl myself.
When I started to like the design, I went back to round headlights.
The cowl is installed to increase speed.
This is the basic principle for installing the cowl.
For work motorcycles, etc., the idea is to install it to protect from rain and wind and improve rider operability.
With large motorcycles, the idea is to maintain stable speed.
The racer cowl also has an aerodynamic effect.
In rare cases, there are riders who have rocket cowls installed that cannot withstand high-speed riding.
The cowl must be installed to increase speed.
It is dangerous to install it on a motorcycle whose maximum speed can exceed 200km/h without considering its strength.
Even if you install it for dress-up purposes, you need to think about its strength.
The cowl is not installed to look cool, but is a necessary device to increase speed. An accompanying result may be coolness.
Weaknesses of retrofitted cowls
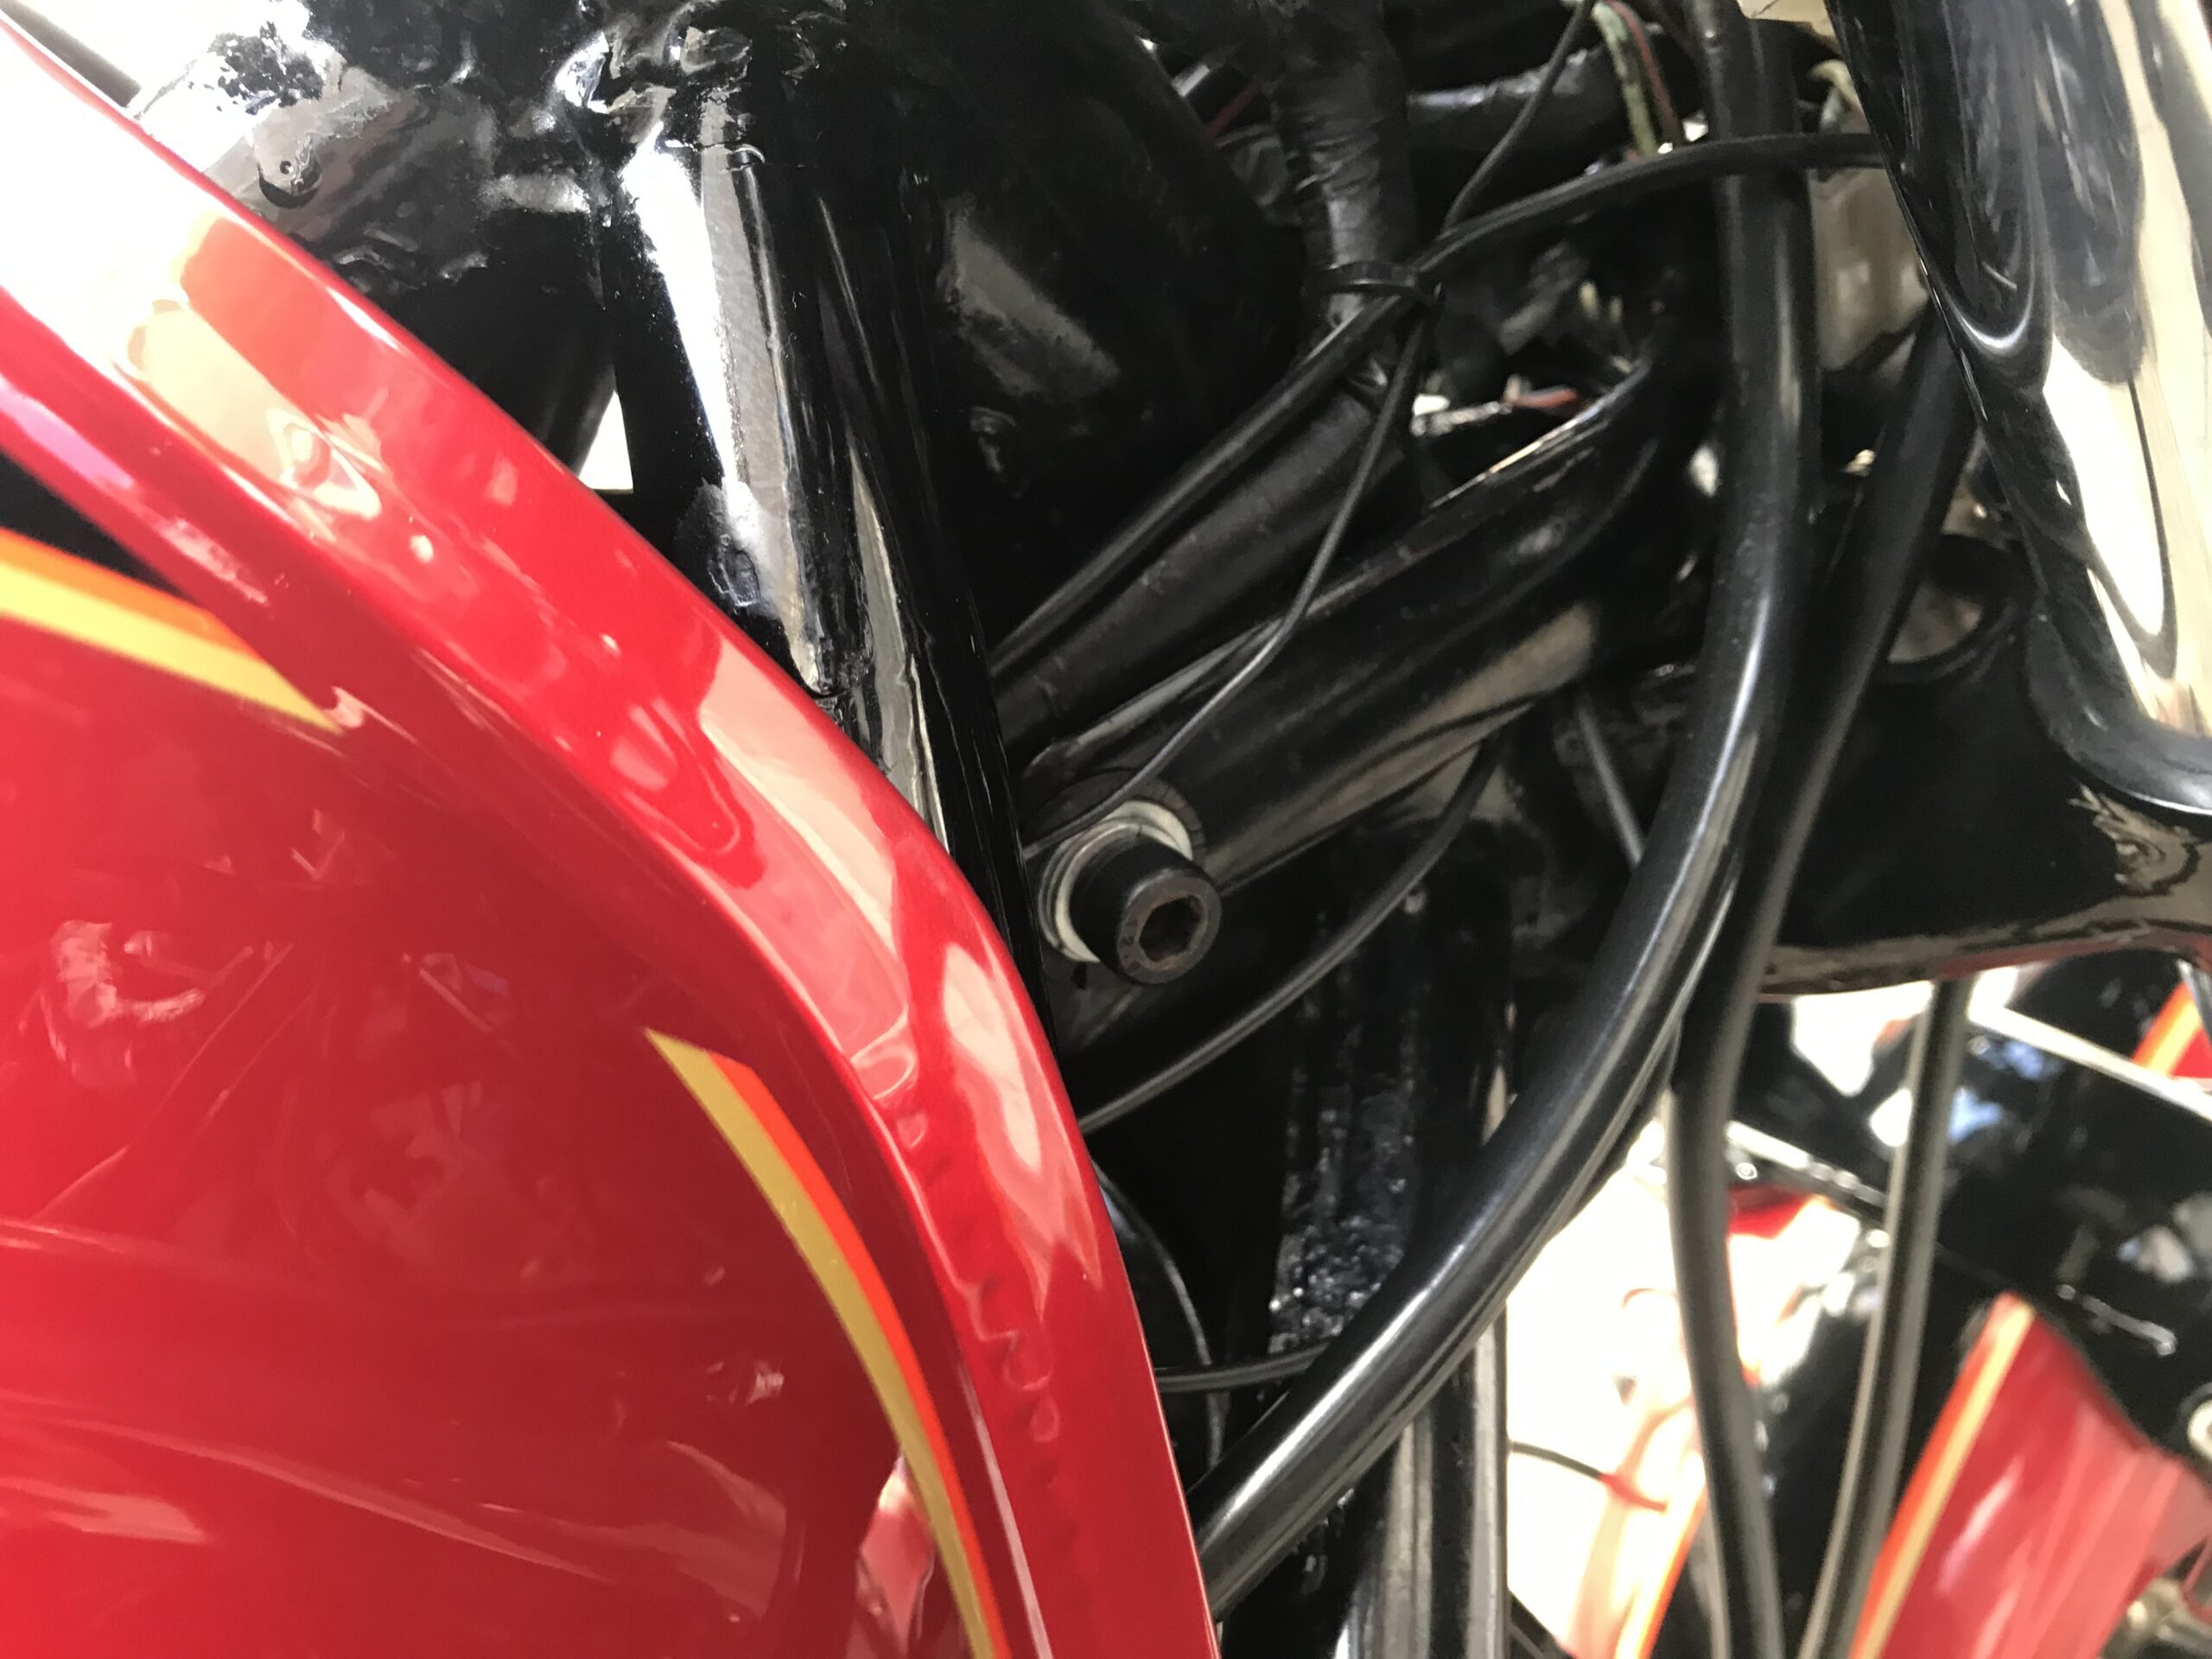
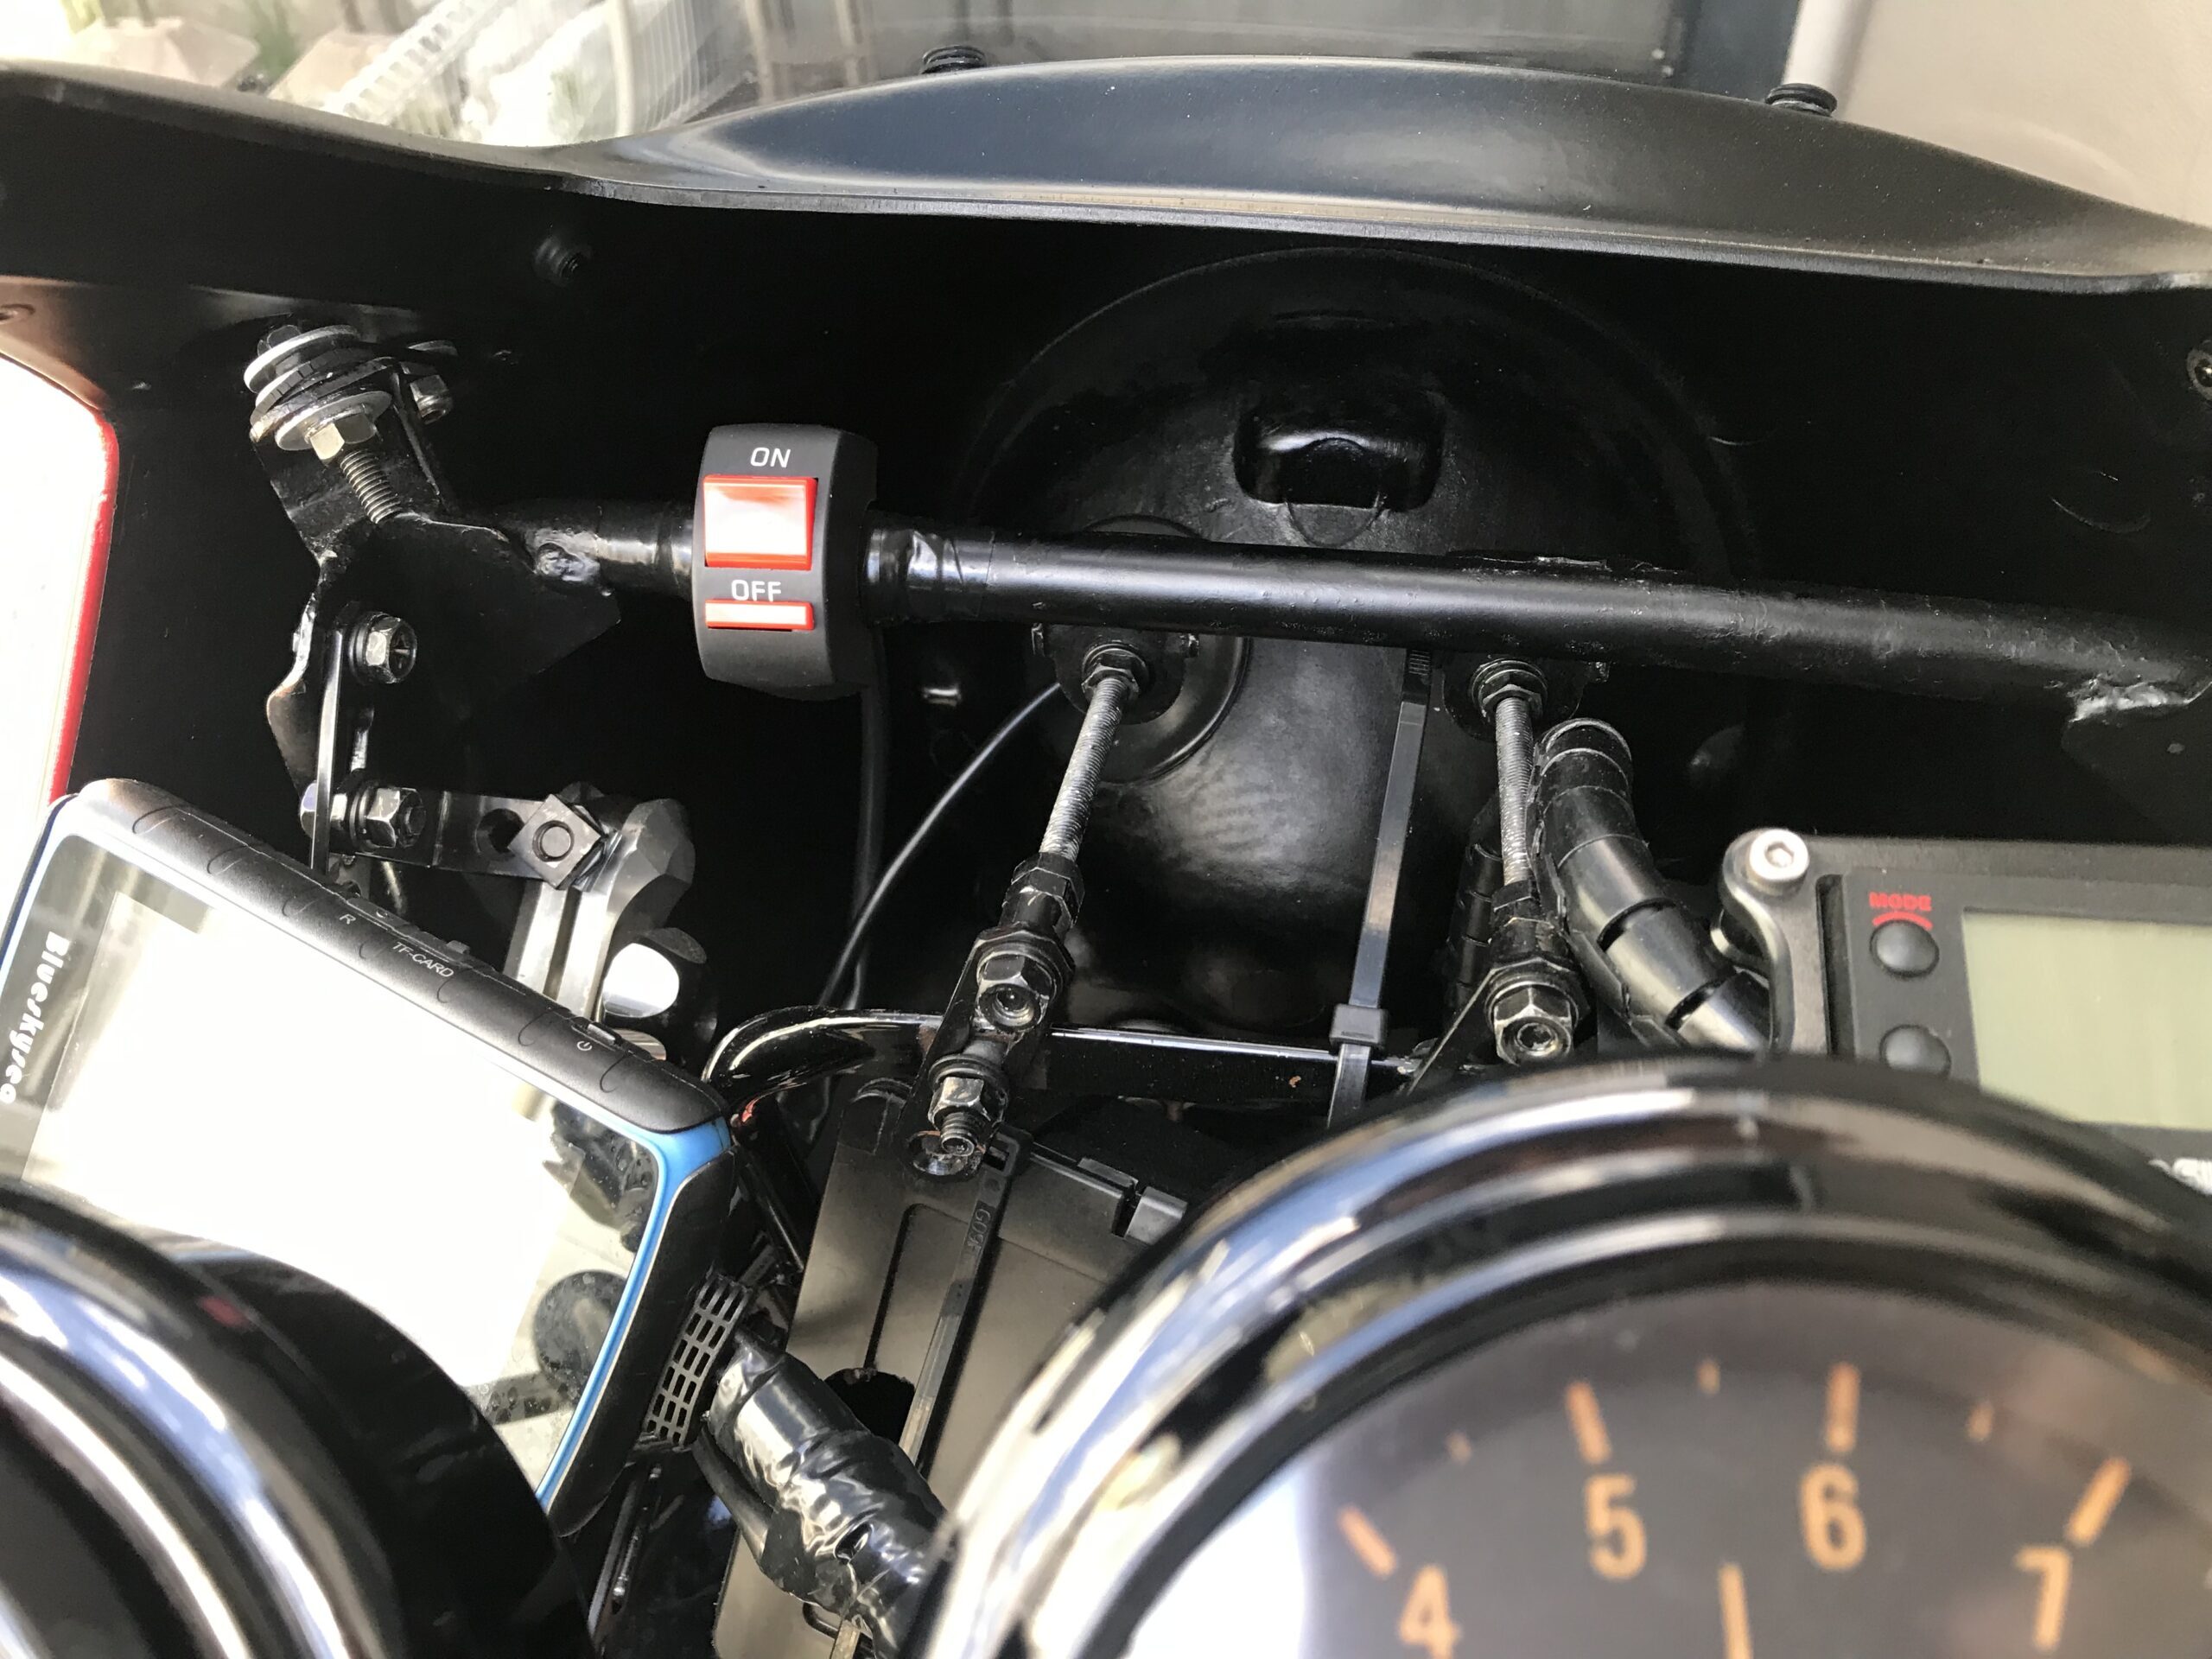
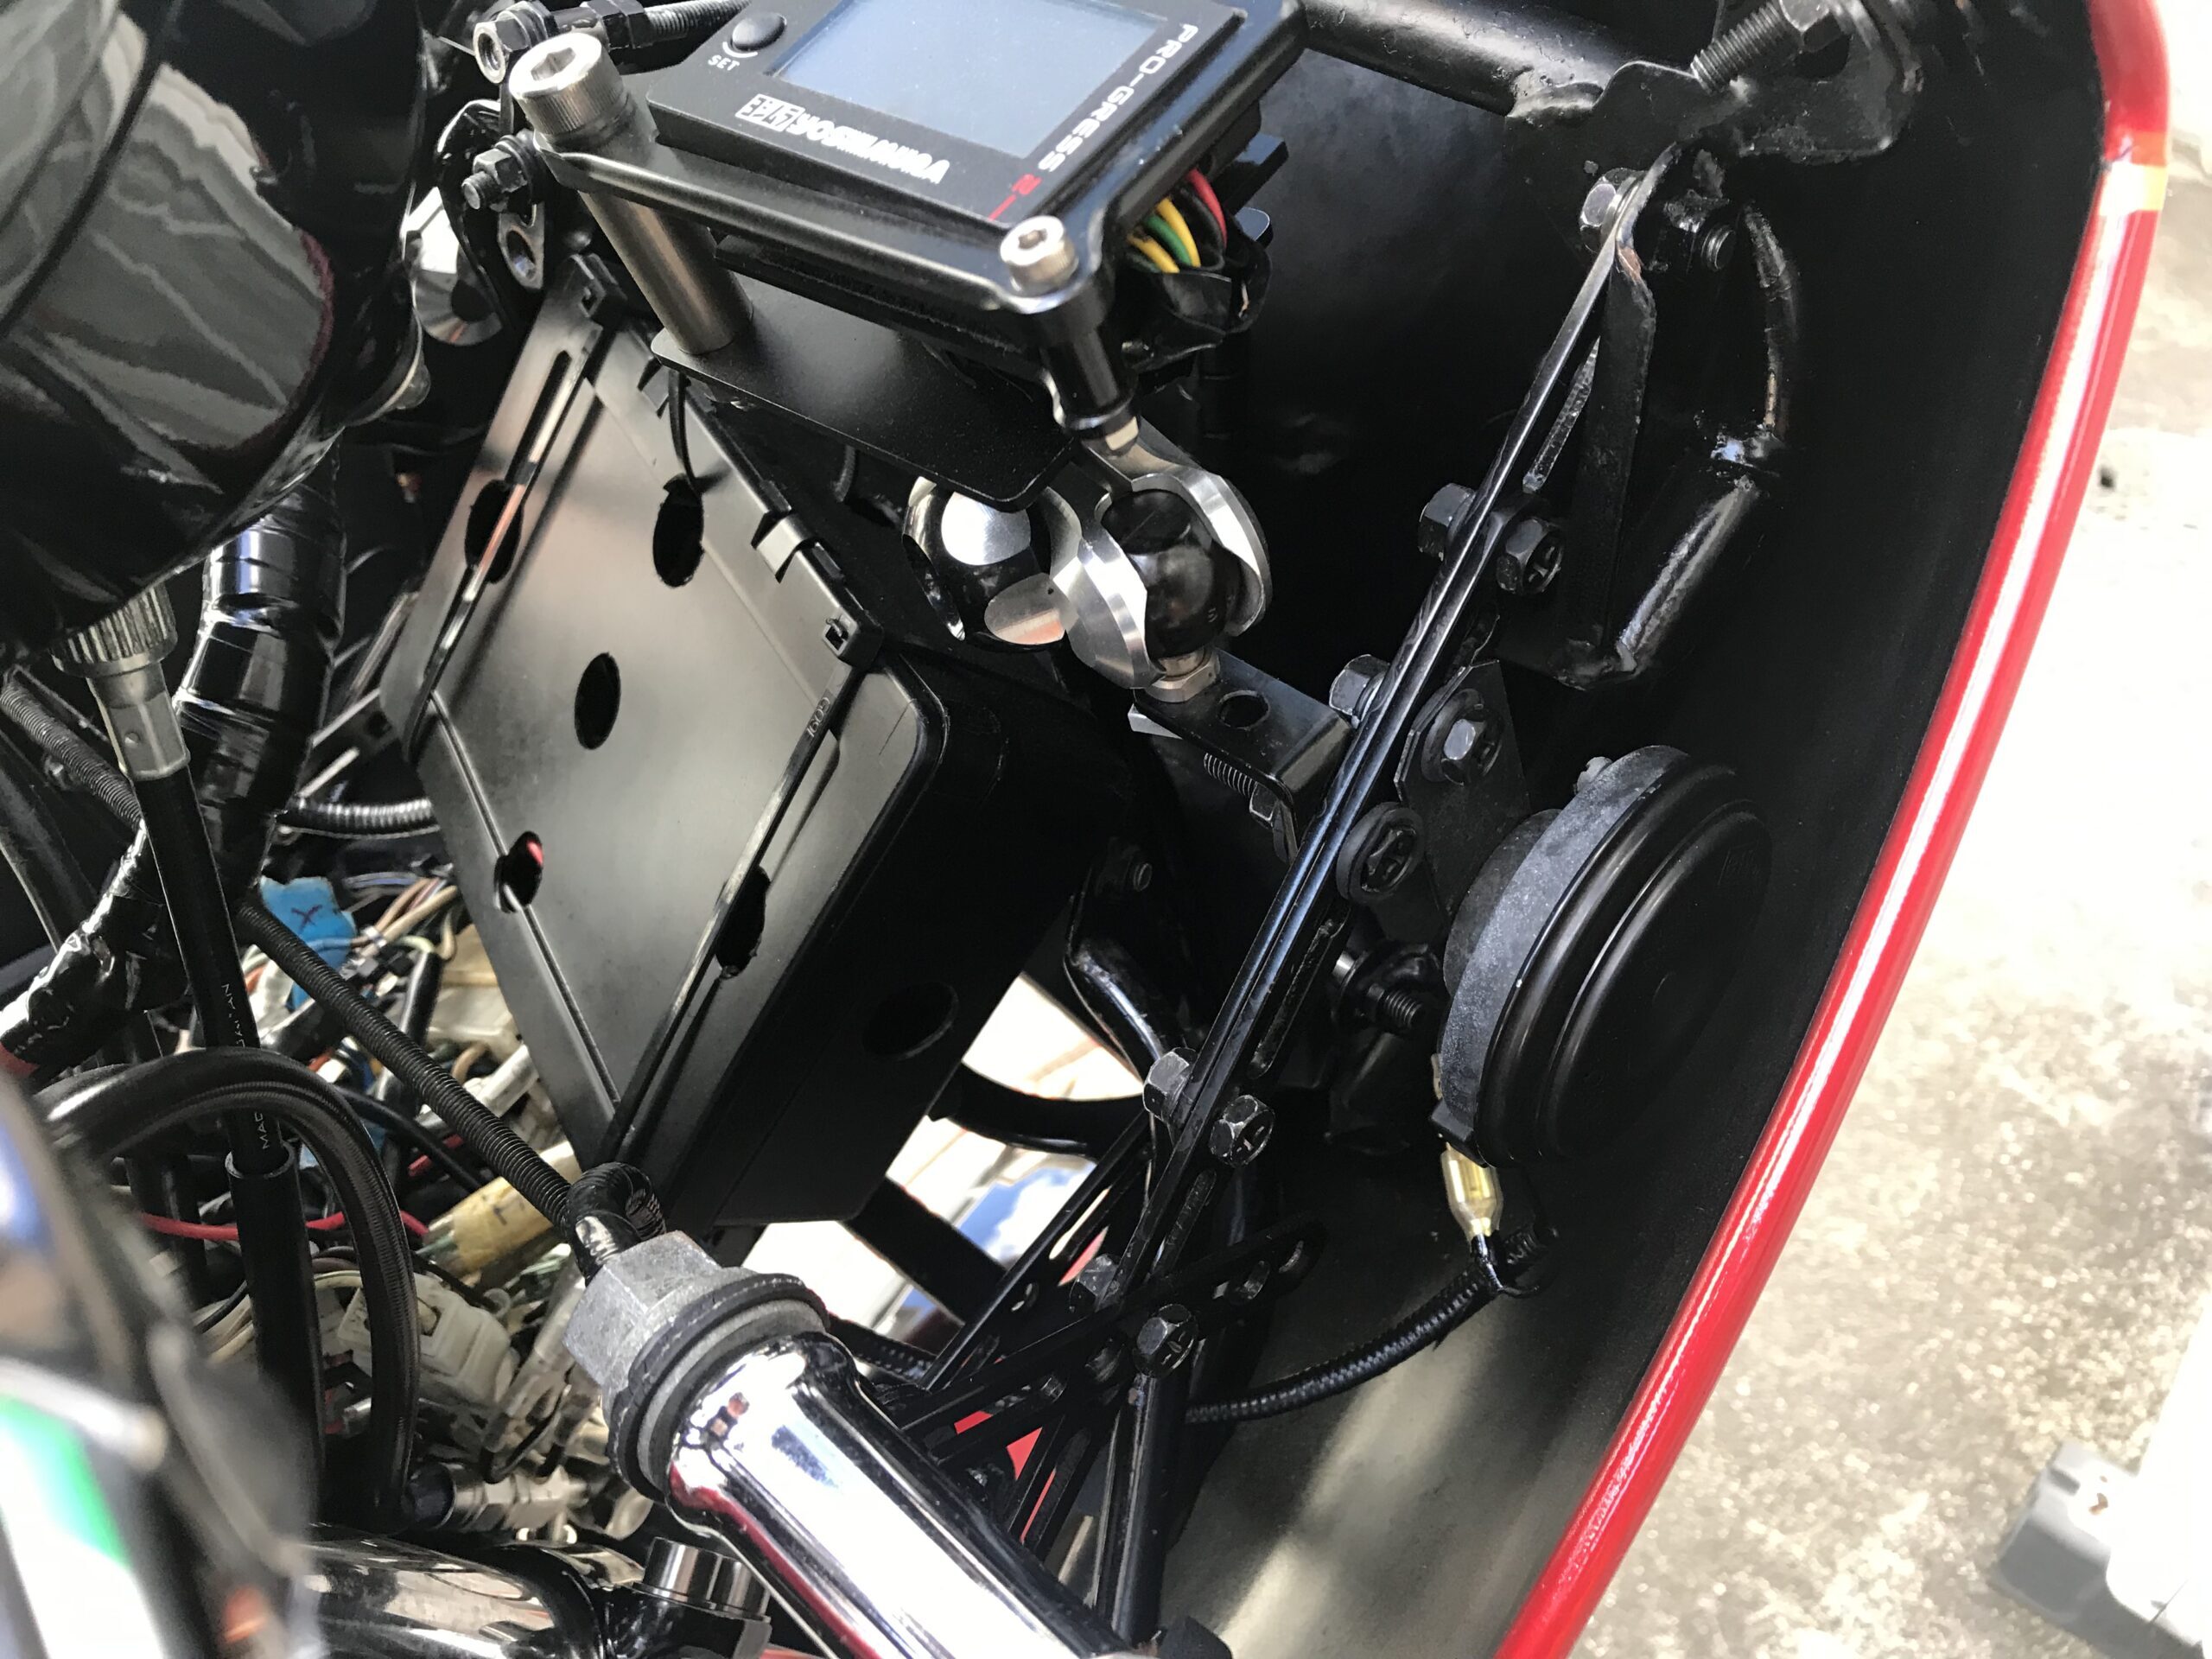
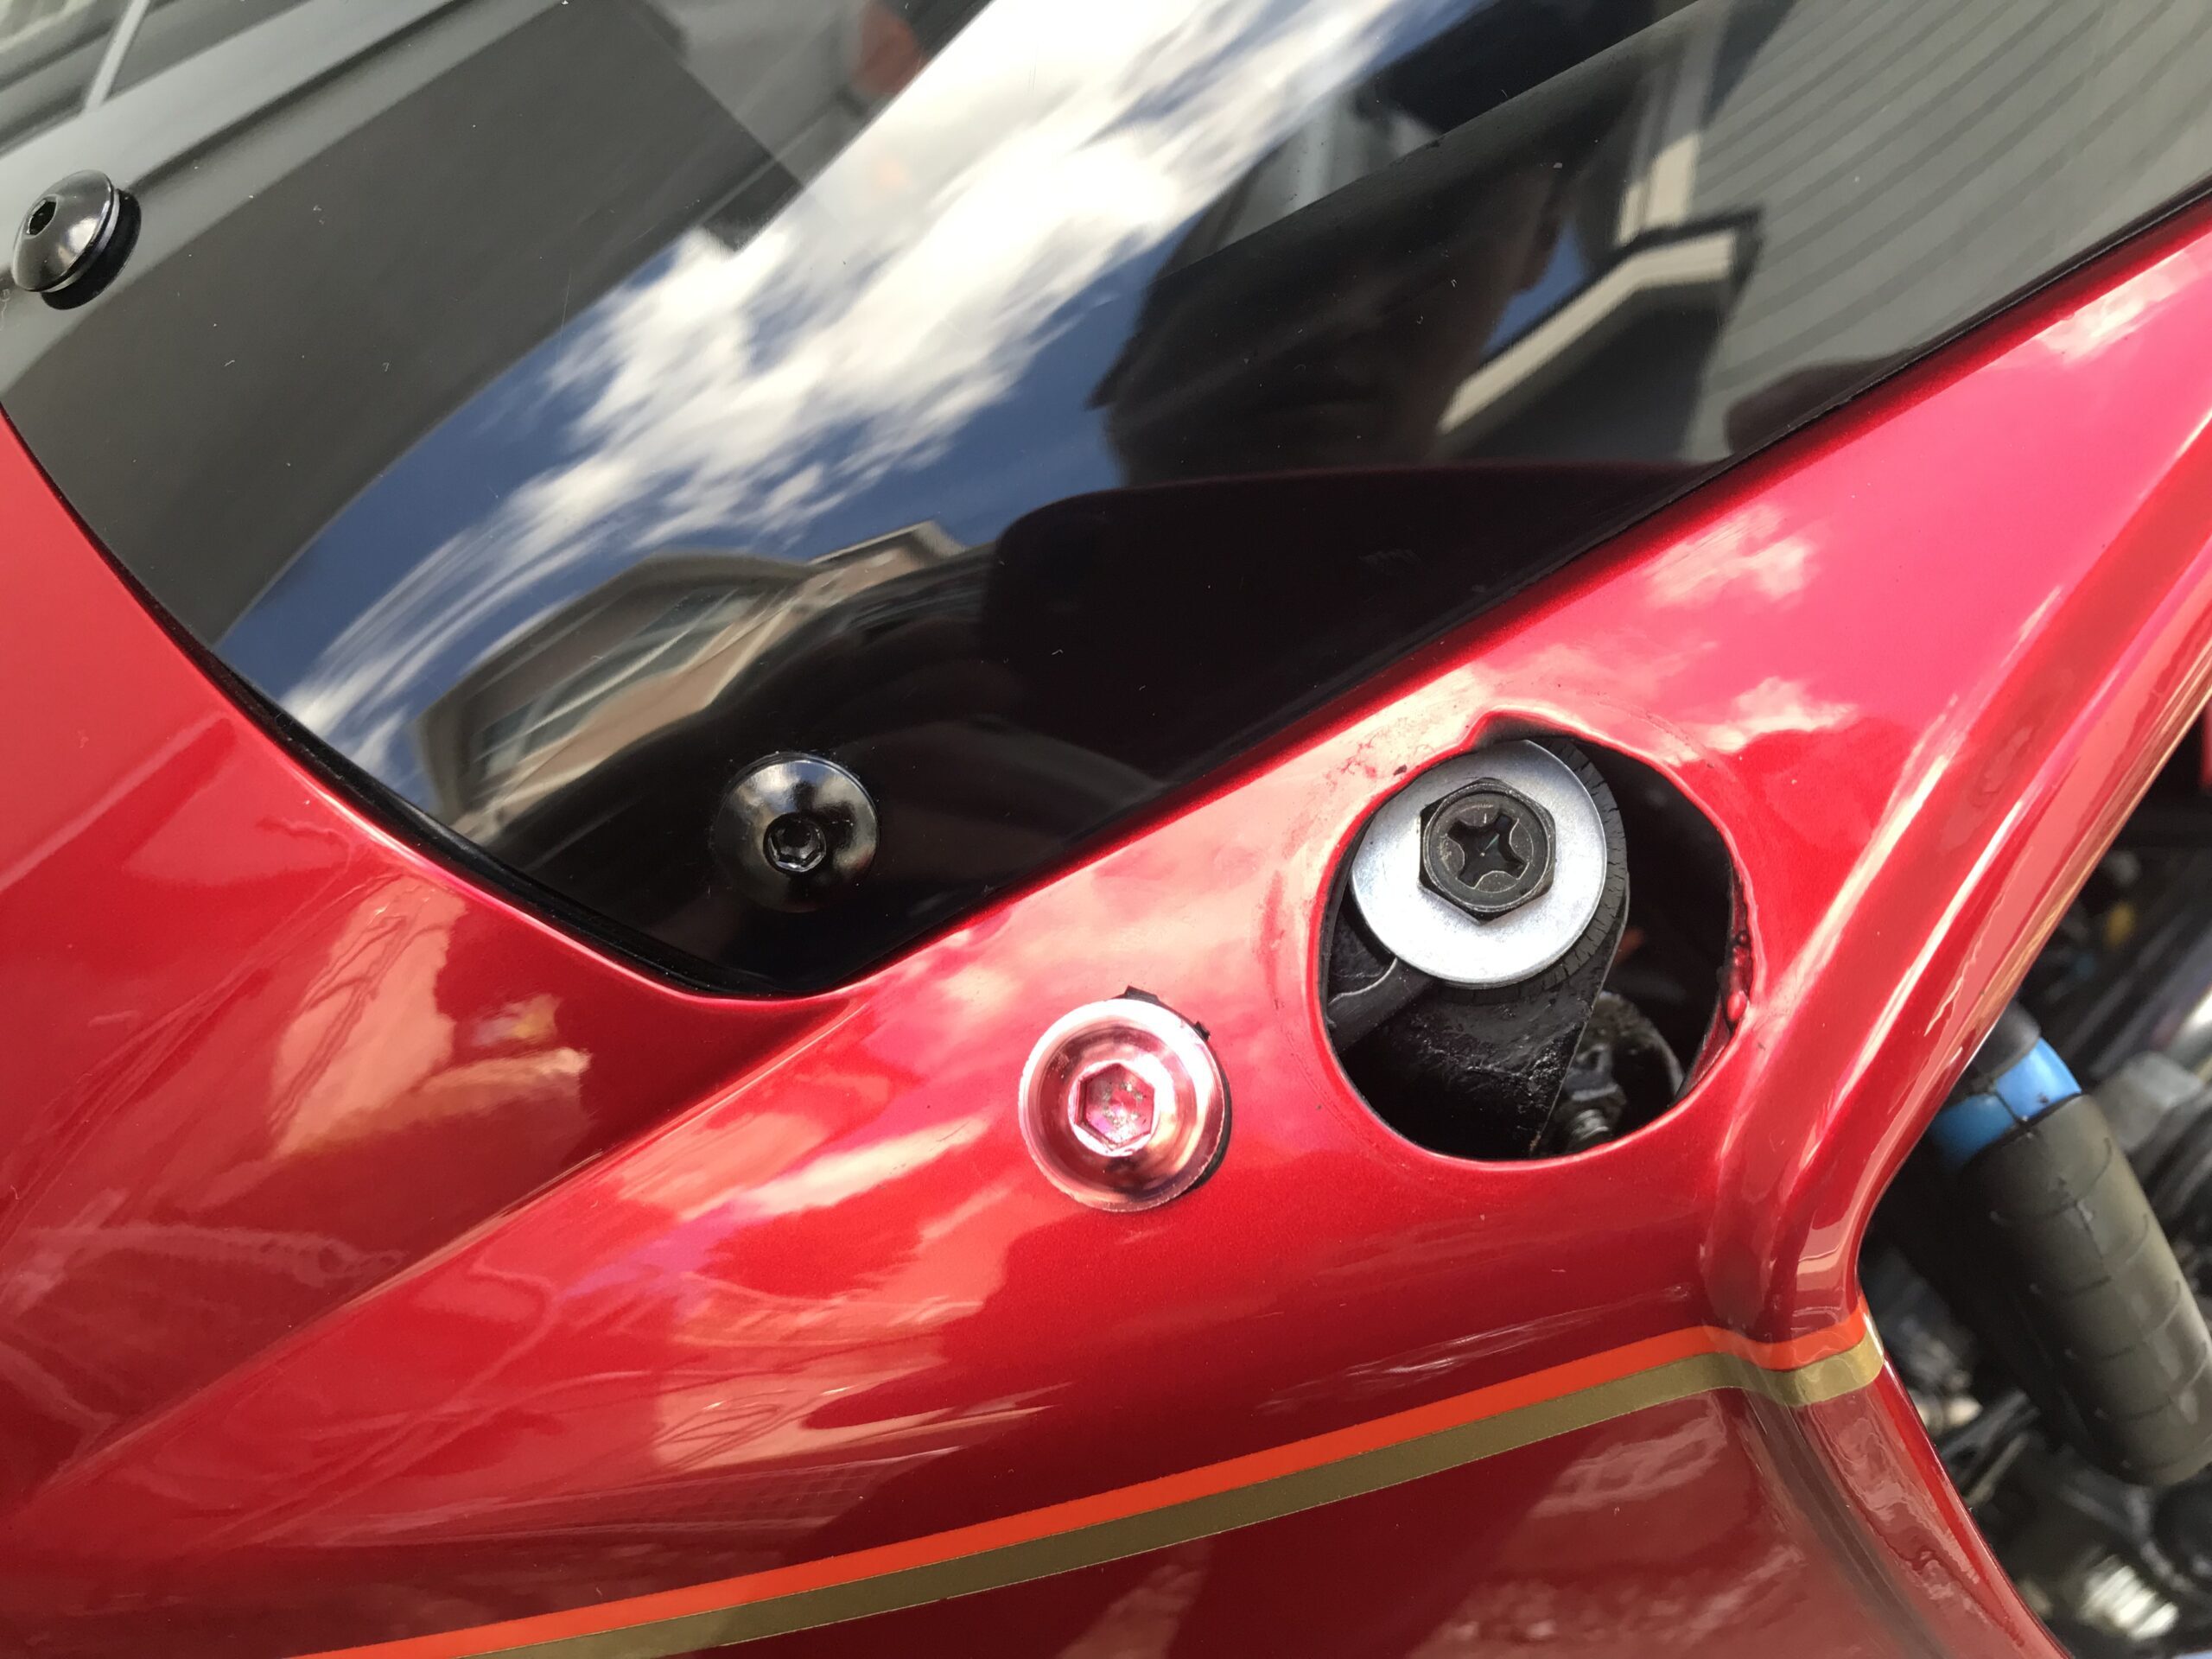
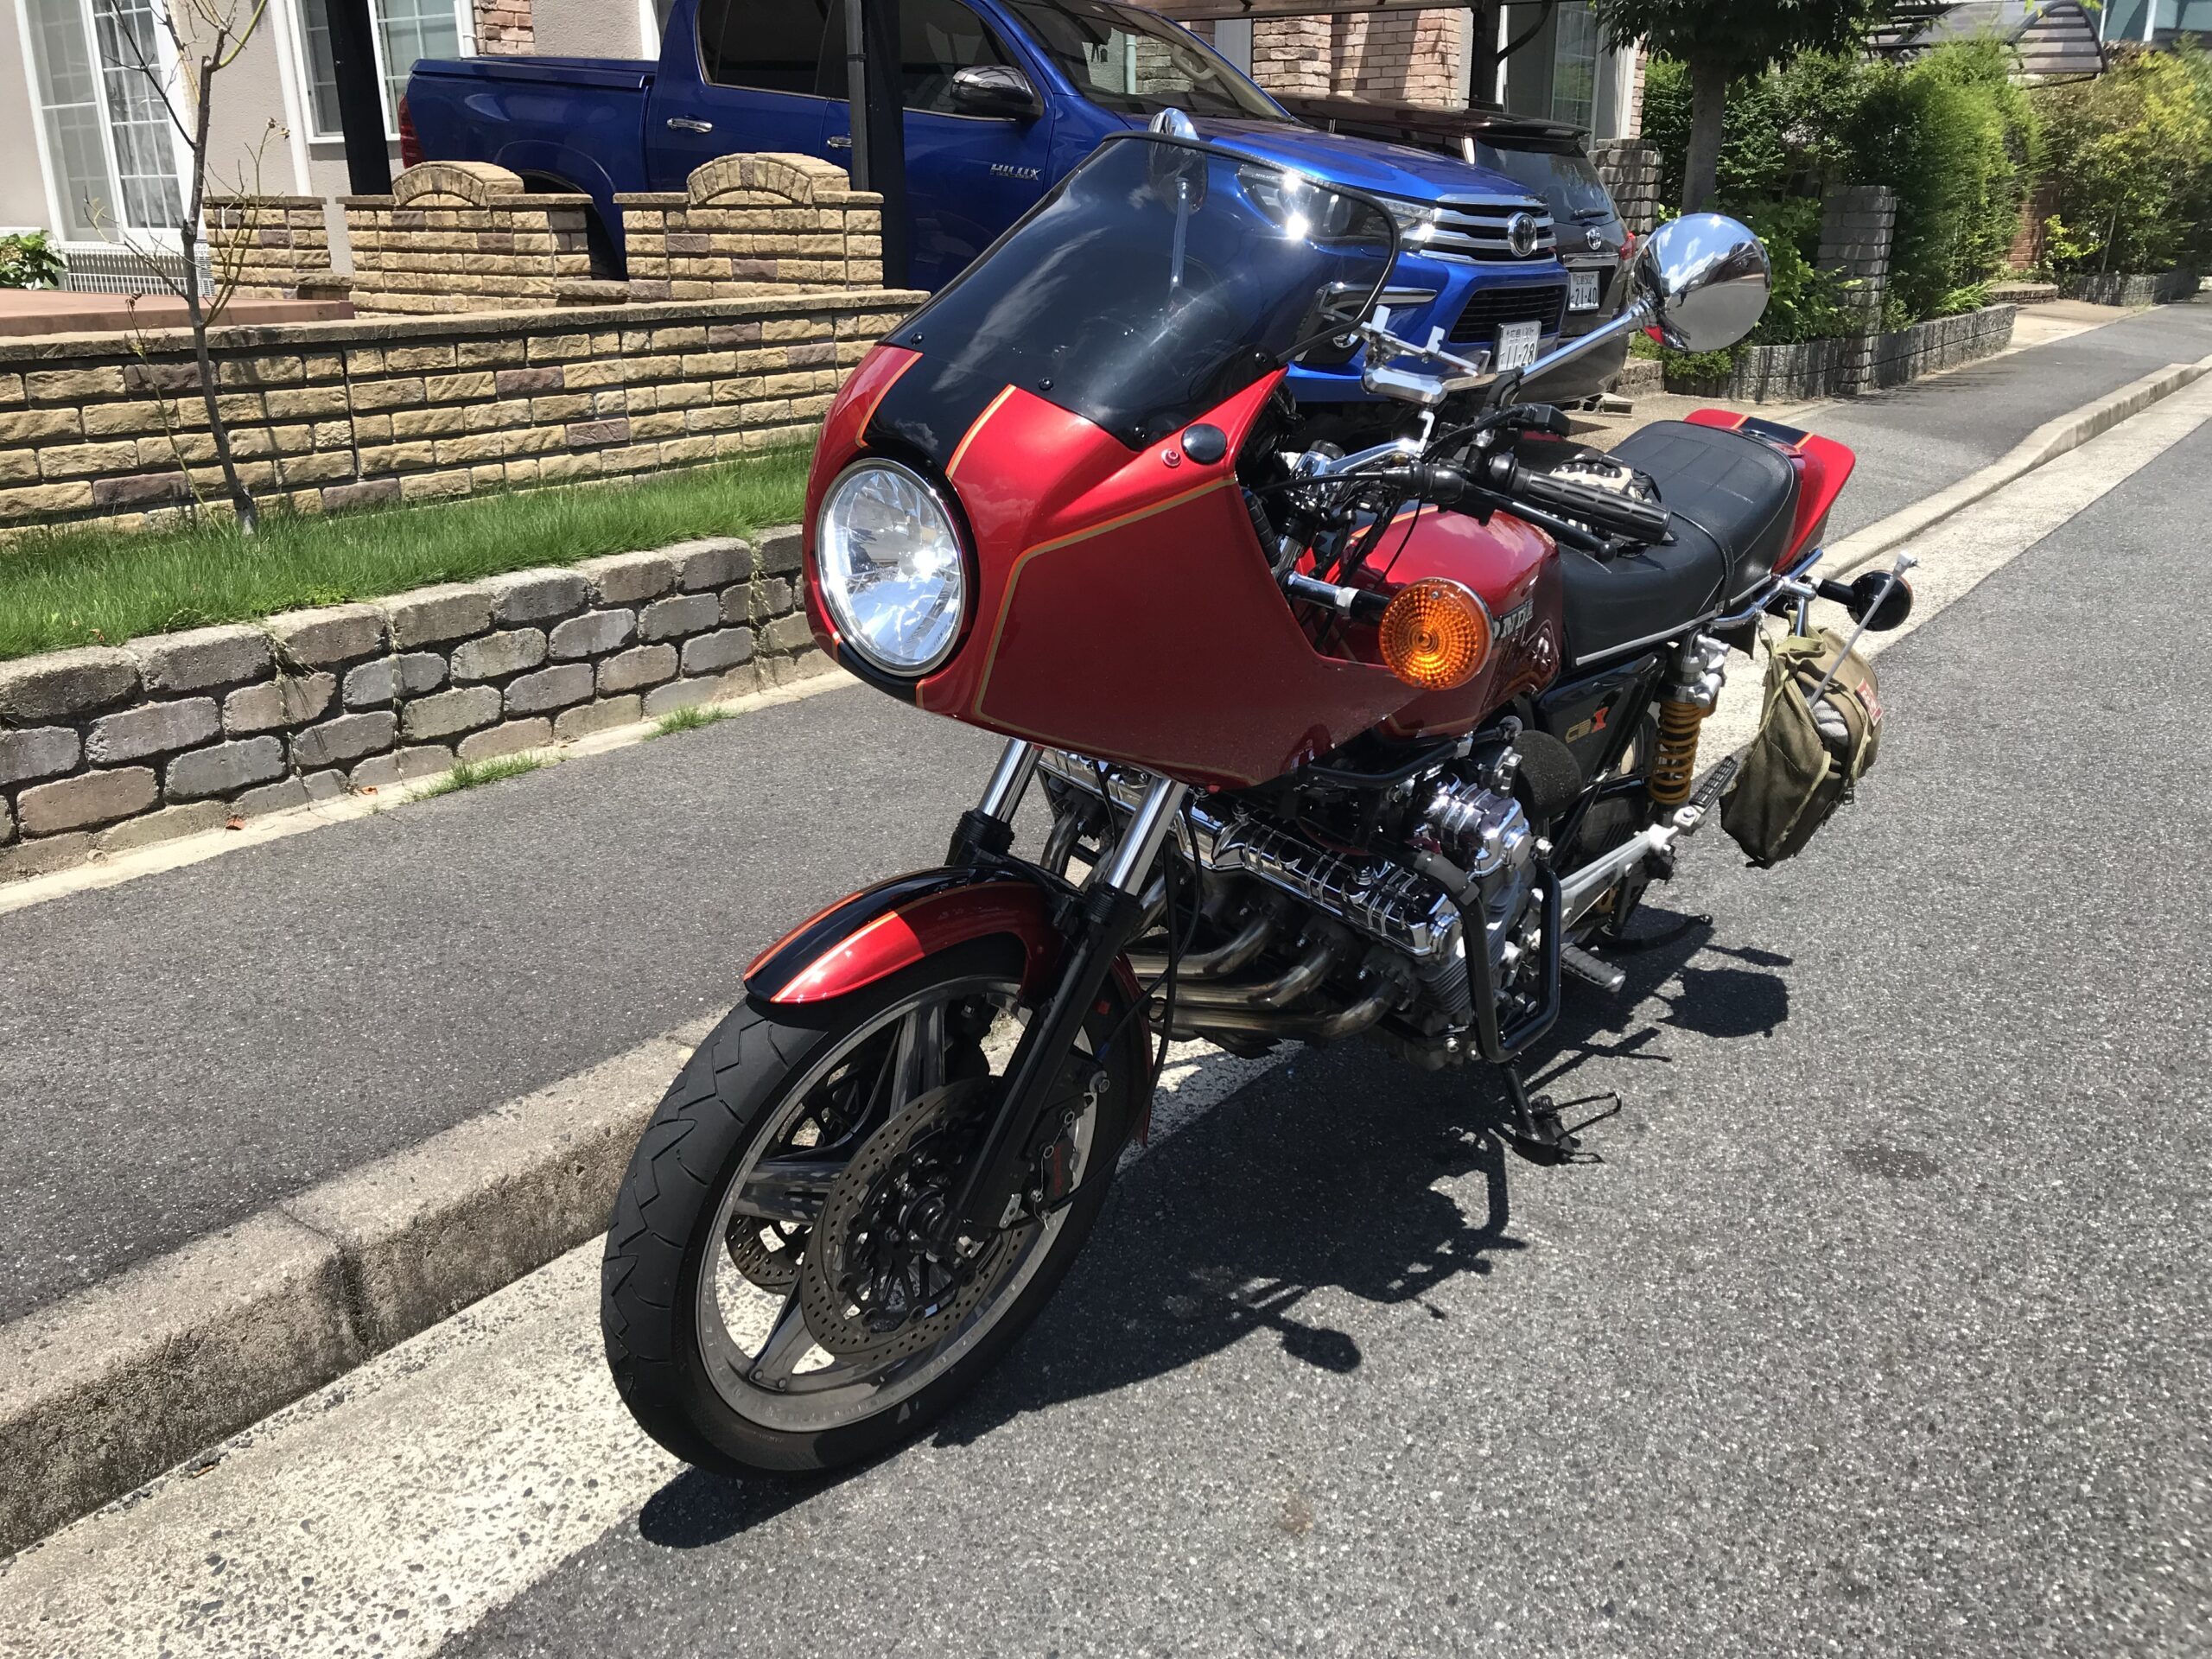
Wiring and waterproofing will be weak points.
Even if it was created by a custom shop, it may not be compatible.
When it comes to retrofitting, it is installed in a way that makes it easy to put on and take off. Therefore, it will be a little more difficult to create a structure with clean wiring and waterproofing like the manufacturer's genuine cowl specification.
In my CBX1000, the wiring is grouped together to some extent, but depending on the angle you look at it, it's completely visible.
No consideration is given to driving in the rain.
If you start paying attention to wiring and waterproofing, the ease of putting on and taking off will be compromised.
I prioritize maintainability, so I make the wiring easy to understand.
The wiring is hidden inconspicuously behind the cowl.
Photos of CBX1000 cowl specifications are posted.【summary】
These days, owners are adding cowls for speed and comfort, which is cool!
It is sometimes said that. On the other hand, it is sometimes said that it is better to remove the naked model for owners who like round headlights or who like the genuine look.
I like round headlights. I also like the genuine looks.
After enjoying the motorcycle with a cowl for about two years, I would like to return to the naked version.
I attach a cowl to my motorcycle as one of the ways I enjoy playing with it.
I feel that a cowl is a really good thing when it comes to riding a motorcycle.
Please use this as a reference when installing the cowl on your motorcycle.
Well then! See you again!
Reference photo of cowl installation on CBX1000
The parts where the frame and the stays and plastic are intertwined are attached with rubber sandwiched between them.
I used anodized aluminum color bolts only on the parts that overlapped with the red paint, but it didn't have much of an effect, so
It would have been better if it was silver or black. The wiring that was inside the light is also light, but it is grouped together.