I am the owner of a Honda motorcycle [CBX1000] who lives in Hiroshima City, Japan. I am posting about FCR carburetor and CBX1000 customization. I also post about things other than cars and motorcycles. We will post information that will make bikers around the world happy.
As of last time, we have reached a certain level of completion, but there is still a lot of room for improvement.
I will make corrections as I drive.
The other day, when I went for a test run, I entered a tunnel and realized that I couldn't adjust the optical axis.
Also, since some of the bolts used are low strength bolts, I changed the strength classification to high strength bolts.
Also, if a bolt came loose while driving, I fixed it by adding a spring.
Touch up the back of the cowl with matte black.
The cowl mounting stay is divided into two parts.
Changed so that the cowl can be removed by itself.
Changed so that the angle of the cowl can be adjusted.
The stay is used as a framework so that various adjustments can be made by loosening and tightening the bolts.
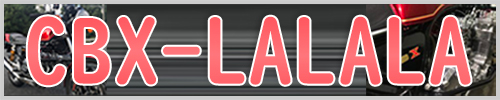
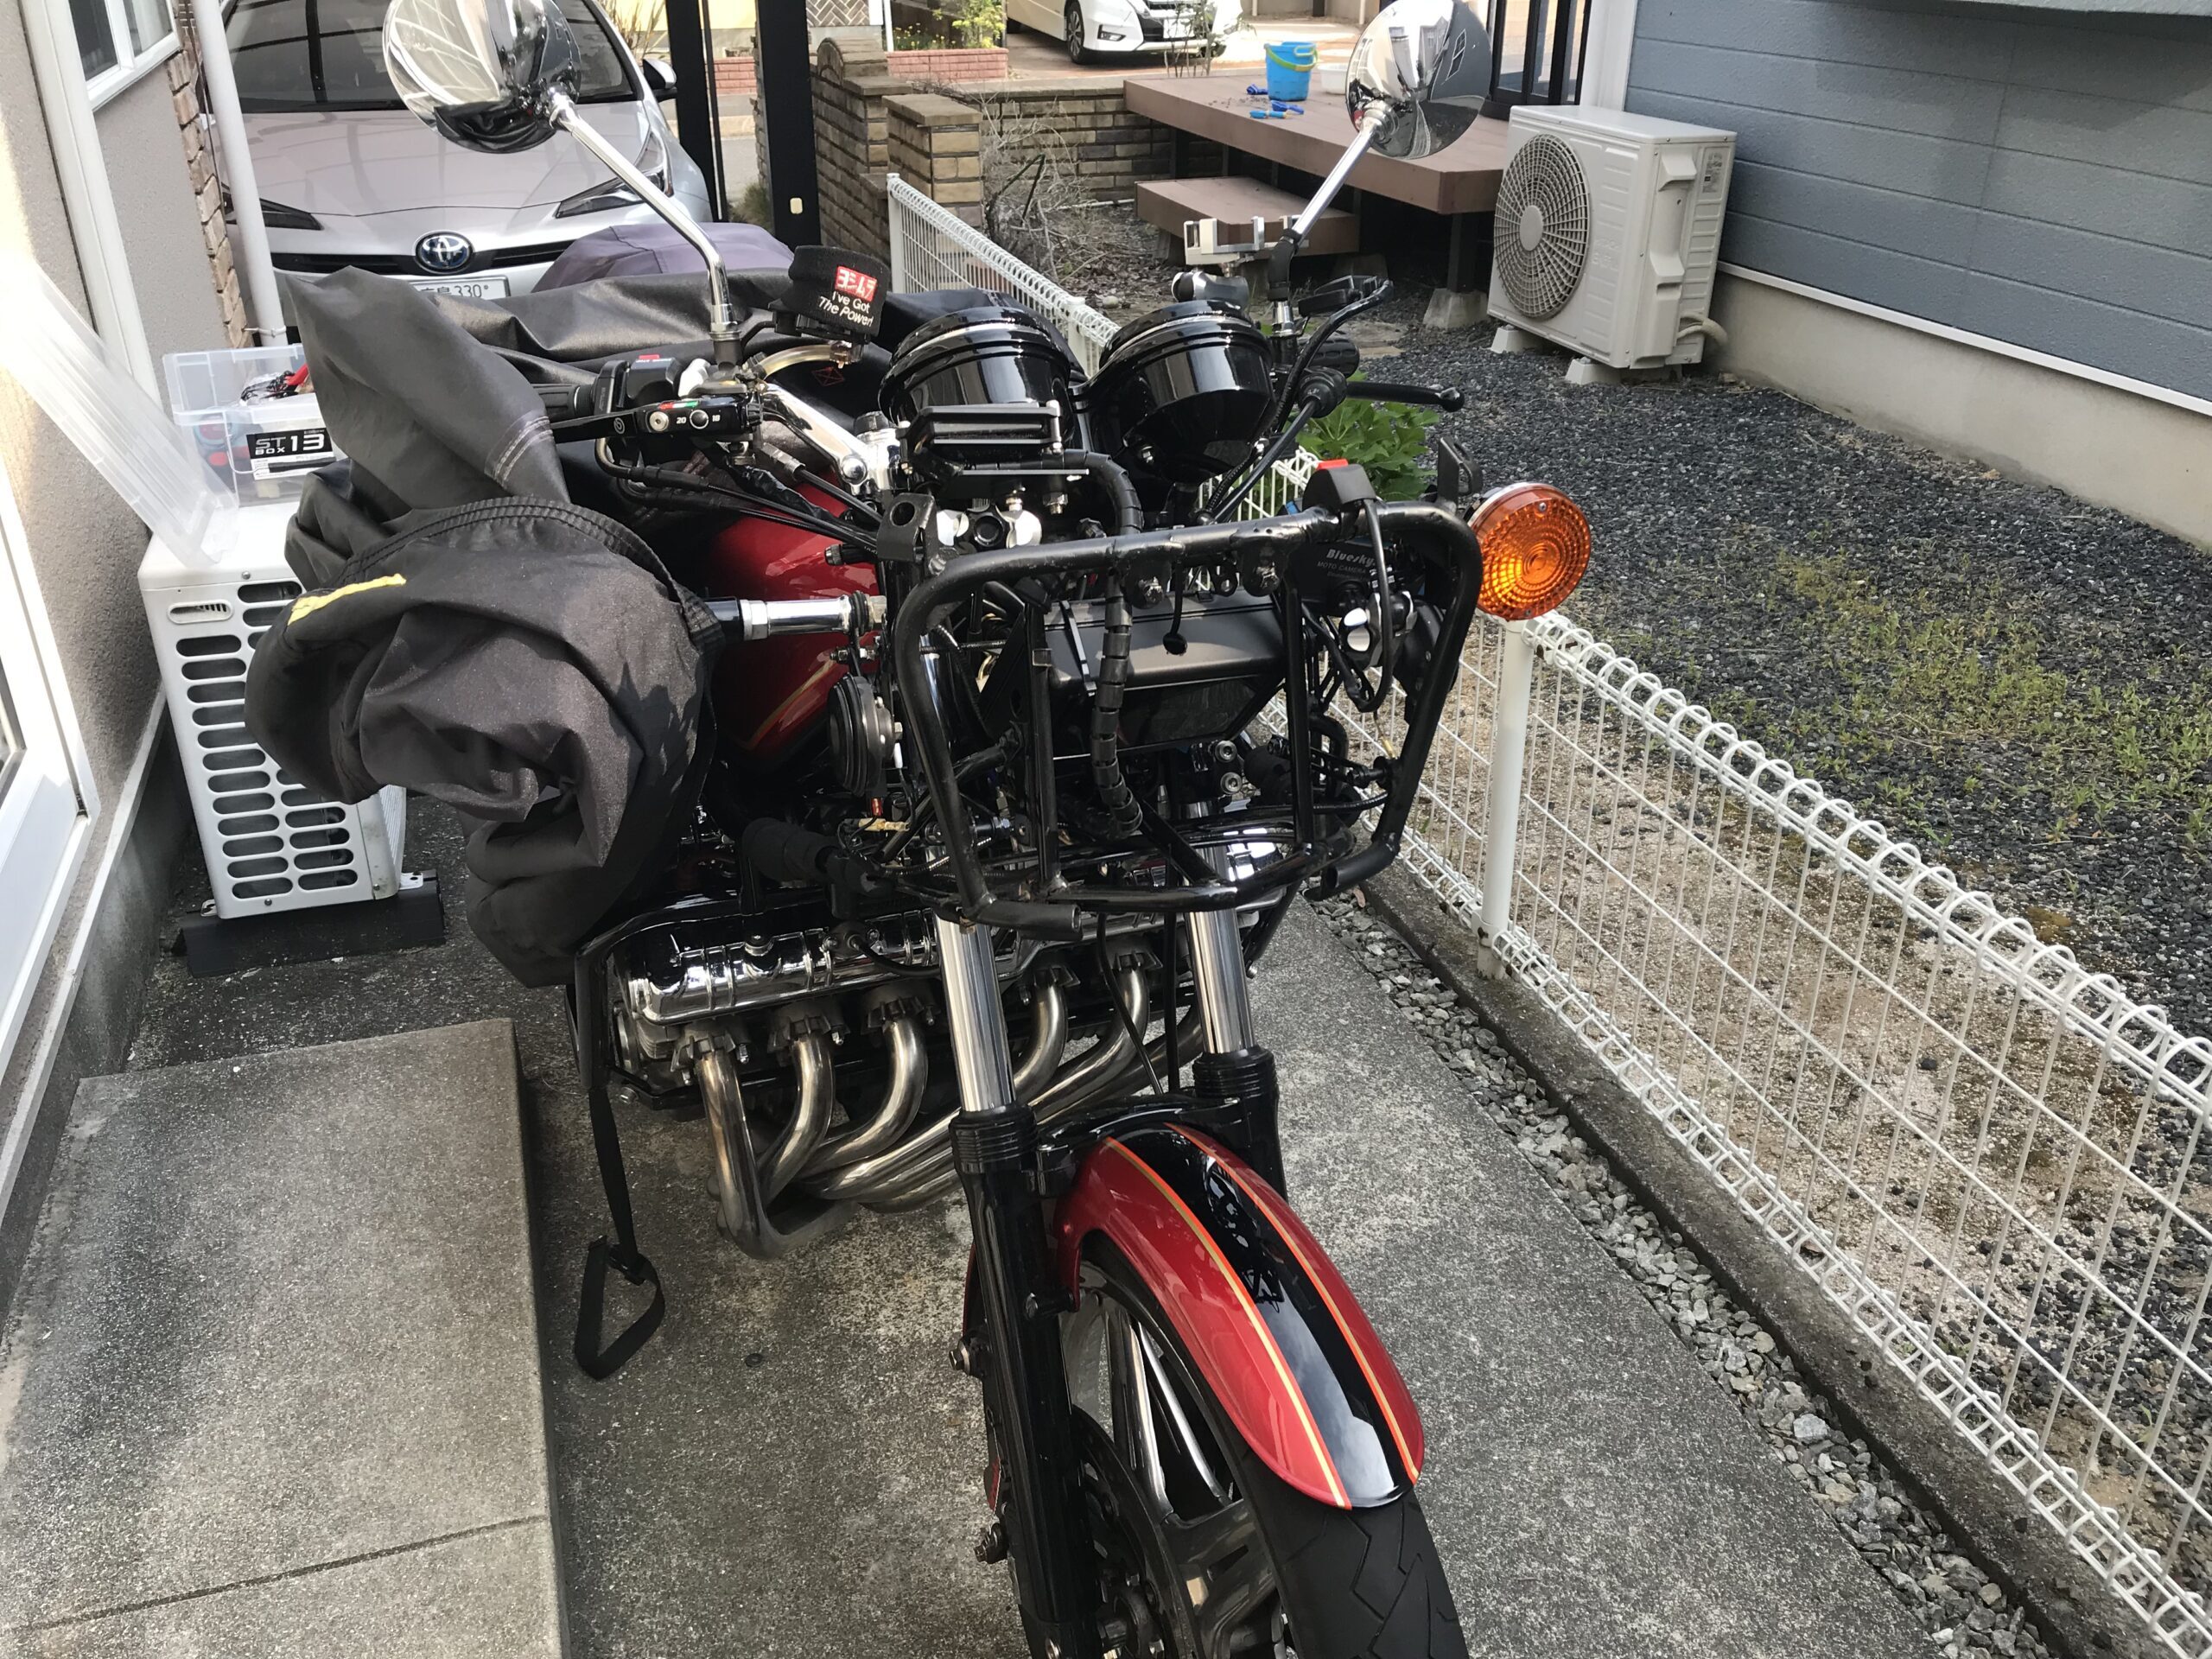
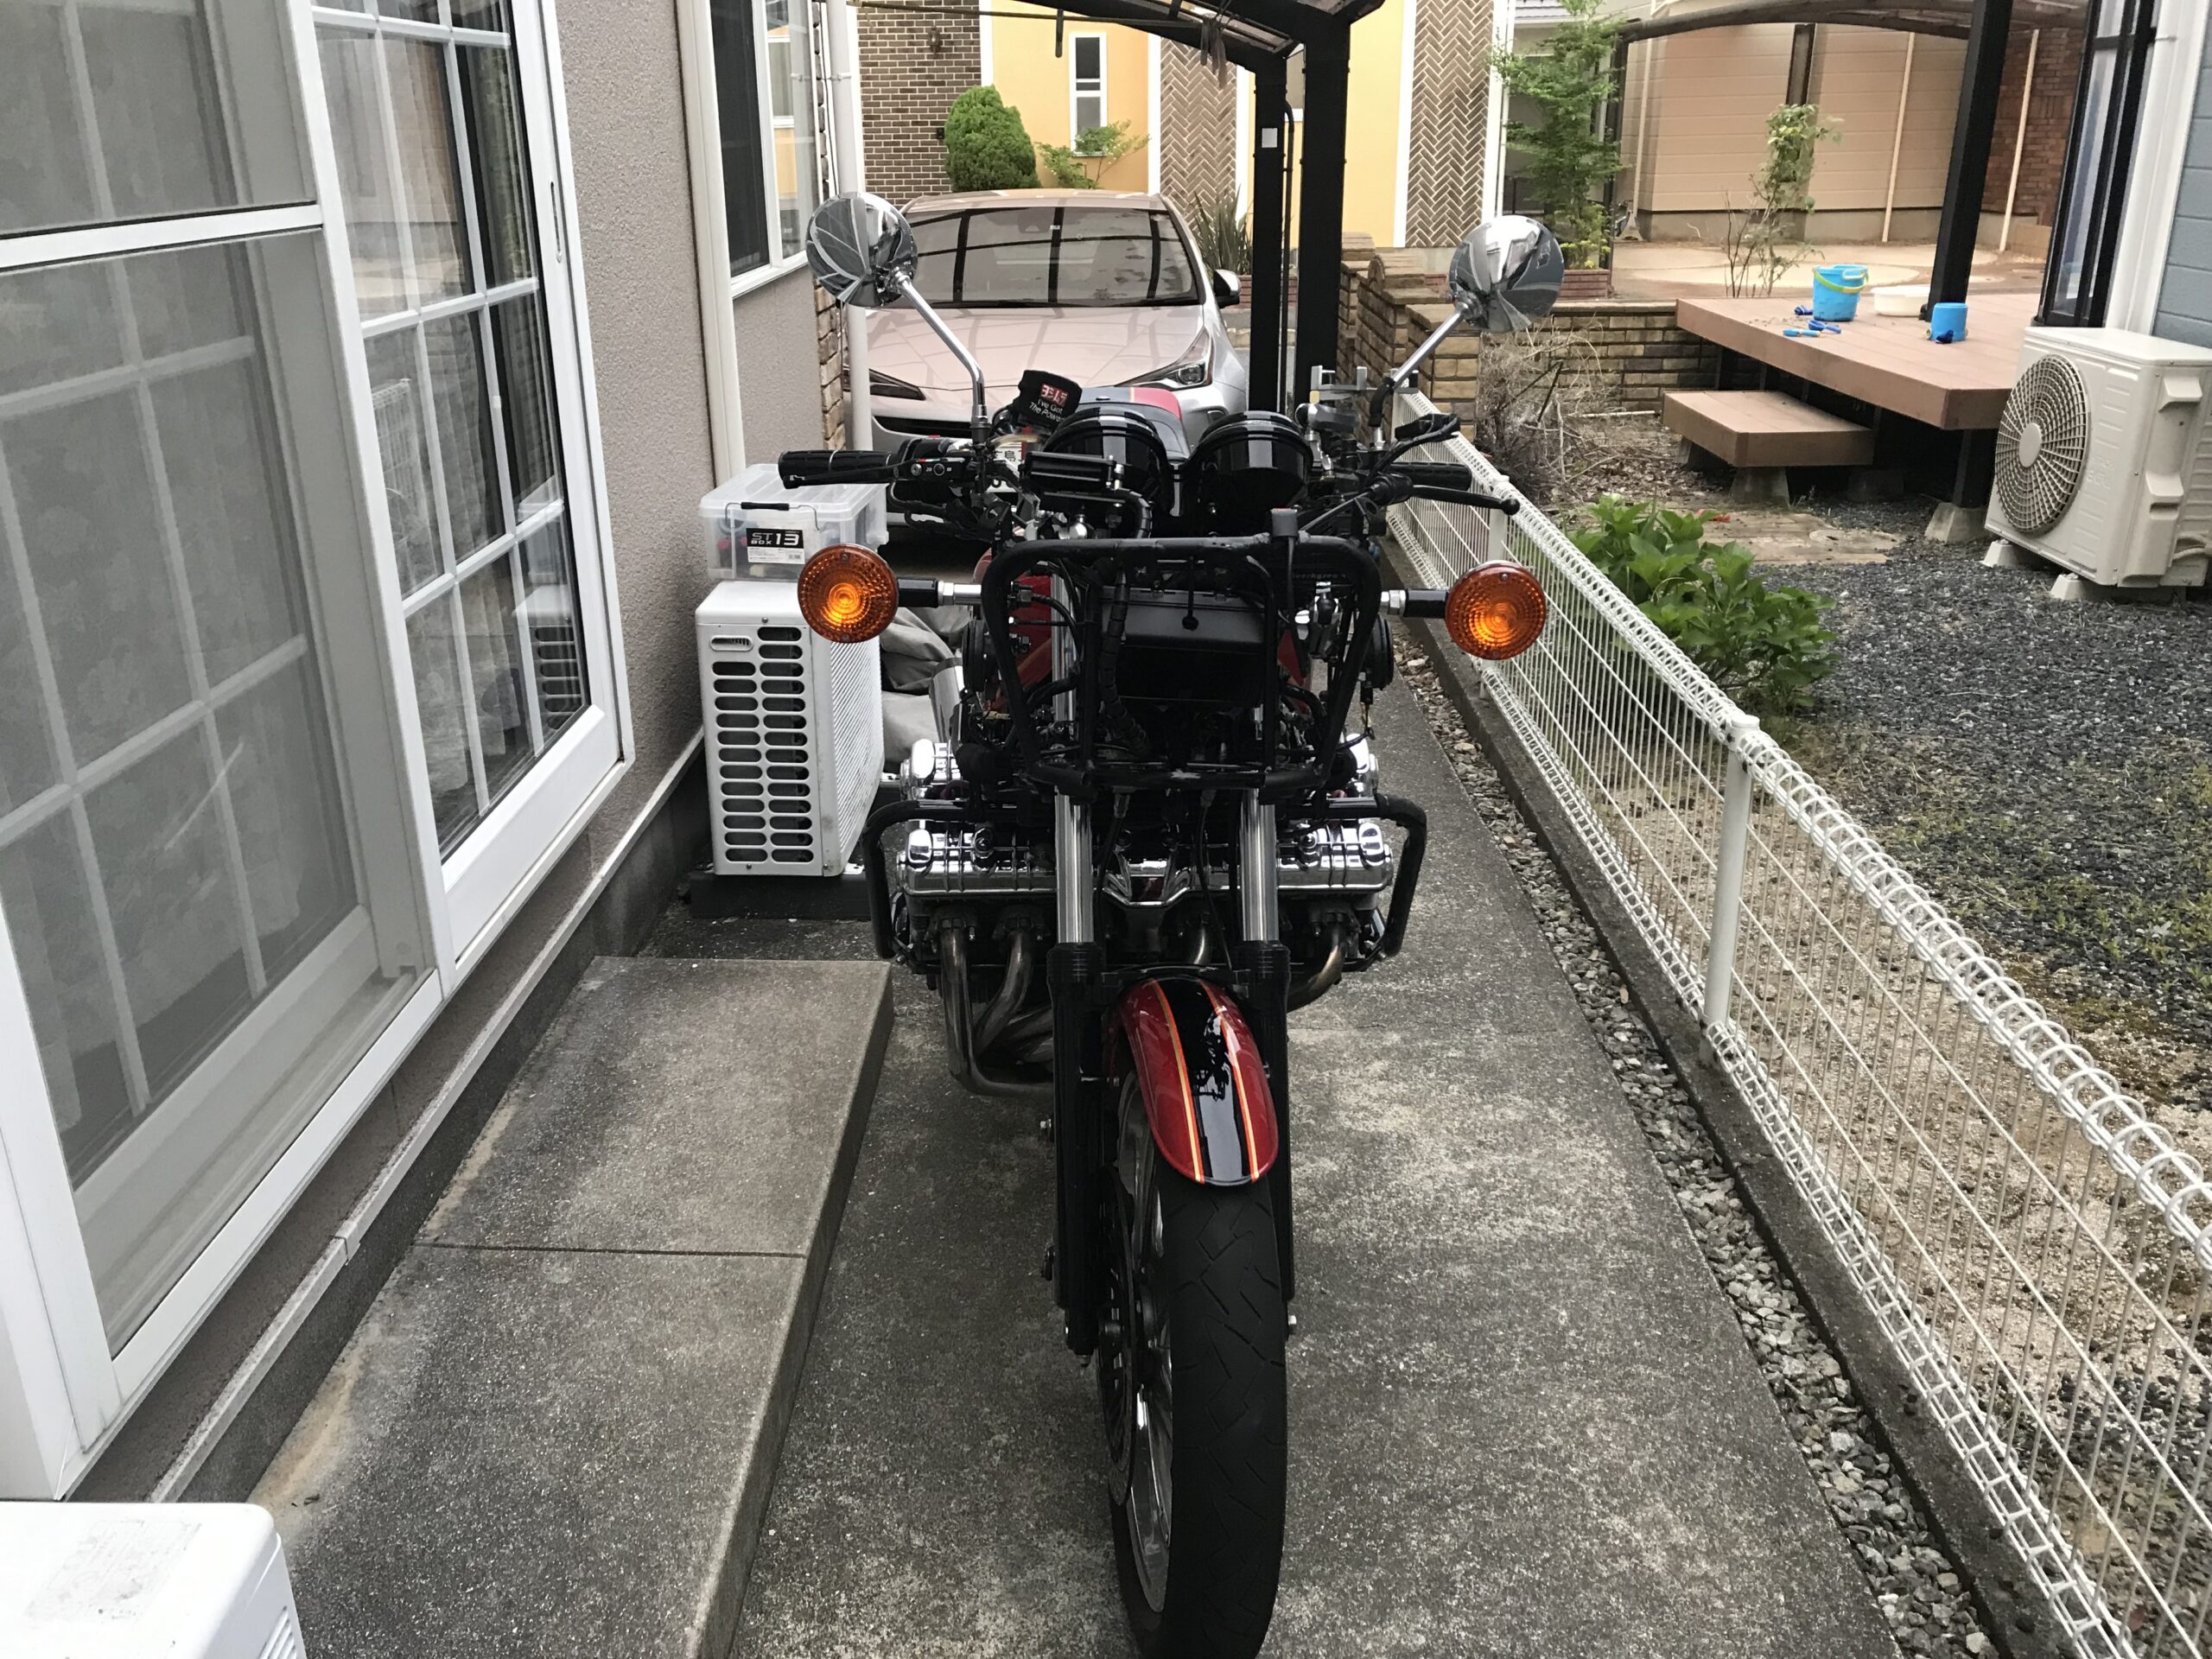
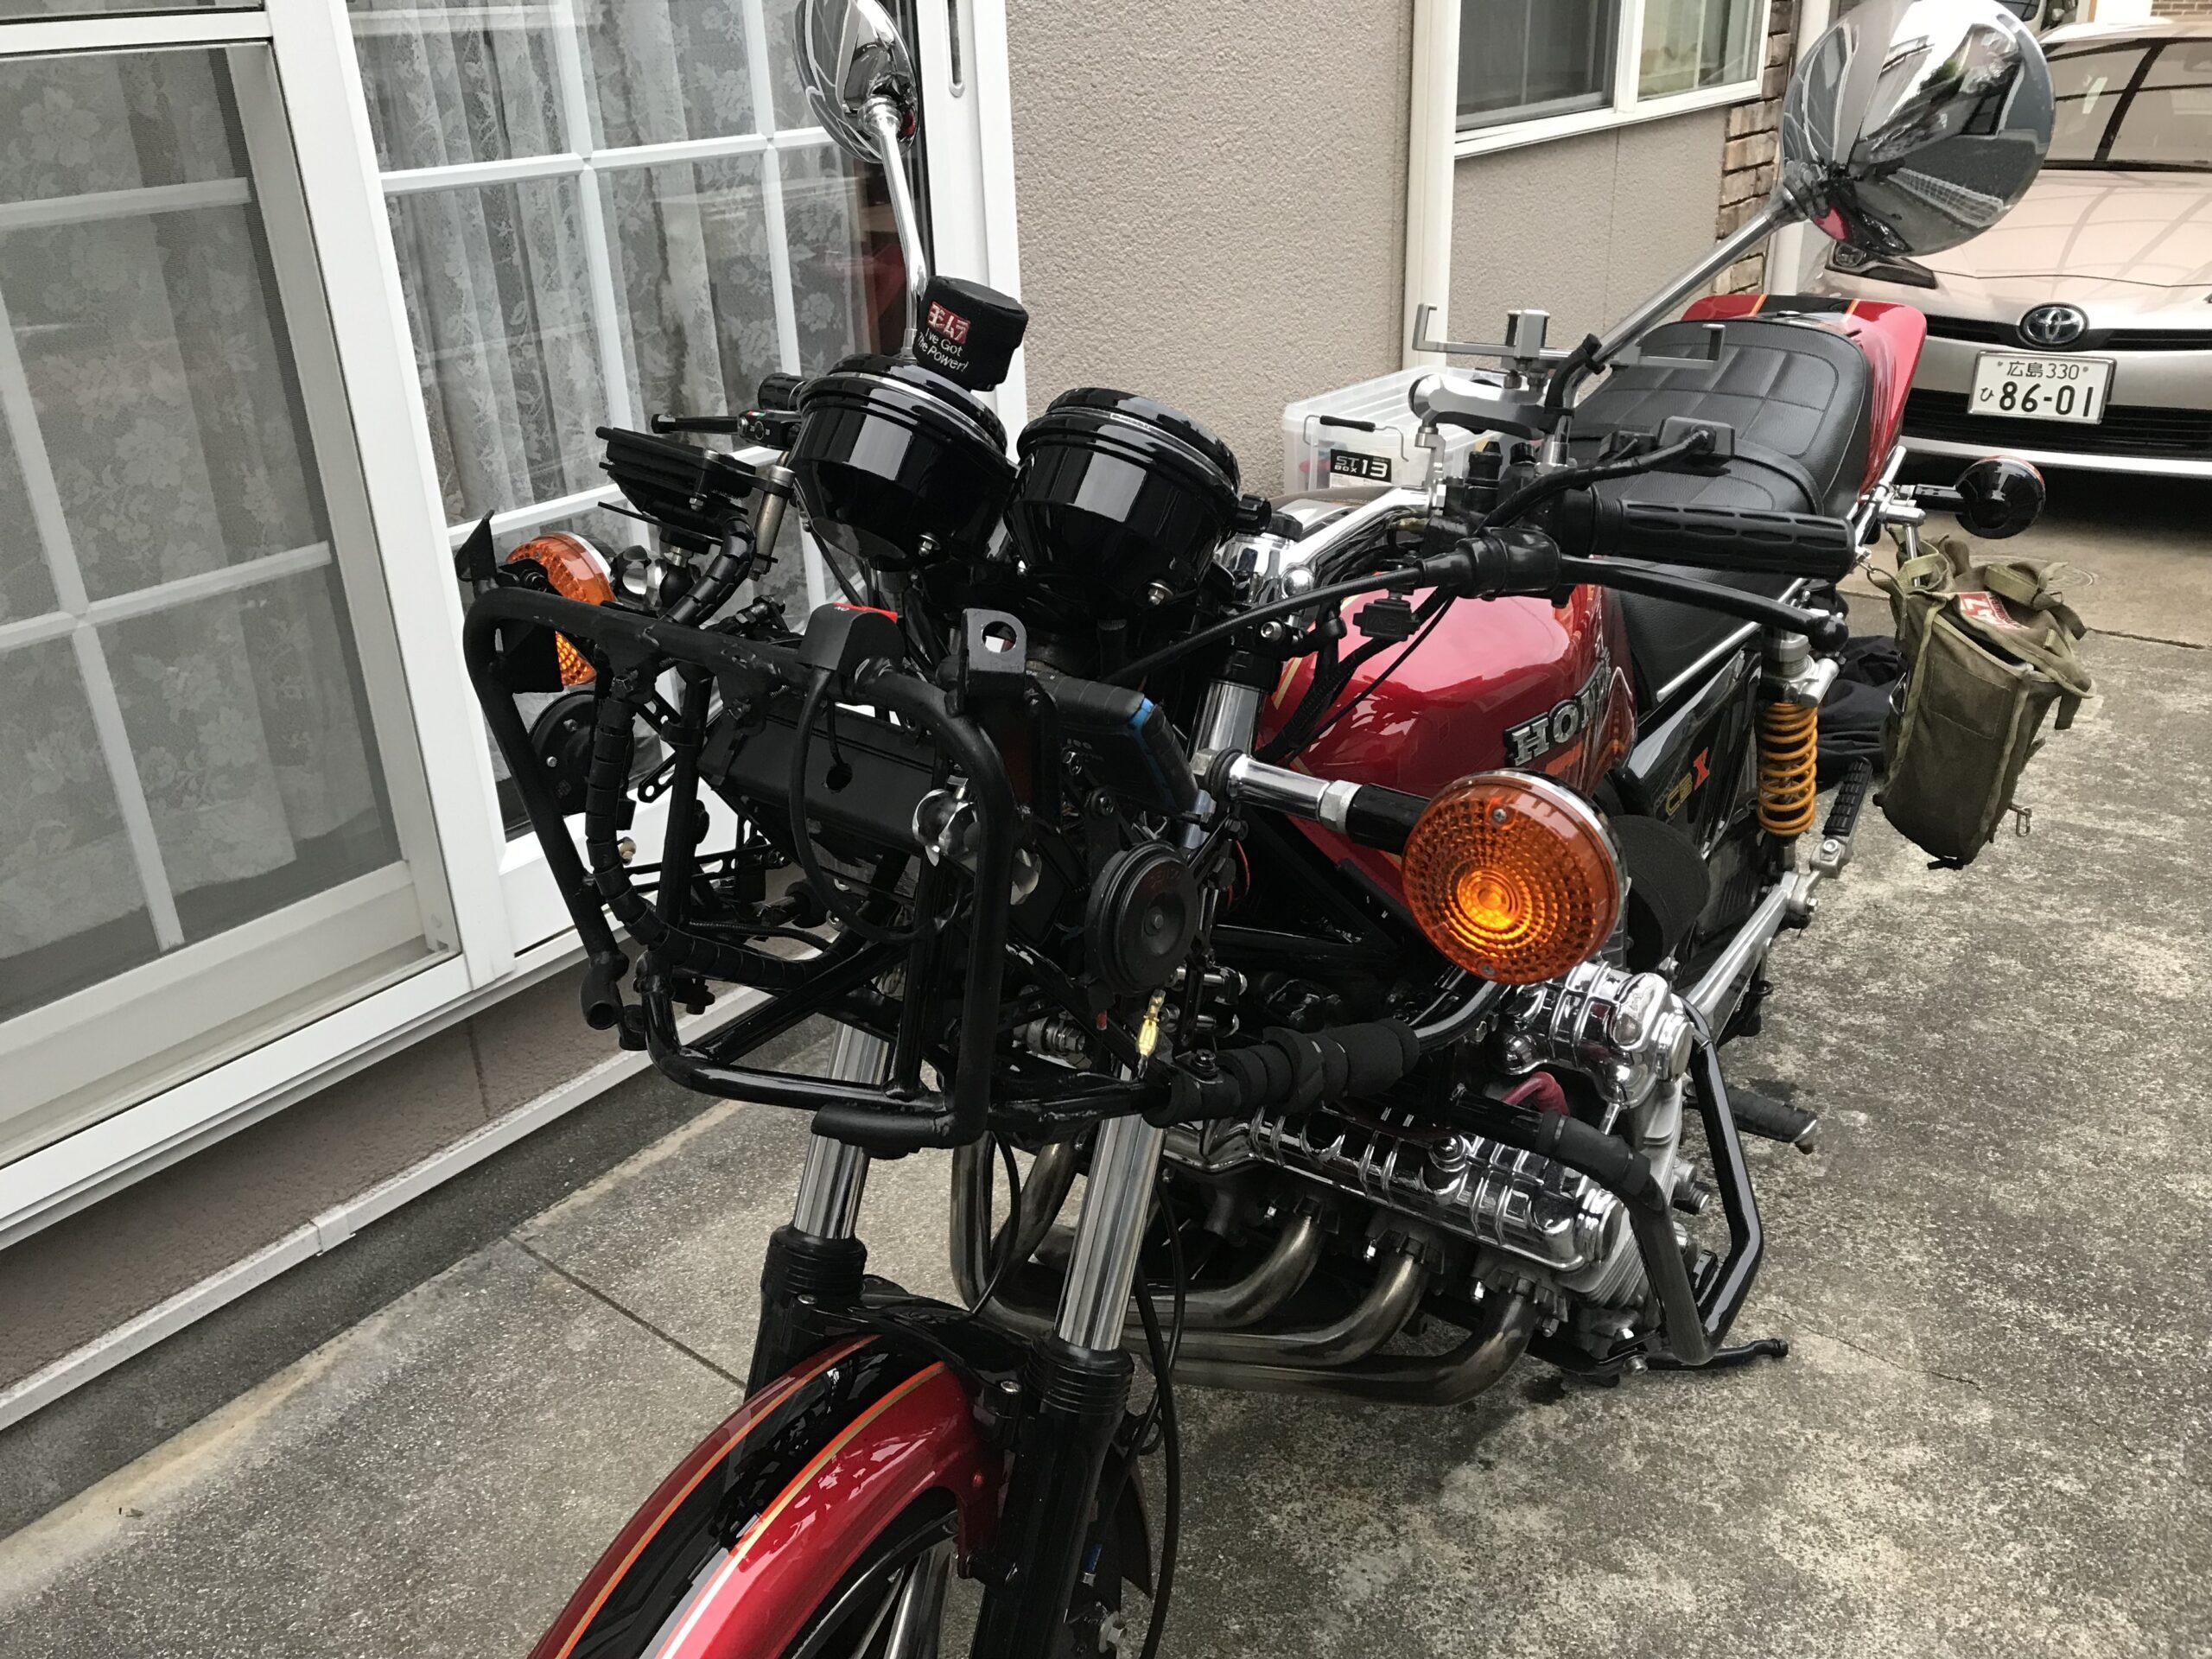
Photo of stay only
It is in a state of stay only. It is firmly fixed to the main frame.
By the way, the cowl is fixed with rubber in between to prevent the metal and plastic from coming into direct contact.
It's a little messy, but the wiring that was in the headlight case is now in the box.
When you look at just the framework, it gives you a strange feeling of being clean and cluttered.
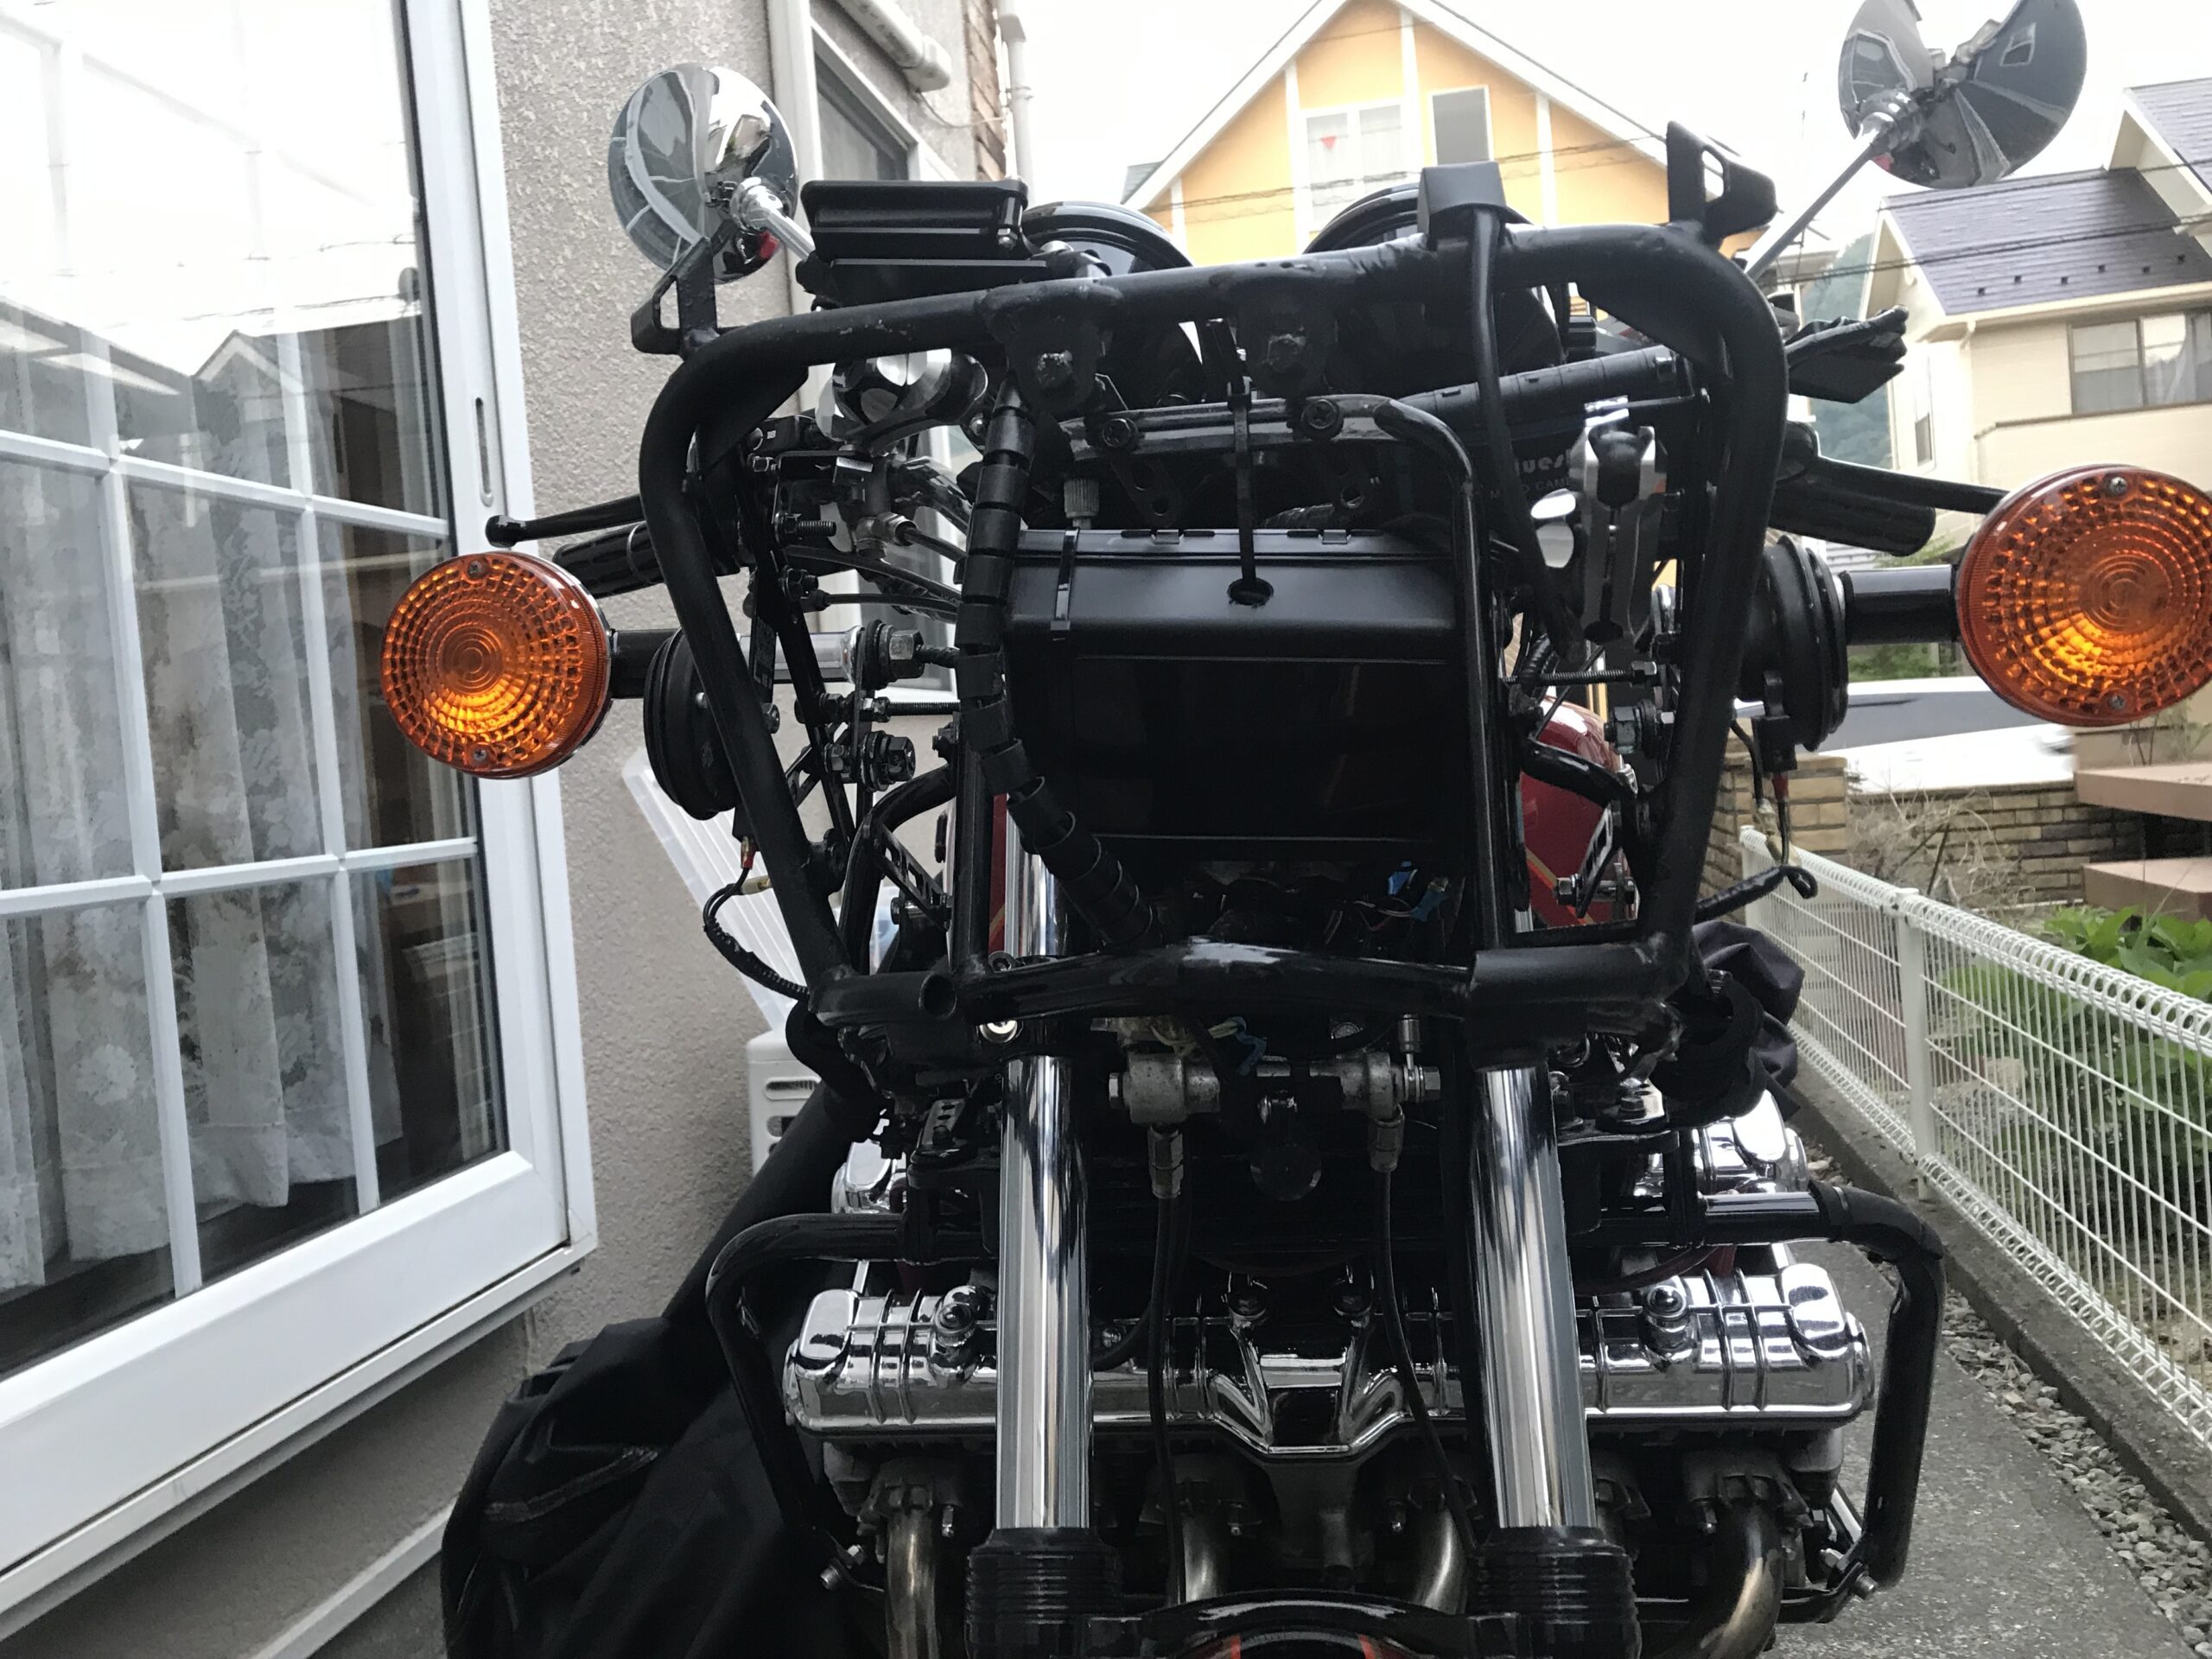
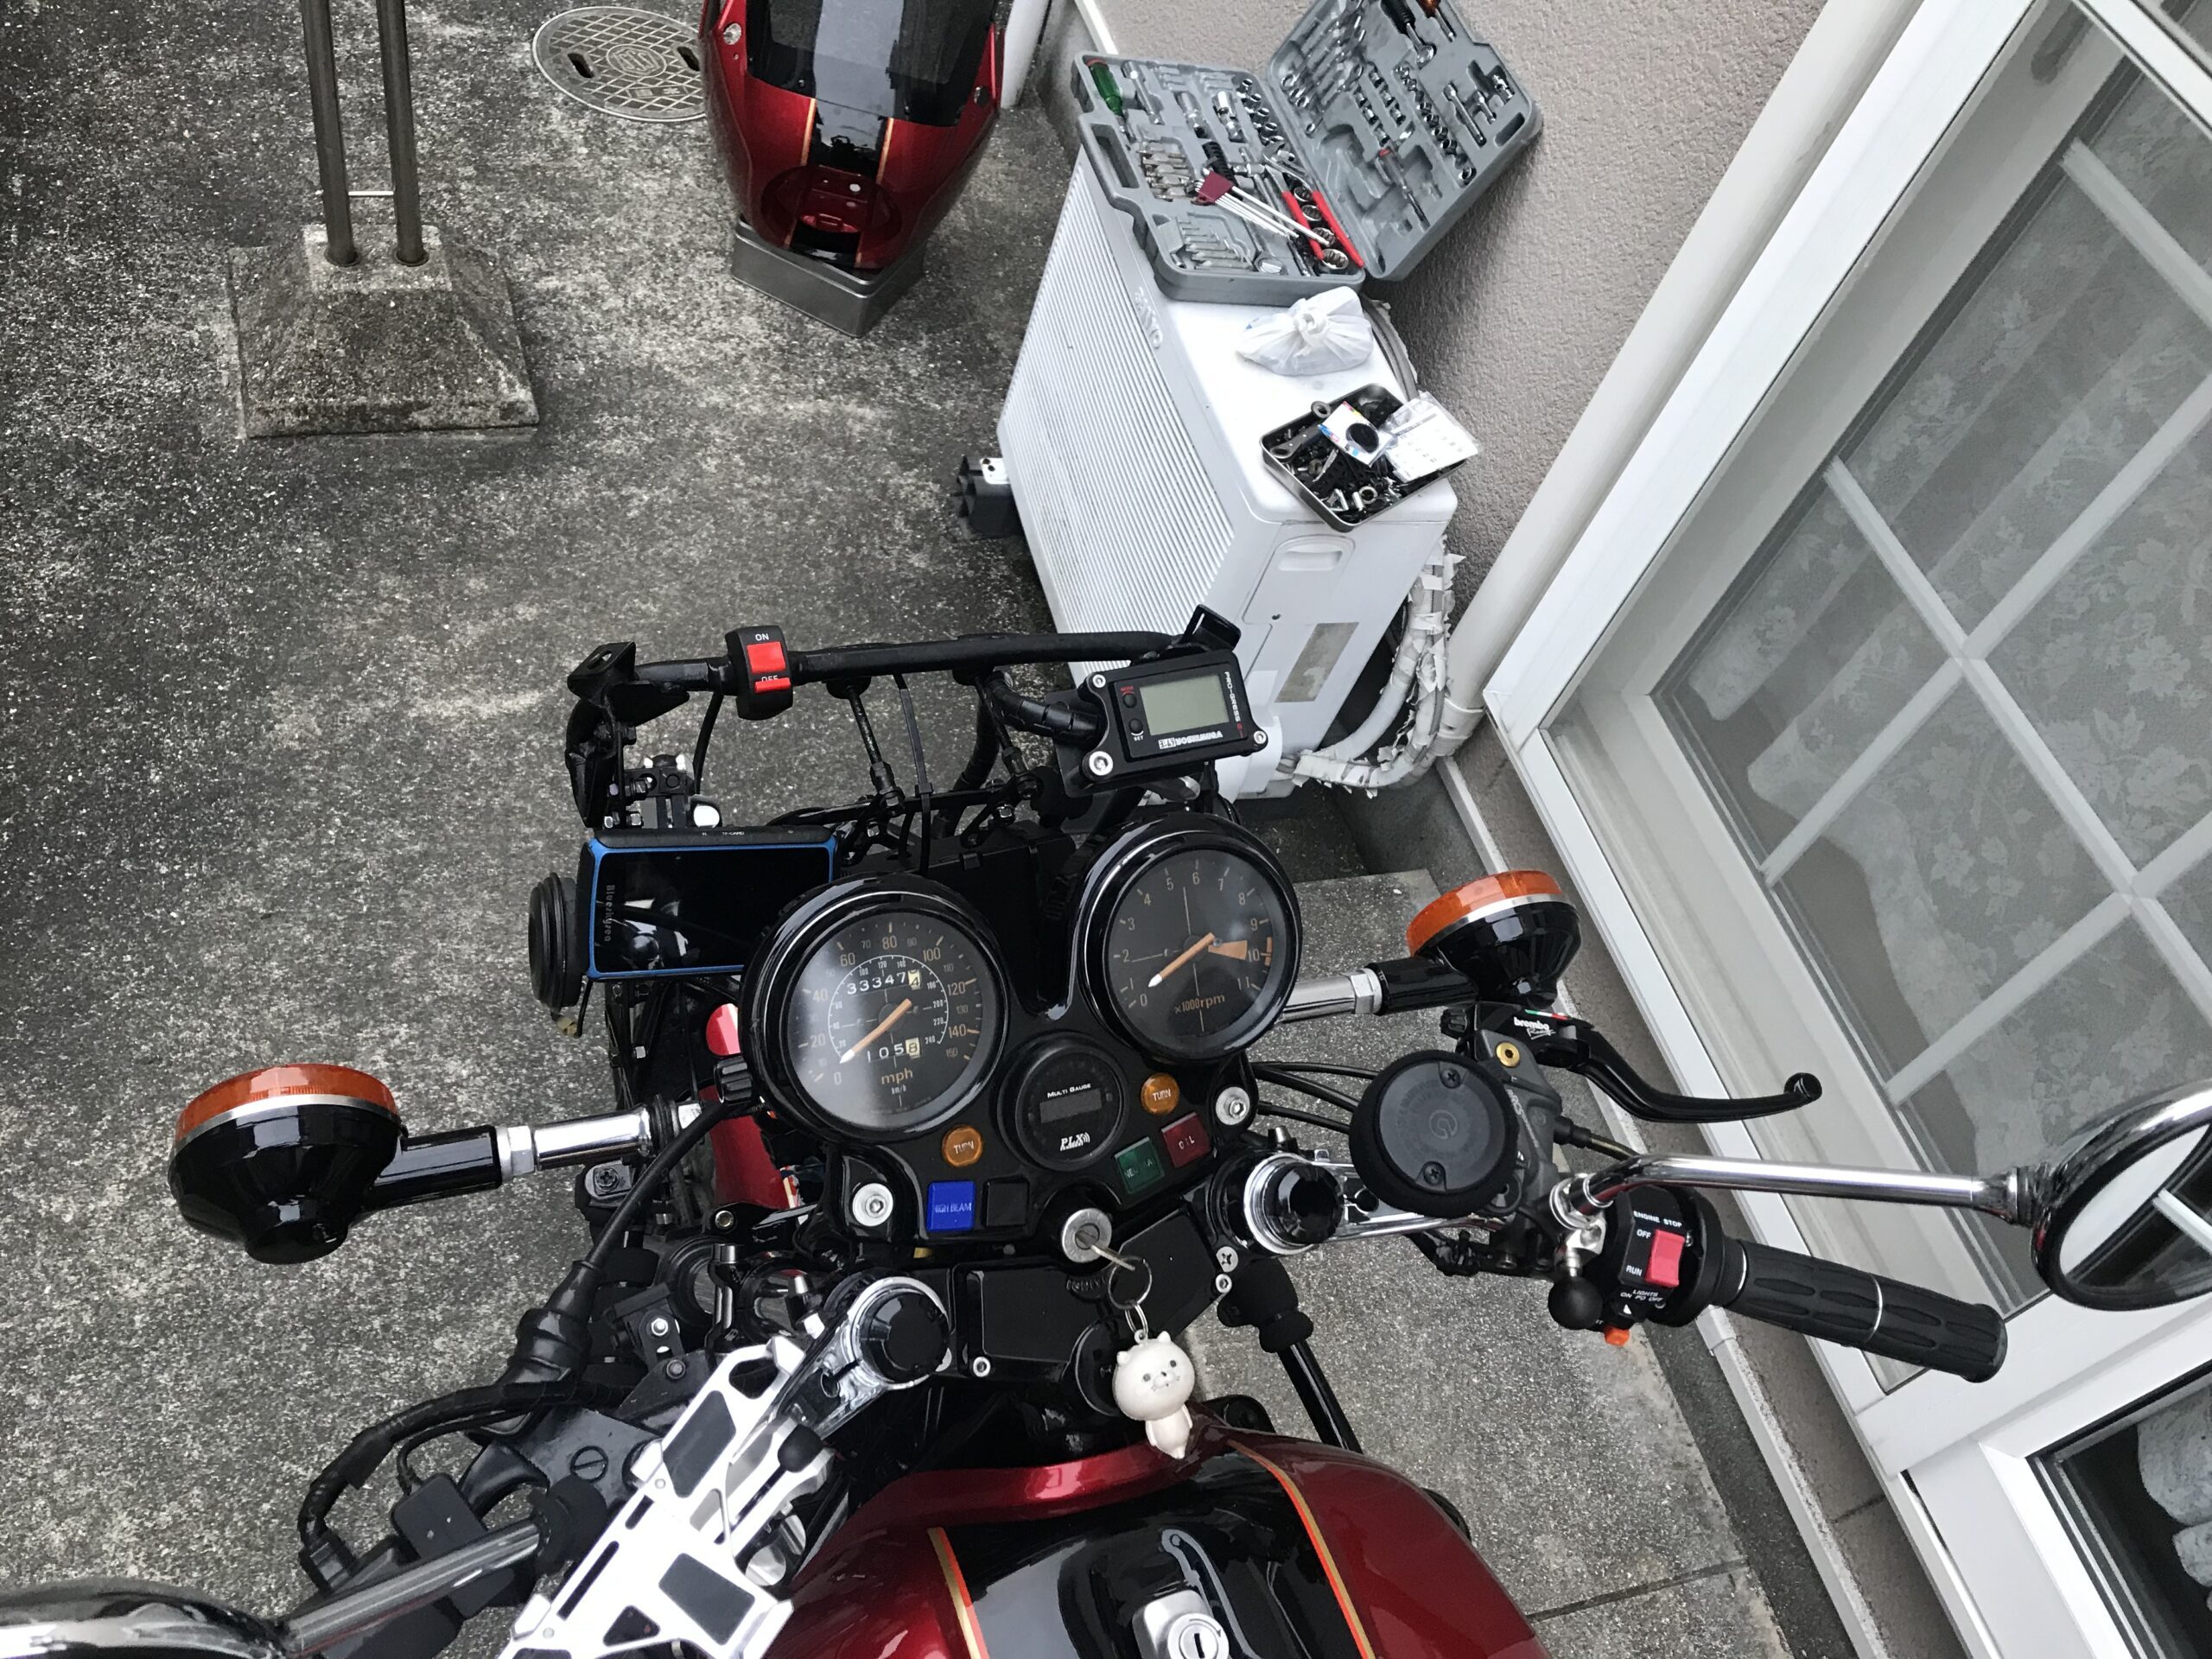
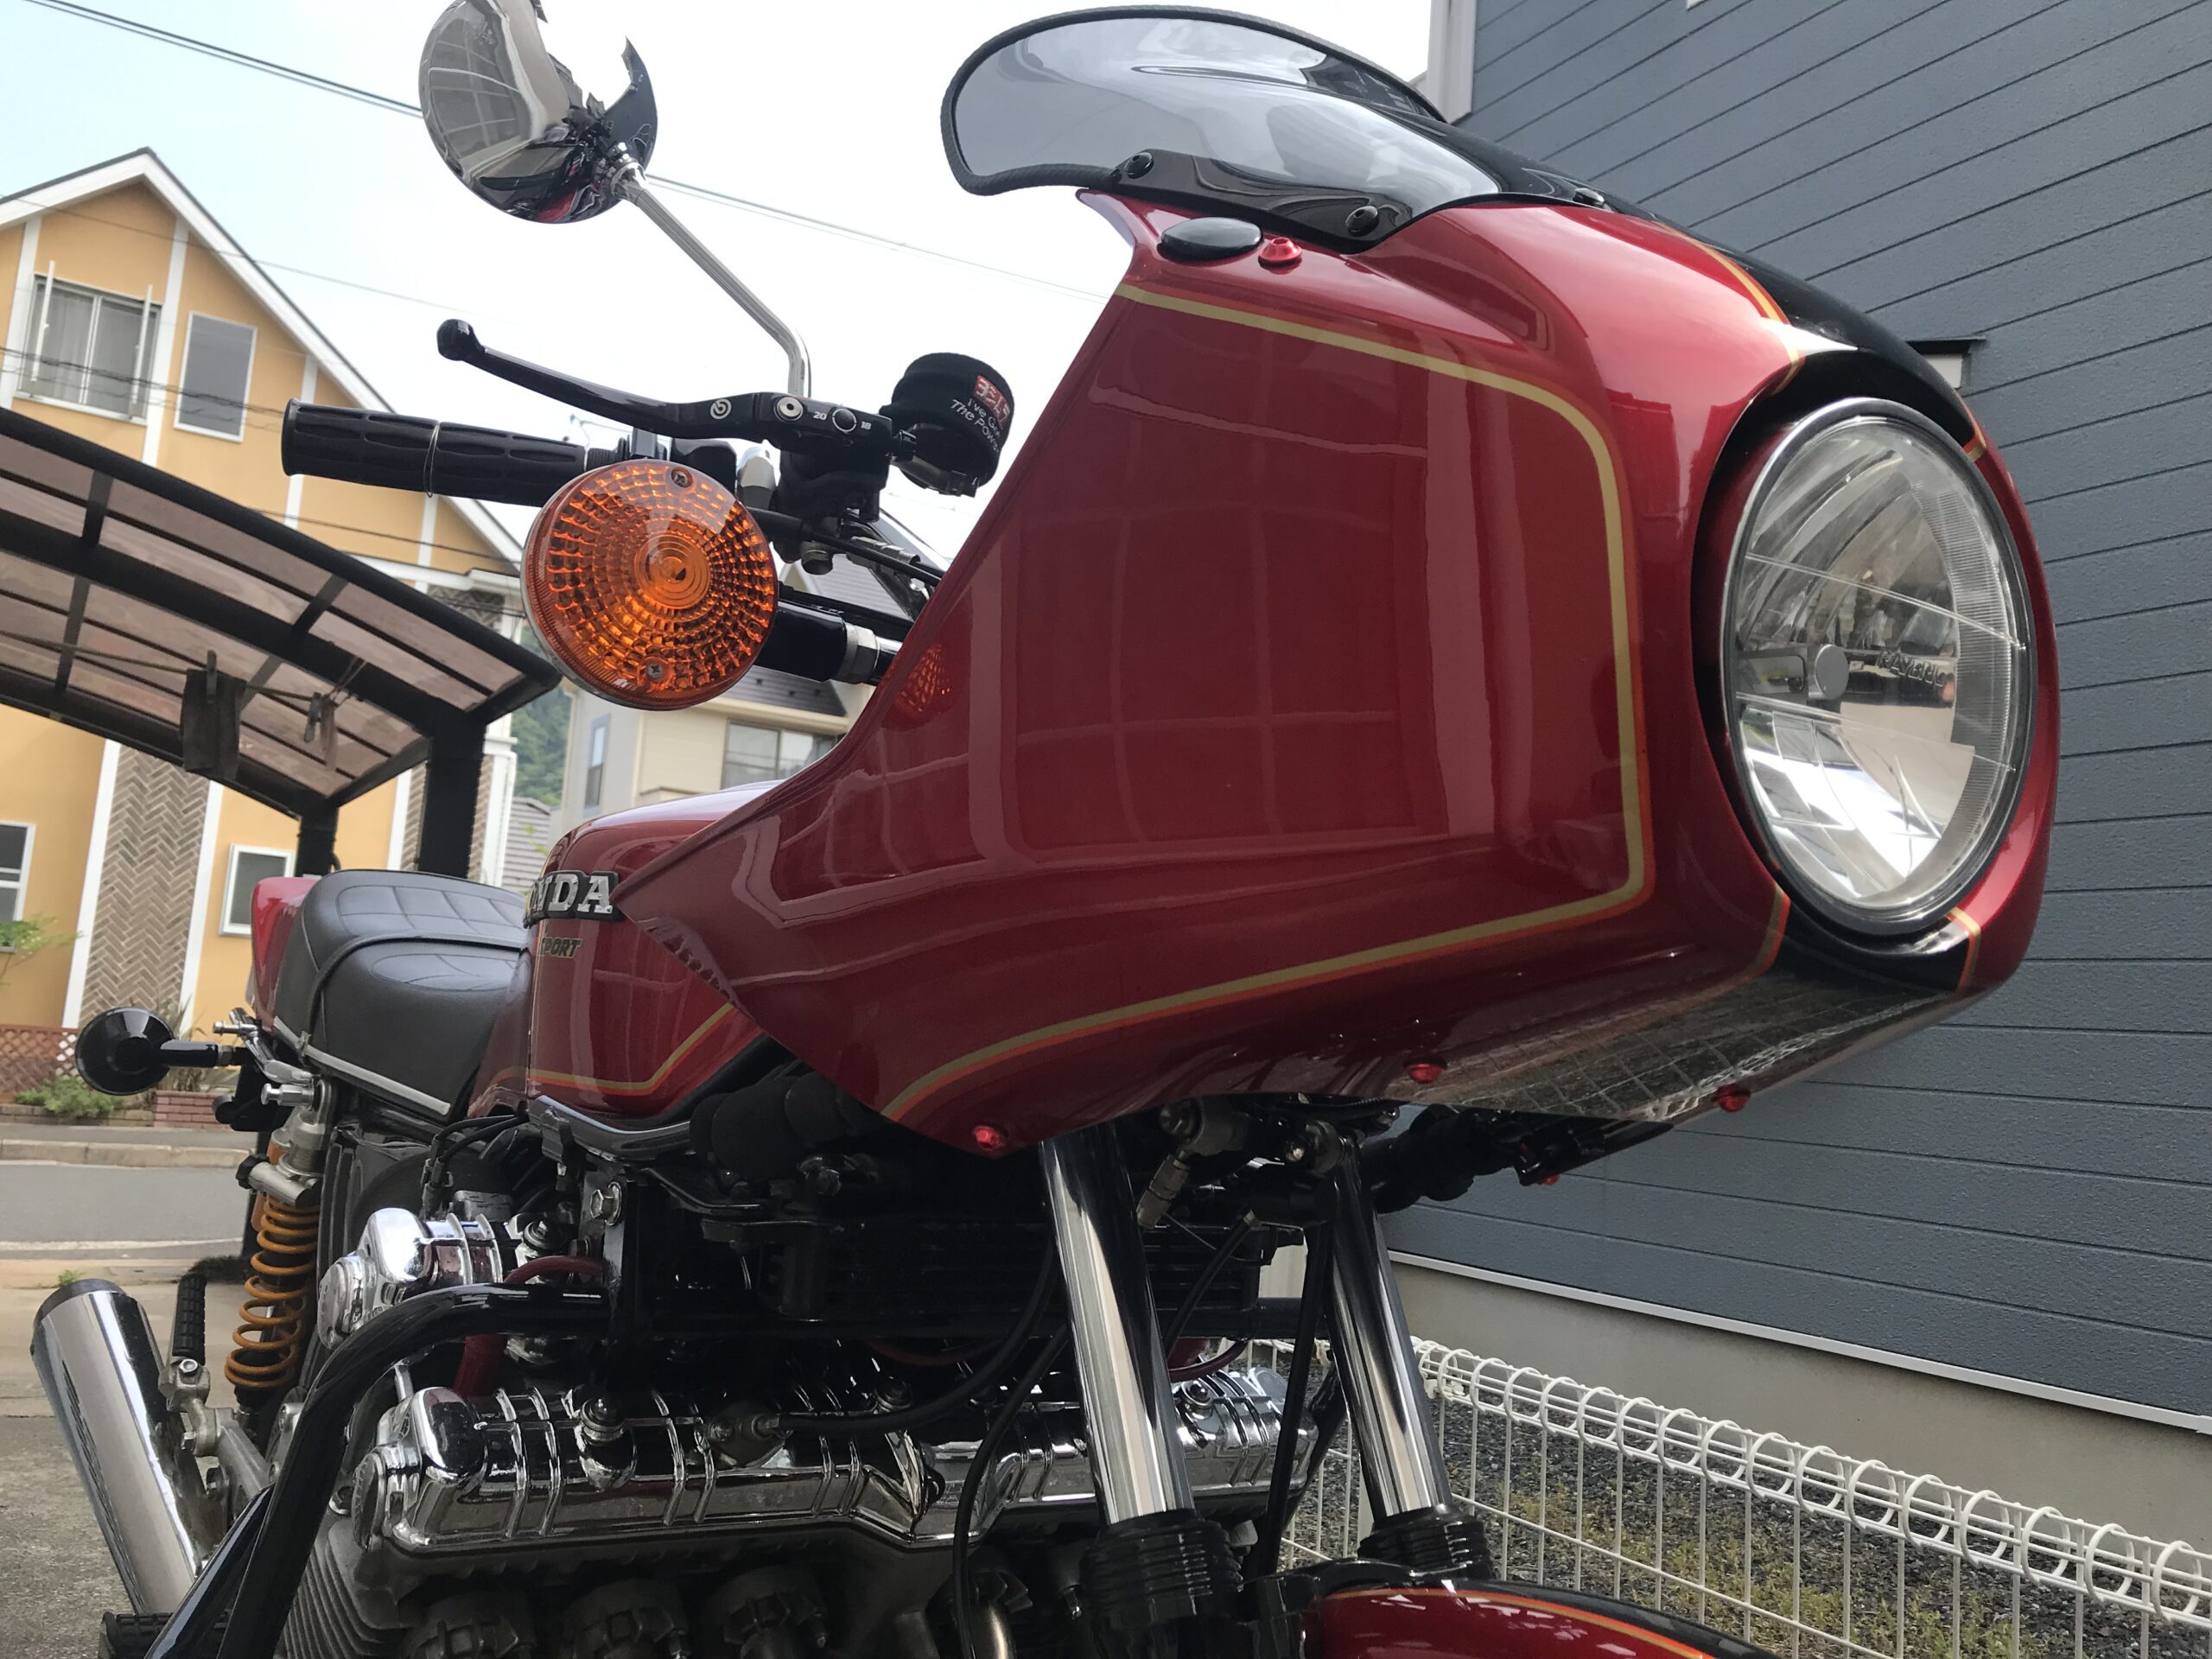
A drive recorder and Yoshimura Progress 2 are attached to the inside of the cowl.
The horn has also been changed from a single to a double and is installed so that it can be stored inside the cowl.
If you install the double horn as is, the wattage will exceed and the fuse will pop.
It is necessary to branch the wiring upstream from near the battery and install it so that there is less burden on the downstream side. I realized a double horn using Amon's 4-pole relay. It was good at first, but Amon's relays do not have a noise removal function, so if possible, it is better to use a 5-pole relay with noise removal from another manufacturer without worrying about trouble.
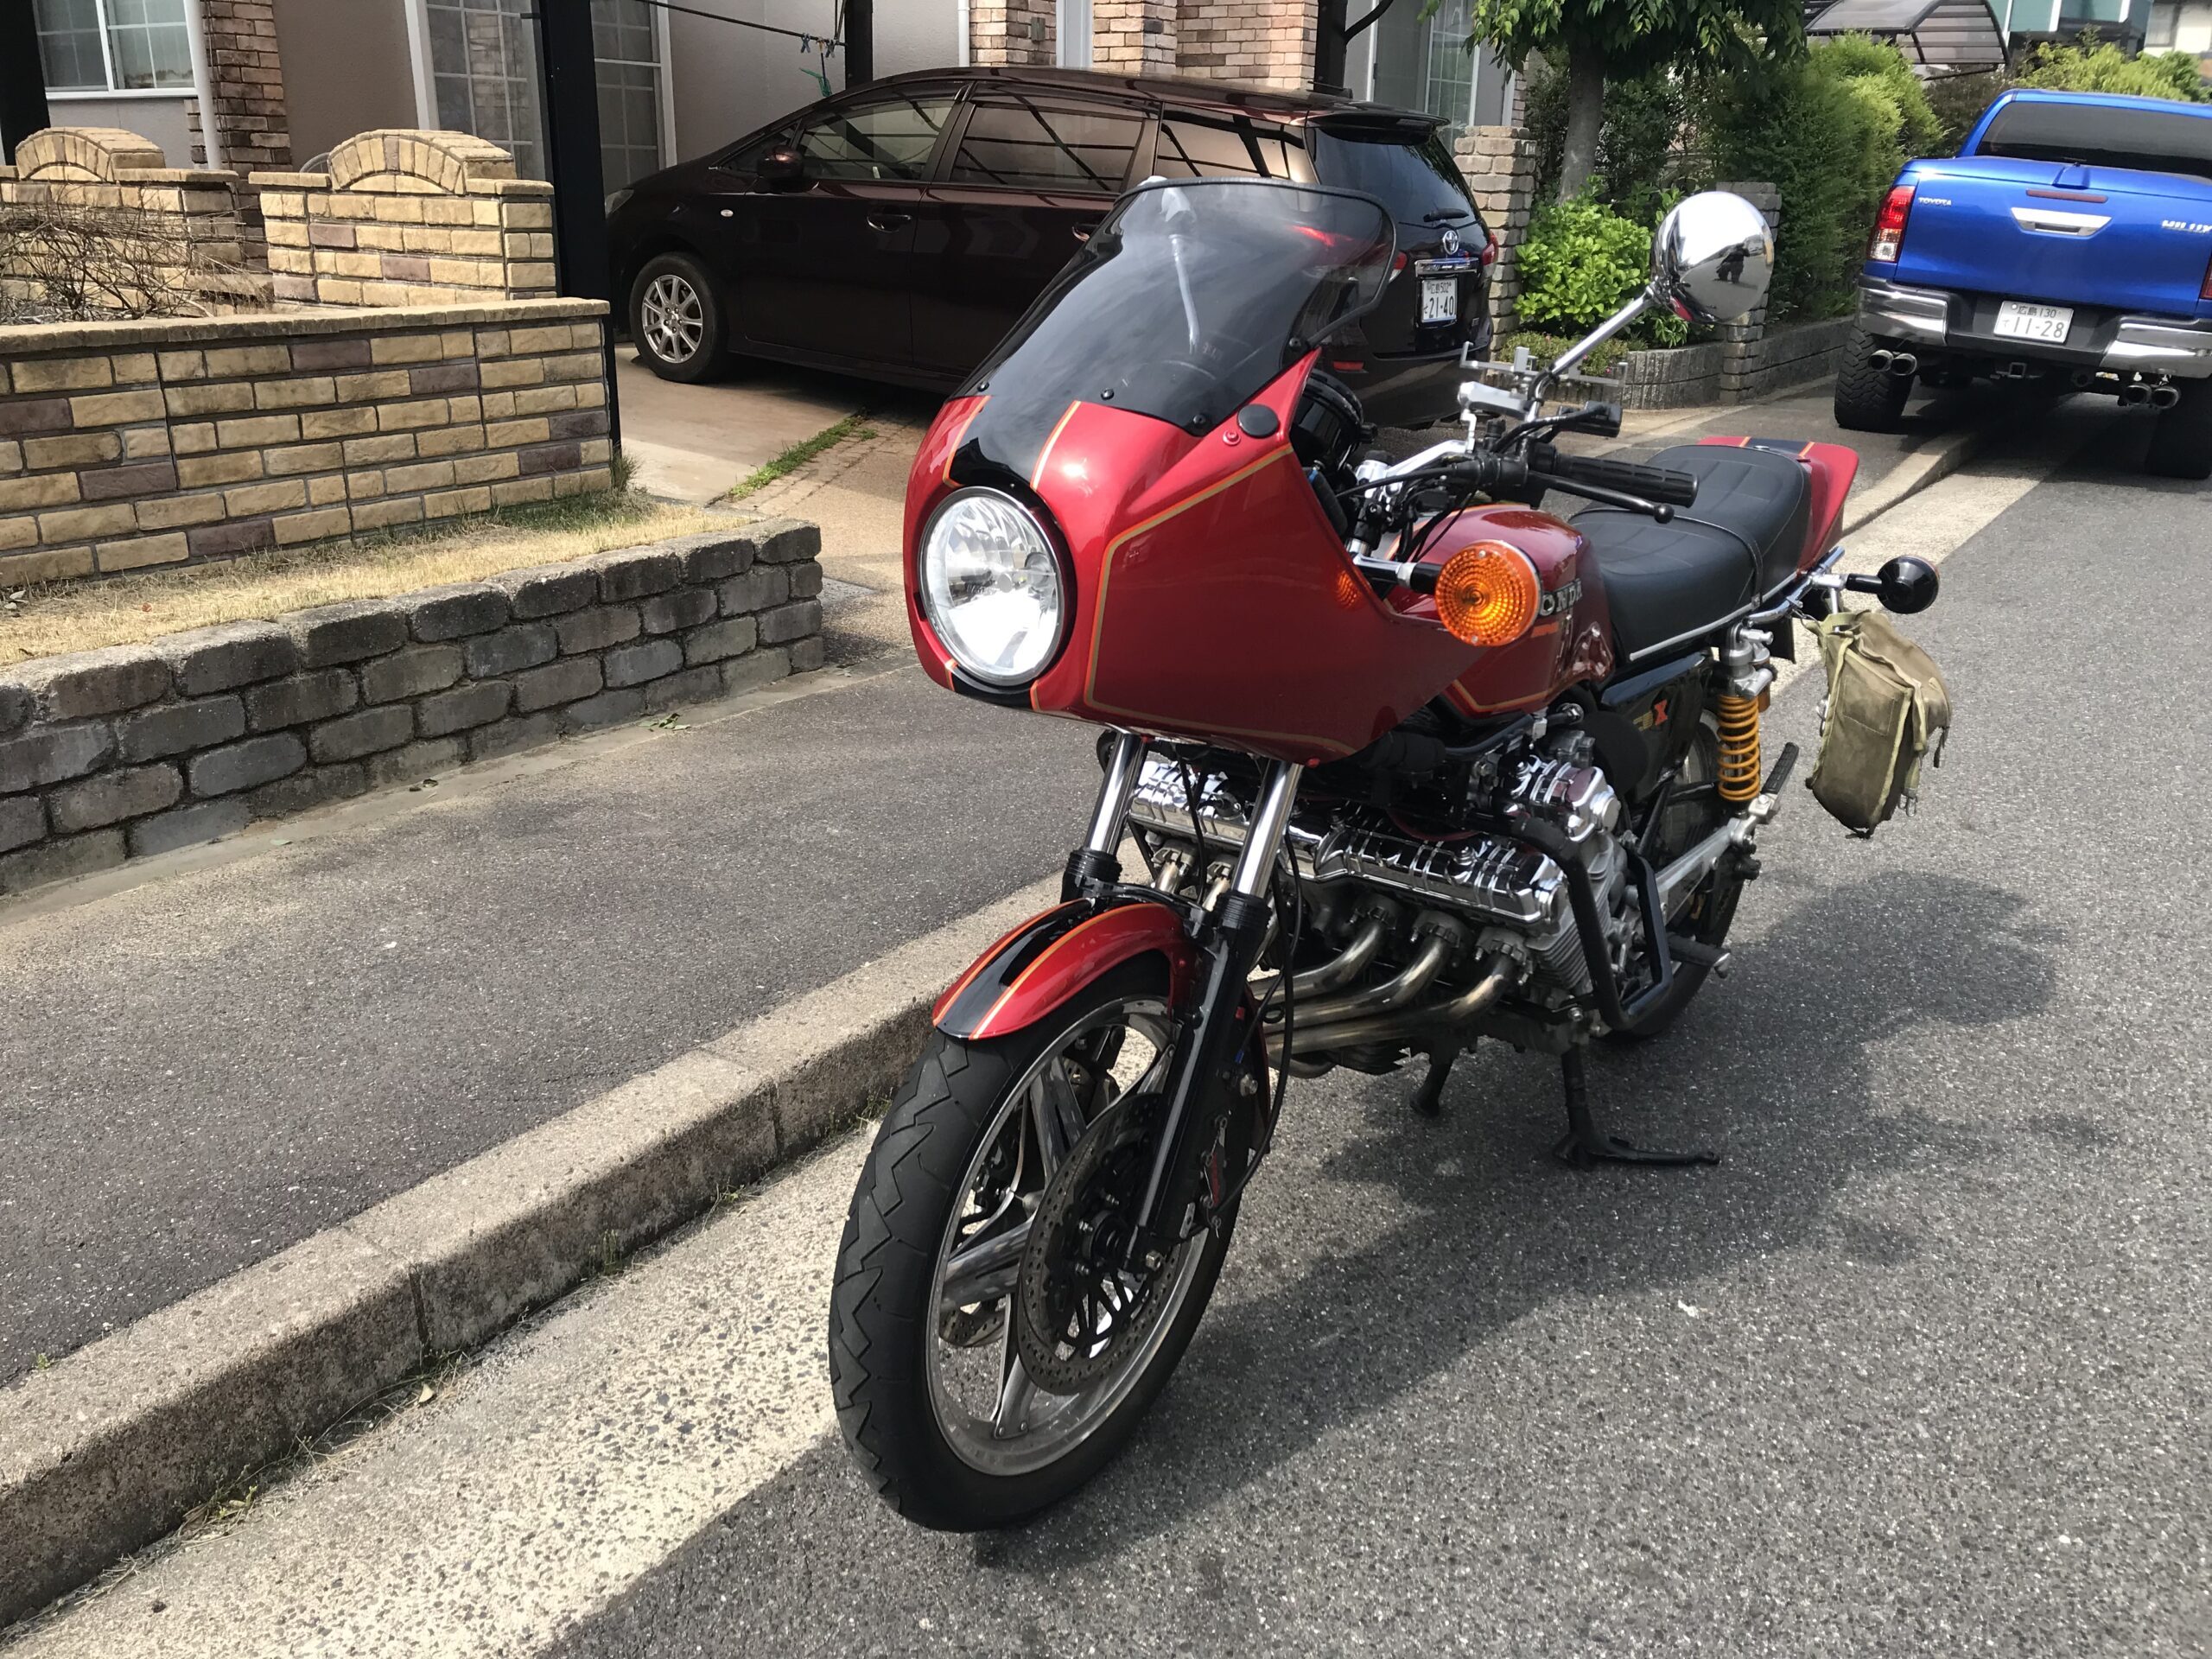
Photos with and without cowl
HONDA CBX1000
HONDA CBX1000-SC06 stay
We are making fine adjustments to the cowl angle and improving the blinker installation method.
If you can't reach 200km/h in this condition, there is no point in attaching the cowl.
I'm trying to make sure I can accelerate with peace of mind.
CBX1000 custom theme
I try to do bolt-on work whenever possible.
We try to maintain the original look as much as possible.
I always try to keep it neat and clean.
We replace consumables with external products if their performance can be improved.
I am customizing a motorcycle with a theme roughly like this.
The overall theme is as above.
The theme regarding cowl installation is
It's frame mount.
I will install a cowl to make it go 200km/h.
I tried to avoid making the cowl installation look as outrageous as possible, and it was just a dress-up piece.
I was careful to make it so that it would not be attached to a cowl.
If I replace the wheels, swing arm, and footpegs, I think I'll be able to move into the realm of fully customizing it, but it would cost a lot of money to buy another bike, so I'm still thinking about it.
If you want to fully enjoy driving, you don't have to choose CBX1000.
Just choose the latest motorcycle.
It may be time to add a custom feature that will allow you to run faster due to some trigger.
CBX400F cowl-improvement edition【summary】
It is designed to be removed immediately.
For the stays and bolts, I mainly use M6 bolts from the home center.
I use M8 bolts to connect it to the frame.
Basically, spring washers, U nuts, or rubber washers are used to prevent loosening.
I also use double nuts where the length needs to be adjusted.
The goal is to restore it to its original state and get the cowl back in a state where it can be installed with less stress.
It's really fun to ride with the cowl on.
I'll go back to the naked look after I've covered a little more distance.
See you again!