I am the owner of a Honda motorcycle [CBX1000] who lives in Hiroshima City, Japan. I am posting about FCR carburetor and CBX1000 customization. I also post about things other than cars and motorcycles. We will post information that will make bikers around the world happy.
Buying a CBX1000 FCR – How to tune for the first time
Many people want to install a racing carburetor on their CBX1000.
In Japan the options are BITO's FCR or CRS carburetor.
It seems that TMR can also be made to order, but that is not what we are looking for this time.
If I were to buy one now, I would choose the FCR.
The reason is that it has better performance than the CRS. If it were performance alone, I would choose the TMR, but it is not available for general purchase.
I choose the FCR in terms of performance and because it is generally available for purchase.
This is a rough text-based writeup assuming that you will be installing an FCR on a CBX1000.
Preparations other than FCR
If you buy an FCR from BITO, you can install it as is, but there are also parts required to fit it to your motorcycle. Some products are in stock at motorcycle shops.

If you are doing the work yourself, there are some additional accessories that you will need to purchase.

-Throttle wire
Since it has a special shape, you will need to replace the throttle wire to be compatible with FCR.

-Quick throttle or Separate throttle
It seems that you can install it with the original throttle, but it is better to replace it. In short, there is no problem as long as you can install the throttle wire and move the throttle valve to full open.

-Slim switch
You will need this if you change the throttle holder. The right switch will no longer be usable.

-Fuel filter and fuel hose
Please install a mesh type filter instead of a filter paper type.

-Blow-by hose and blow-by tank
Since the air cleaner will be removed, you will need to route the blow-by hose separately.

Please install an oil catch tank of your choice. .
Velocity Stack Performance Air Filter Differences
If you use a cover-type sponge such as Foam Air Filter Sock, you will need to cut the sides of the Velocity Stack. The carb pitch is too short to attach the sponge.
Performance air filters tend to interfere with the motorcycle frame, so be sure to check the size before purchasing.
My CBX1000 have never used a Performance air filter, so I do not know the exact size.
If you remove and attach the FCR quite a few times like me, I recommend Foam Air Filter Sock.
A Performance air filter is good for people who only touch the screws a few times a year.
We do not recommend straight carburetors or tea strainer filters.
A brief explanation of the work
Removing the air cleaner box is the most time-consuming part.
Next is to replace the right switch and throttle.
It is a good idea to attach the throttle wire to the holder side first.
Be sure to check the size of the screws, jets, etc. before installing the FCR.
Clean the area around the engine at the same time.
Once you've attached the blow-by hose and other items, the FCR itself is ready to be installed.
It only takes a few lines to write, but the above tasks should take quite a bit of time.
Good luck.
FCR installation
First, check the initial tuning of the FCR.

The initial tunings I heard from BITO over the phone were

[CBX1000 BITO initial tuning of FCR when shipped]

SJ-40

PS-1.45 minutes back

AS-1.30 minutes back

JN-90FXM#3 or 90GTM#3

MJ-130

Old FCRs have 90FTM.

The tuning is probably not too far off.

Tighten the air screw and pilot screw about 5 minutes each and check roughly.

Once installed, attach the throttle wire to the FCR and check if the throttle valve opens fully when the throttle is fully open.

Next, we want to attach the tank, but we will install a sub-tank, commonly known as an IV tank, and check if the engine can start.
Pilot screw adjustment when starting the engine
Adjust the air screw and pilot screw back to 1.0.
You will need a carb screw as a tool.
Open only the pilot screw rich for 15 minutes at a time.
There should be a point where the engine starts well and the idling continues for a reasonable amount of time, so look for it.
There will be less change once the pilot screw is returned to 2.0, but try to find a point up to about 3.0.
The same return is fine for all 6 cylinders. If you have an air-fuel ratio meter, it is best to return the pilot screw to a stable value of about 12.5 to 13.2 when the engine warms up.
This is written assuming that you do not have an air-fuel ratio meter installed, but if you have an air-fuel ratio meter, it is very easy to find the appropriate pilot screw value.
After changing the number of clip stages or touching the air screw, repeat this process.
If you adjust the pilot screw and the engine starts poorly, try changing the slow jet one step richer if you have a slow jet on hand. Conversely, if the engine starts well with the pilot screw fully closed, since the engine is currently rich, change the slow jet in the leaner direction.
The slow jet should probably be fine at the default value of 42.
The slow jet is the starting point for adjusting the screw back.
If the screw is opened too wide, it's not a good thing.
Air screw adjustment
Open the air screw in the lean direction in 5 minute increments.
In terms of cylinders,
if you open them in the order 1, 2, 3, 4, 5, 6
there will be a point where the RPMs will increase.
The key is to wait about 10 seconds after touching it once.
When the RPMs increase for cylinder [2], adjust the remaining cylinders 3, 4, 5, and 6 to the same return.
Next, adjust the air screw lean for 5 minutes each for cylinders 1 to 6. If there is no change,
the air screw position returned 5 or 10 minutes from the end of this work is appropriate.
I know the initial tunings, and I have touched them many times myself, so the air screw position will not be that far off.
There is no problem with returning the air screw uniformly for each cylinder. When measured with a digital tachometer, this is not an engine where each cylinder is generally shifted.
If you want to measure with a digital tachometer, it is better to return the air screw to the specified position of 1.0 when the RPMs increase and measure it. I don't know if this is the correct way to do it.
The air screw will be close to the cylinder you adjusted.
Even when I touch the other cylinders, it's hard to tell the difference.
I tried adjusting each cylinder individually.
In the case of the CBX1000, I couldn't feel any big changes.
I set all six cylinders to the same return adjustment.
Fuel tank installation
Once you've reached this point, you can take it for a test run.

Please install the fuel tank.

Points to check during a test run:

① Is the starting performance good? Is there a sense of power at low speeds up to 1/4 throttle opening?

② Is there any bumping at about 1/4 throttle opening?

Once you've checked these two points, you can start full-scale tuning.

There will be no problems if you just drive normally on public roads.

① can be adjusted with the air screw. The air screw is easy to access, so it's easy to touch,

and if you return it to 1.0, it's easy to see the change even if you adjust it for about 5 minutes. If the air screw adjustment exceeds the specified value, you can replace the slow jet or change the clip stage.

② Check whether the clip stage is in the correct position. If it's not in the correct position, the bike won't run properly. If it runs properly, it's in the correct position. Conversely, you can change the clip stage to an incorrect position and check which clip stage is not working properly.

If you feel that you can run properly after doing this much, tuning is basically complete.
How to select a jet needle?
The premise is that you cannot choose the jet needle.
The jet needle size is
90FXM#3 = 90FTM#1
.
90FXM is a special cut-up.
Choose a size with a different straight diameter from 90FTM, 90FTN, 90FTP, etc.
If you change the taper angle, you will have to start tuning from 1.
Change to an appropriate clip.
Once you get used to the work, you are no longer a beginner.
Select many jet needles.
Once you have tuned it, it is better to change the straight diameter by one size at a time.
How to choose a main jet?
The main jet is one of the more accessible types, so you can change it frequently.
If you tighten it too much, it may break off.
Be careful with the amount of force you use.
The main jet changes the acceleration feeling from 1/2 throttle opening to full throttle.
You can tune it on public roads up to about 3/4 throttle opening.
If you want to check it at full throttle, you will need to get used to it even during test runs.
Check it up to about 3/4 throttle opening, and when you get used to it, try selecting the main jet for full throttle. I don't think it's off the mark. I think it's a good idea to change it by about 1 or 2 and see how it goes. The numbers are 0, 2, 5, and 8.
I think it's easier to get them if you buy a package of 6.
It's not absolute, but as a guideline, in terms of air-fuel ratio, if the number is off by about 10, the air-fuel ratio will be off by about 1.
I haven't found the best way to select a main jet, but I generally use the method above. Sometimes I drive at full throttle on the highway and select the gear I want while checking the acceleration for each gear.
How far should I tune? To make it more professional?
If you want to tune your CBX1000 moderately,
it's enough to just tweak the air screw and pilot screw a little.
You can also change the jet needle clip step by one step to enjoy the changes,
or change the main jet to enjoy the changes at around 1/2 to 3/4 throttle opening.
The above is more about enjoying the changes than tuning.
If you want to tune seriously, you need to start by changing the jet needle. You need to tune by selecting [G] for taper, or choose a lean jet needle such as [R] for straight diameter. The standard stock jet needle straight diameter [M] probably does not have enough clip steps.
Because the clip steps are not enough, BITO should also use 90FXM for the initial tuning jet needle.
Why I don’t choose CRS carburetors
Here are the reasons why I don't recommend CRS carburetors.
It's performance. Racing carburetors are installed to improve performance.
There is no reason to choose a CRS carburetor, which has lower performance compared to an FCR.
We have given up on TMR due to its low popularity and uniqueness, but if it is available and within the normal purchasing range, we will install a TMR carburetor.
There are cases where a CRS carburetor is required due to racing regulations.
Some people think that the CRS carburetor has a more classic design.
If you like classic designs, it is better to use the original carburetor.
FCR is also in the classic realm. If you choose special parts with design as the priority, you will miss your purpose.
Owners who install CRS carburetors do so with strong commitment.
Buying a CBX1000 FCR – How to tune for the first time【summary】
With the above, the bike should be in a condition to ride properly. The parts for which no work is specified are assumed to be in perfect condition with no problems. The CBX1000 is an old motorcycle. There are countless issues, such as engine compression and oil leakage. It is a good idea to replace the spark plugs. It is also an absolute good idea to change the ignition system to AS Wotani SP2 or similar. Having a perfect motorcycle is the first priority. However, that is a given. Old motorcycles often do not have the basics done. Anyone can install a racing carburetor if they try. For tuning information, please refer to my blog. I can teach you if I know anything about it. If you have read this far, you are someone who wants to install a racing carburetor on a CBX1000. The FCR is a device that makes motorcycling fun. Open the door to FCR life for yourself. See you again!
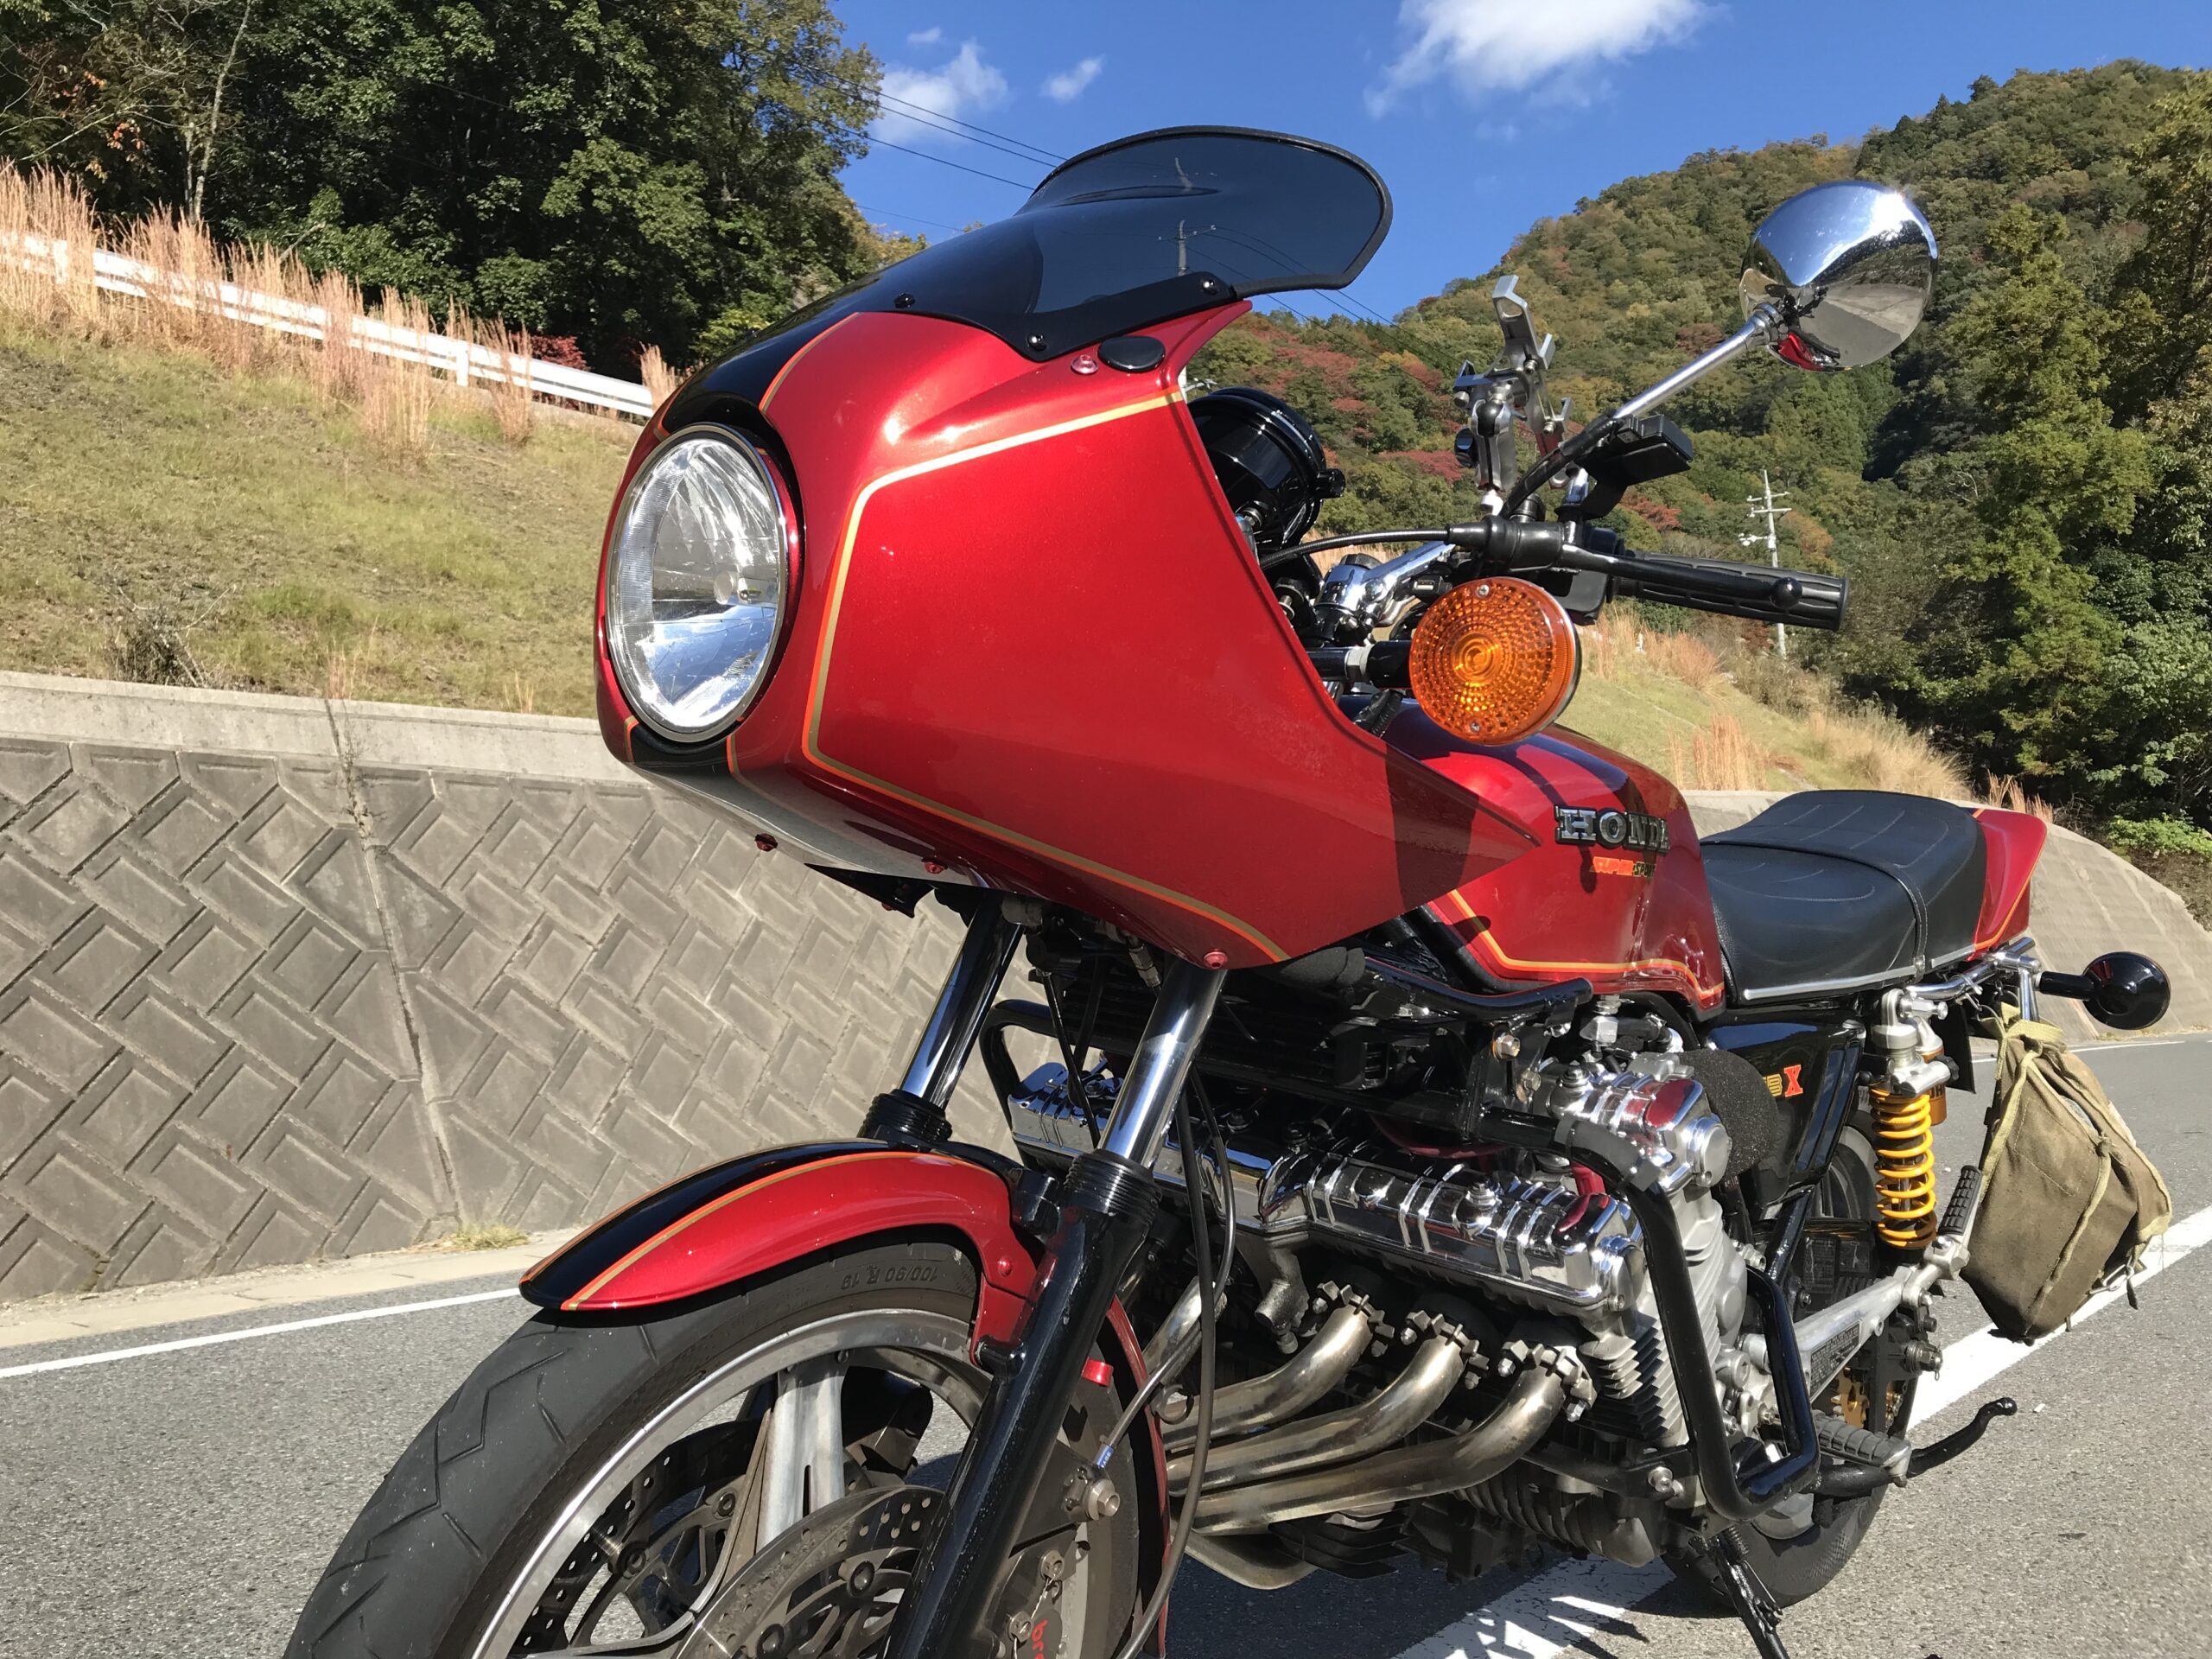
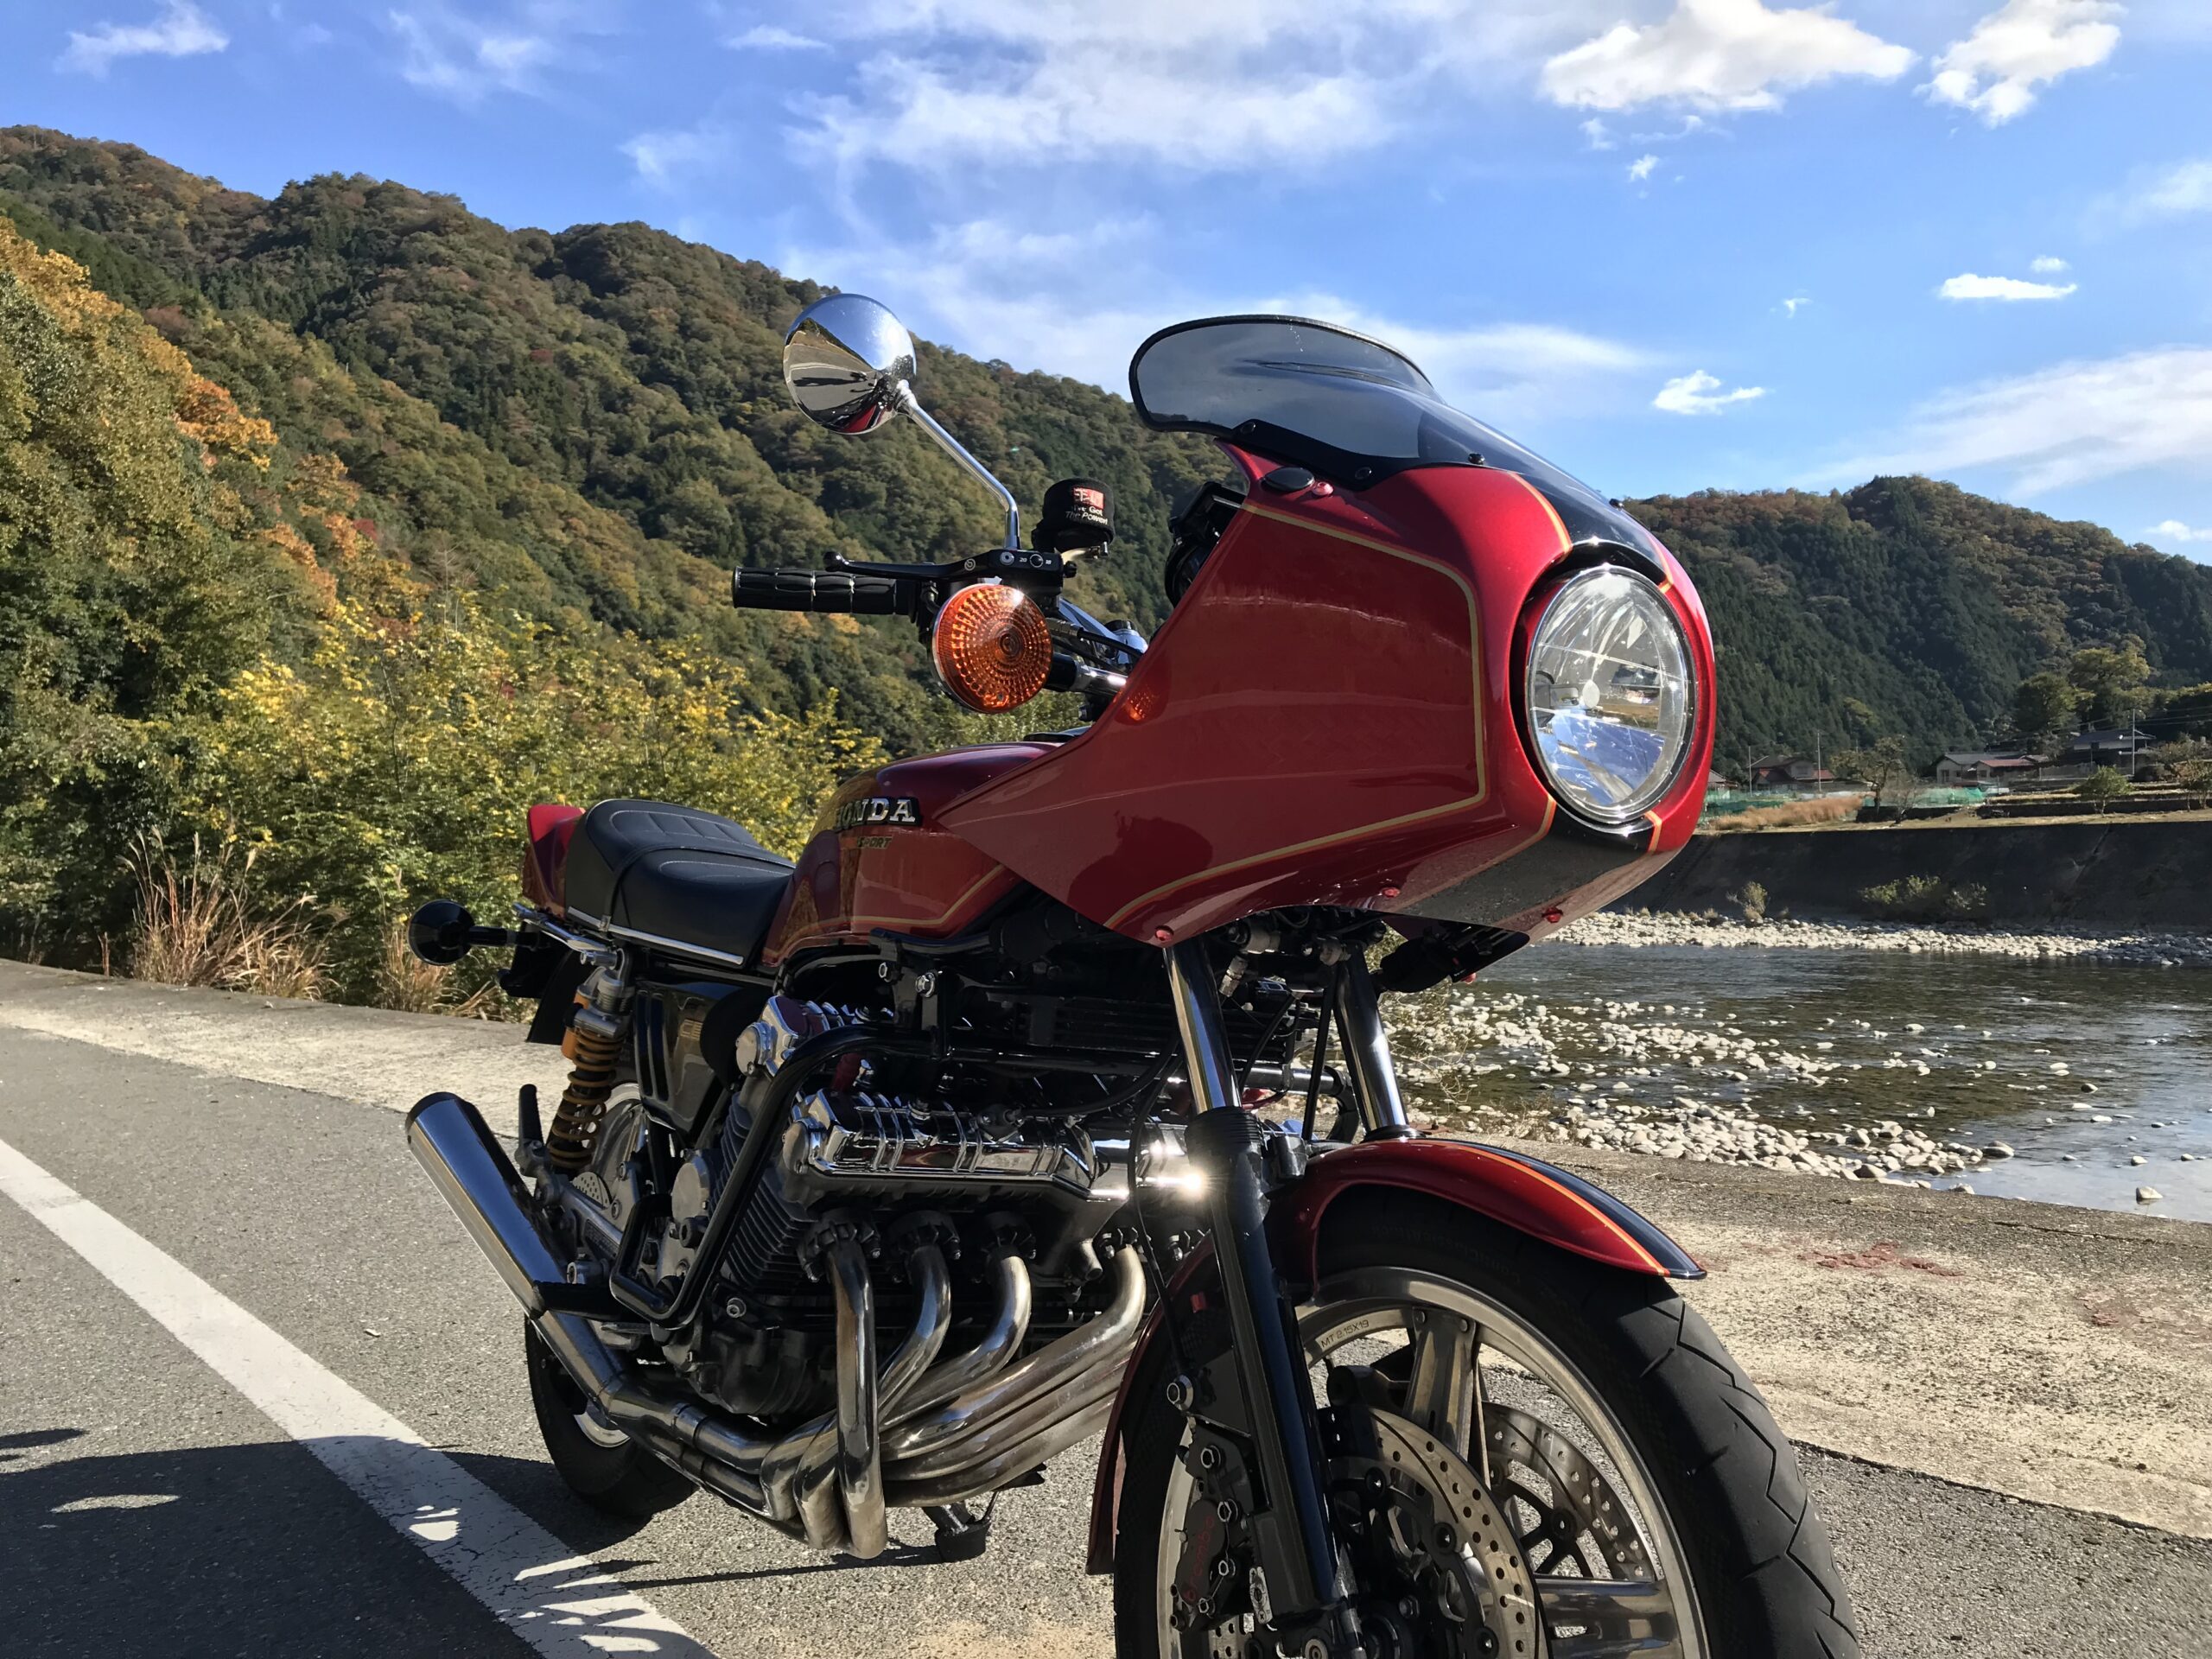
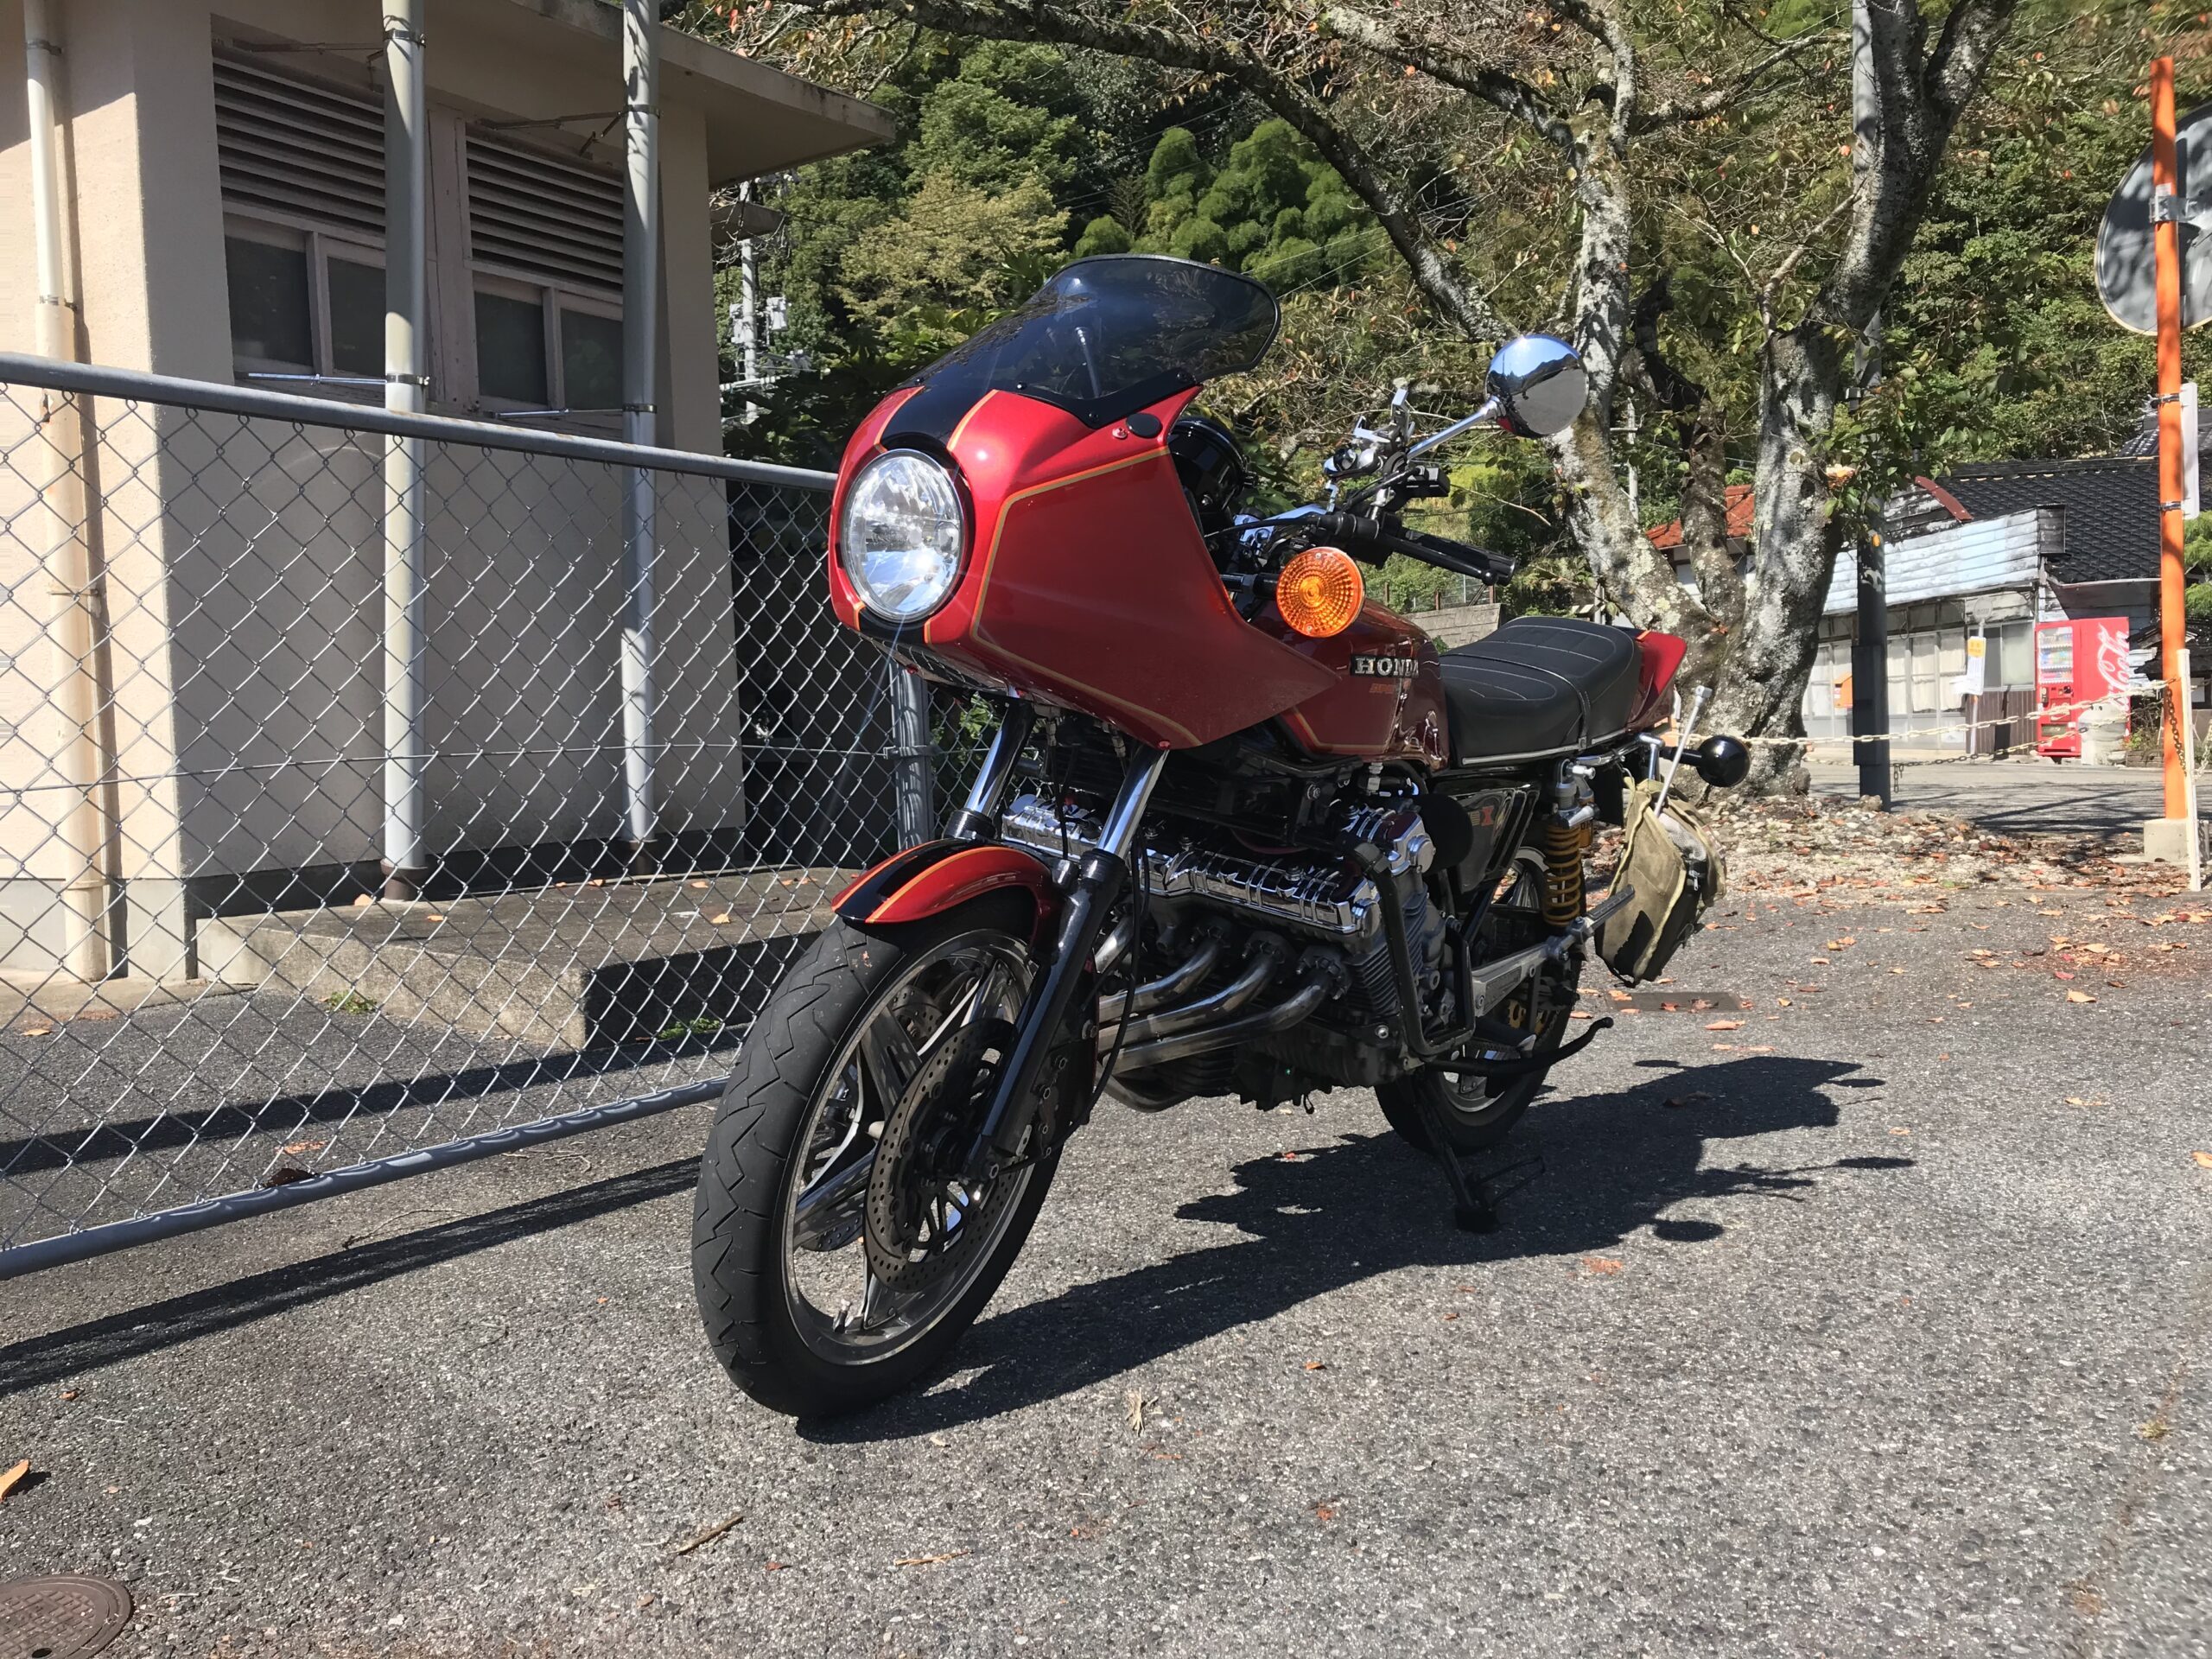
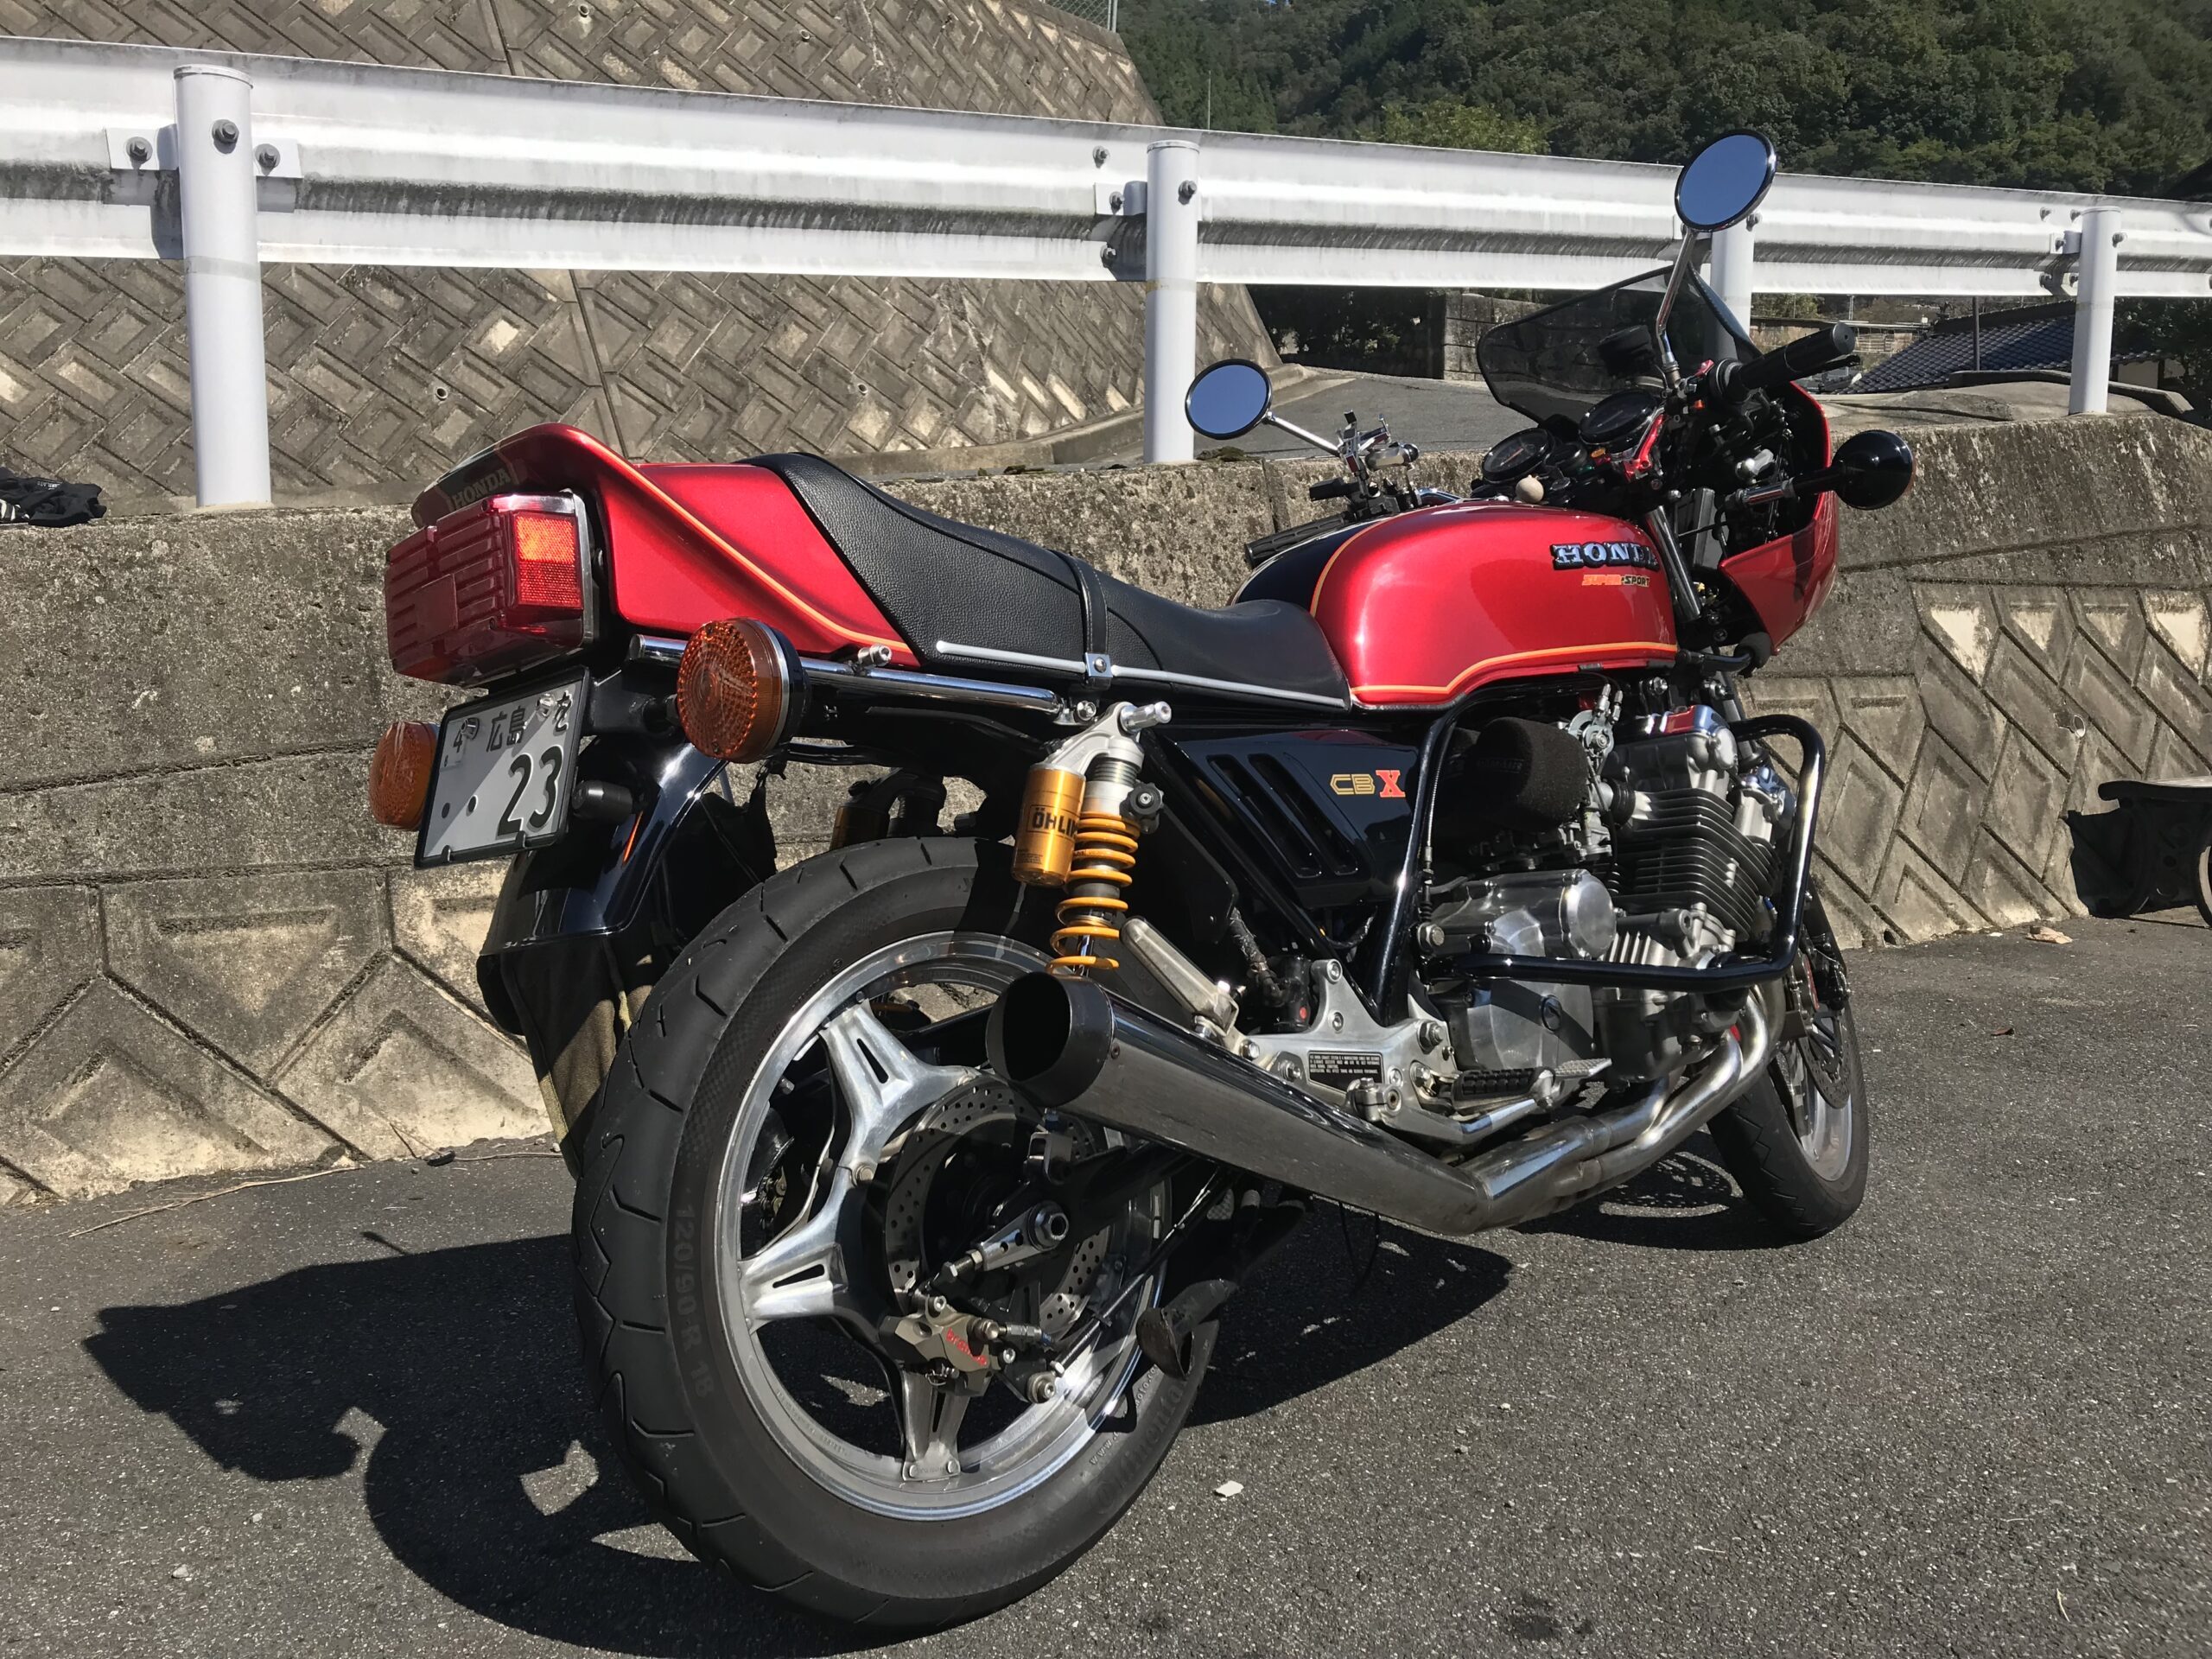
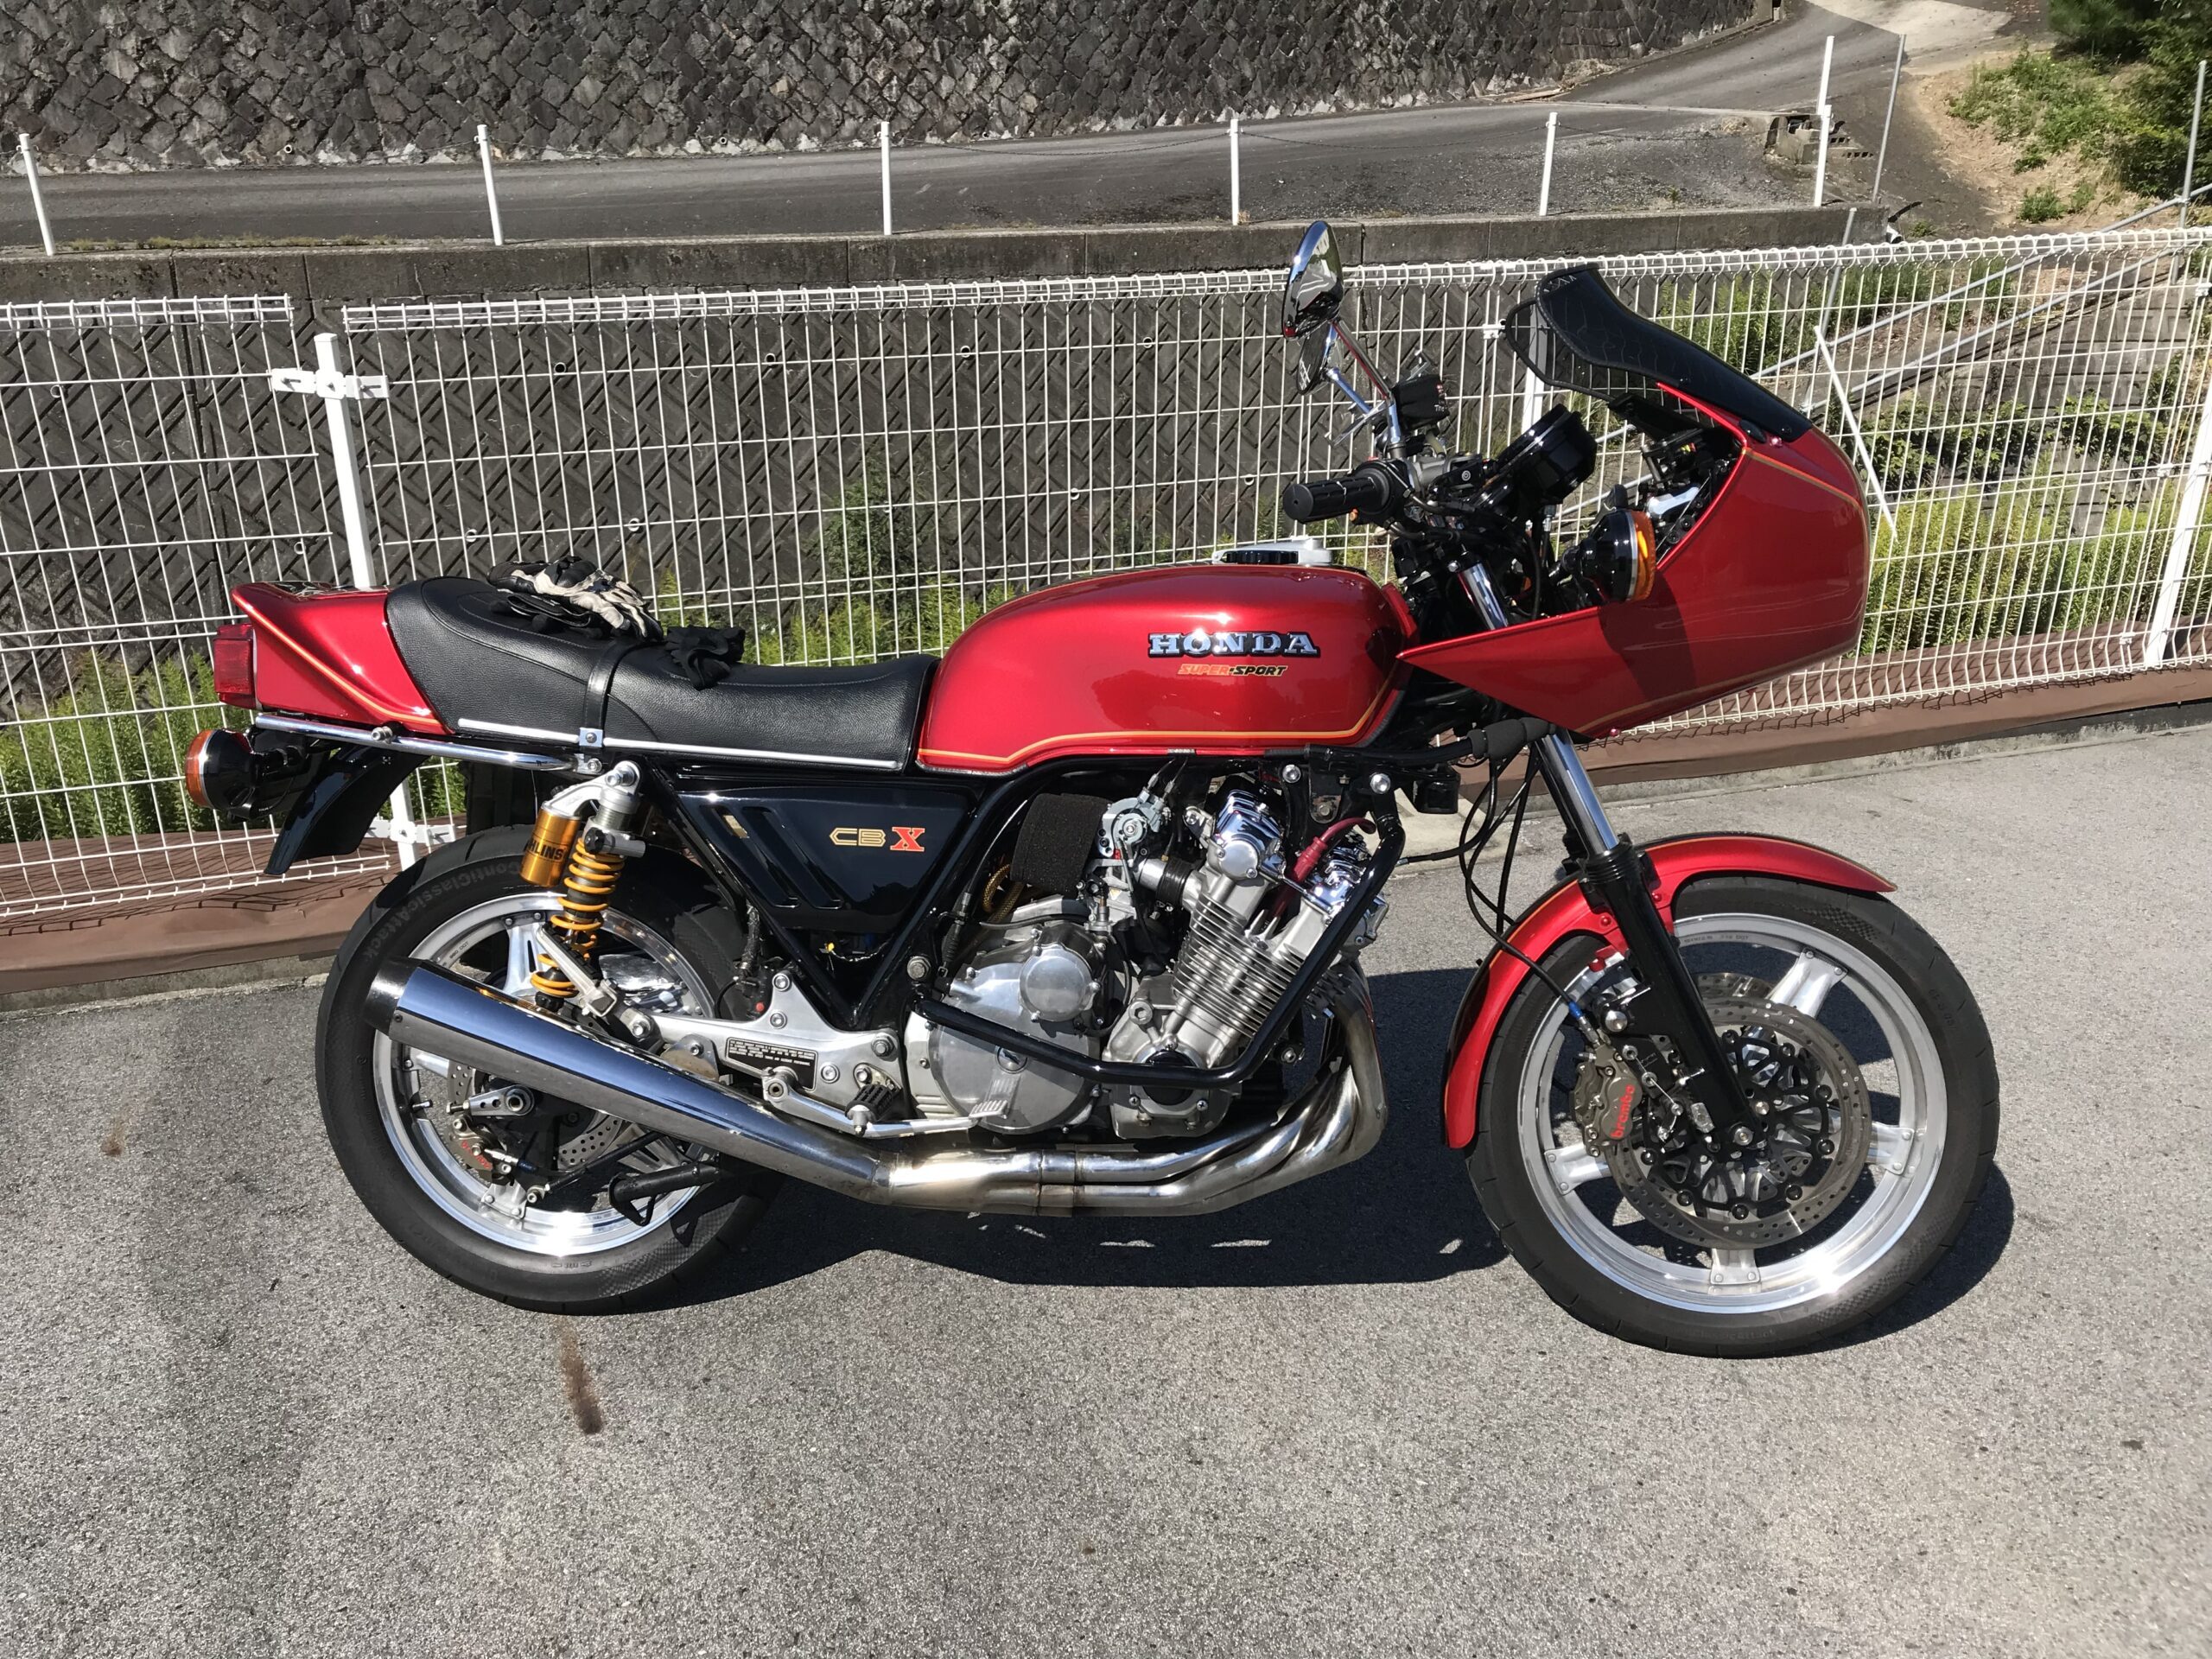
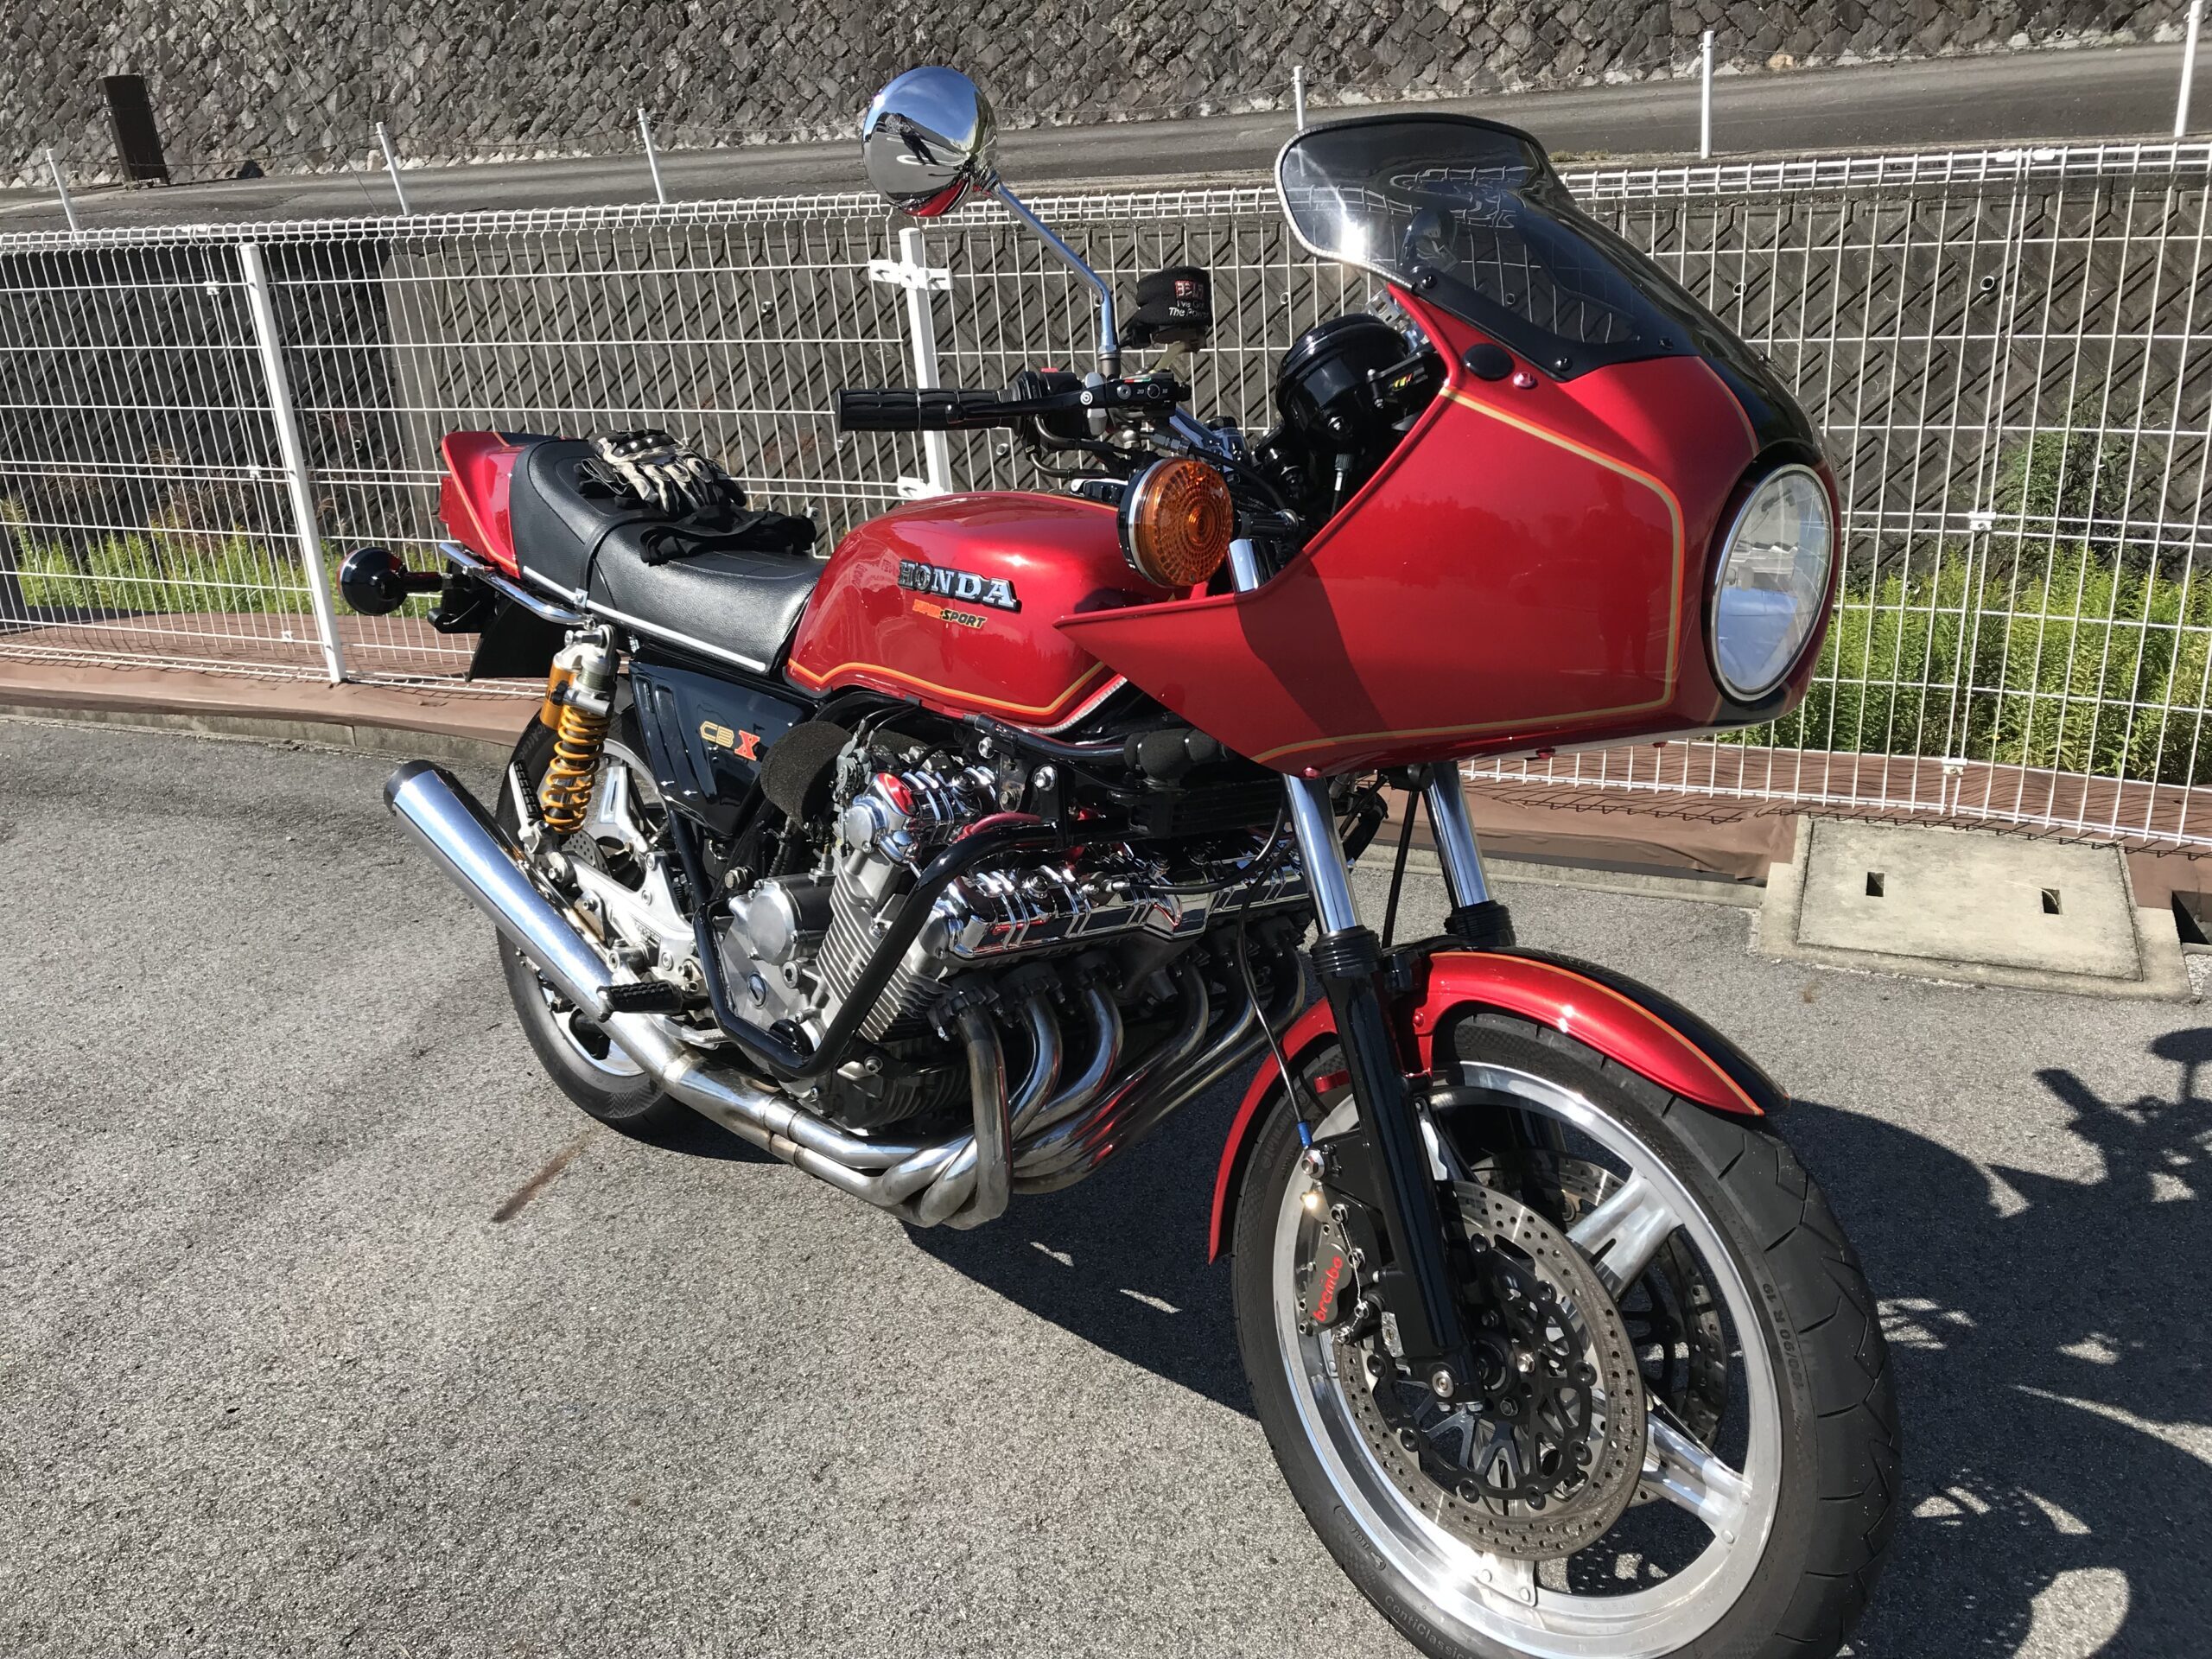
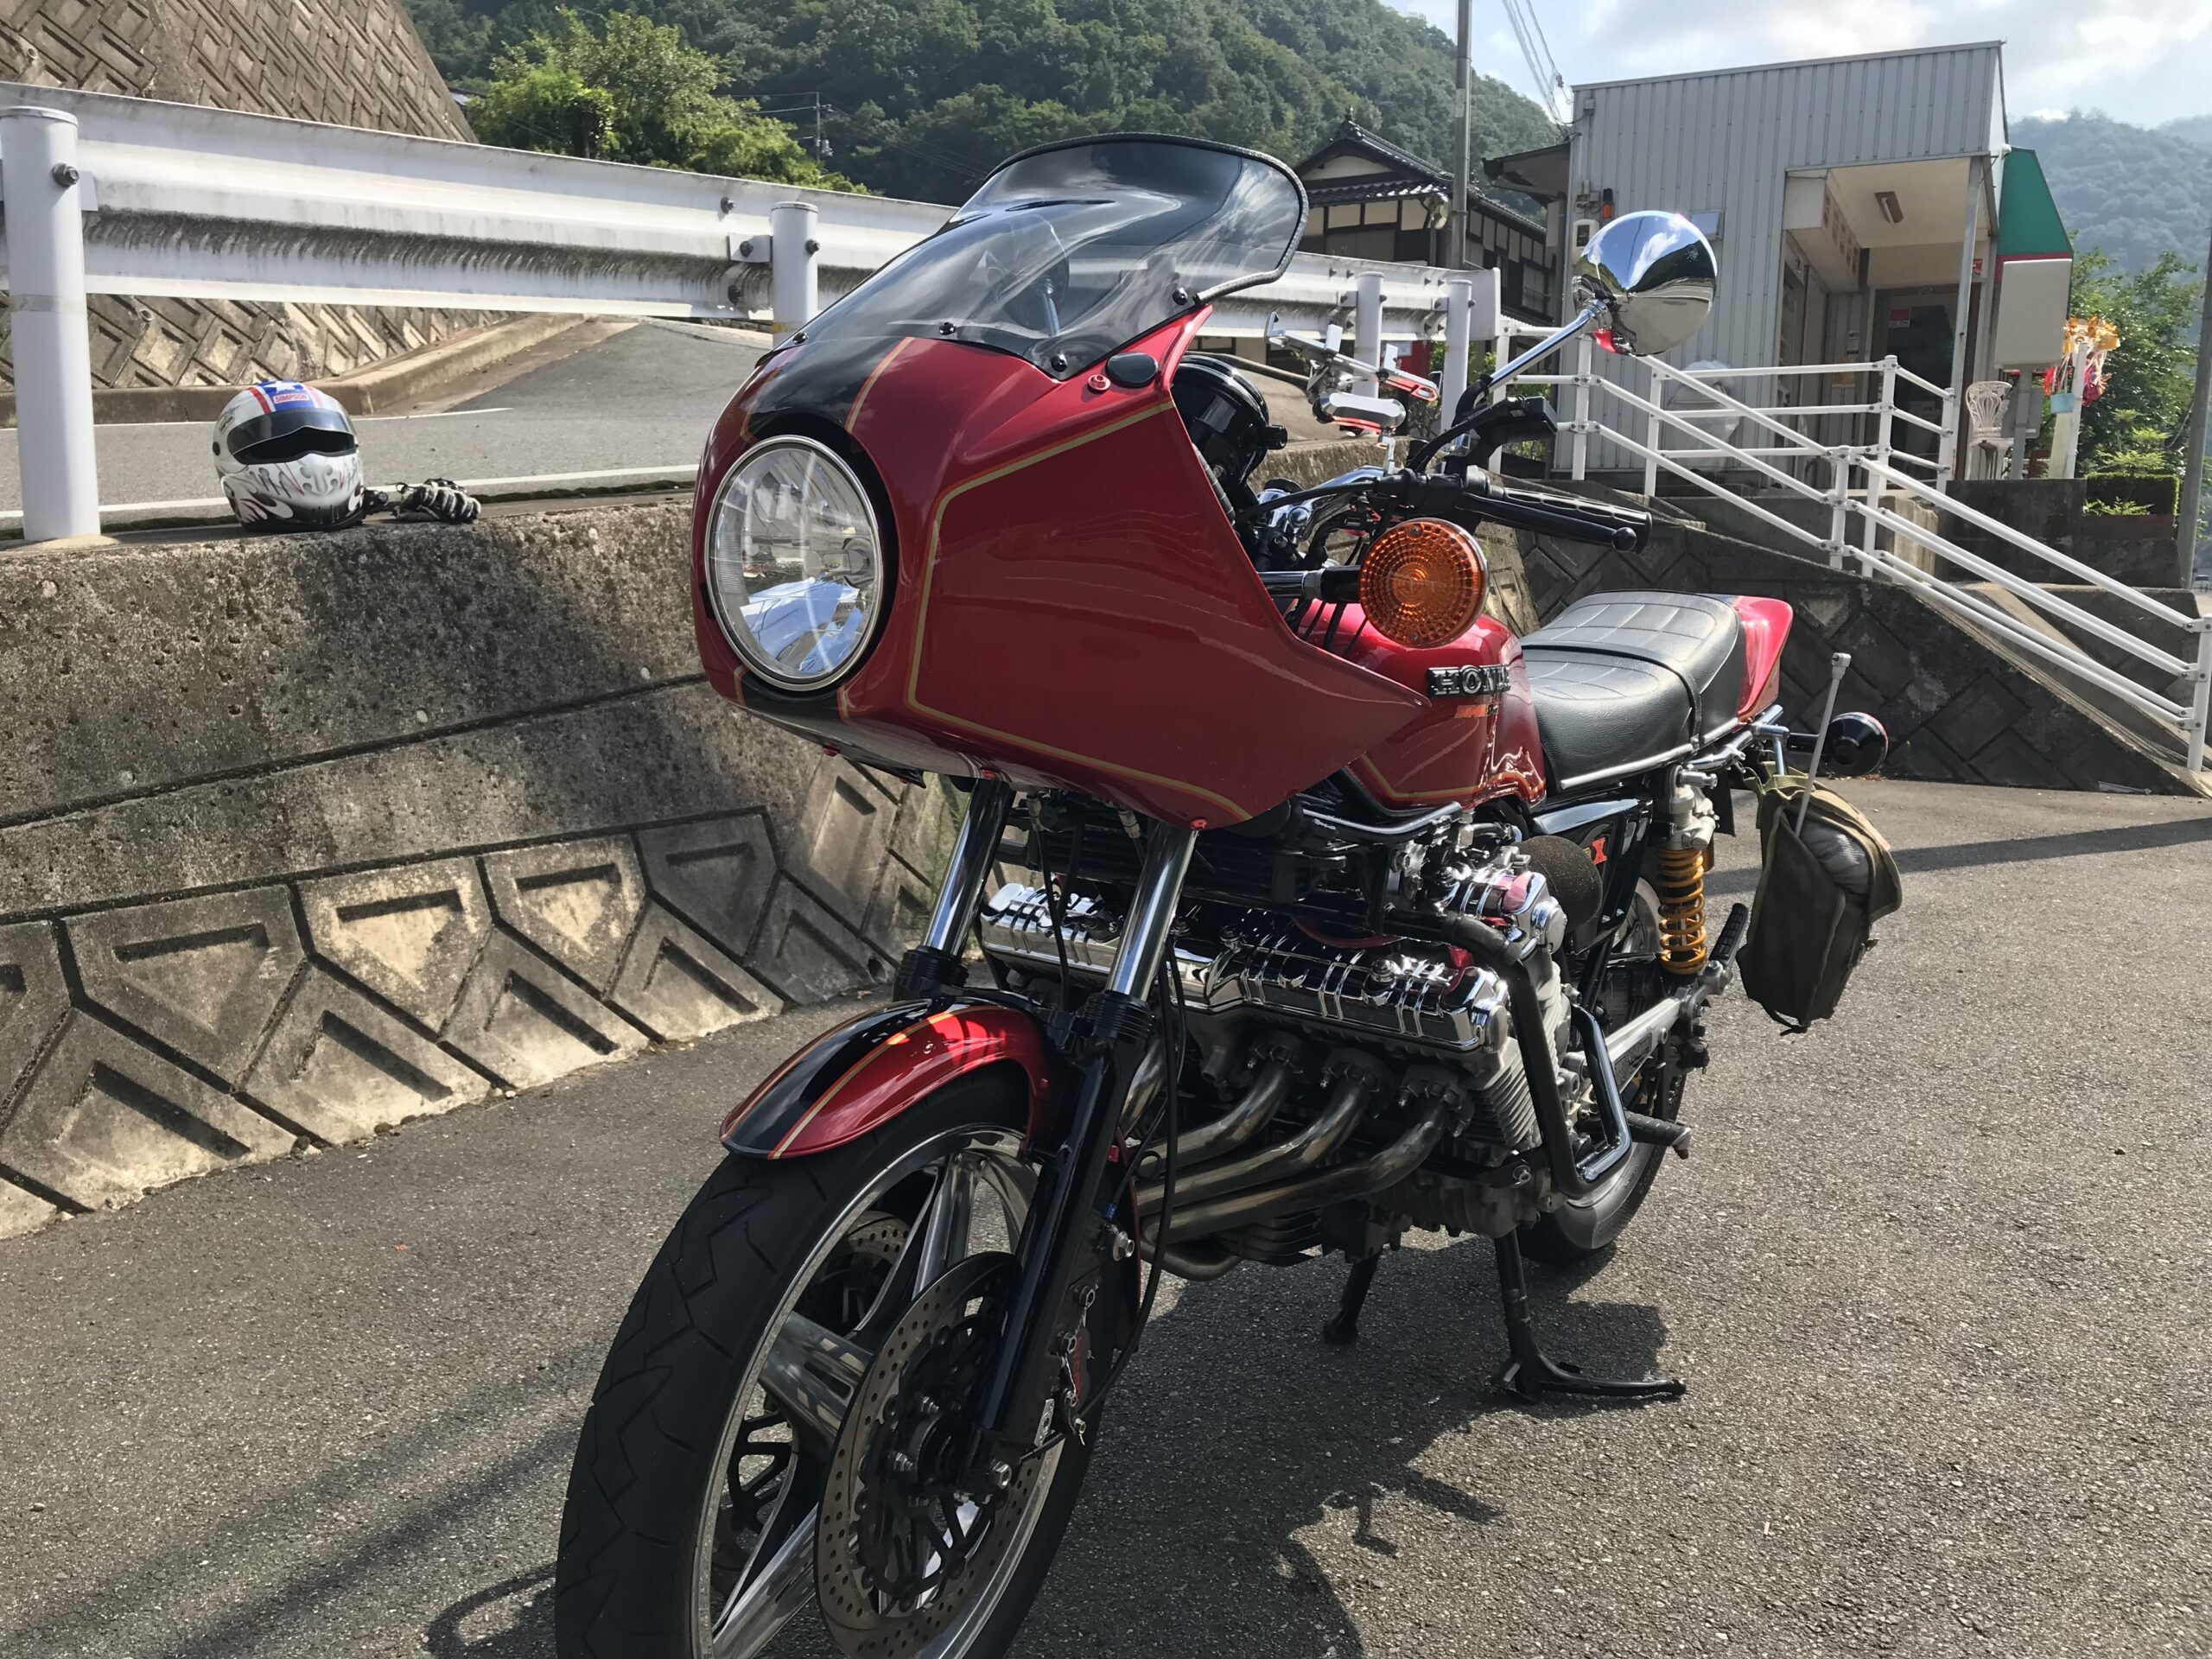
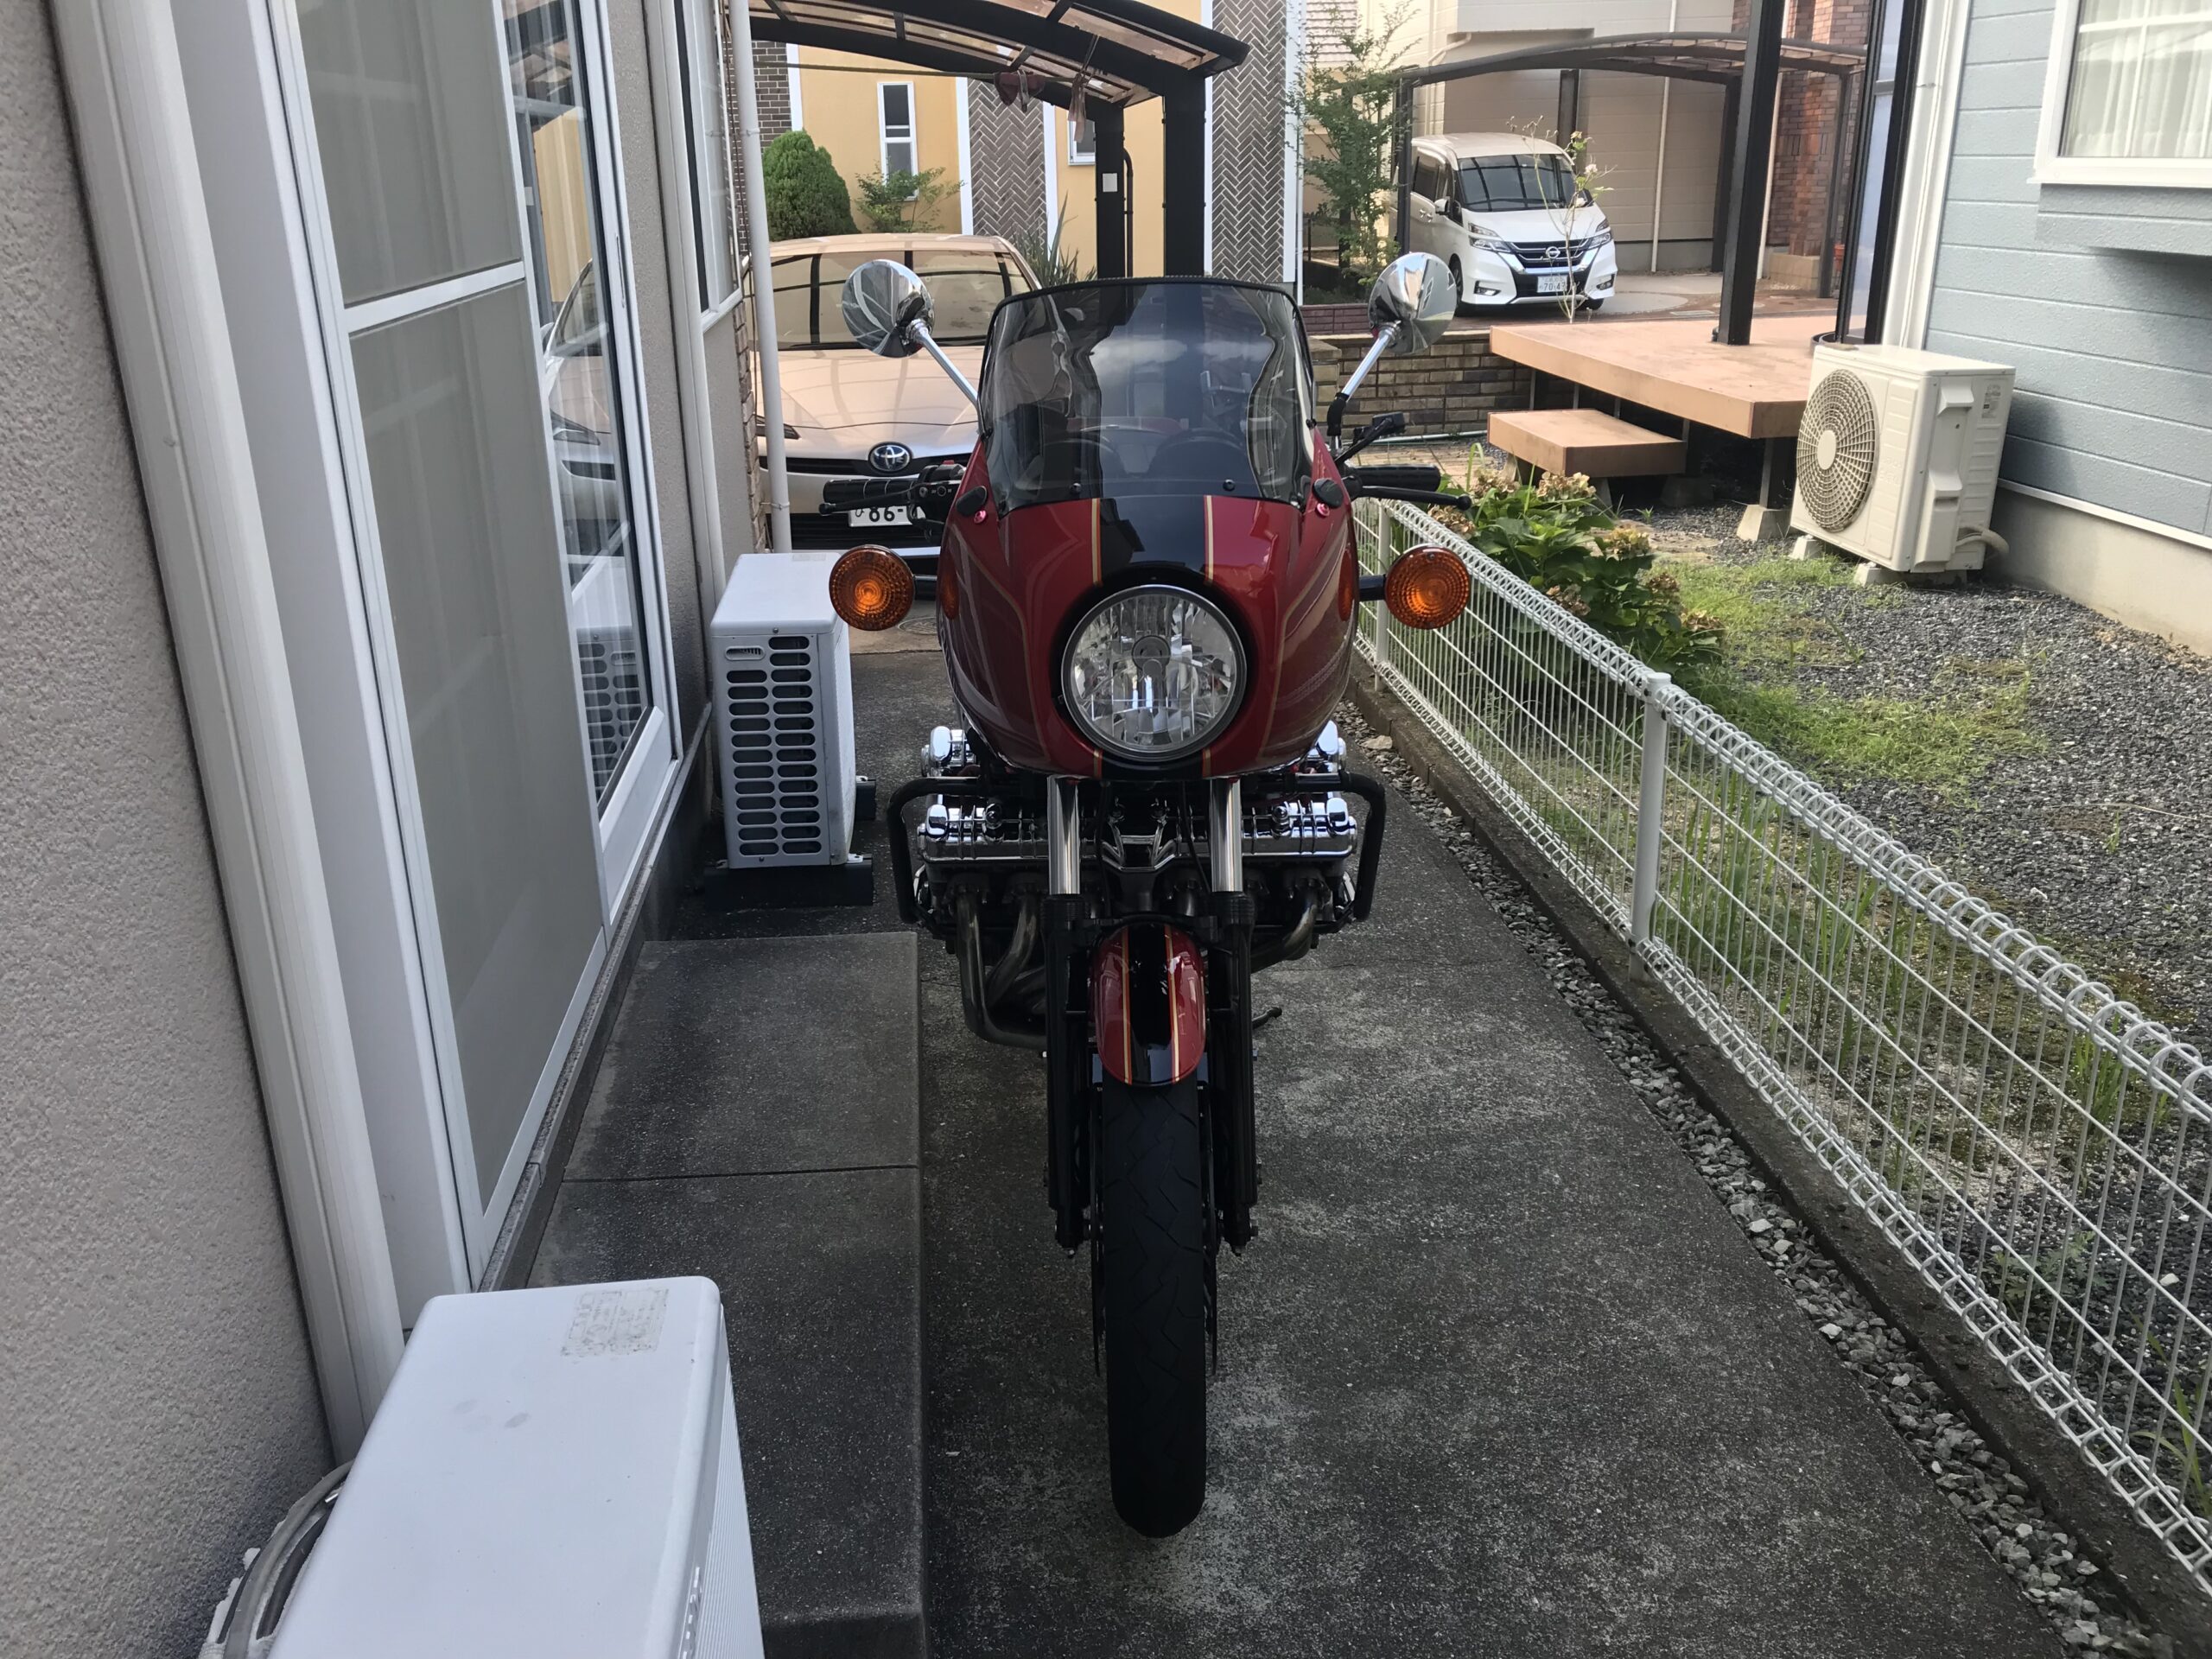
※A photo gallery is posted at the bottom.
CBX1000 Photo Gallery
I've put together some photos taken in bright sunlight.