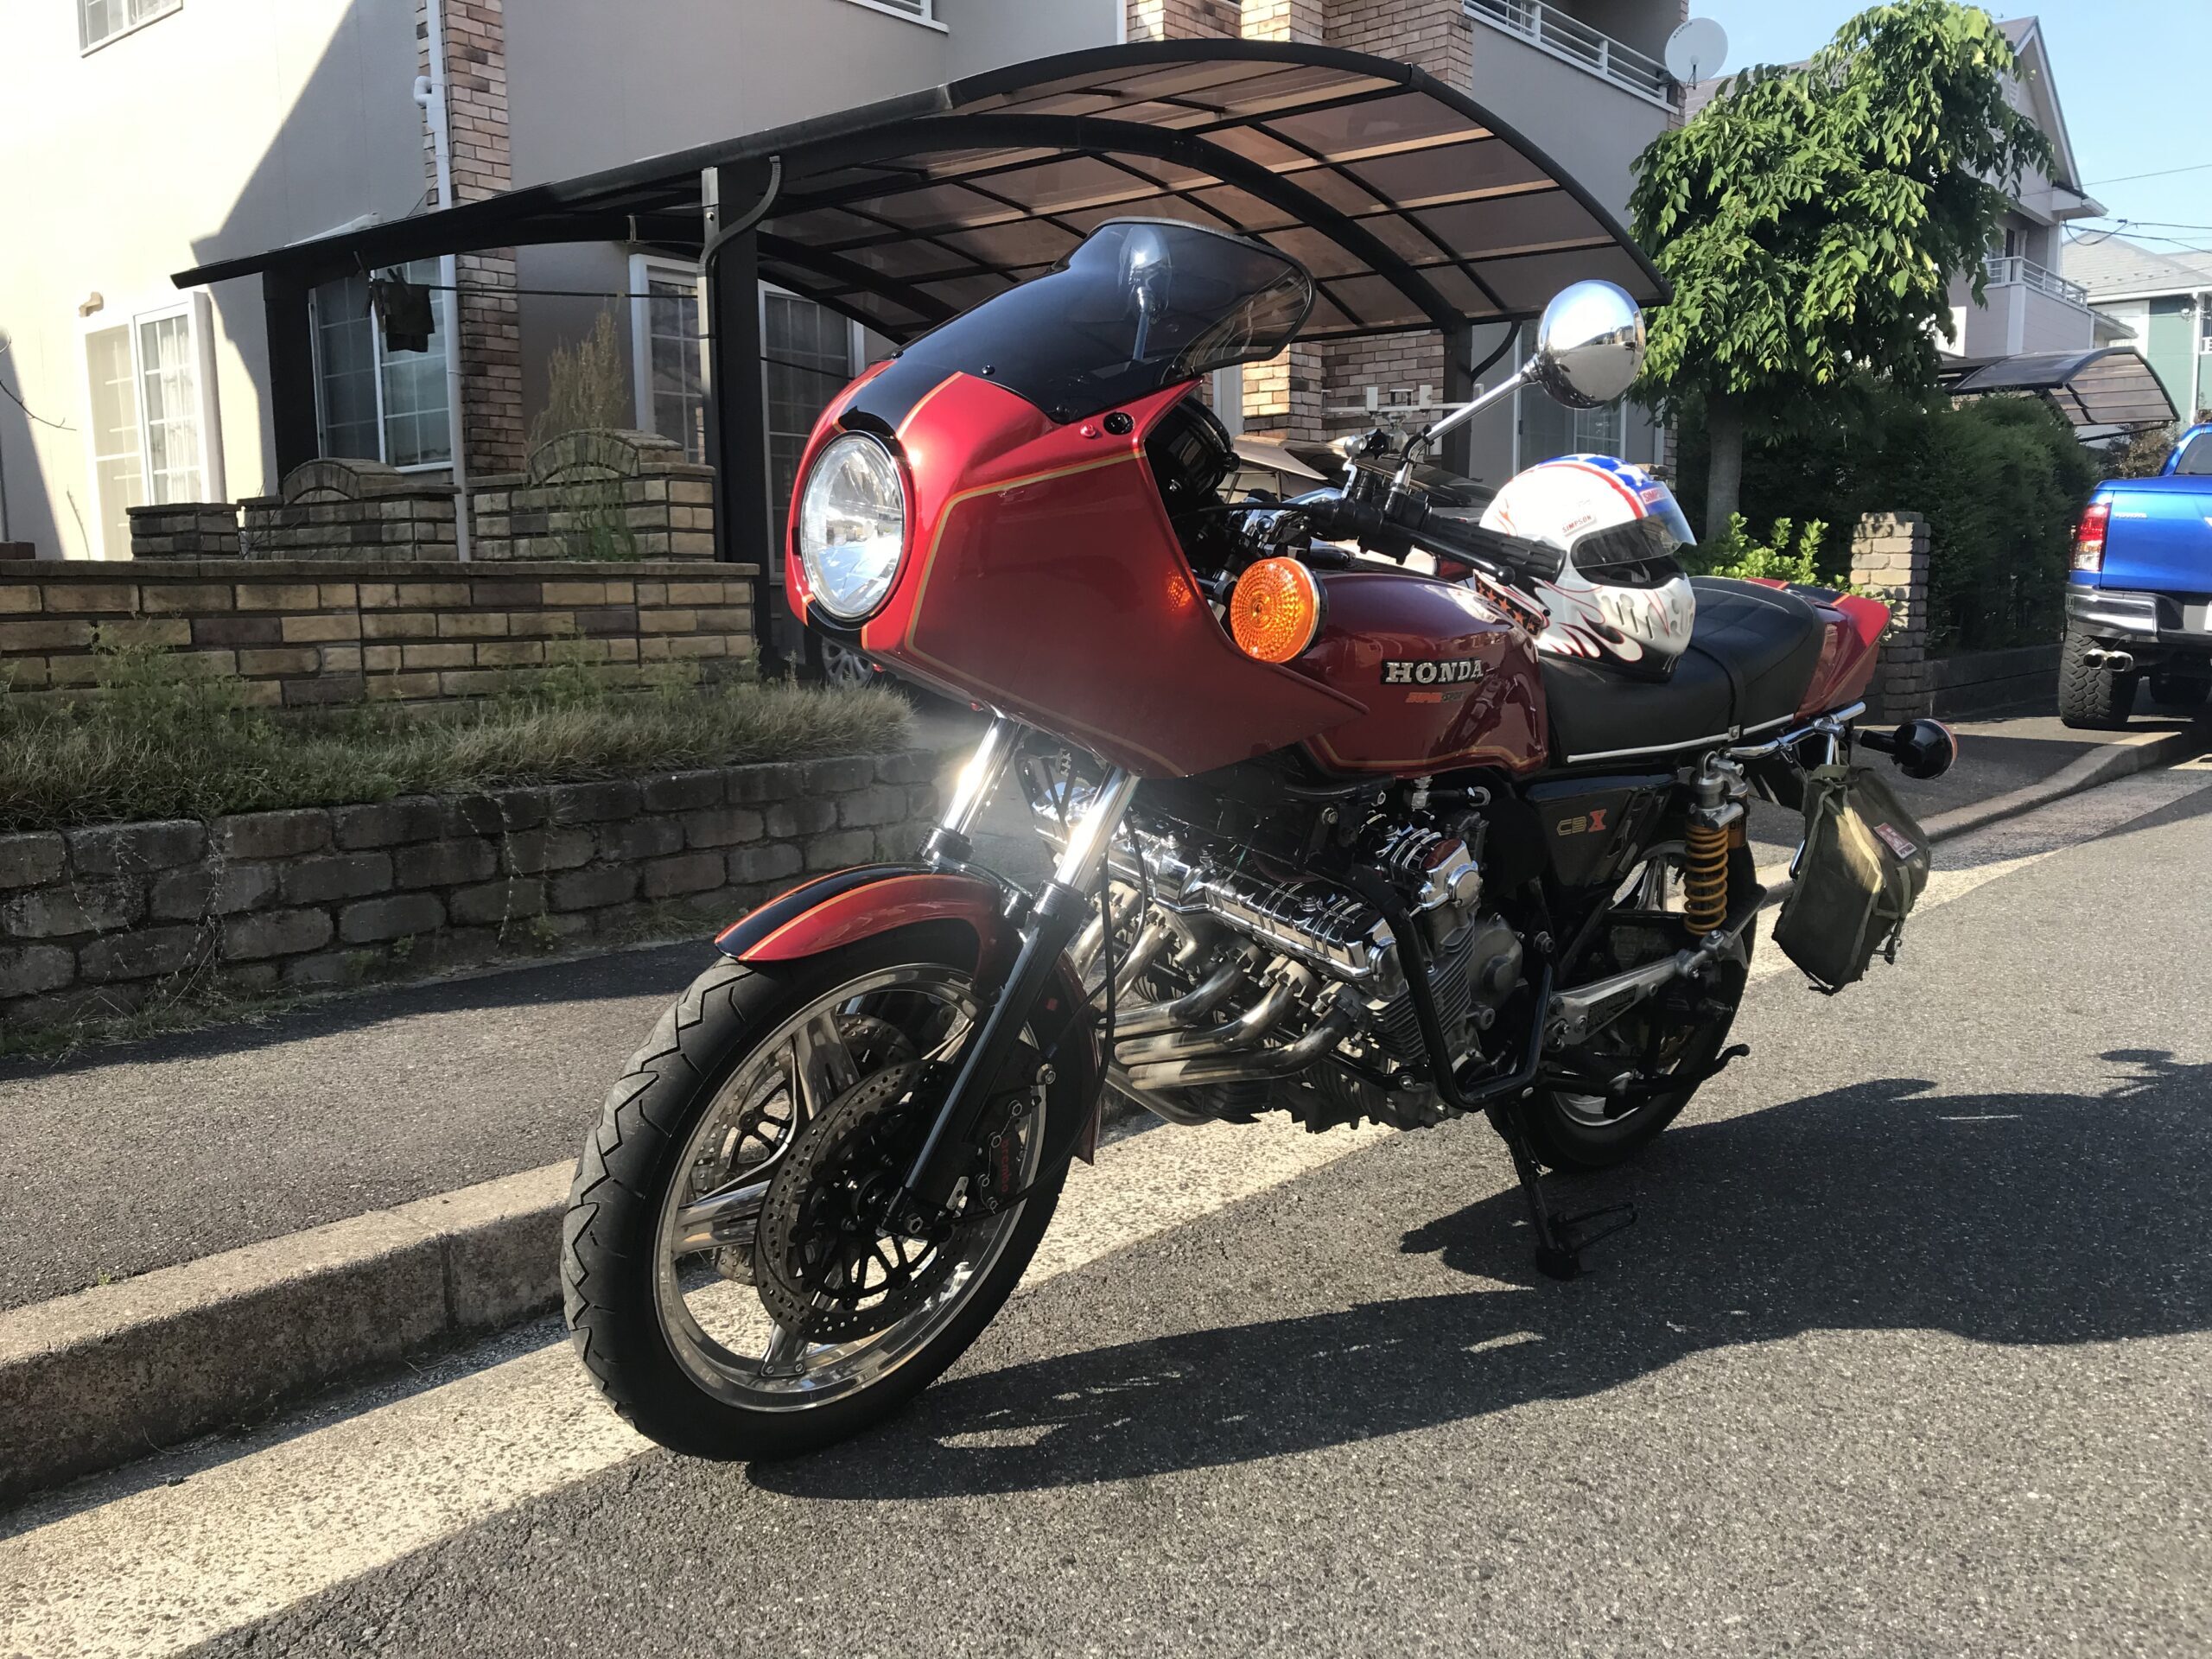
I am the owner of a Honda motorcycle [CBX1000] who lives in Hiroshima City, Japan. I am posting about FCR carburetor and CBX1000 customization. I also post about things other than cars and motorcycles. We will post information that will make bikers around the world happy.
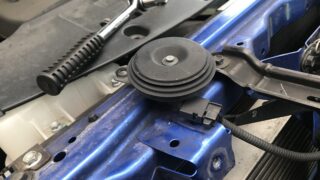
[Single horn] has been changed to [Double horn]. CBX1000 models CB1 and SC03 are single horns. Since this is a Japanese translation page, there is a high possibility that the link will open a Japanese page.
It's a single horn with a cowl attached to it that seems to be part of the design, but I didn't have a place to attach it, so I changed it to a small car horn.
So, I was able to acquire two horns for transplantation, so I changed it to a double horn to give it more sexiness.
Shall we try some DIY? This work is recommended for those who are interested.
↓ Post about acquiring a horn for transplanting ↓
[GUN125-Transplanted the horn from the new Hilux]
This note applies to changing from [single horn] to [double horn].
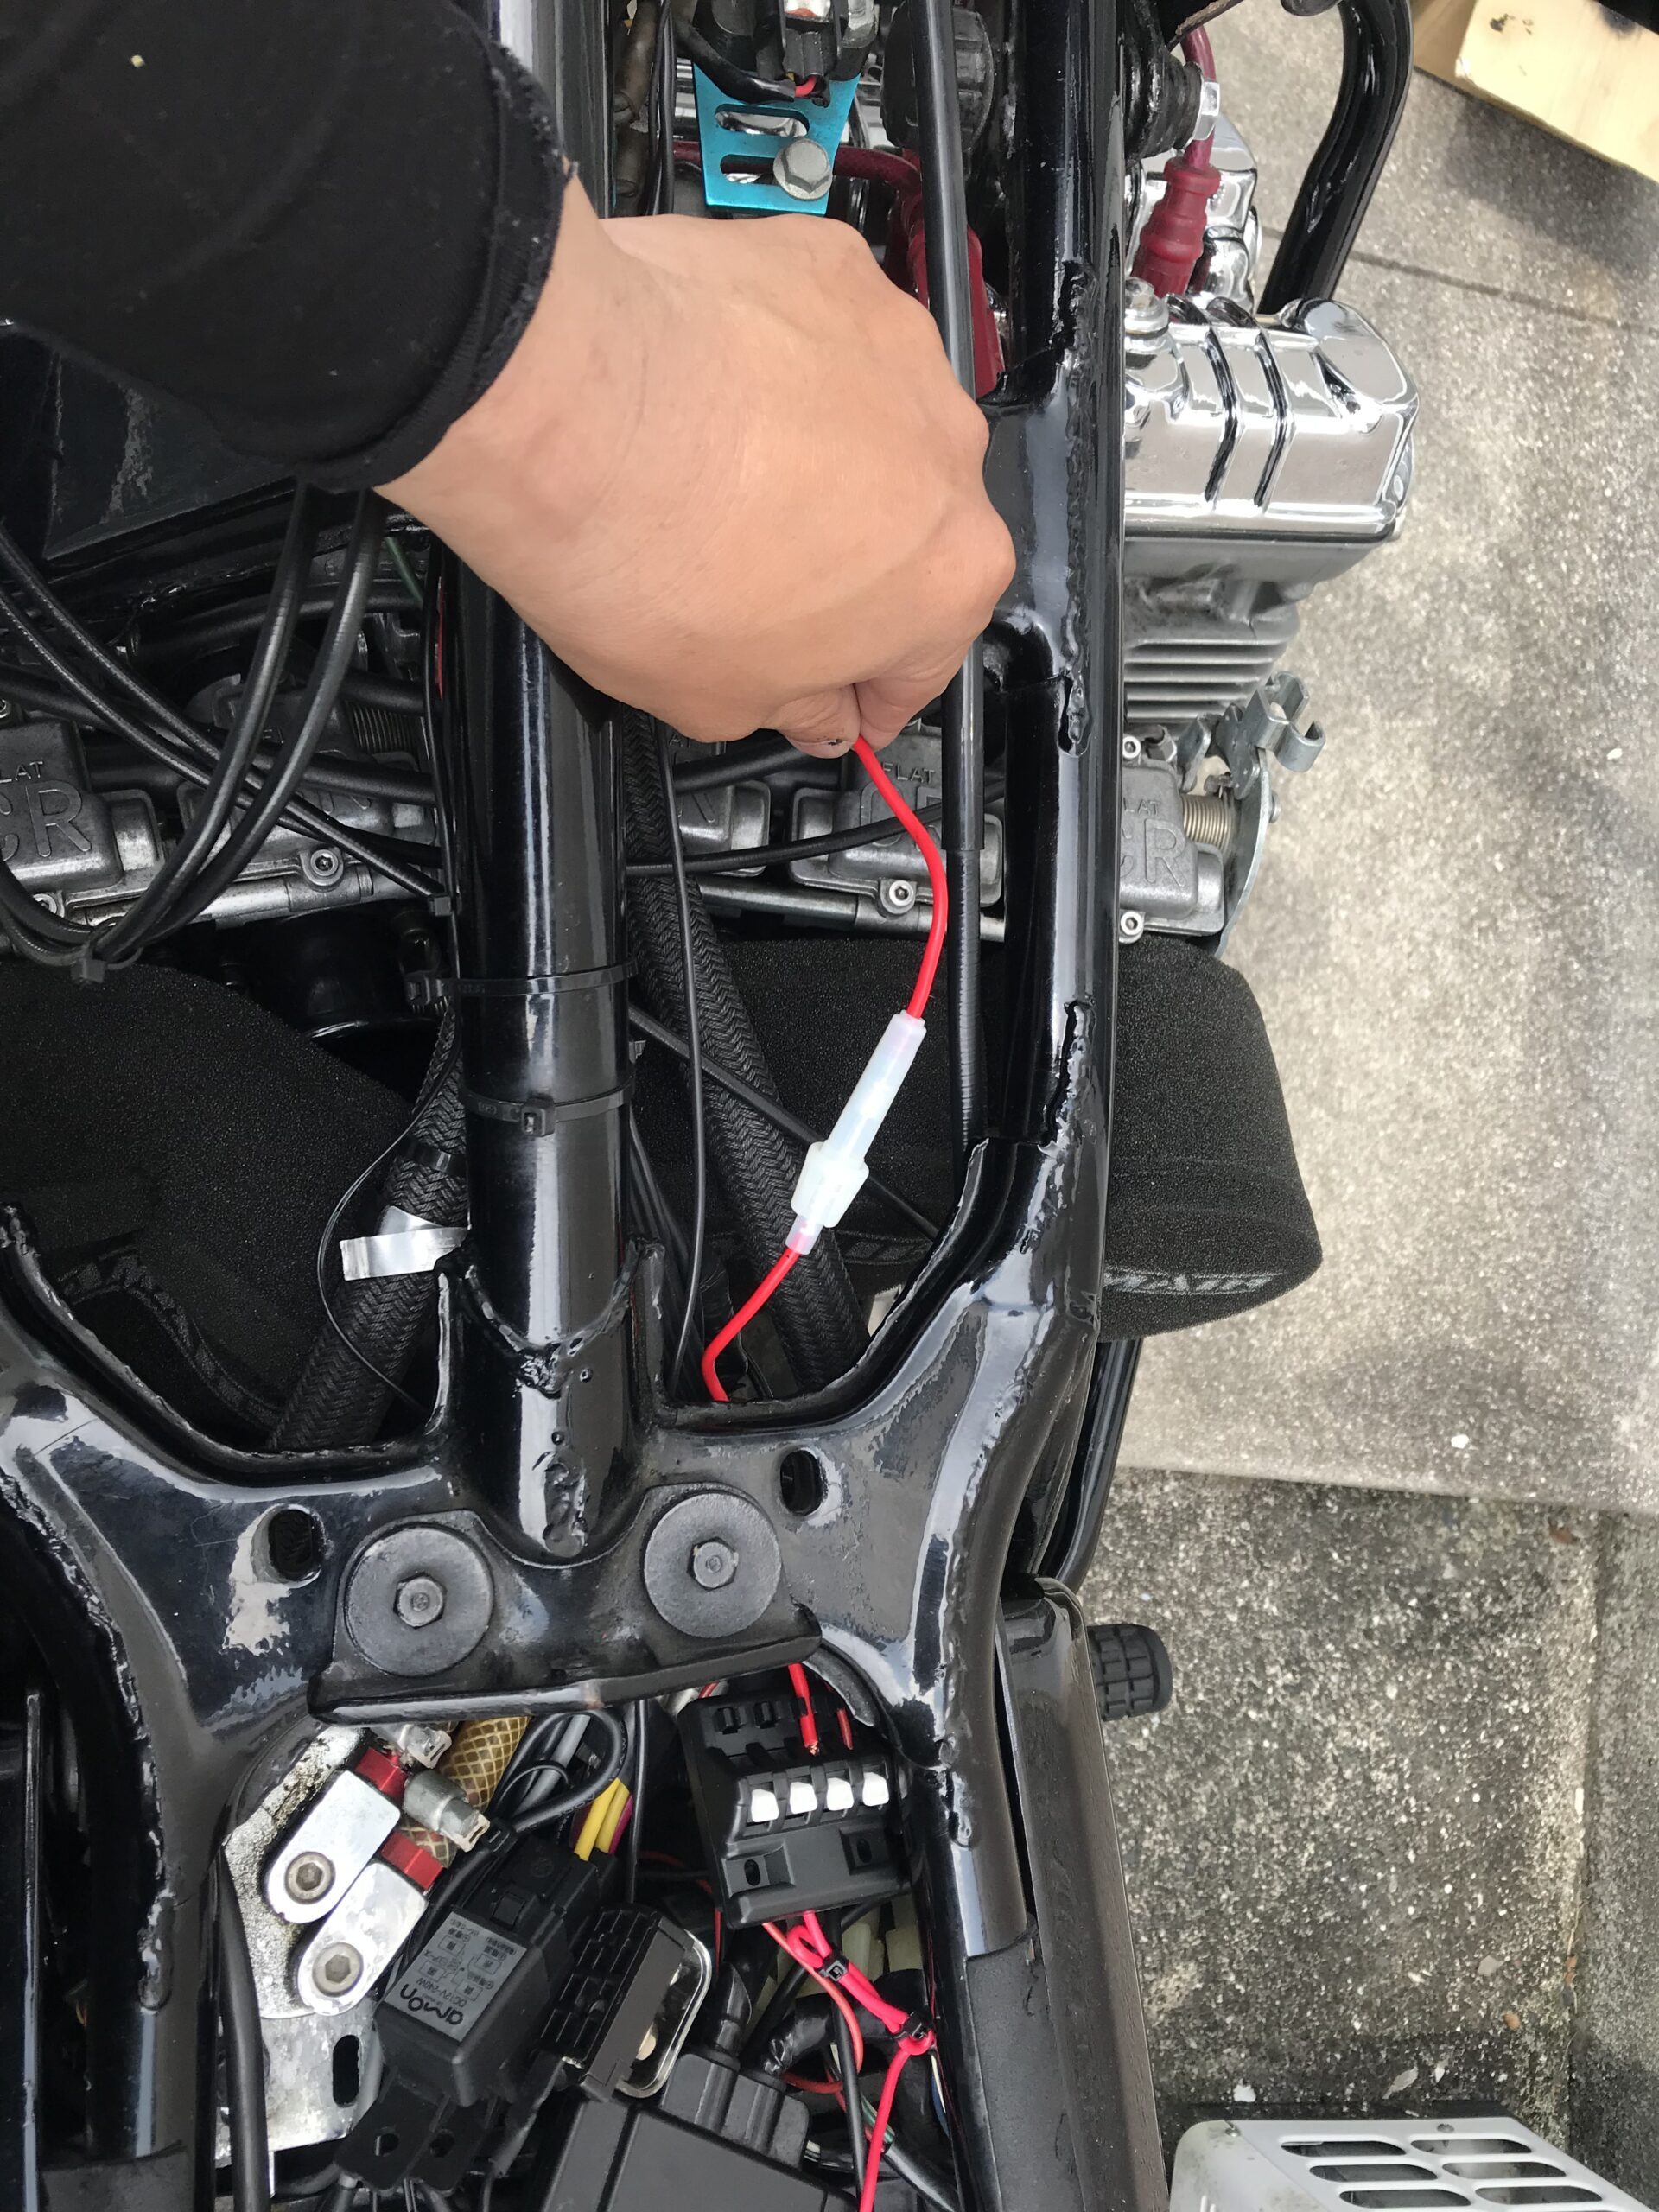
@Relay is required
The amperage of the horn is about 4A.
It's bigger than I imagined.
That becomes two, so it's 8A for a moment. It is essential to add relays and fuses as there is a possibility of burning out the switch or causing unexpected trouble.
It's a big deal when something breaks at an unexpected time and in an unexpected place.
We recommend using a relay to create a [double horn].
You should use a 4 pole relay.
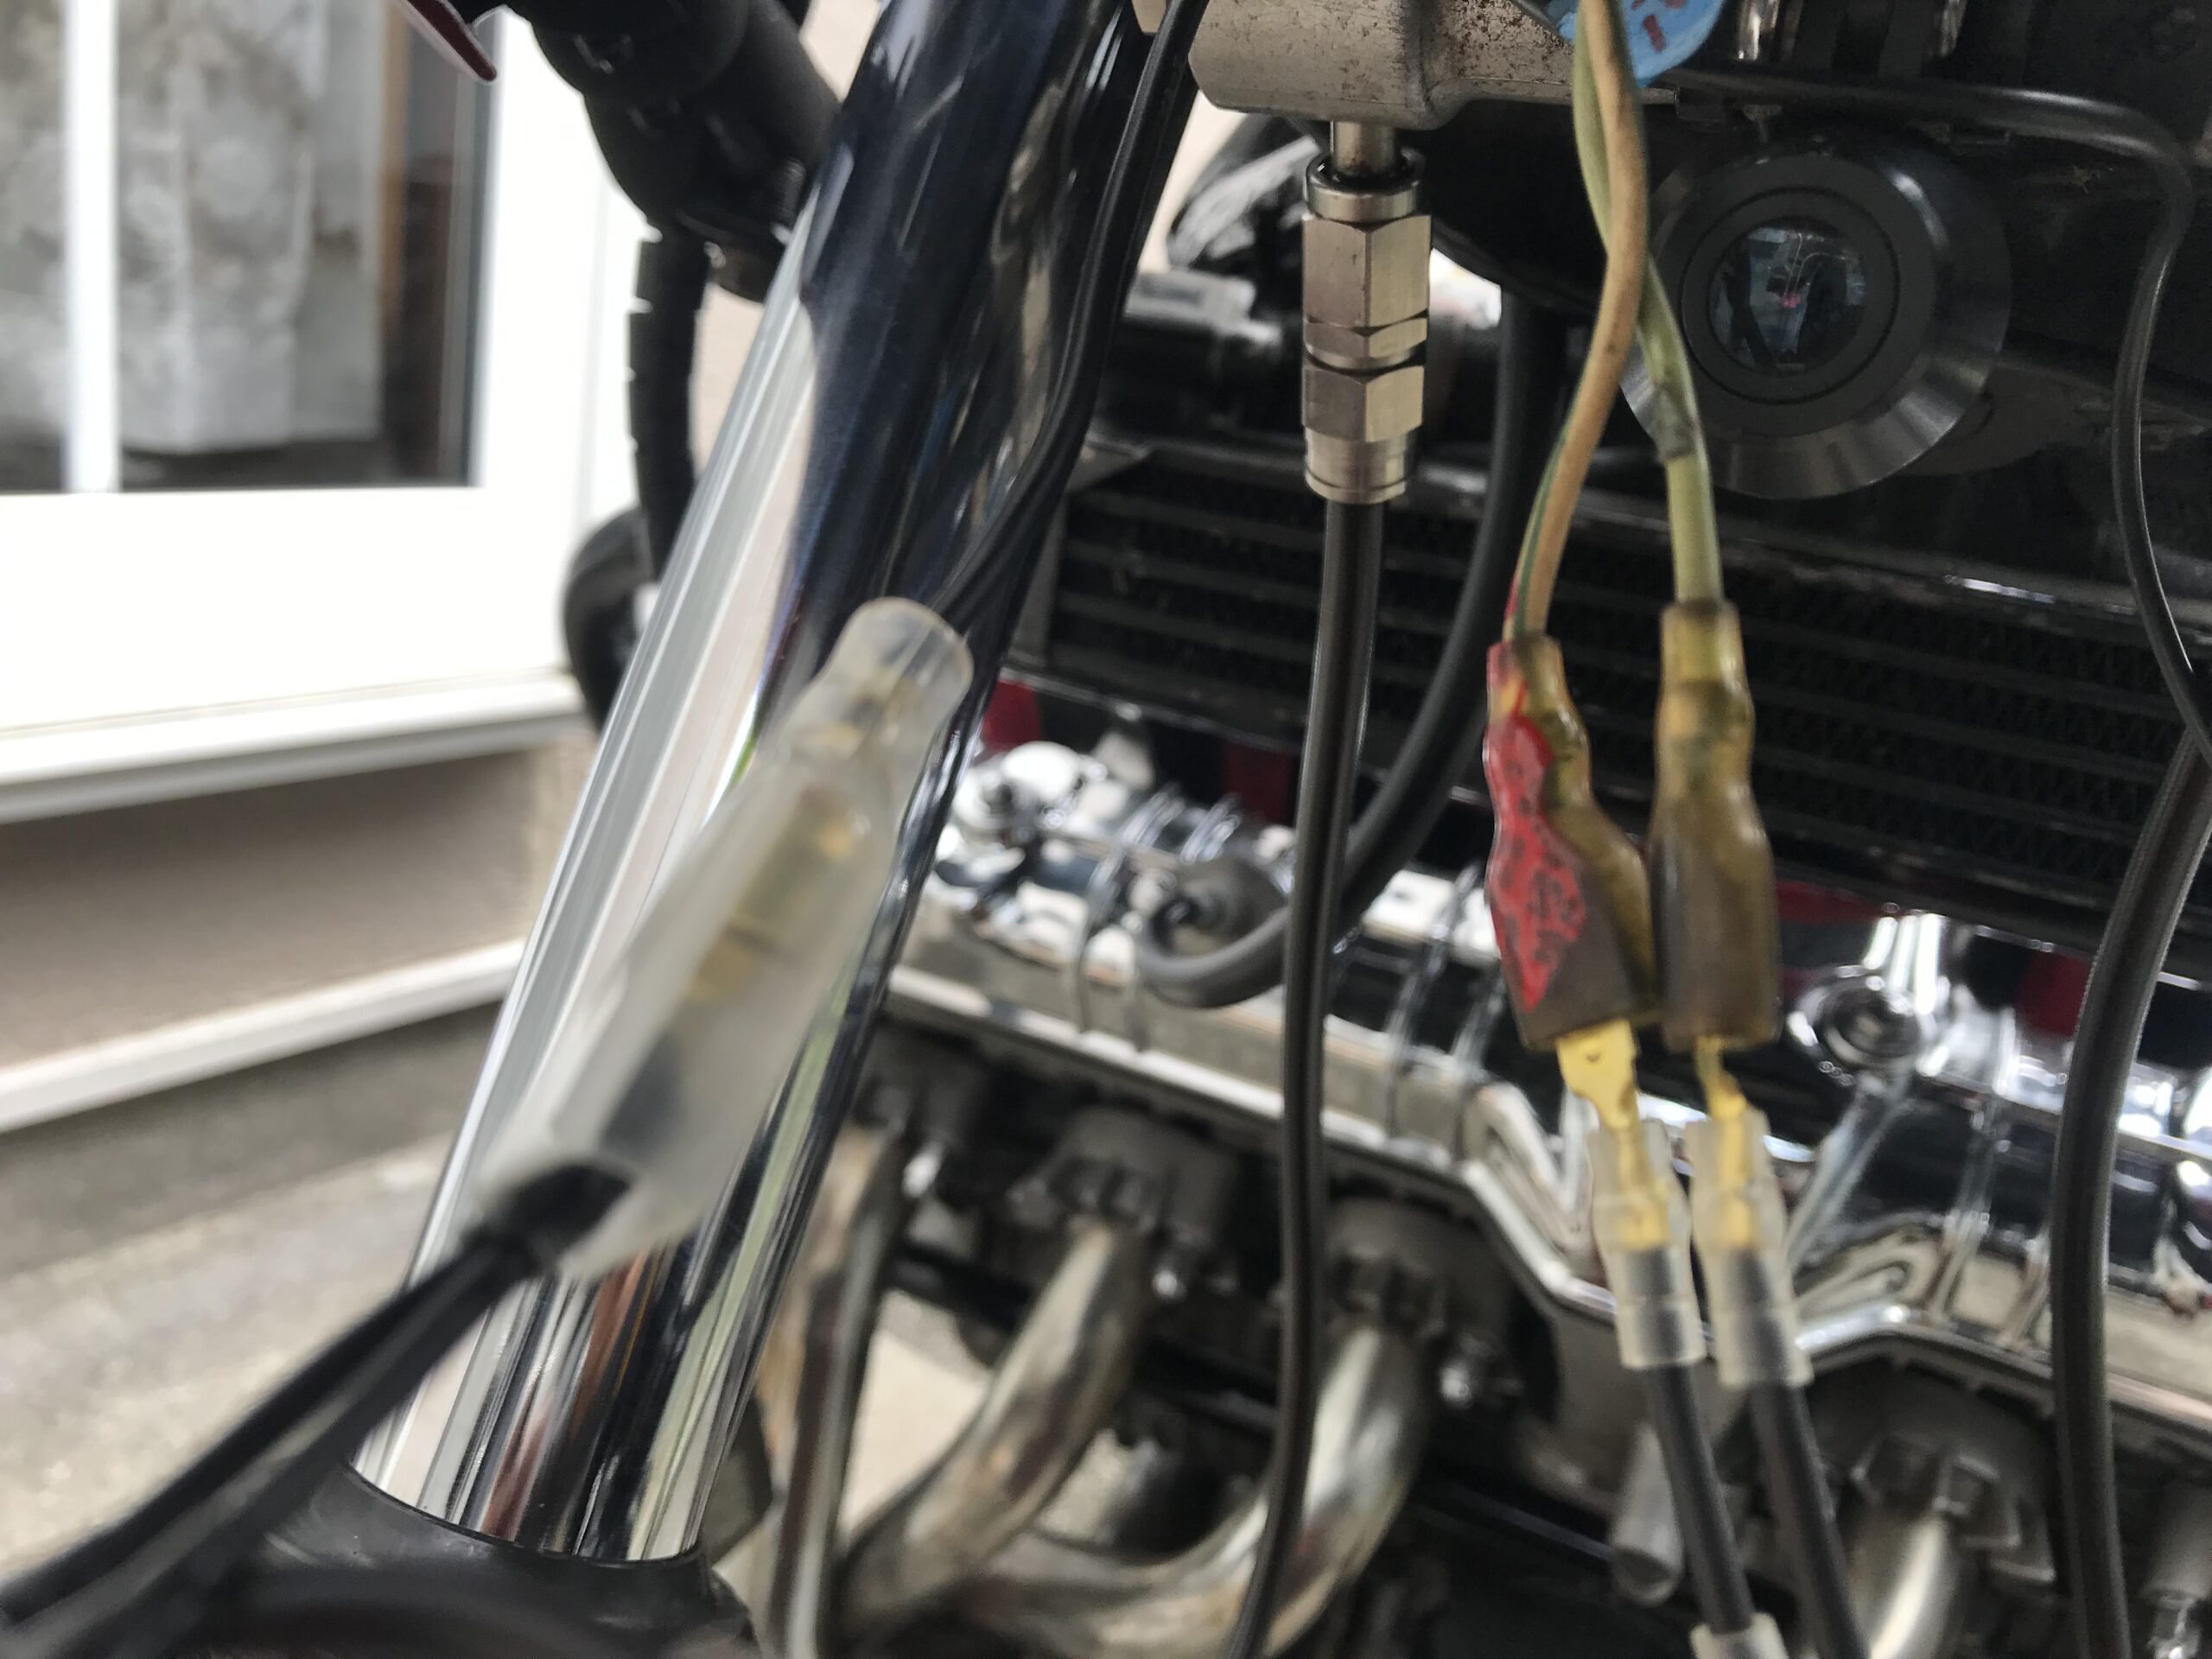
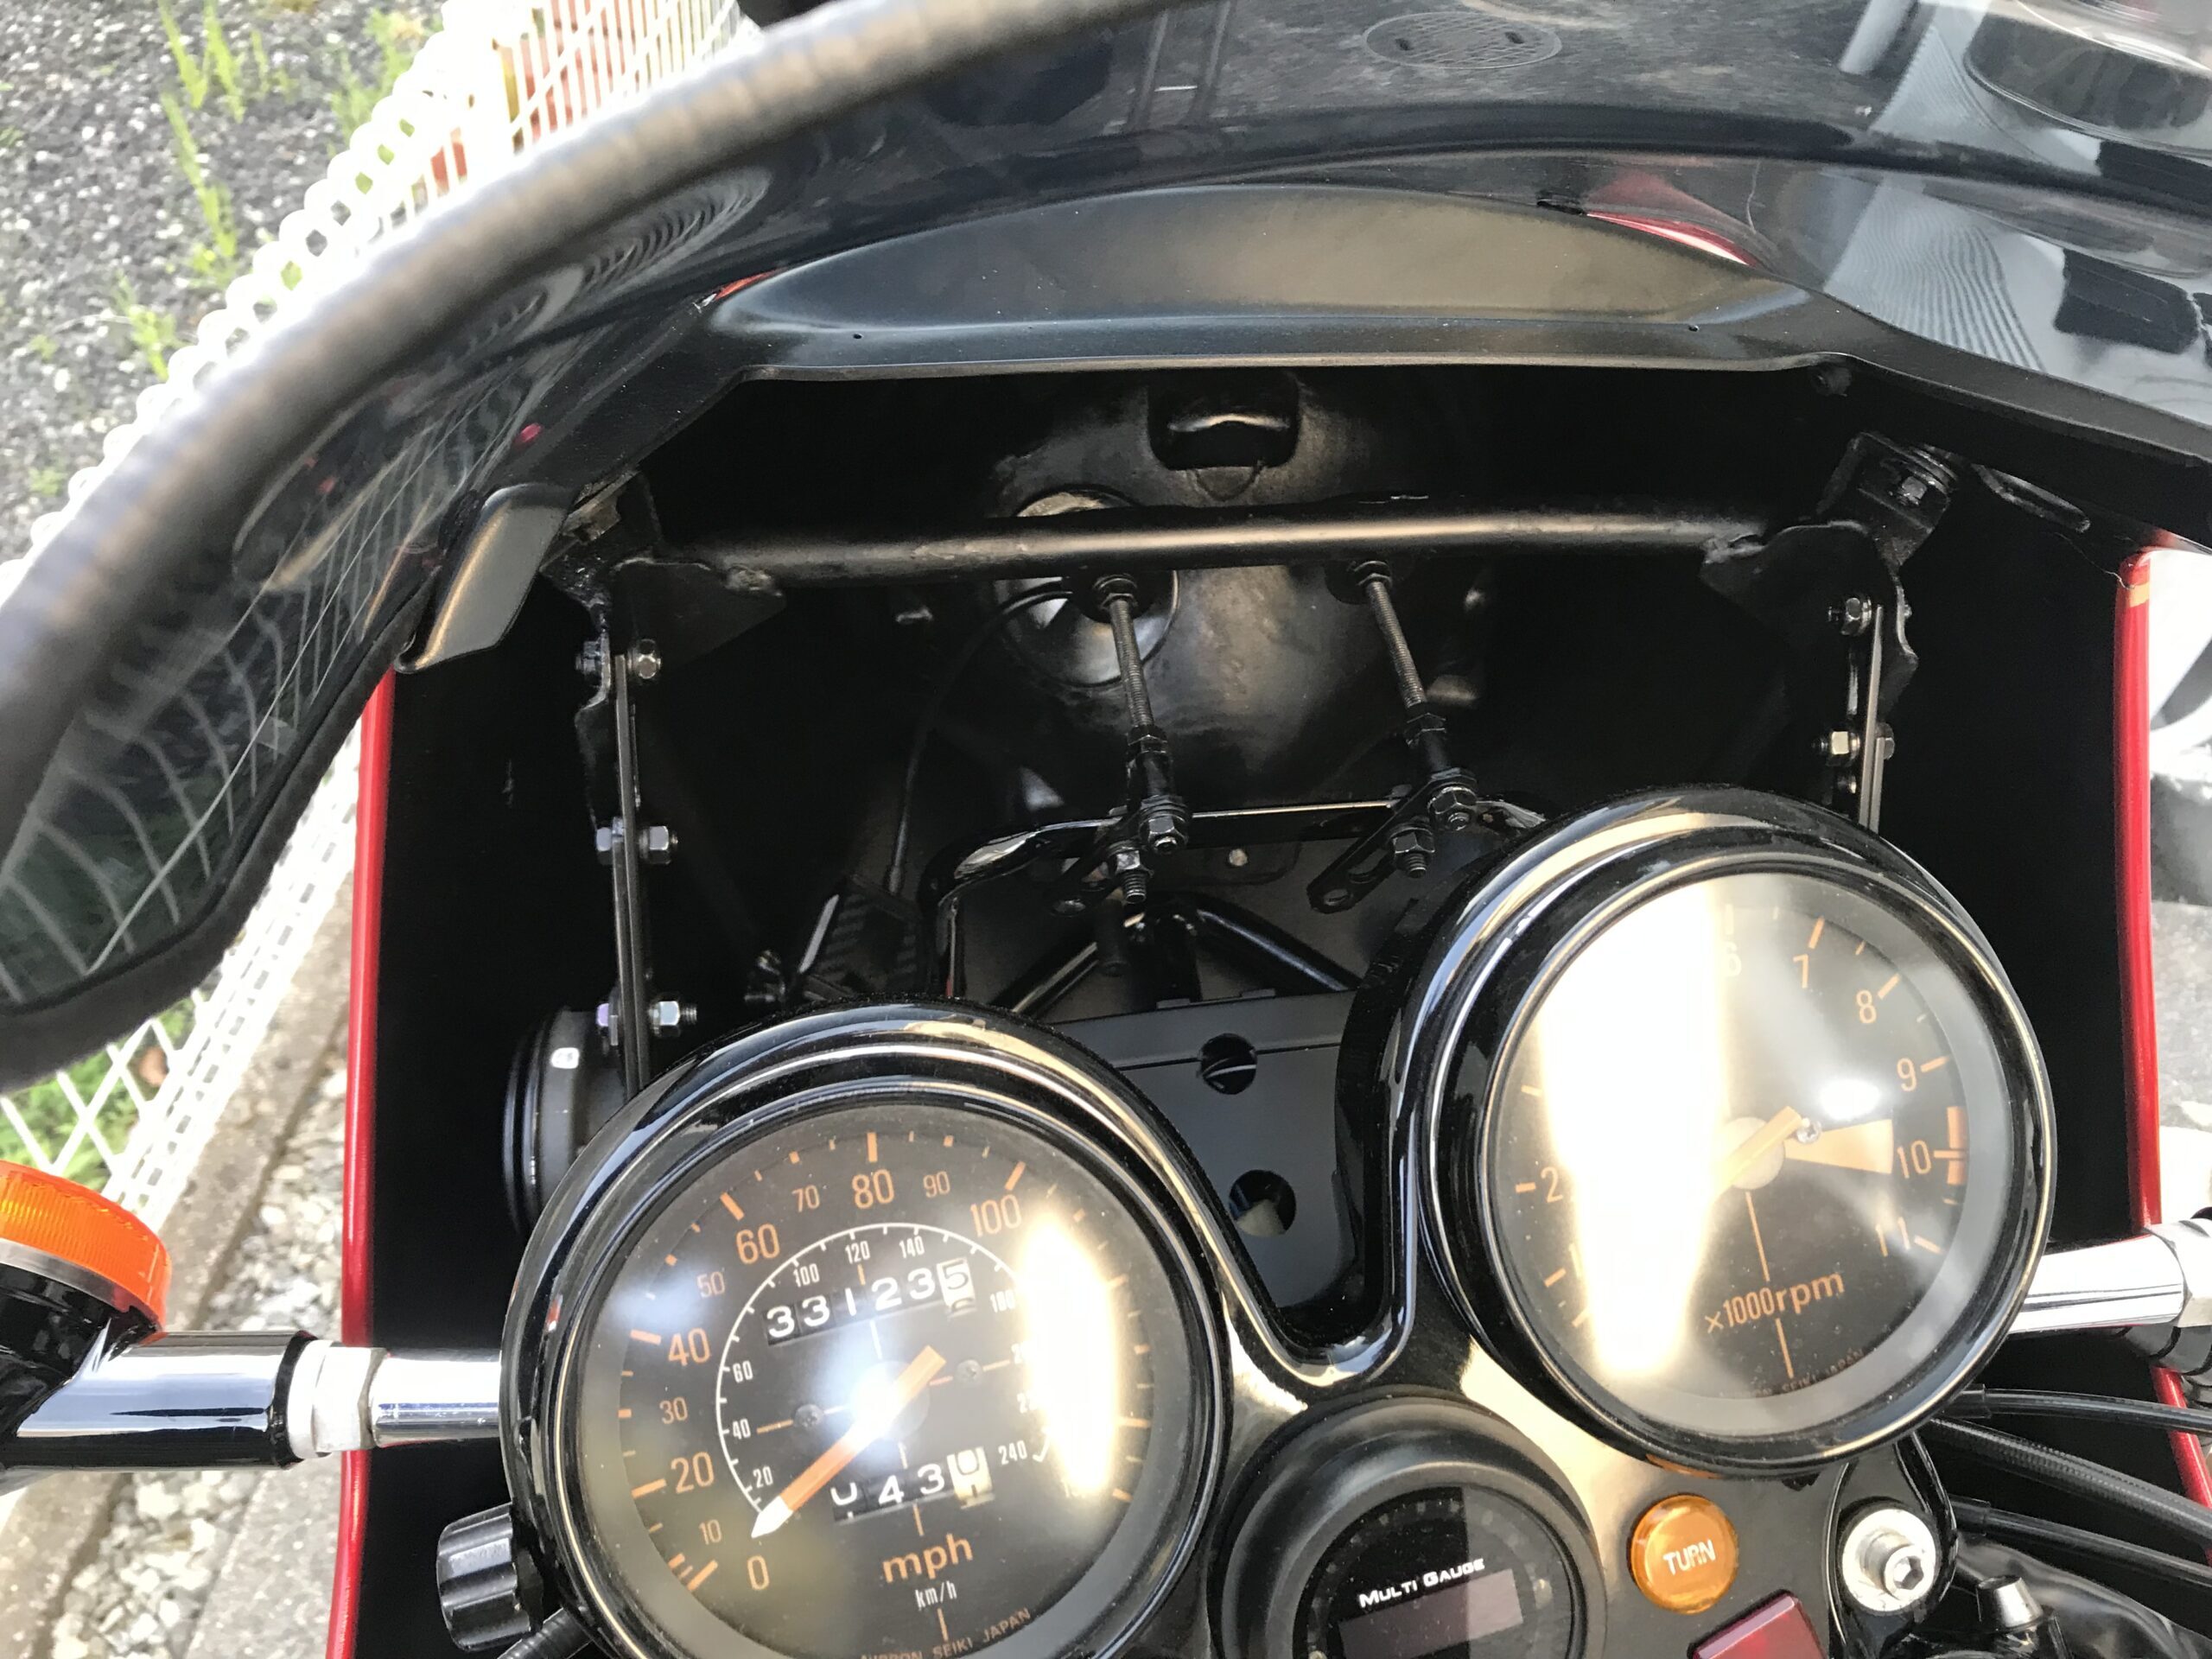
CBX1000 horn. Normal is negative control
The CBX1000 horn is a negative control. It's a single horn, so you don't have to worry about it.
The wire that looks like one W/G wire is the positive wire, and you can take a power supply from here if necessary.
LB is light blue and is on the ground side. The switch is hidden behind this wiring.
Body earth seems to be working. *Insulated with rubber.
Work, costs and necessary items
Basically, motorcycles are unprocessed. If you use a harness kit, you may need to modify the connector on the kit side a little. If you are a beginner, we recommend purchasing a kit from the beginning.
By the way, if you do a little wiring, consider the 4-pole relay and fuse in the price. You can find everything made by Amon at an auto parts store or Amazon. *Other brands are also possible.
If you work without a relay, you will probably fail.
We recommend using a relay from the beginning.
・M6 bolt and stay
Around 1500 yen
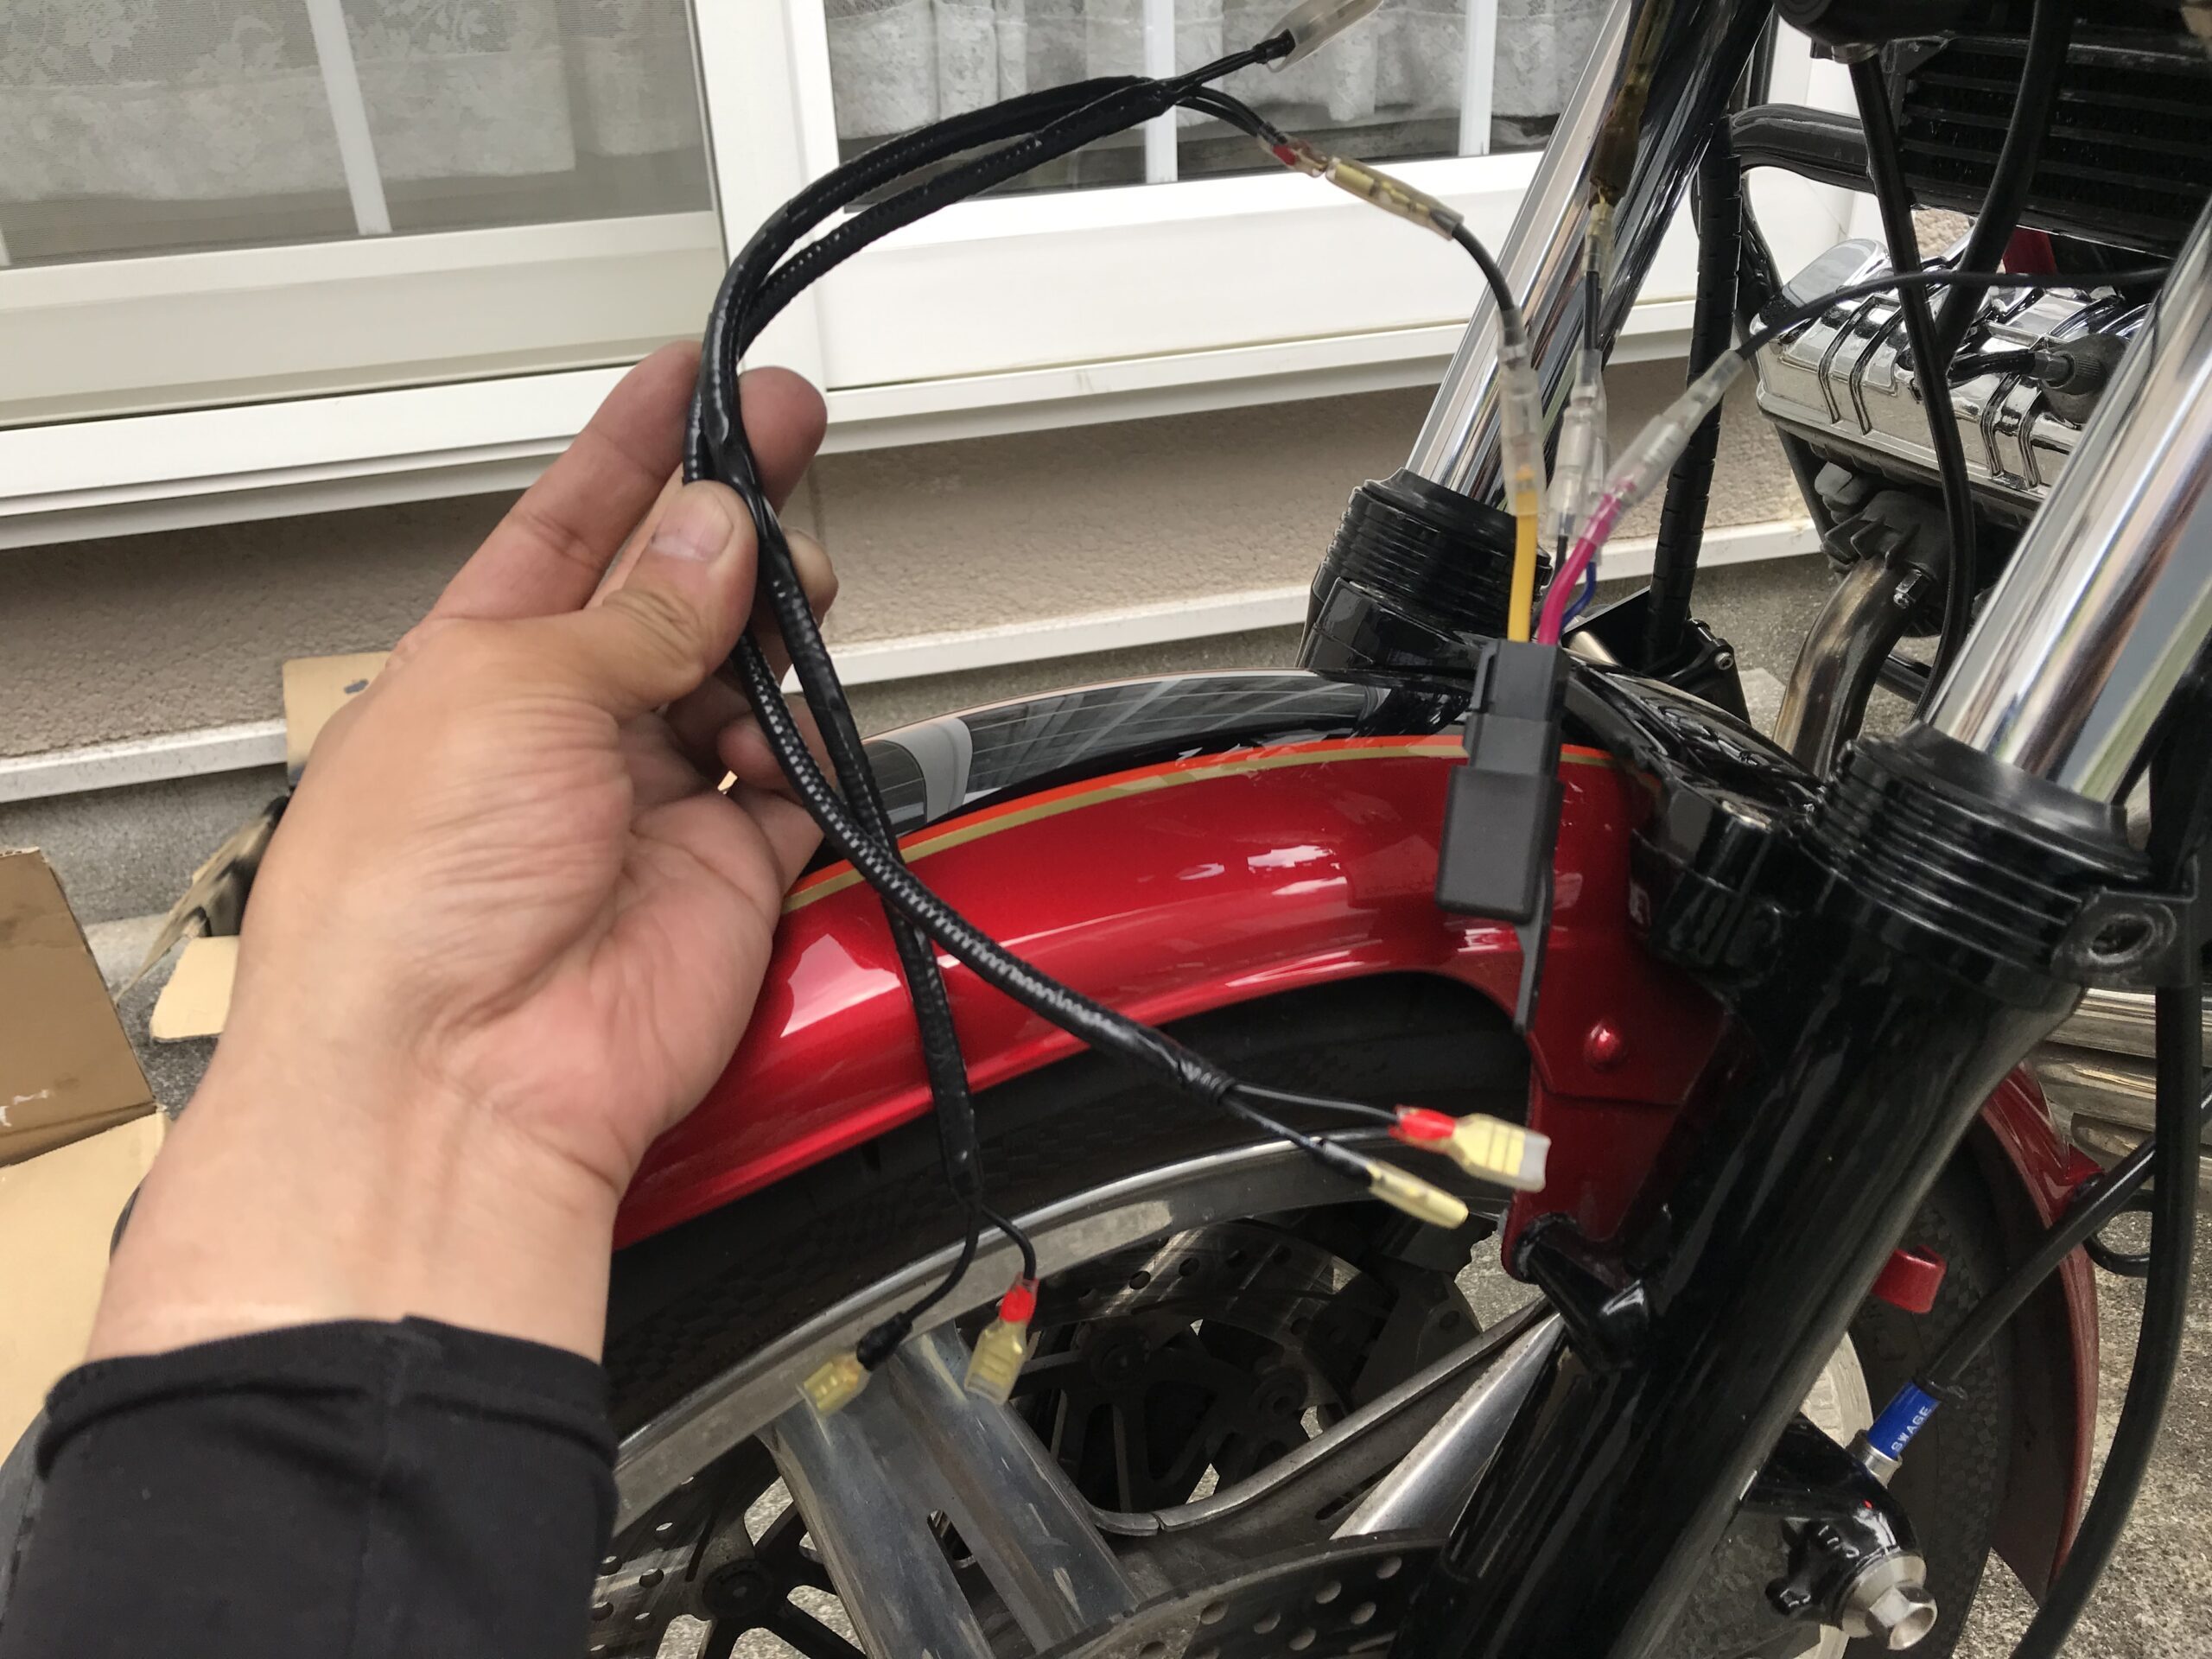
・Horn harness
リンクはここをクリック
Around 2500 yen
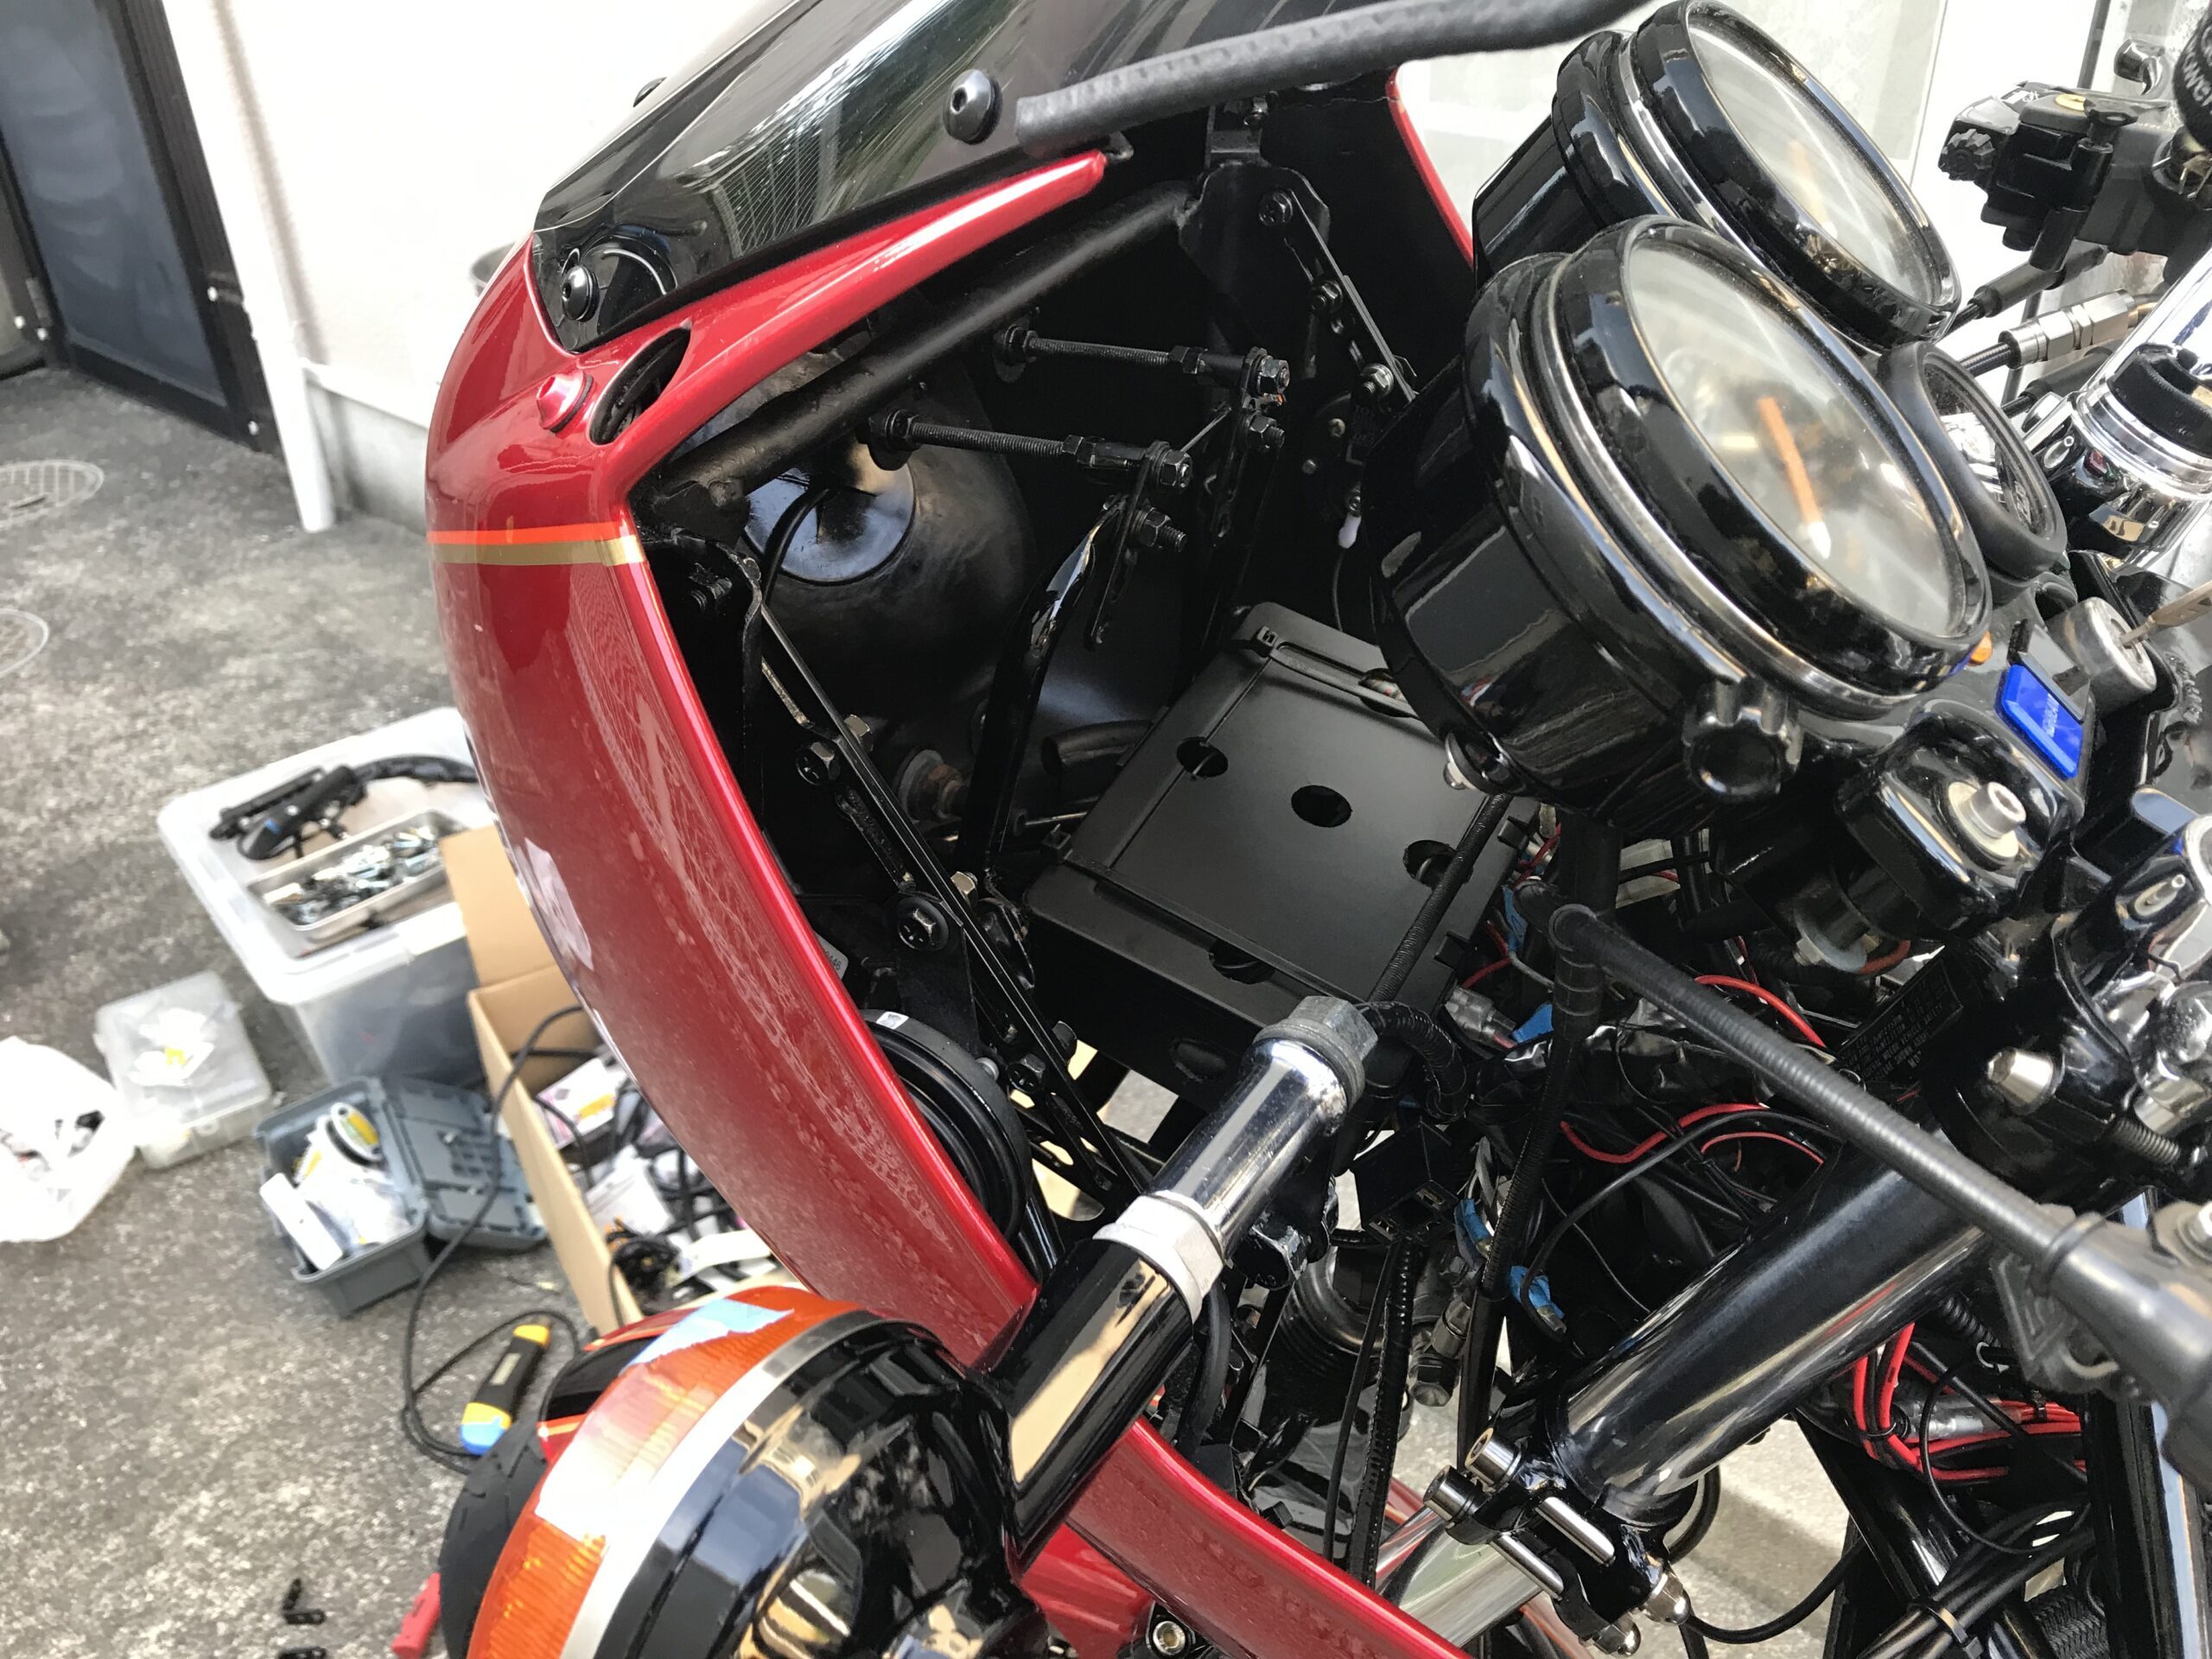
work gallery
battery positive and fuseHomemade harness with relay includedConnection with single hornleft horn 1left horn 2left horn 3Change single horn to double horn
Check the sound on YouTube
The sound itself wasn't particularly noticeable when I watched the video, but the volume was much louder than before.
This may be due to the fact that it is connected directly to the battery.
Thoughts on wages.
It comes down to thinking about wages.
This work is highly recommended as it will save you money on labor costs. I won't take time into consideration, but it should take less than an hour for an experienced person, and less than three hours for a motorcycle that involves a lot of wiring, attaching and removing parts, etc. Even if you make a mistake, you can go back, it is not an item that will make you unable to drive, and there is no modification to the motorcycle.
One way of thinking is that if you don't have tools, you can buy some tools for the labor costs.
If the bolts are too difficult to remove, stop doing the work and leave it to someone who is good at motorcycles or to a shop.
CBX1000 double horn conversion
I bought a relay and made the harness myself. About what I used.
・Amon's 4-pole relay.
・Amon's fuse box
・Amon wiring cable
・Giboshi
・Stays and bolts (I am currently installing the cowl, so I did not purchase any new ones.)
The work itself is easy, but how should I route the wiring? Since I was thinking about these things and working on the cowl installation at the same time, I feel like I took extra time to balance it out with other things.
How to wire
Mr. Amon explains it on his website, so it might be a good idea to refer to it.
I use the genuine horn for Toyota Hilux [GUN125].
Since a relay is added, it can be used with either a single horn or a double horn. If you use the car version in your car, it will feel weak. When using a car version on a motorcycle, it doesn't feel weak, probably because the horn and rider are close.
I'm happy when the sound becomes a duet of a high horn and a low horn.
It was nice because it gave me a fresh feeling.
Unfortunately, the horn cannot be sounded frequently to confirm operation.
See you again!