I am the owner of a Honda motorcycle [CBX1000] who lives in Hiroshima City, Japan. I am posting about FCR carburetor and CBX1000 customization. I also post about things other than cars and motorcycles. We will post information that will make bikers around the world happy.
This is a continuation of the list post.
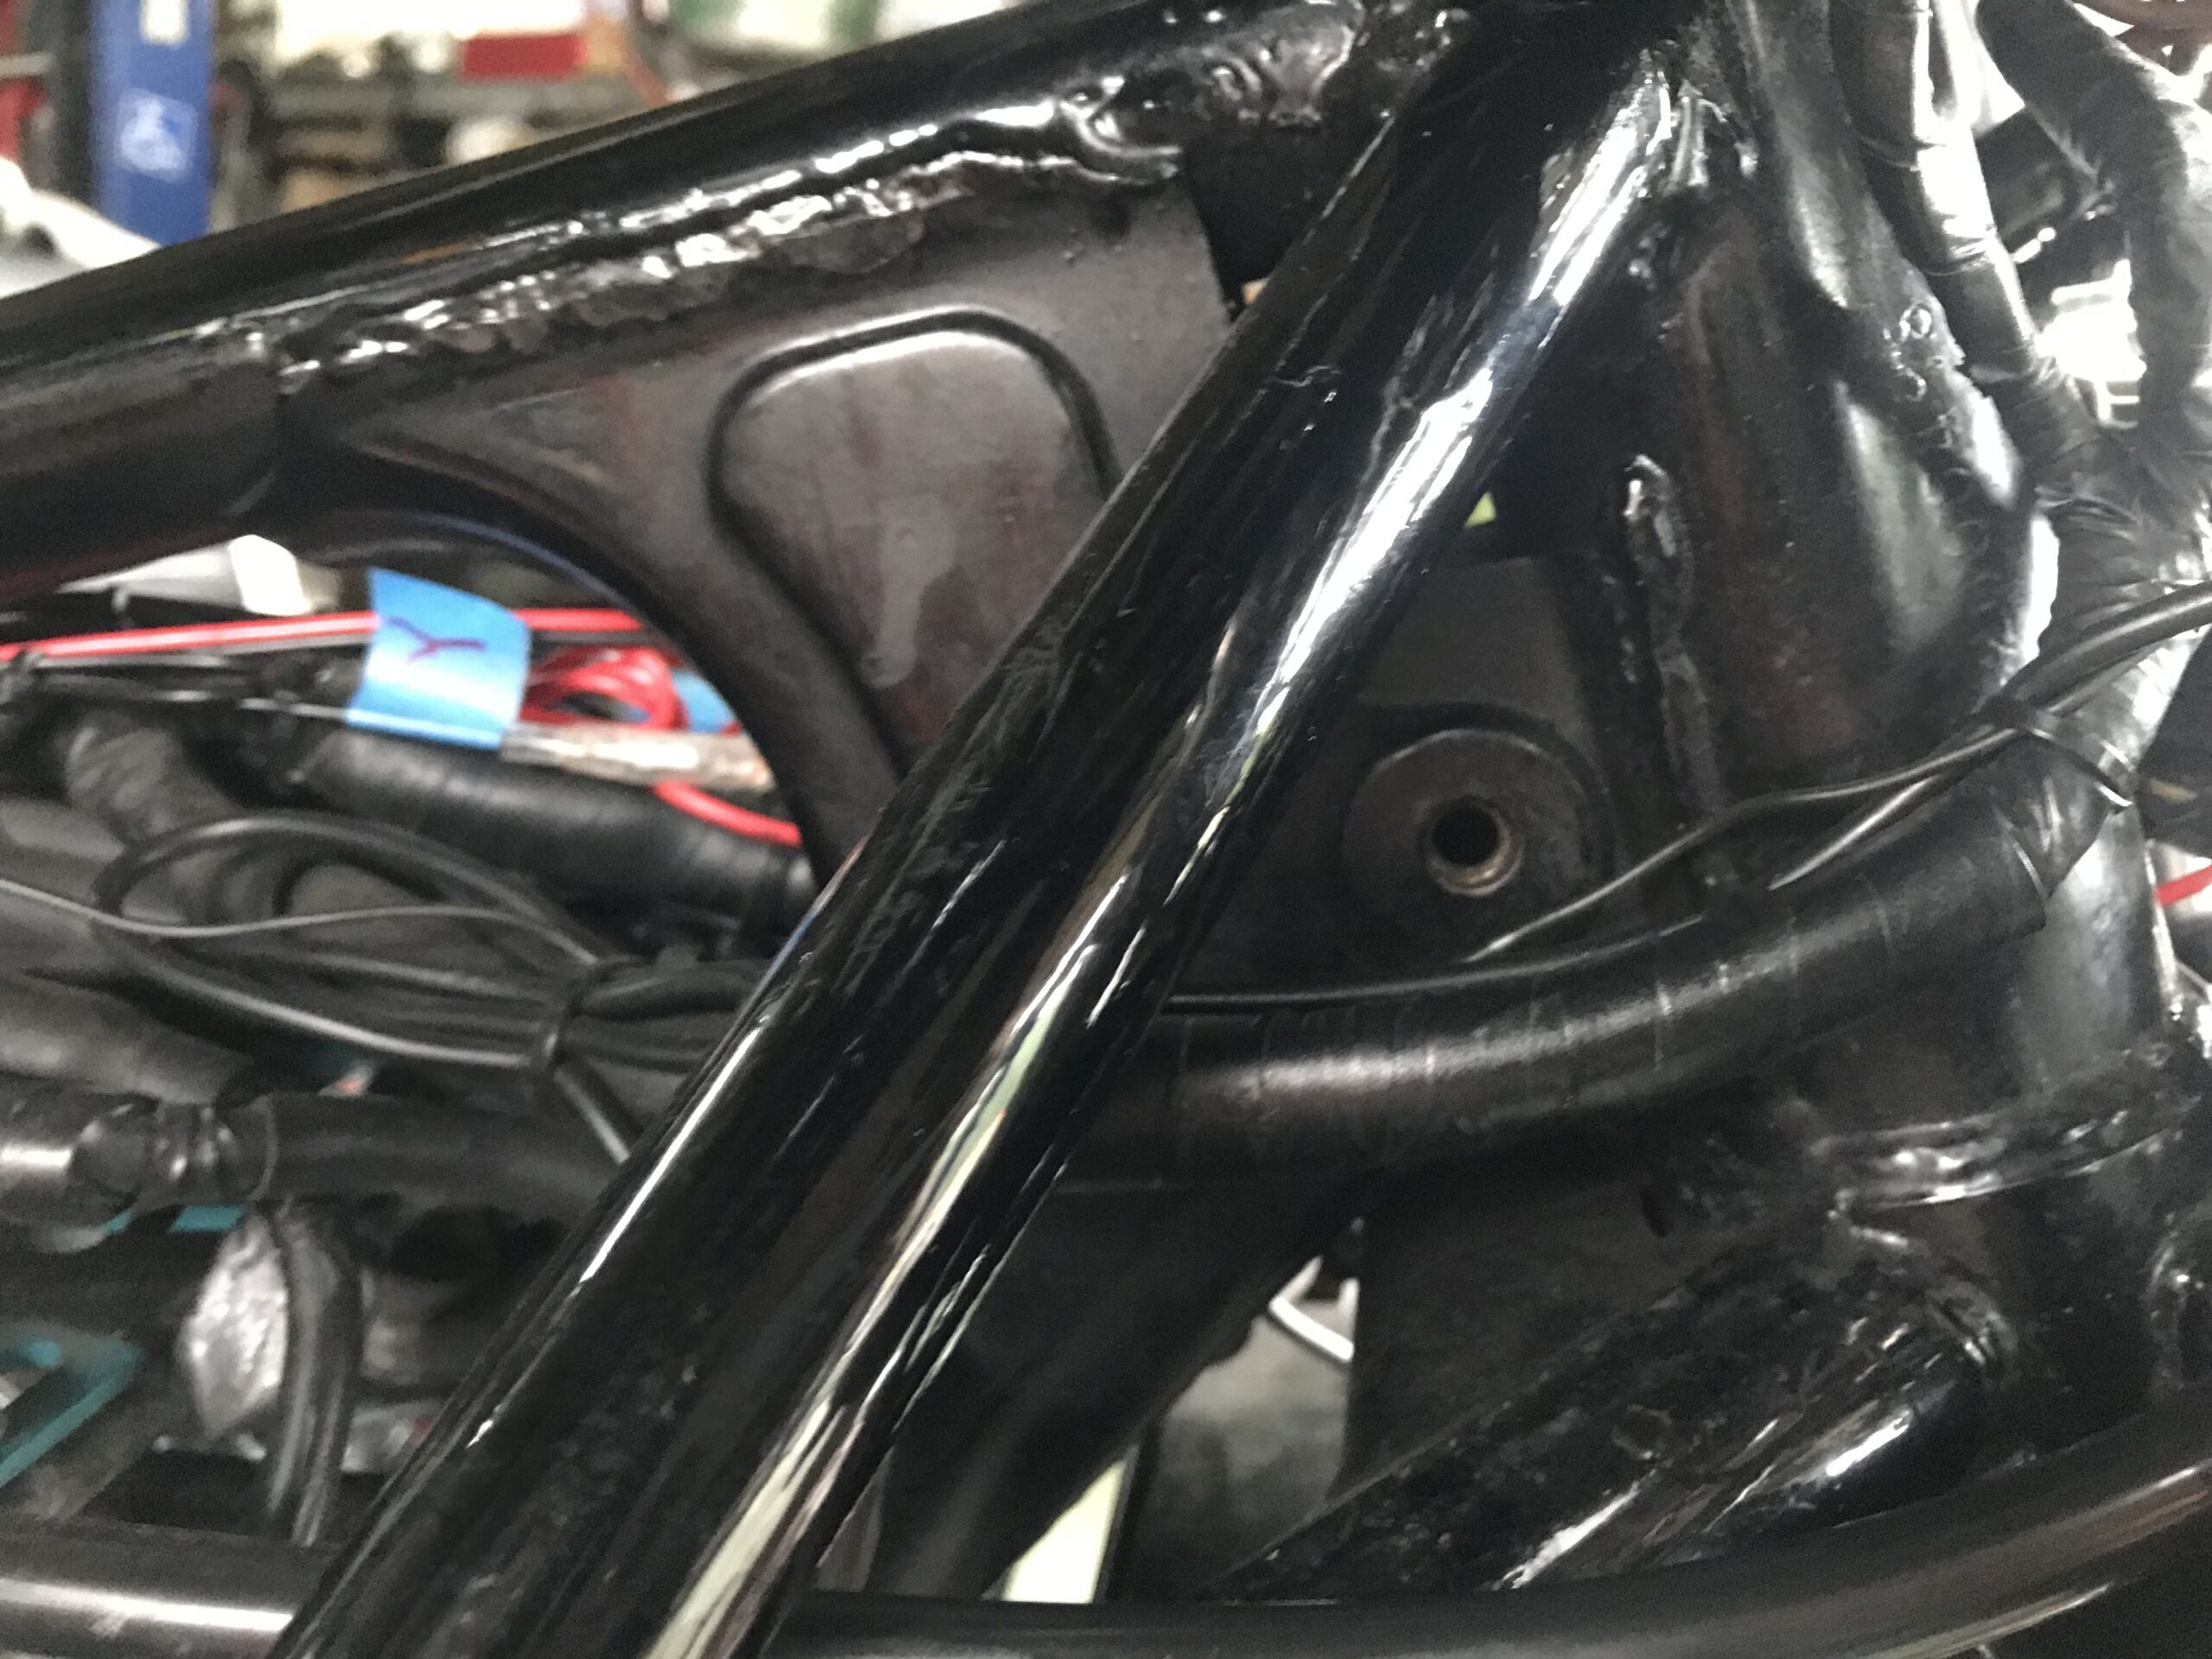
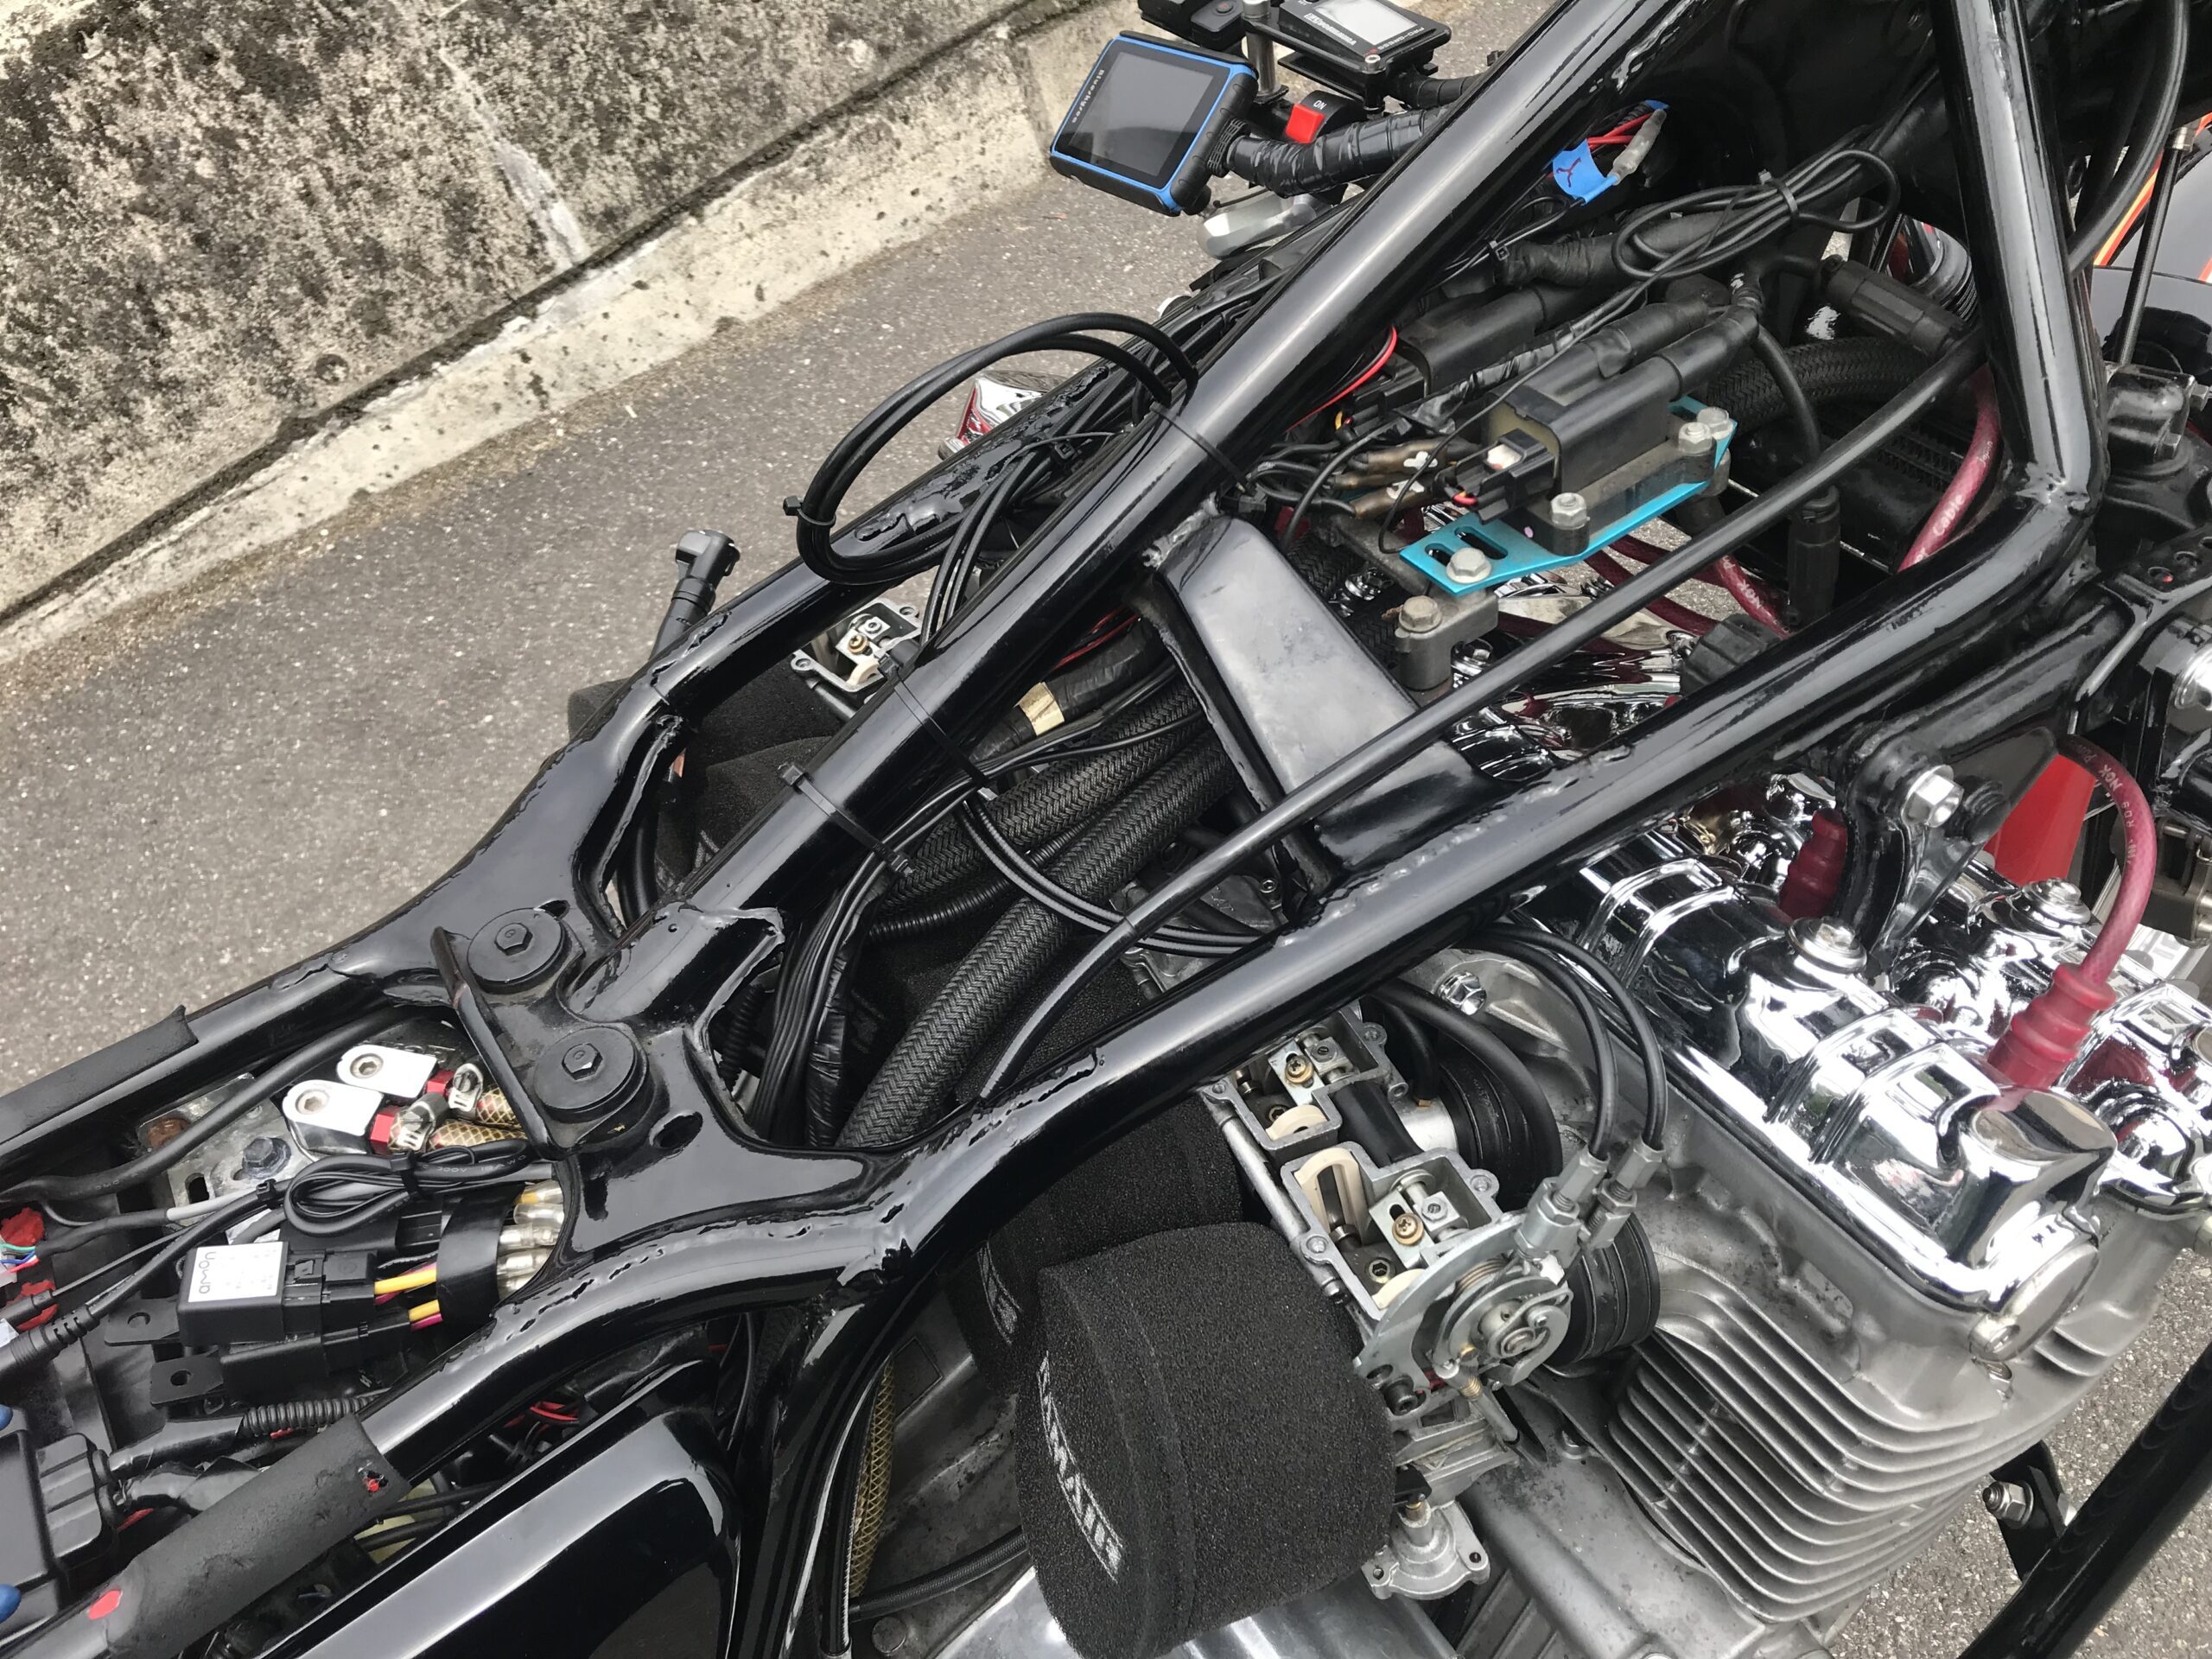
First of all, I have installed it, but I have added strength, earthquake resistance, etc.
I haven't done so yet, so I plan to write a fine-tuning version.
↓Previous previous article↓
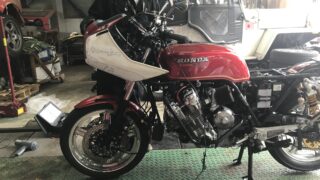
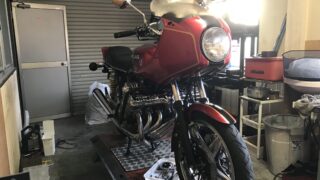
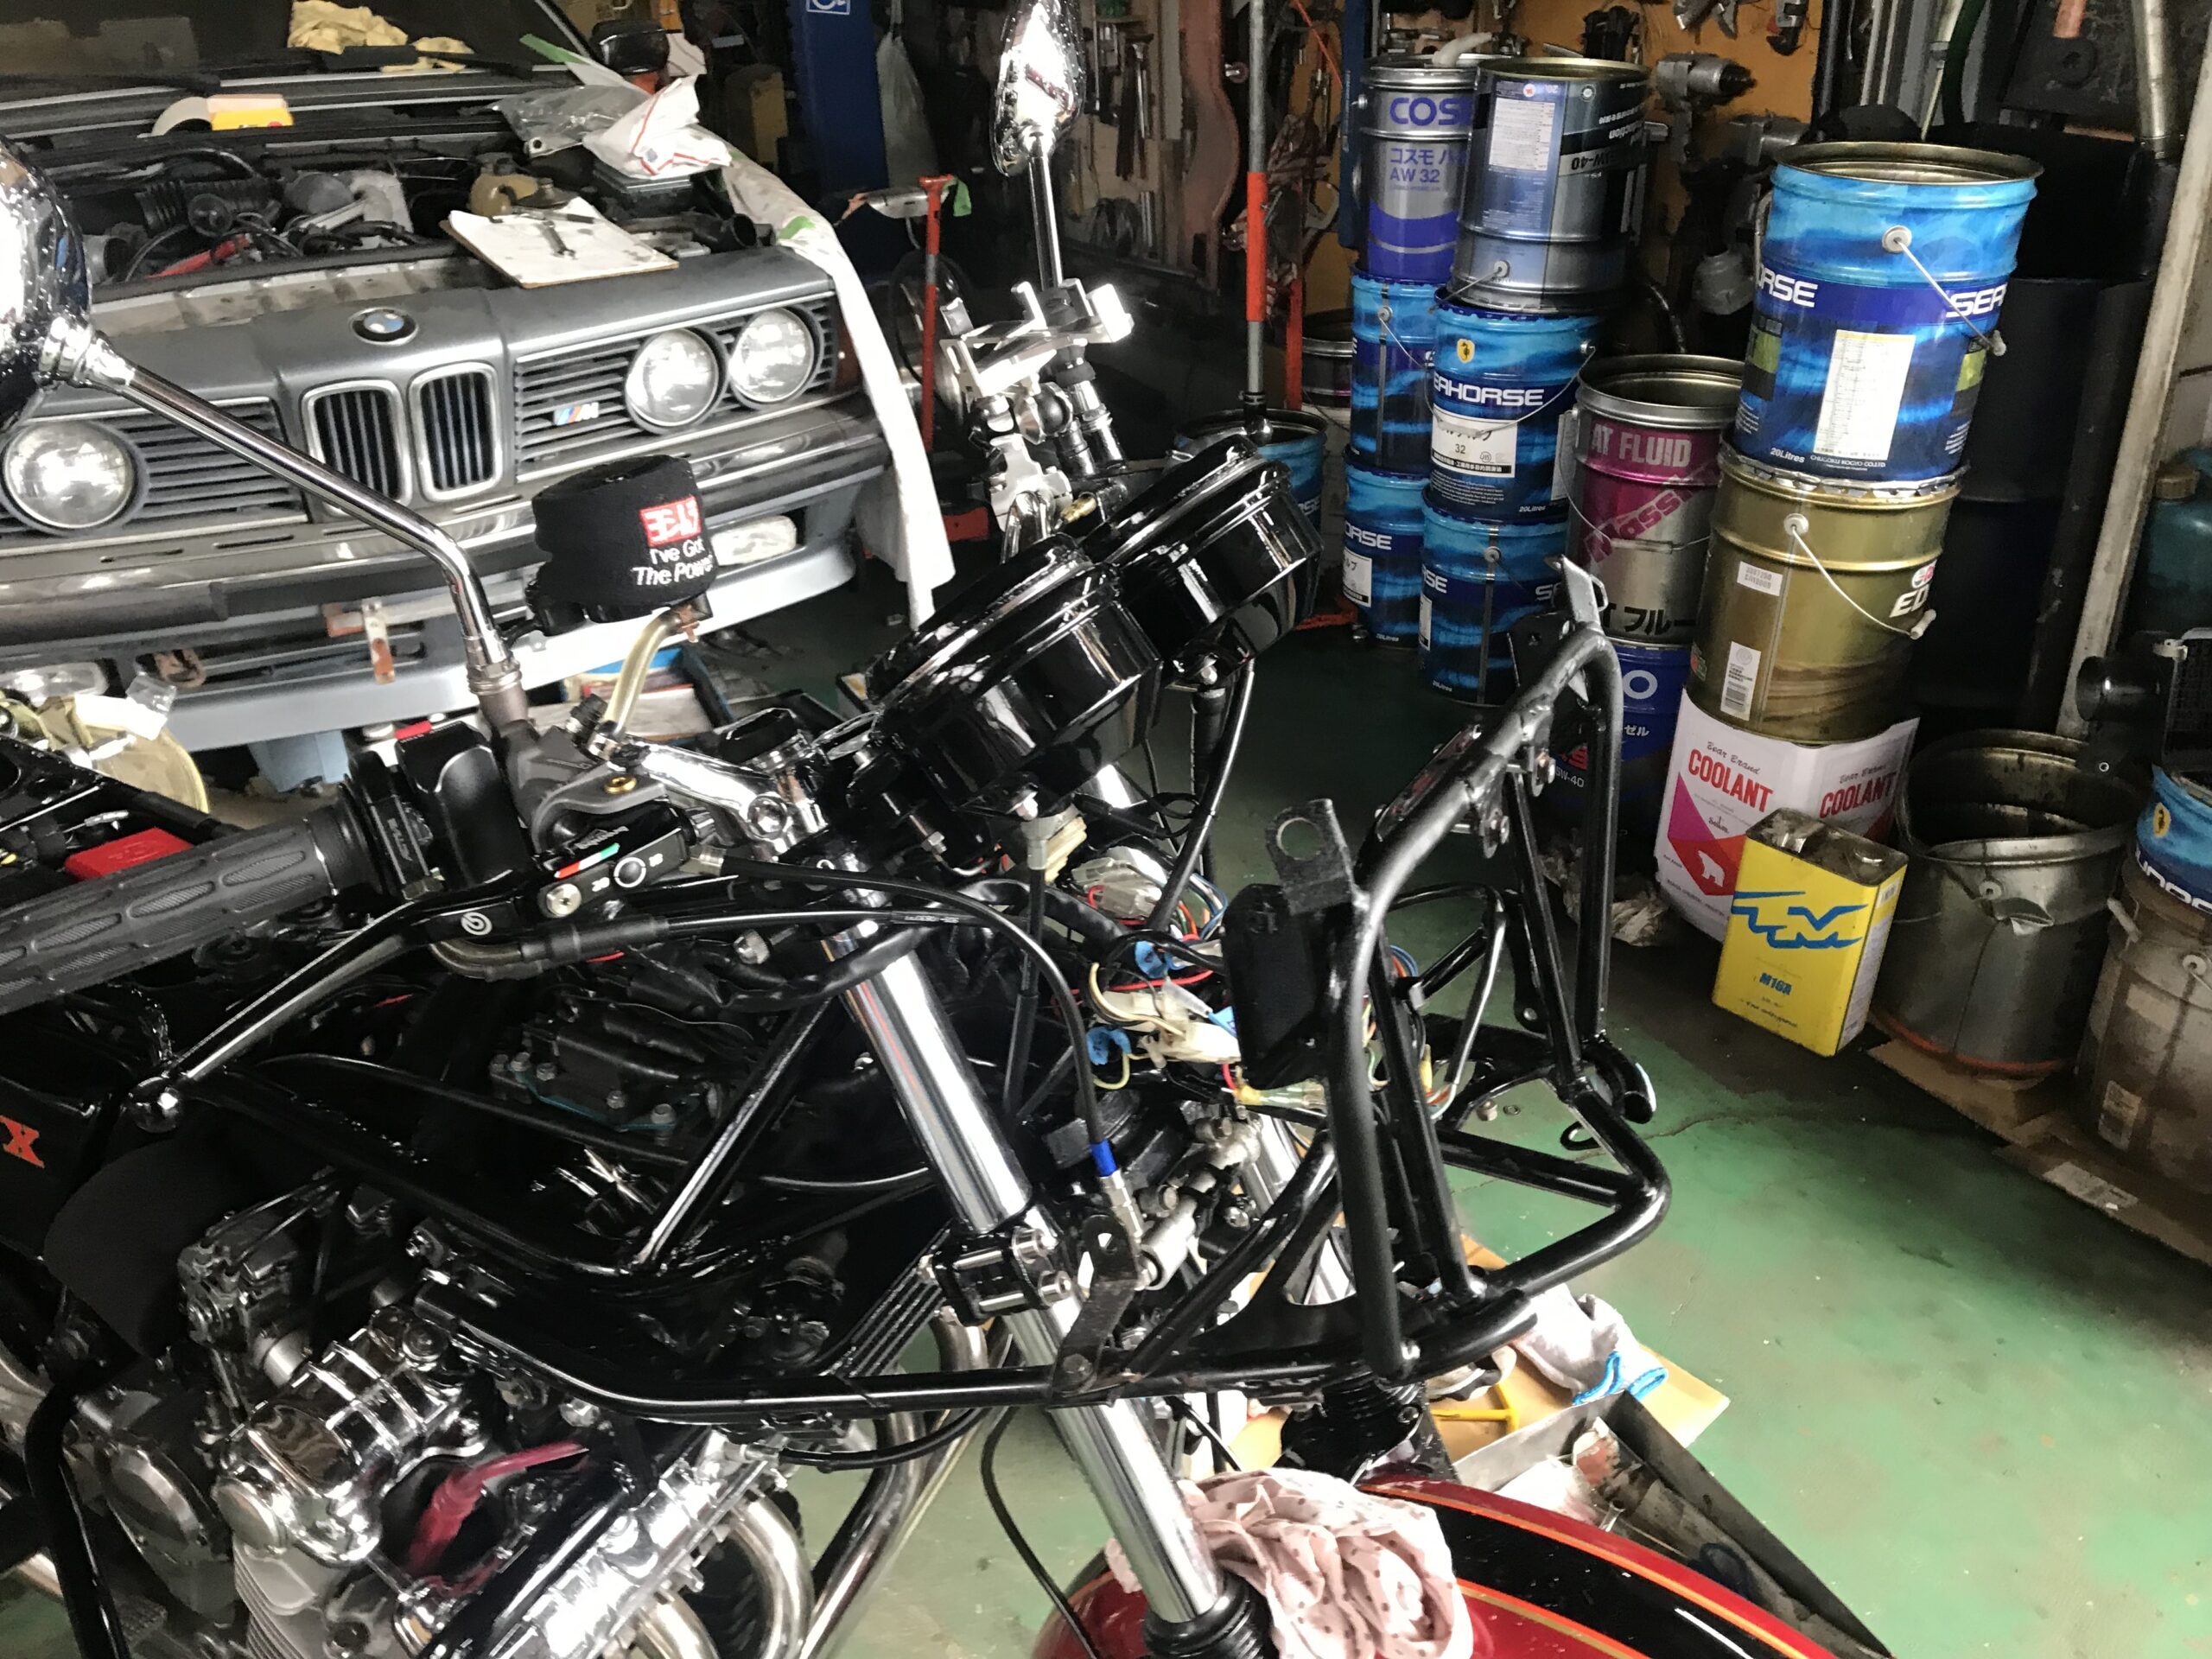
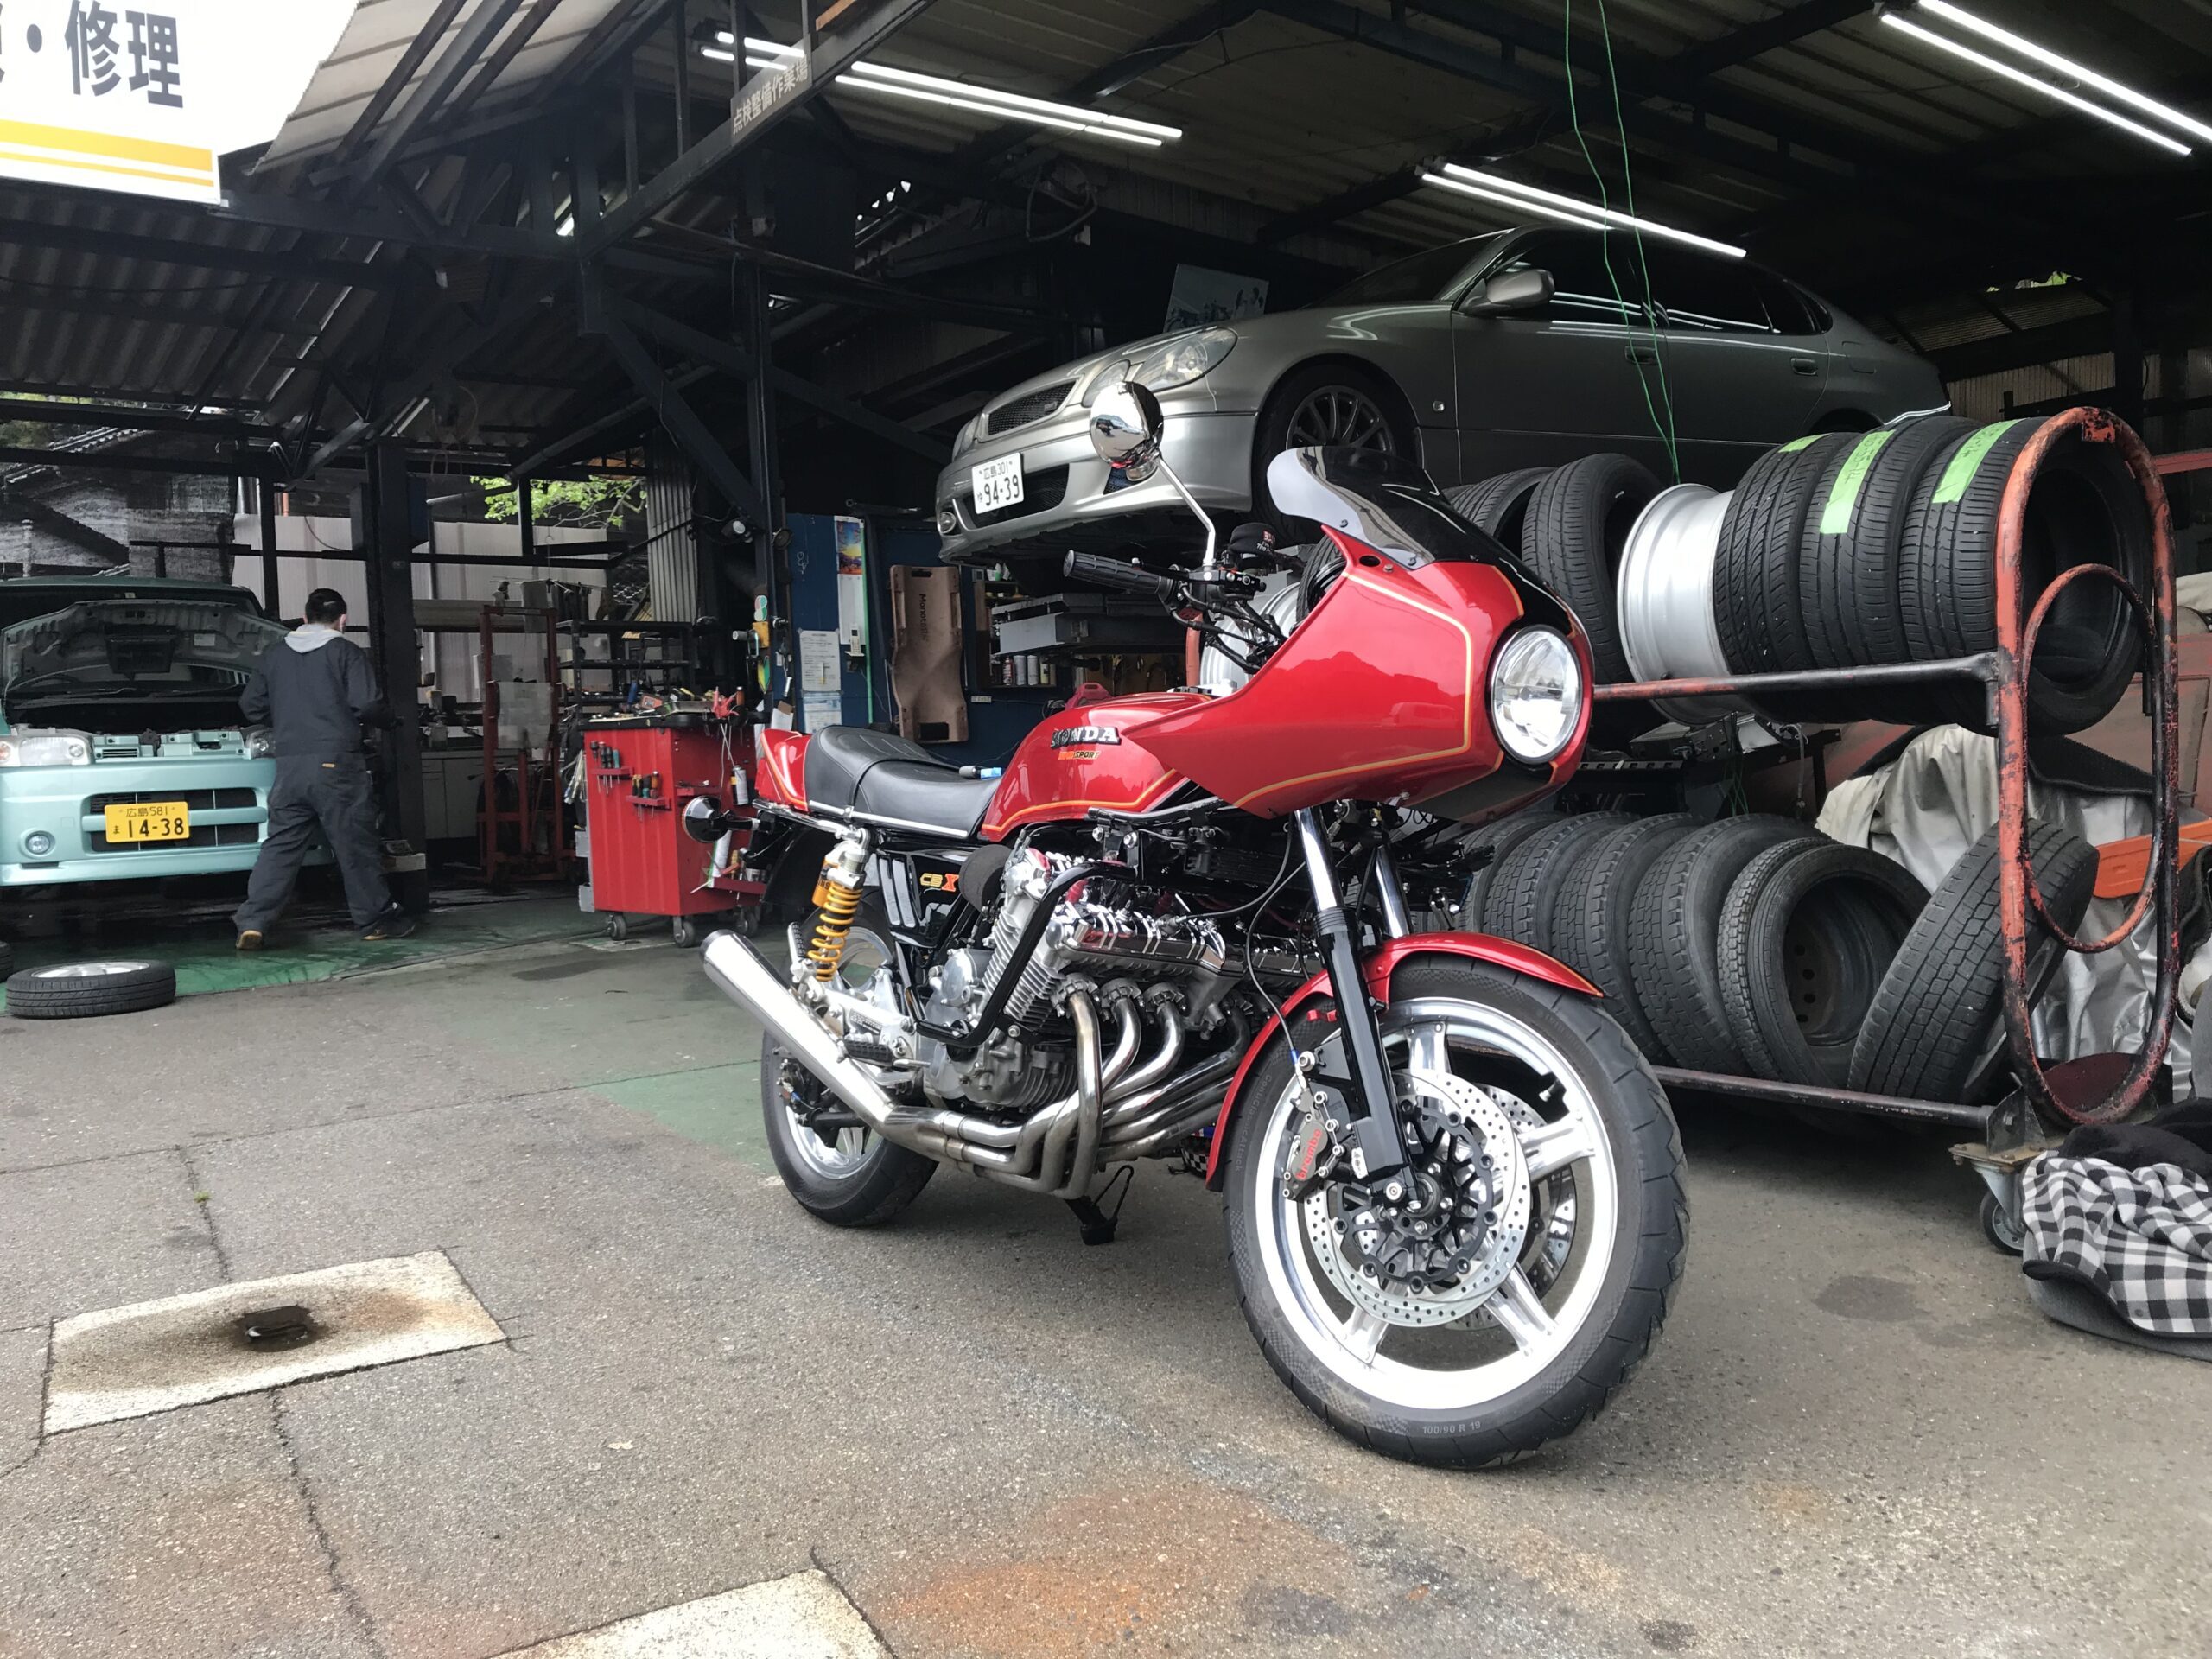
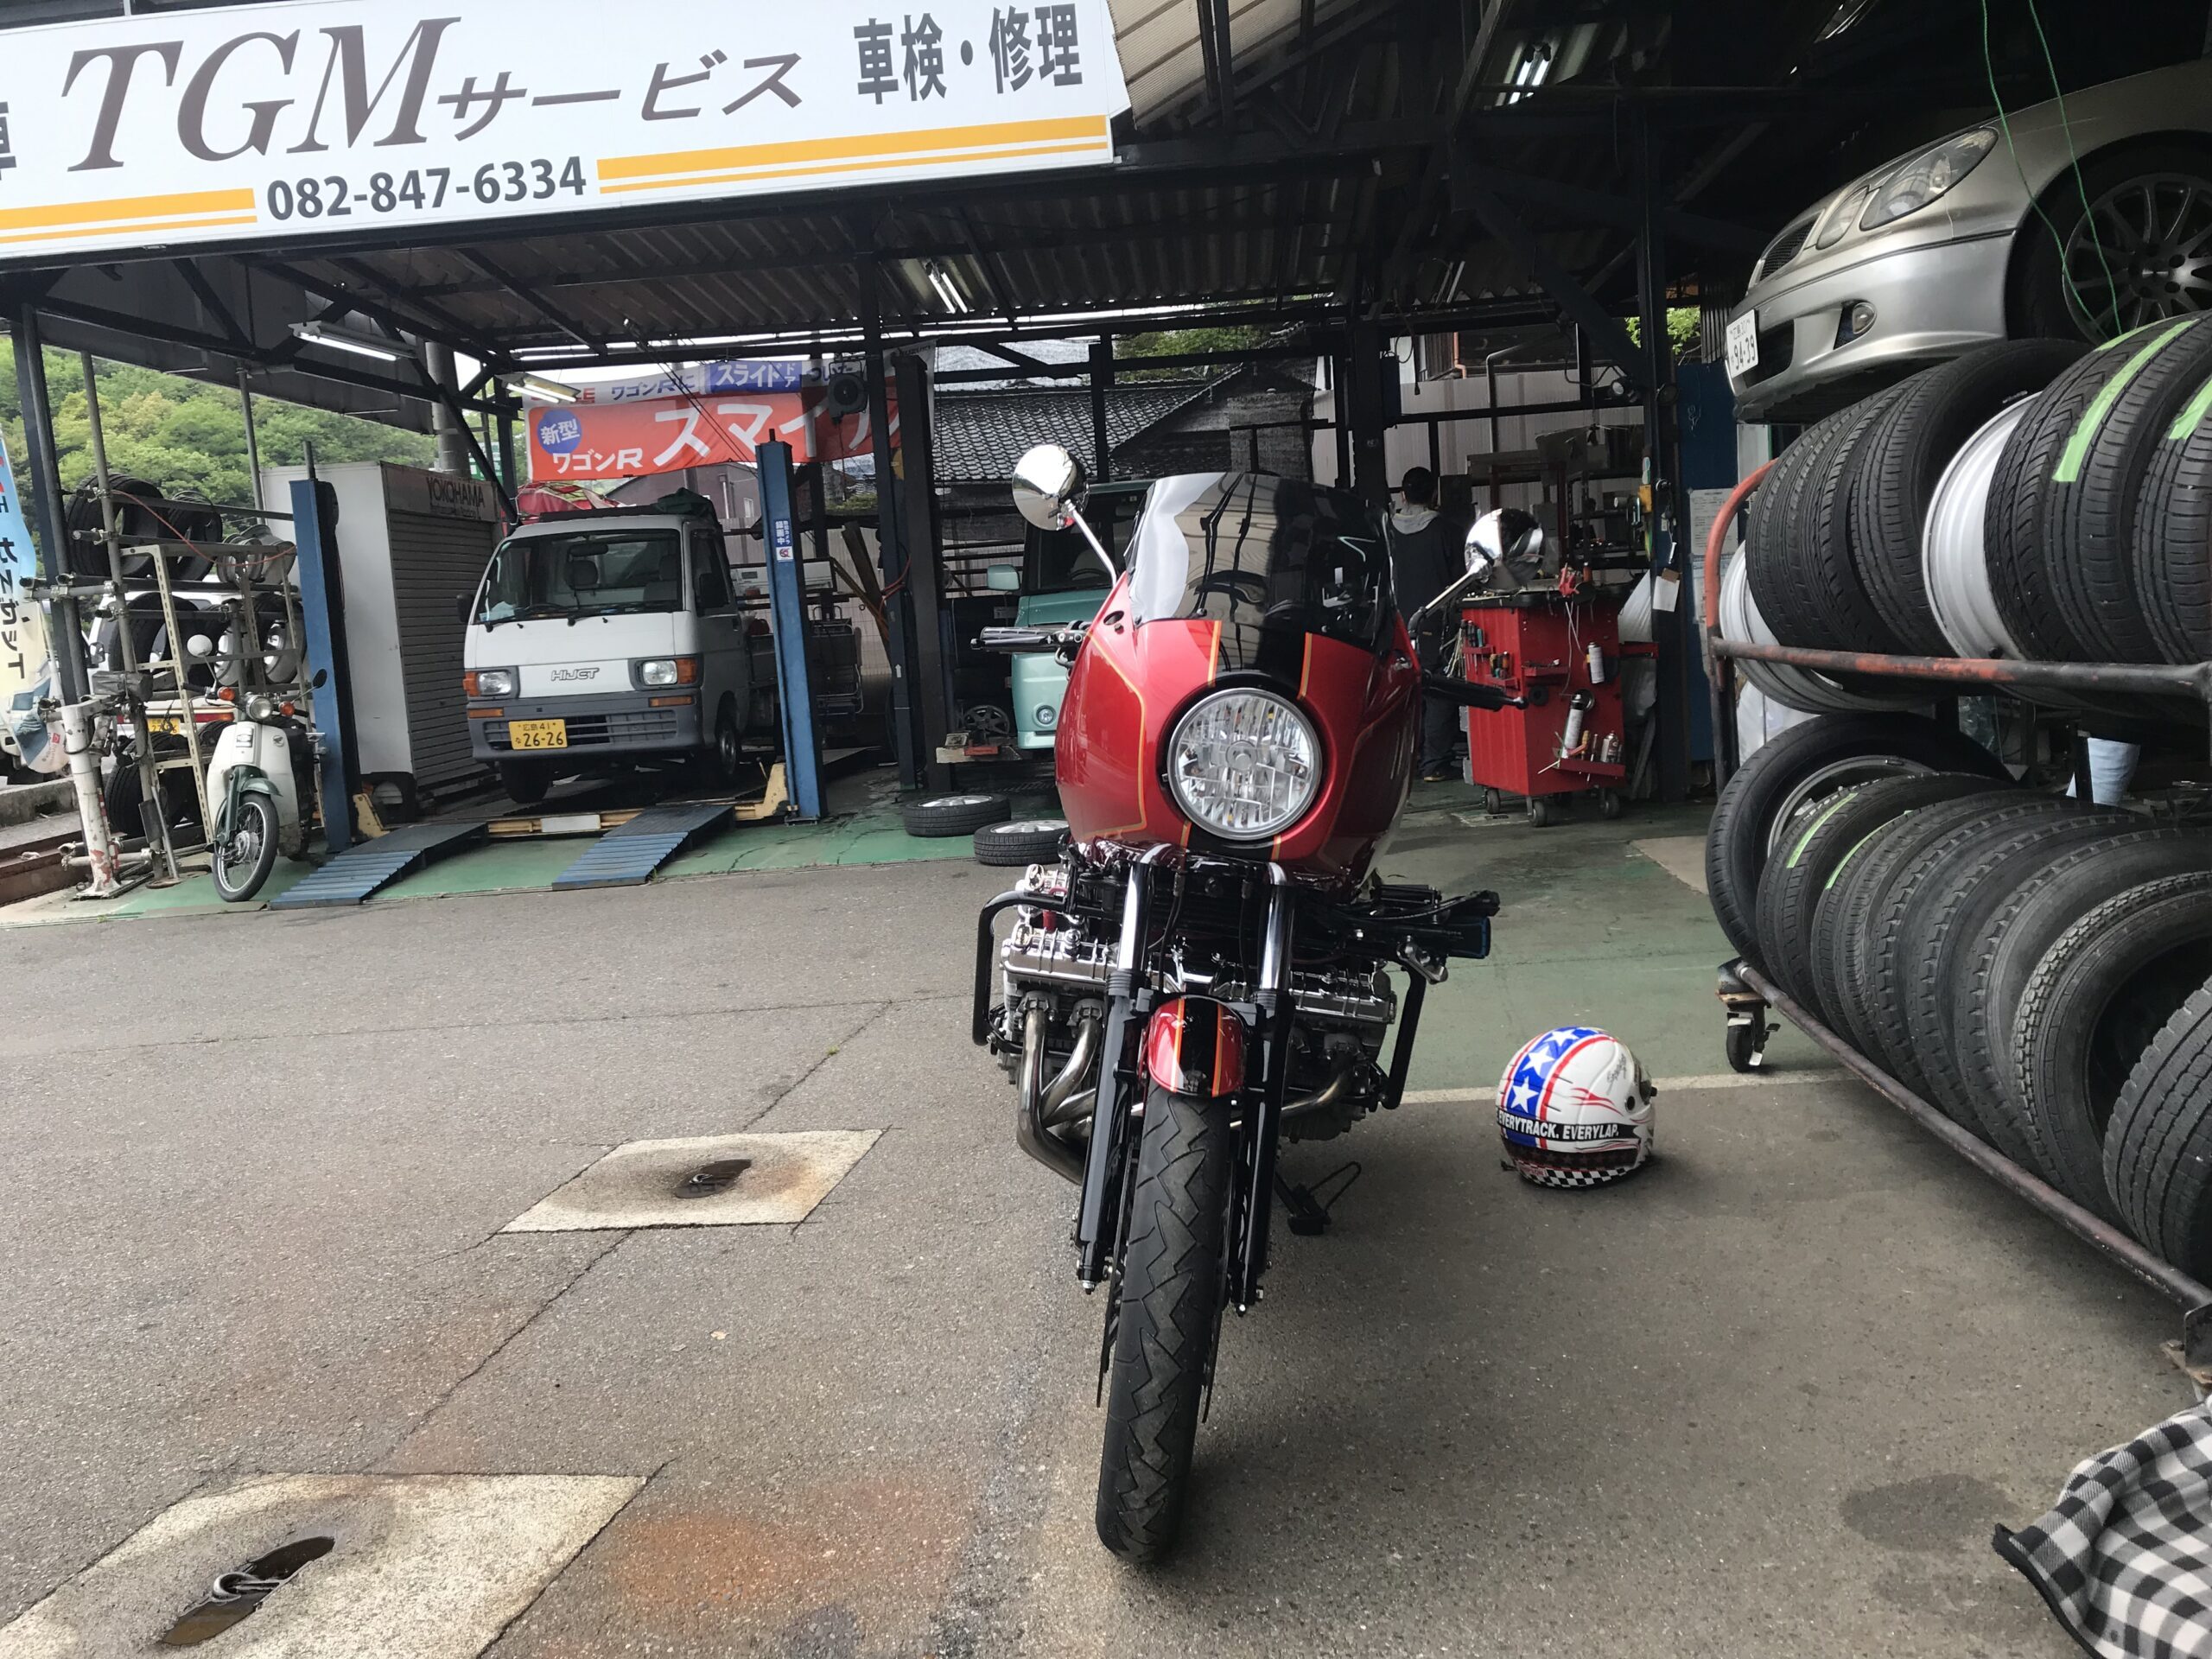
This time, I installed the CBX400F Integra cowl and just before making some fine adjustments,
We also decide on the strength of the cowl and the location of additional meters.
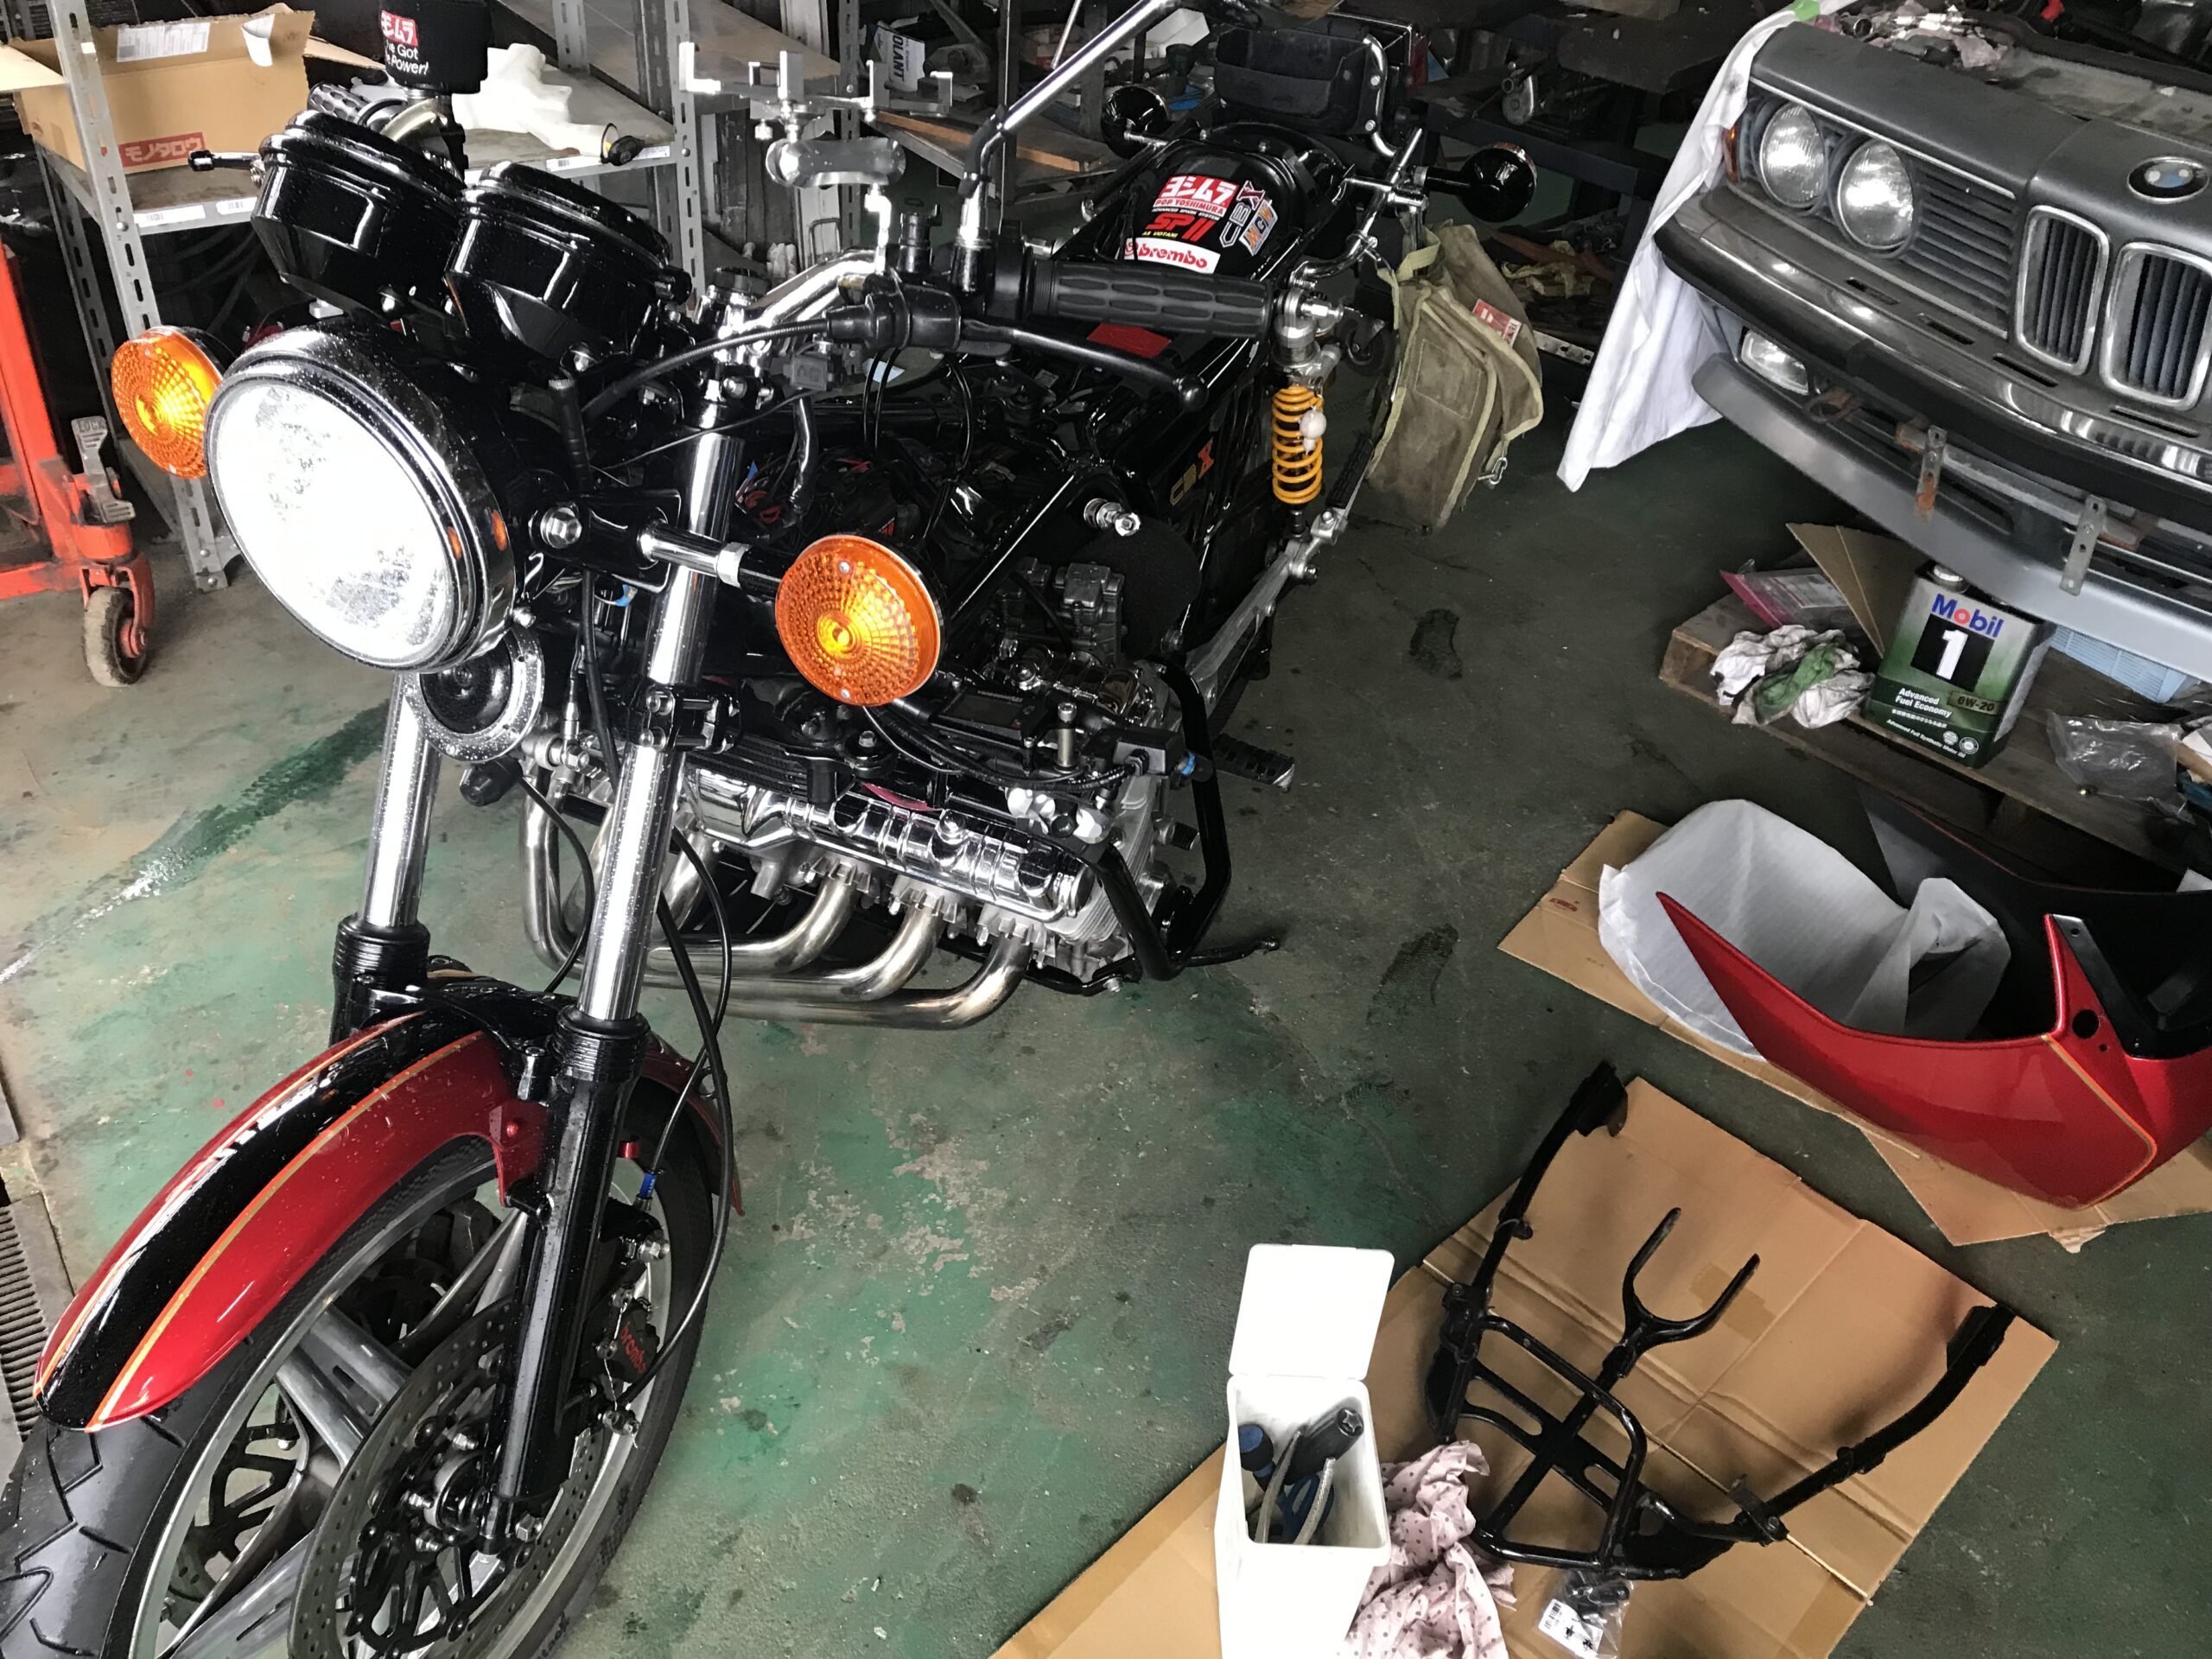
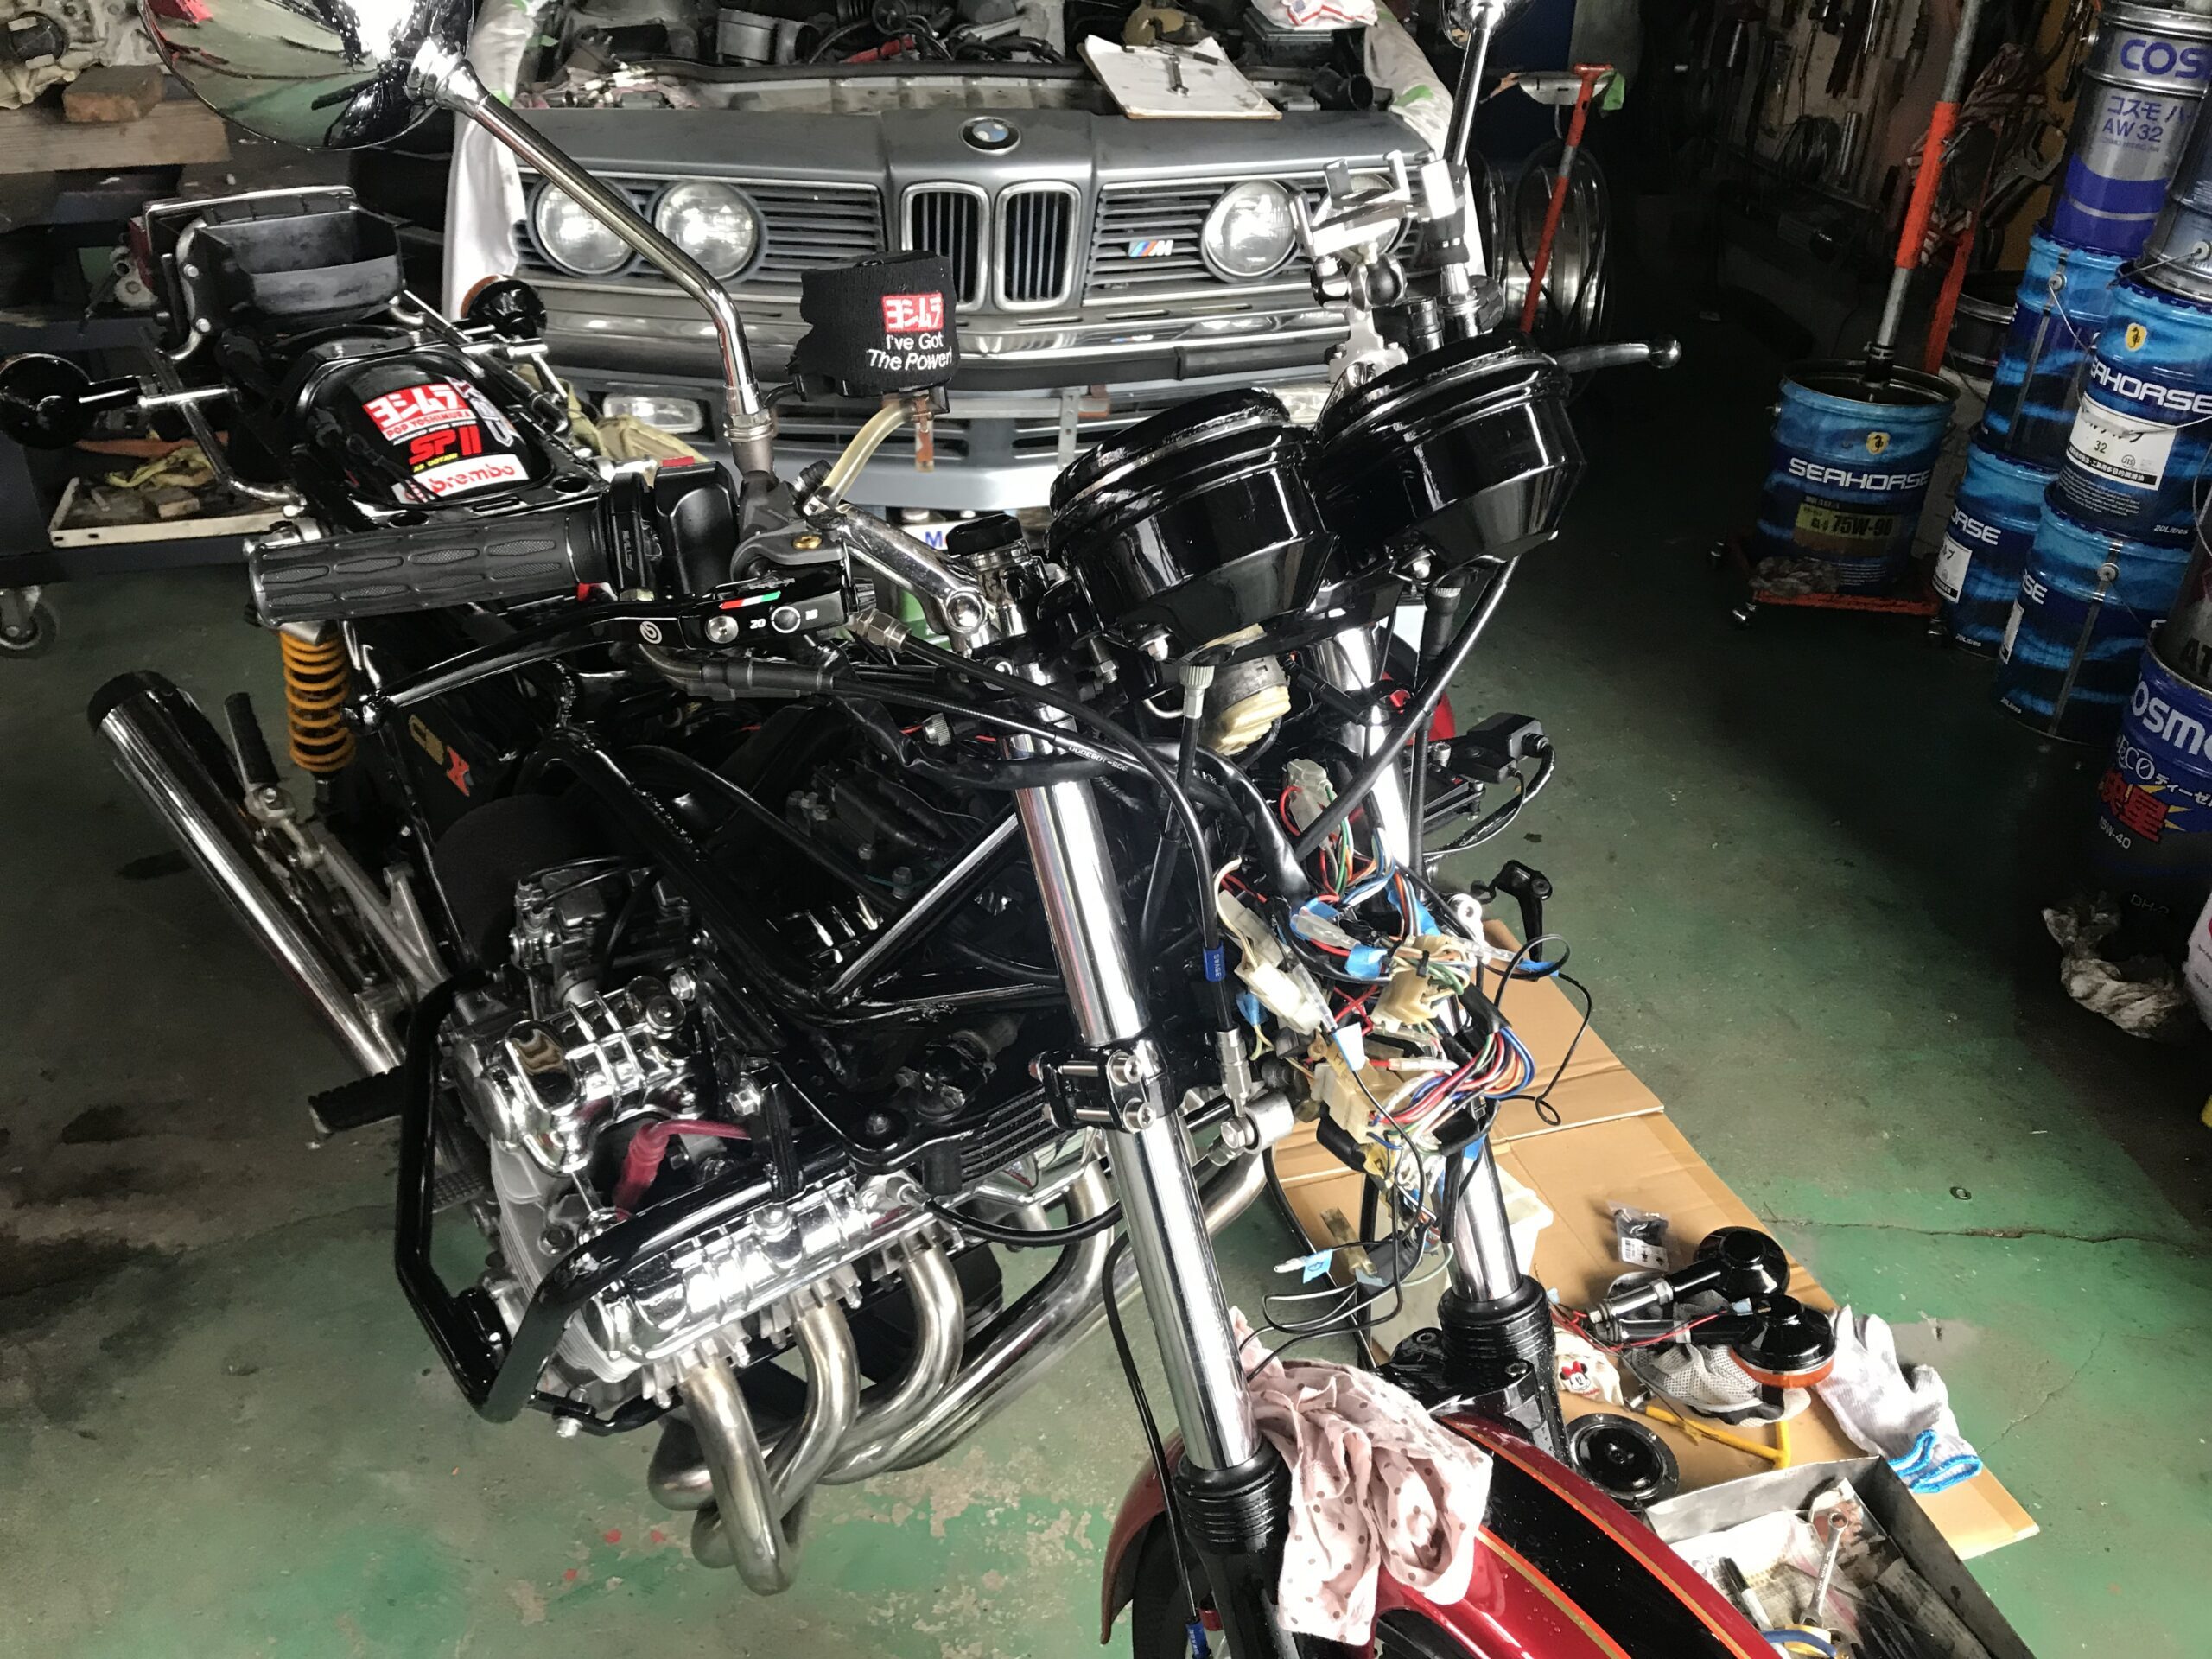
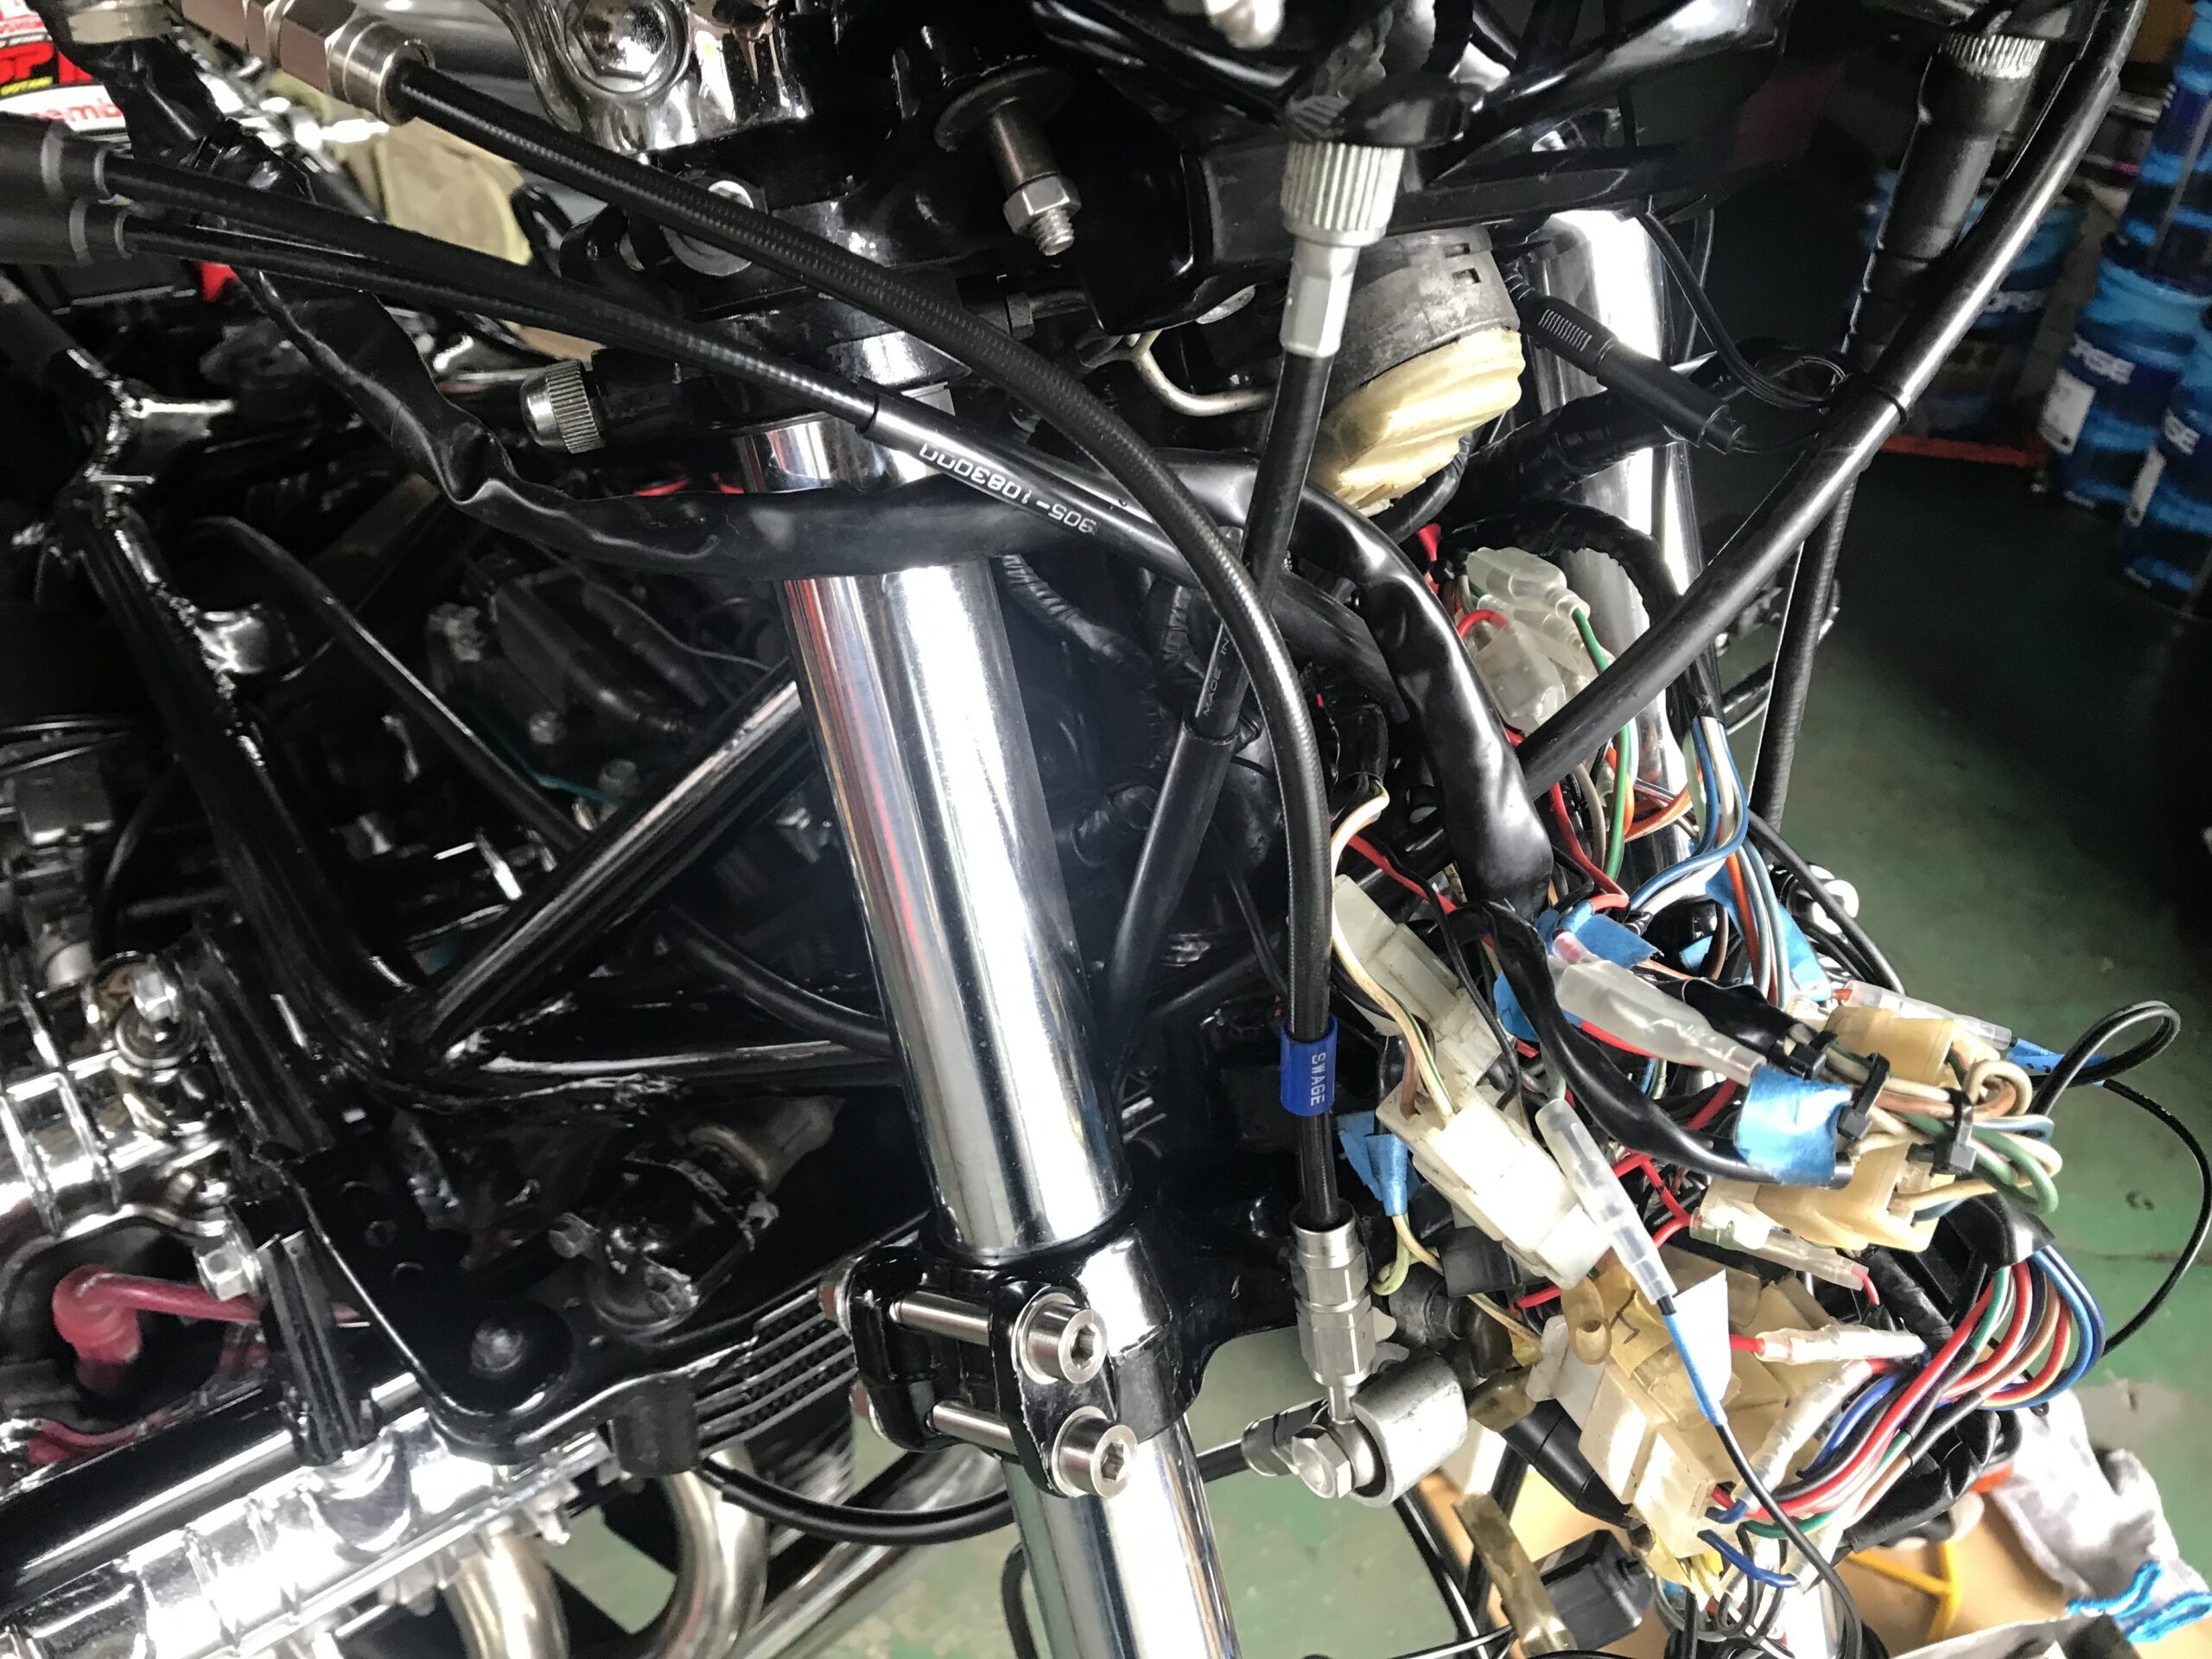
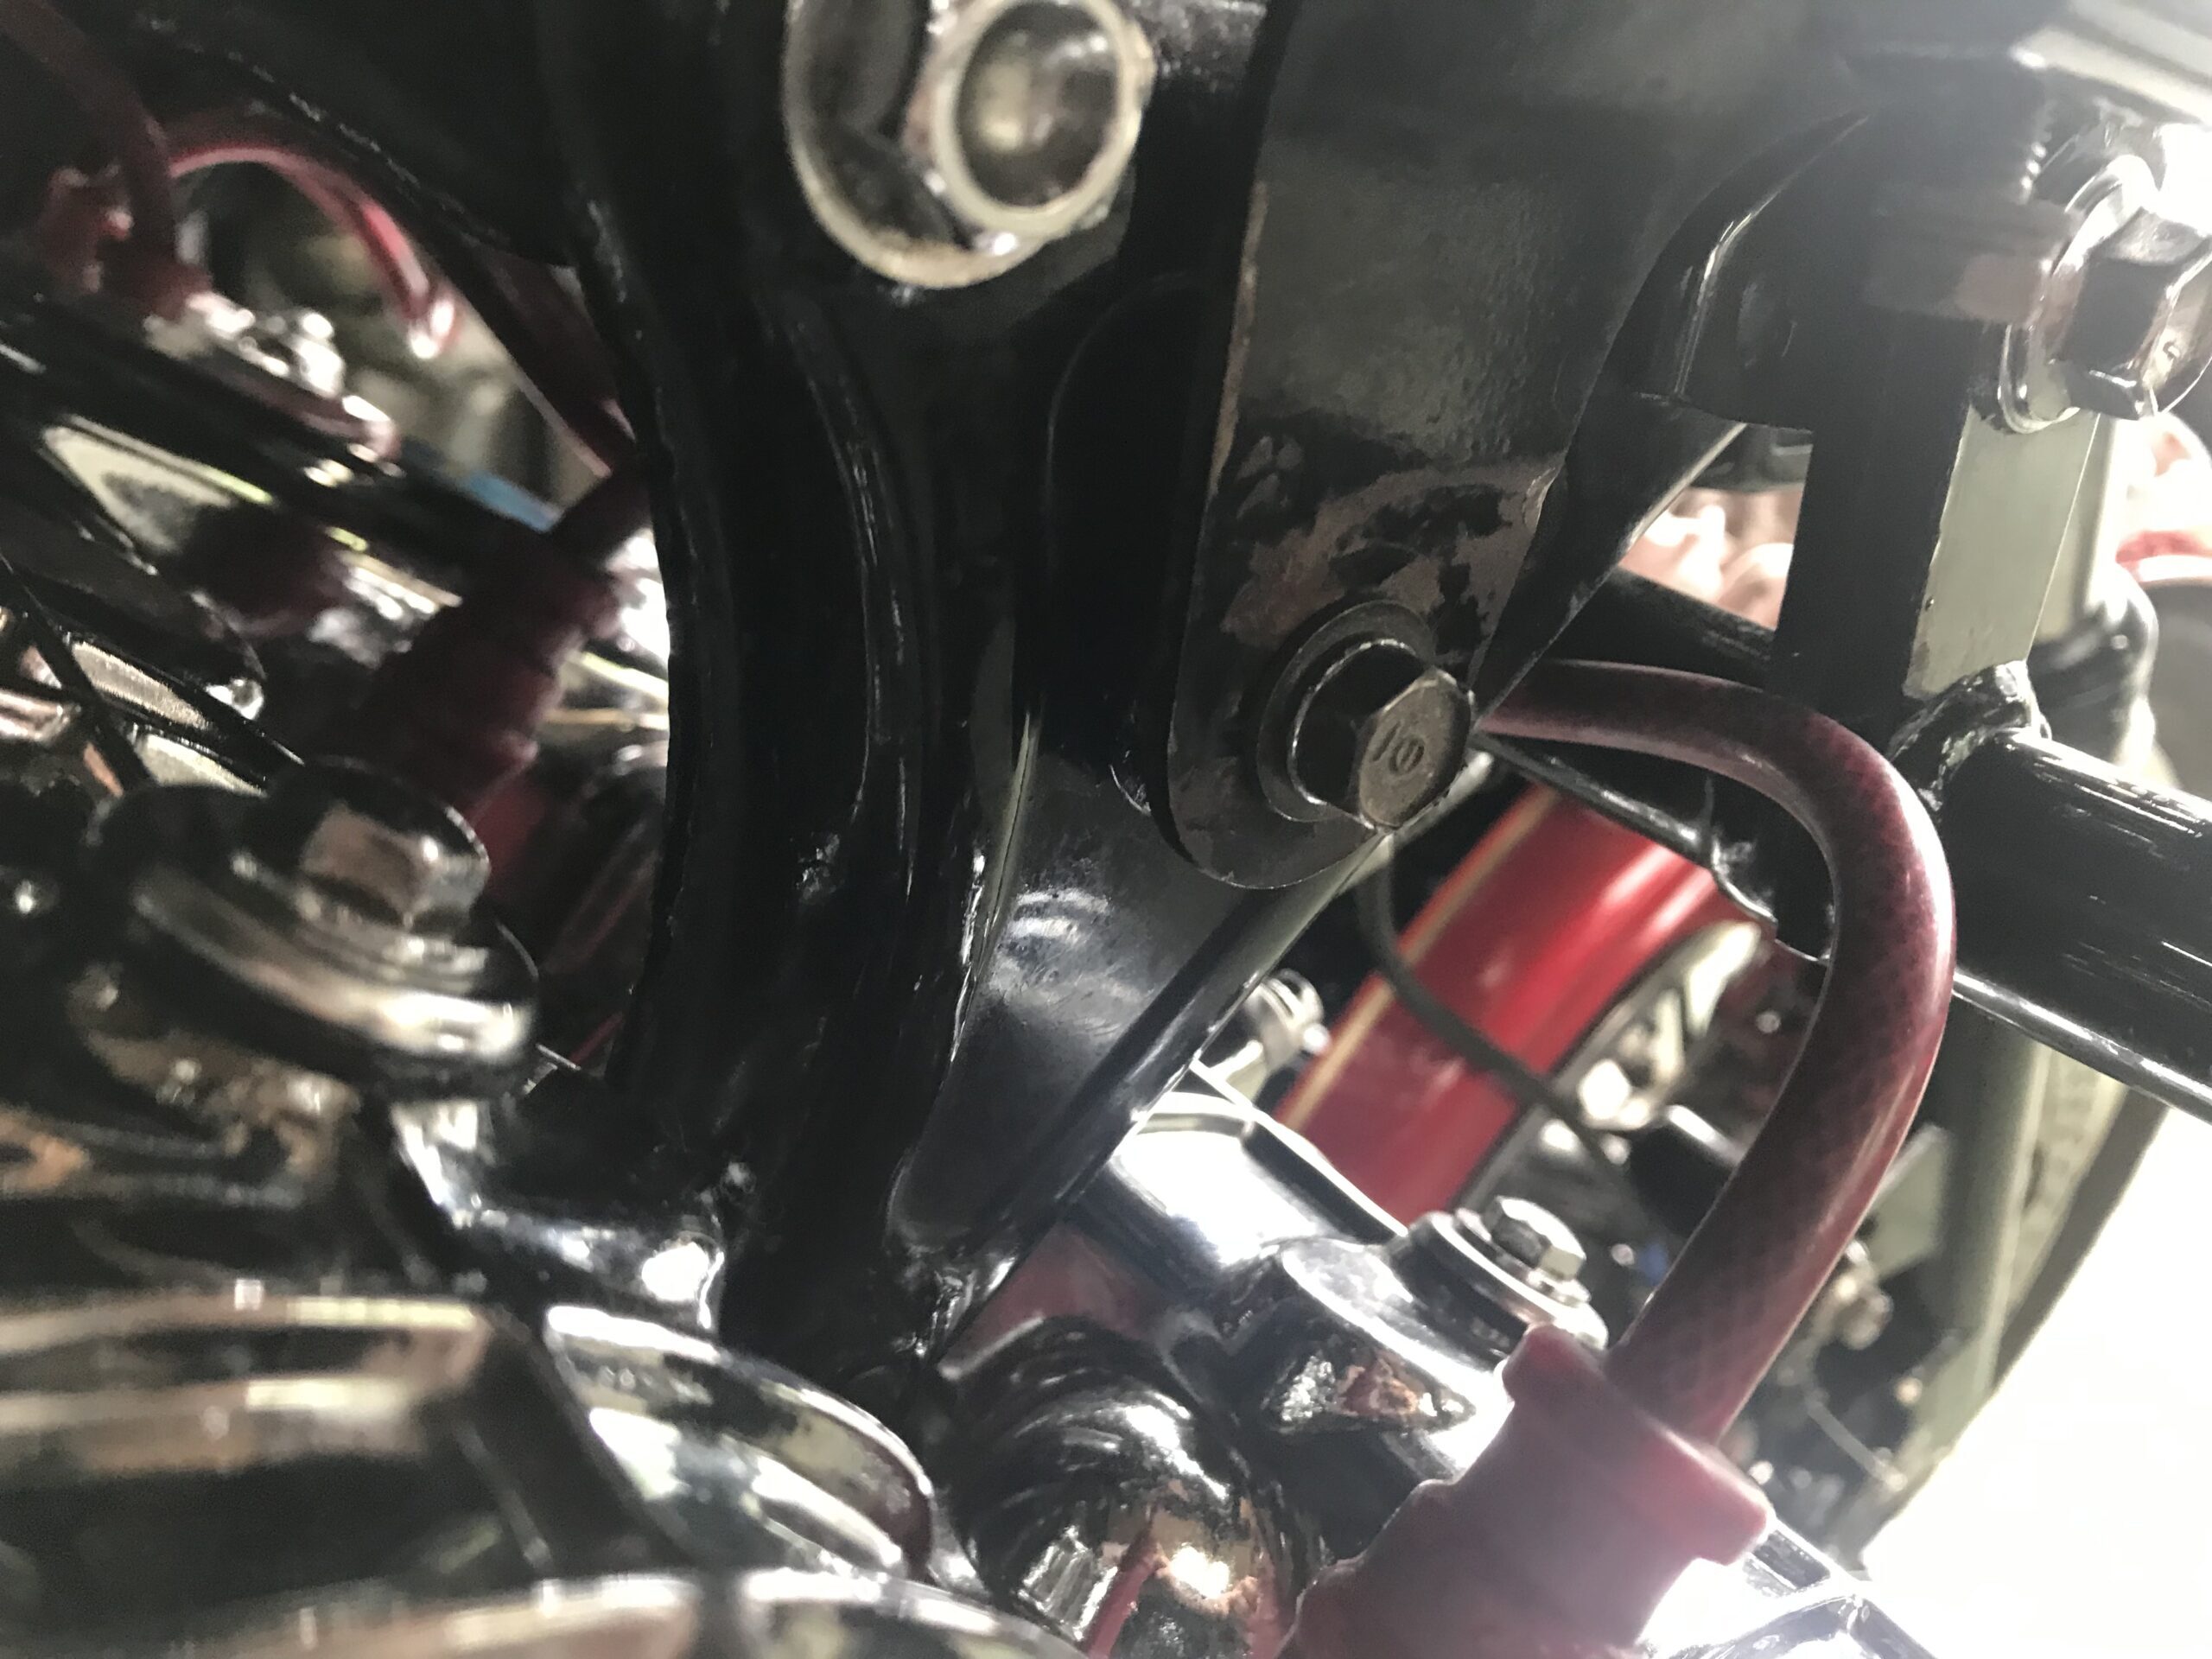
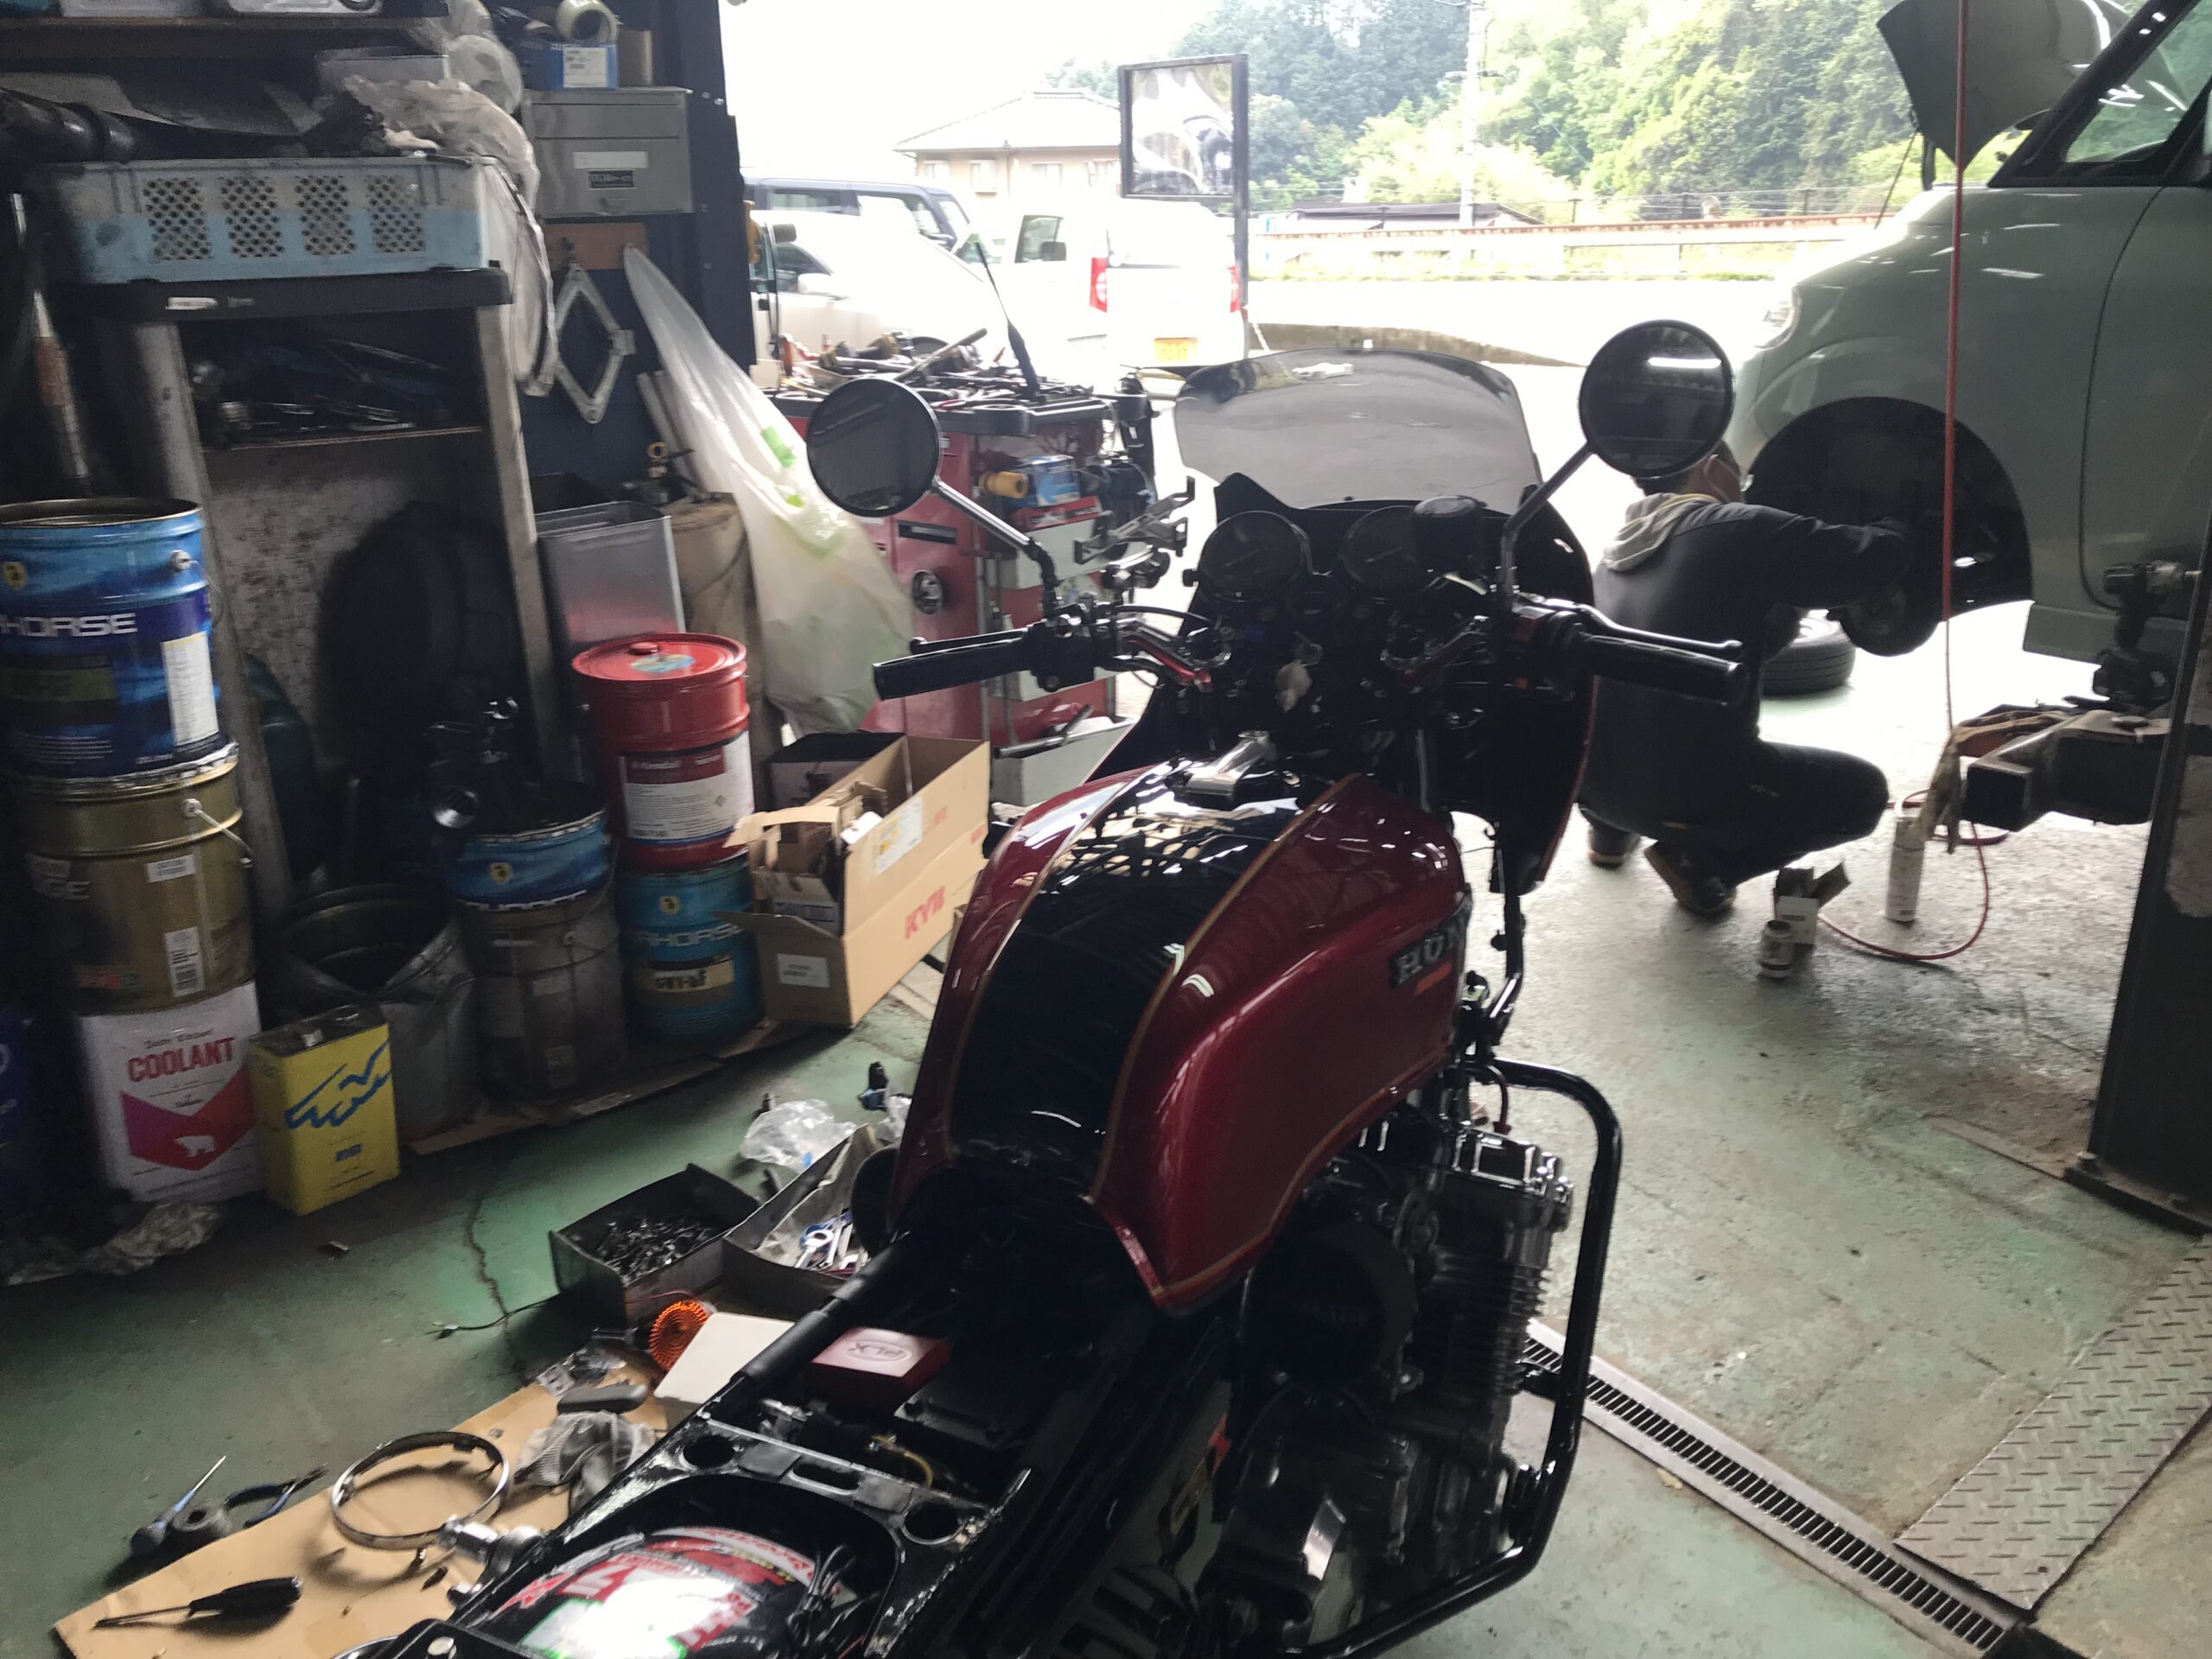
Removal of the CBX1000 headlight area
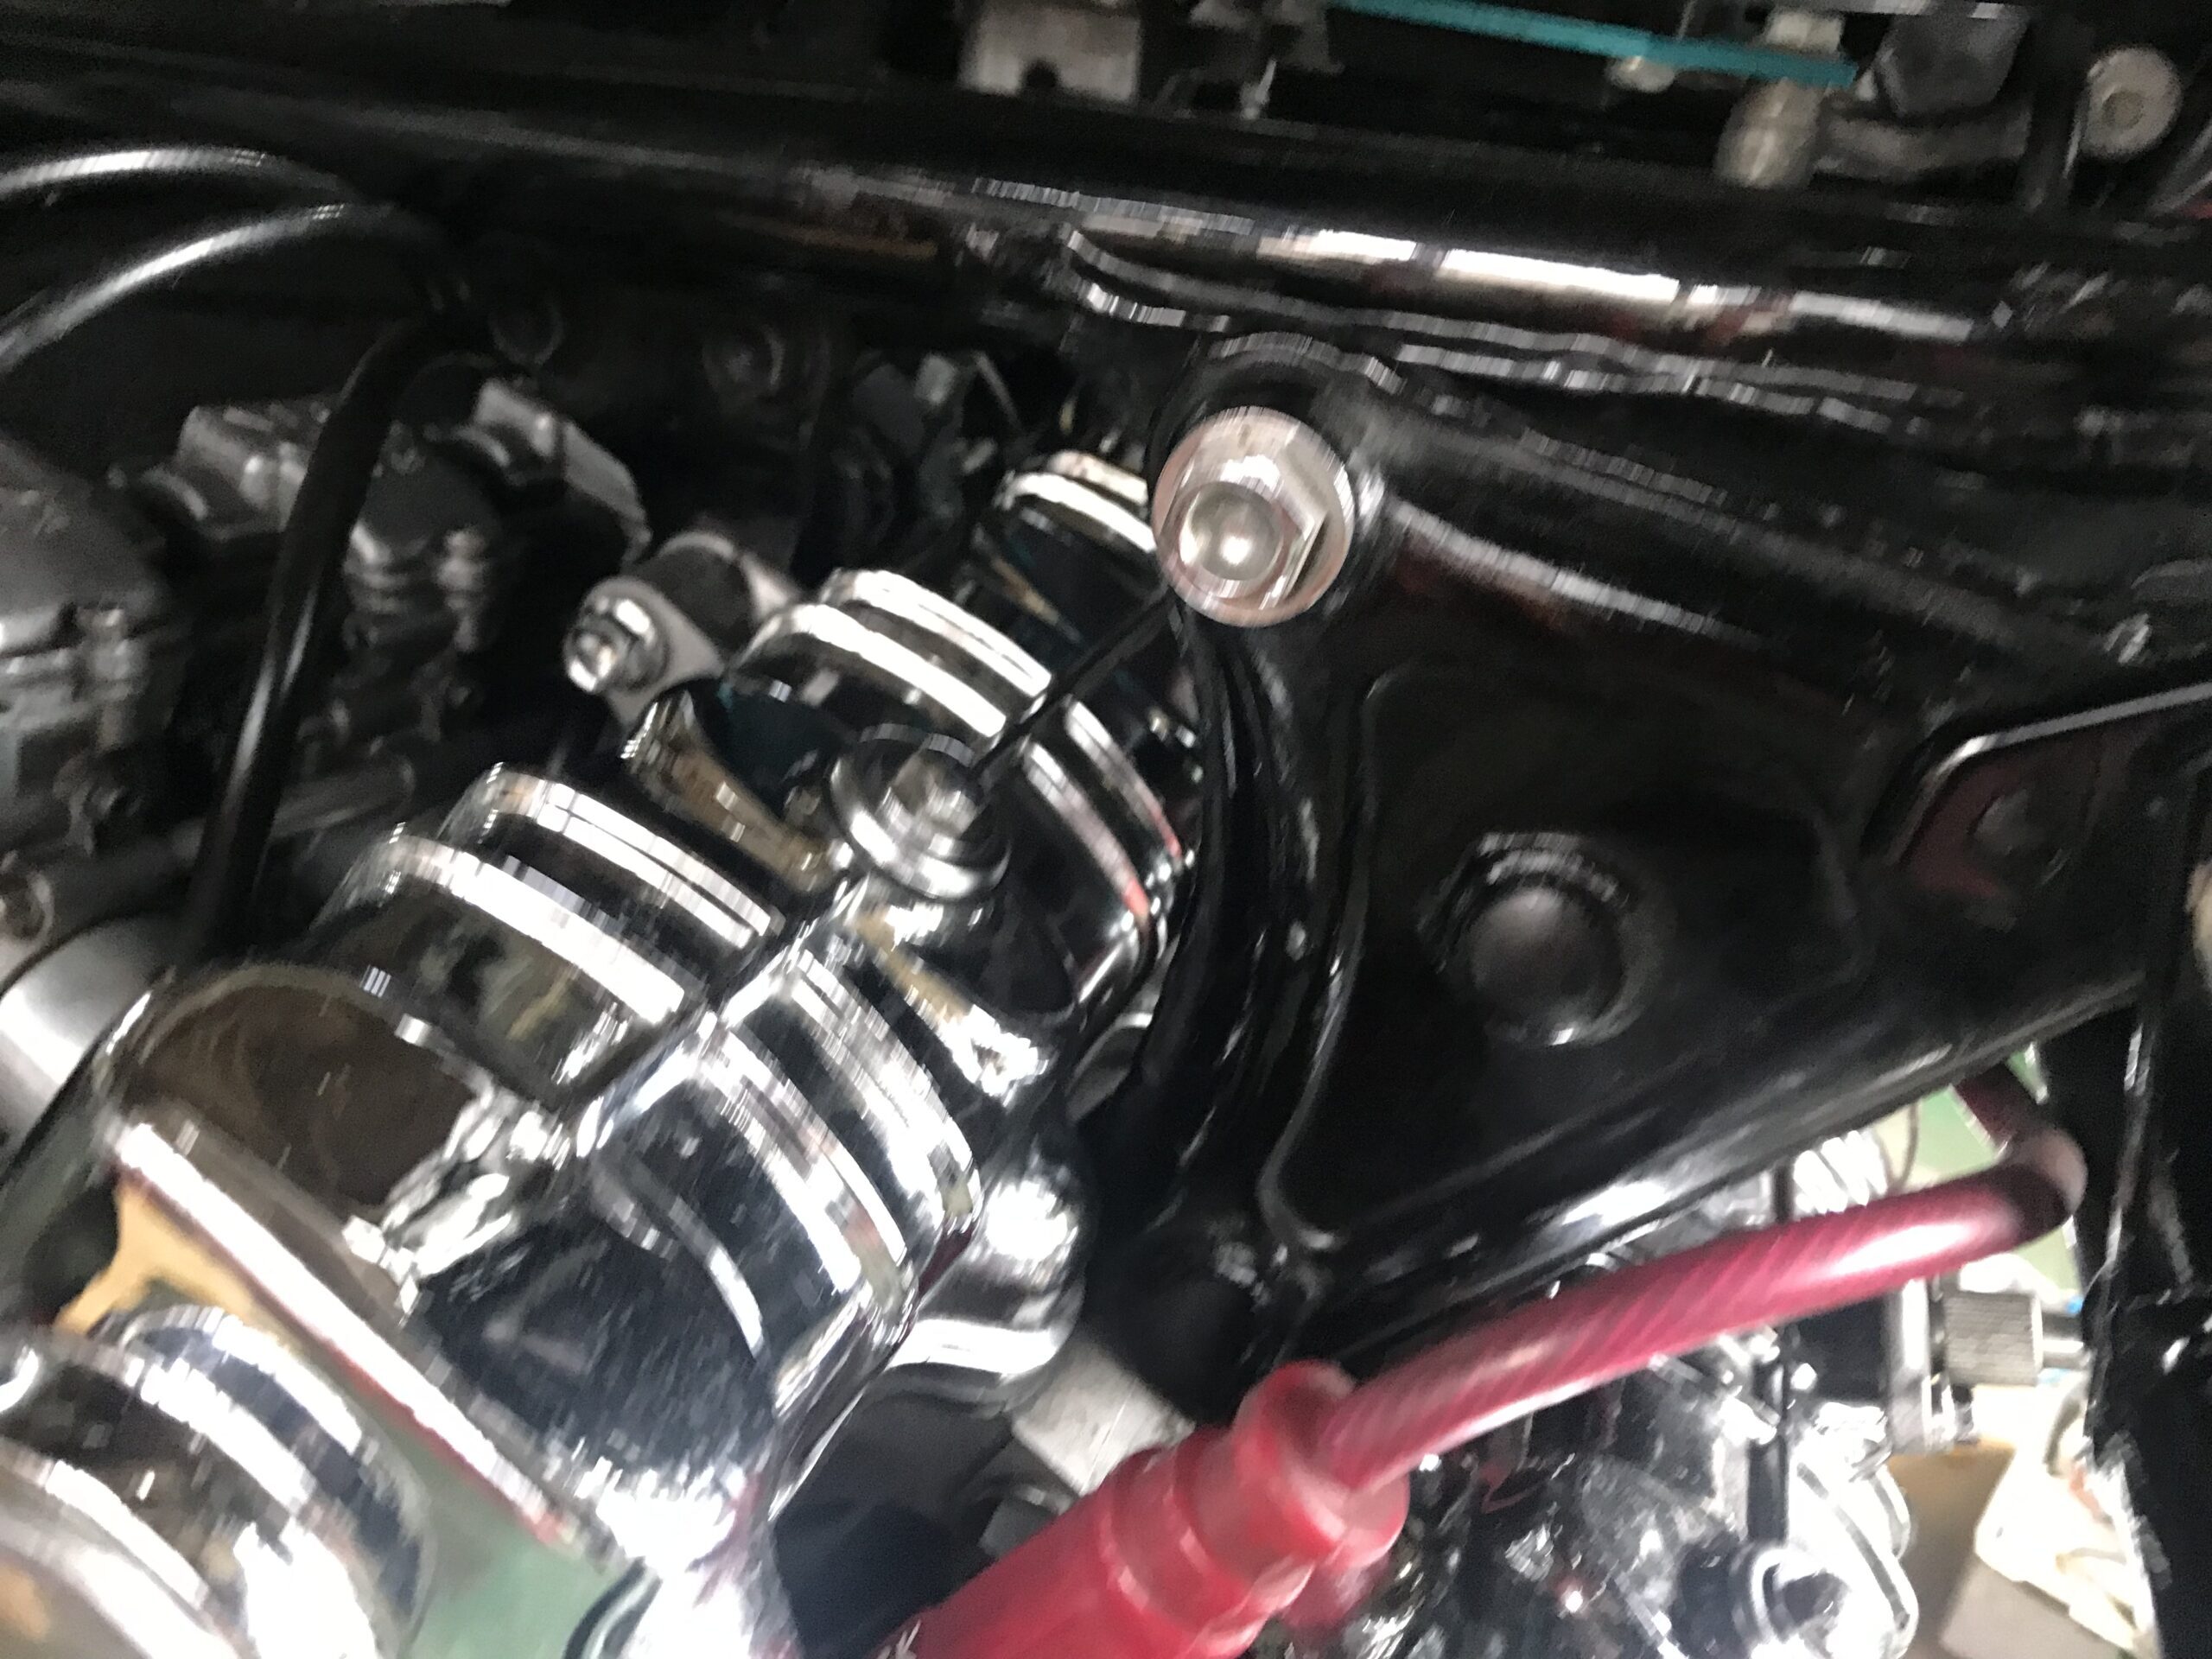
HONDA CBX1000-Remove the tankHONDA CBX1000-Remove the headlightHONDA CBX1000-Remove the headlightHONDA CBX1000-Engine hanger mounting screw holeHONDA CBX1000-Engine hanger mounting screw holeHONDA CBX1000-stay installationHONDA CBX1000-Mounted on engine bracketHONDA CBX1000-BOLT TO FRAMEUntil the installation of the stay.
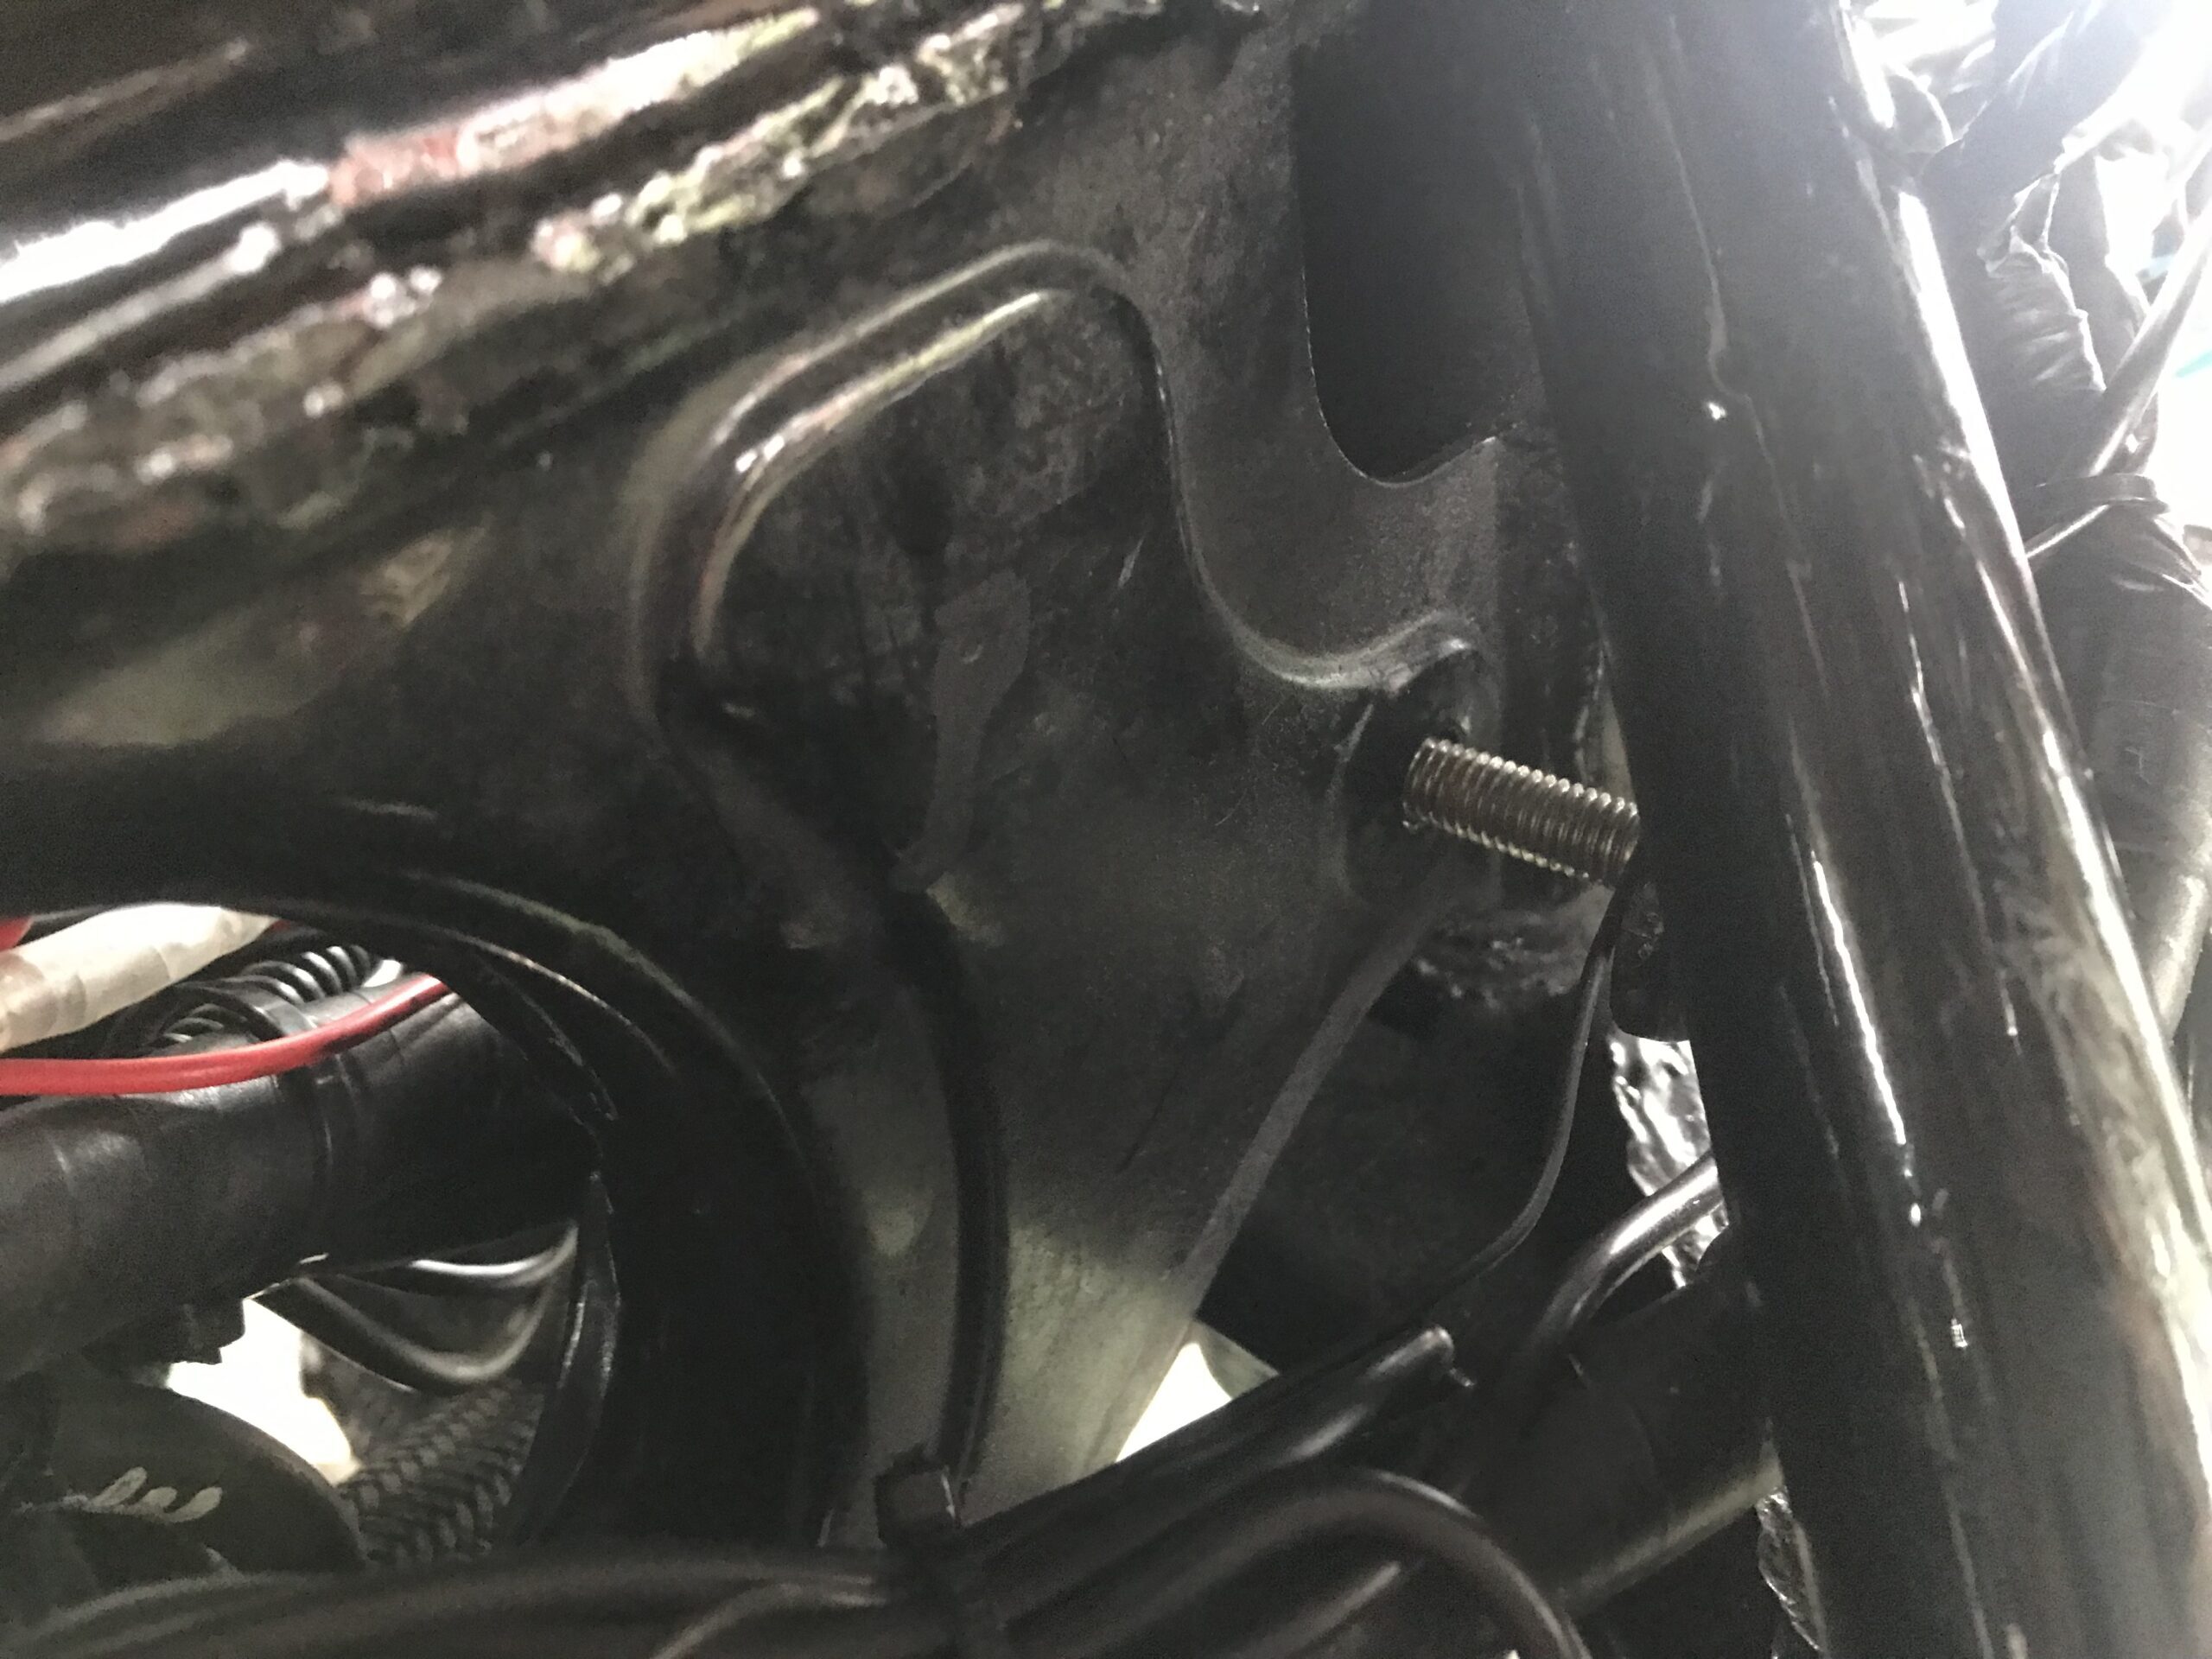
If you have the SC06 stay, you can install the frame mount cowl fairly easily.
Easy to install means easy to remove.
What I do to make attaching and detaching easier is to mark the destination of the wiring.
The back of the headlight case is hollowed out to make the opening larger.
The only couplers that were removed before actually removing the headlights were the 6 left and right turn signals and the headlight coupler. It depends on your personal preference, but it is also relatively easy to remove the meters that are installed afterwards. If you don't like it, you can easily change it back.
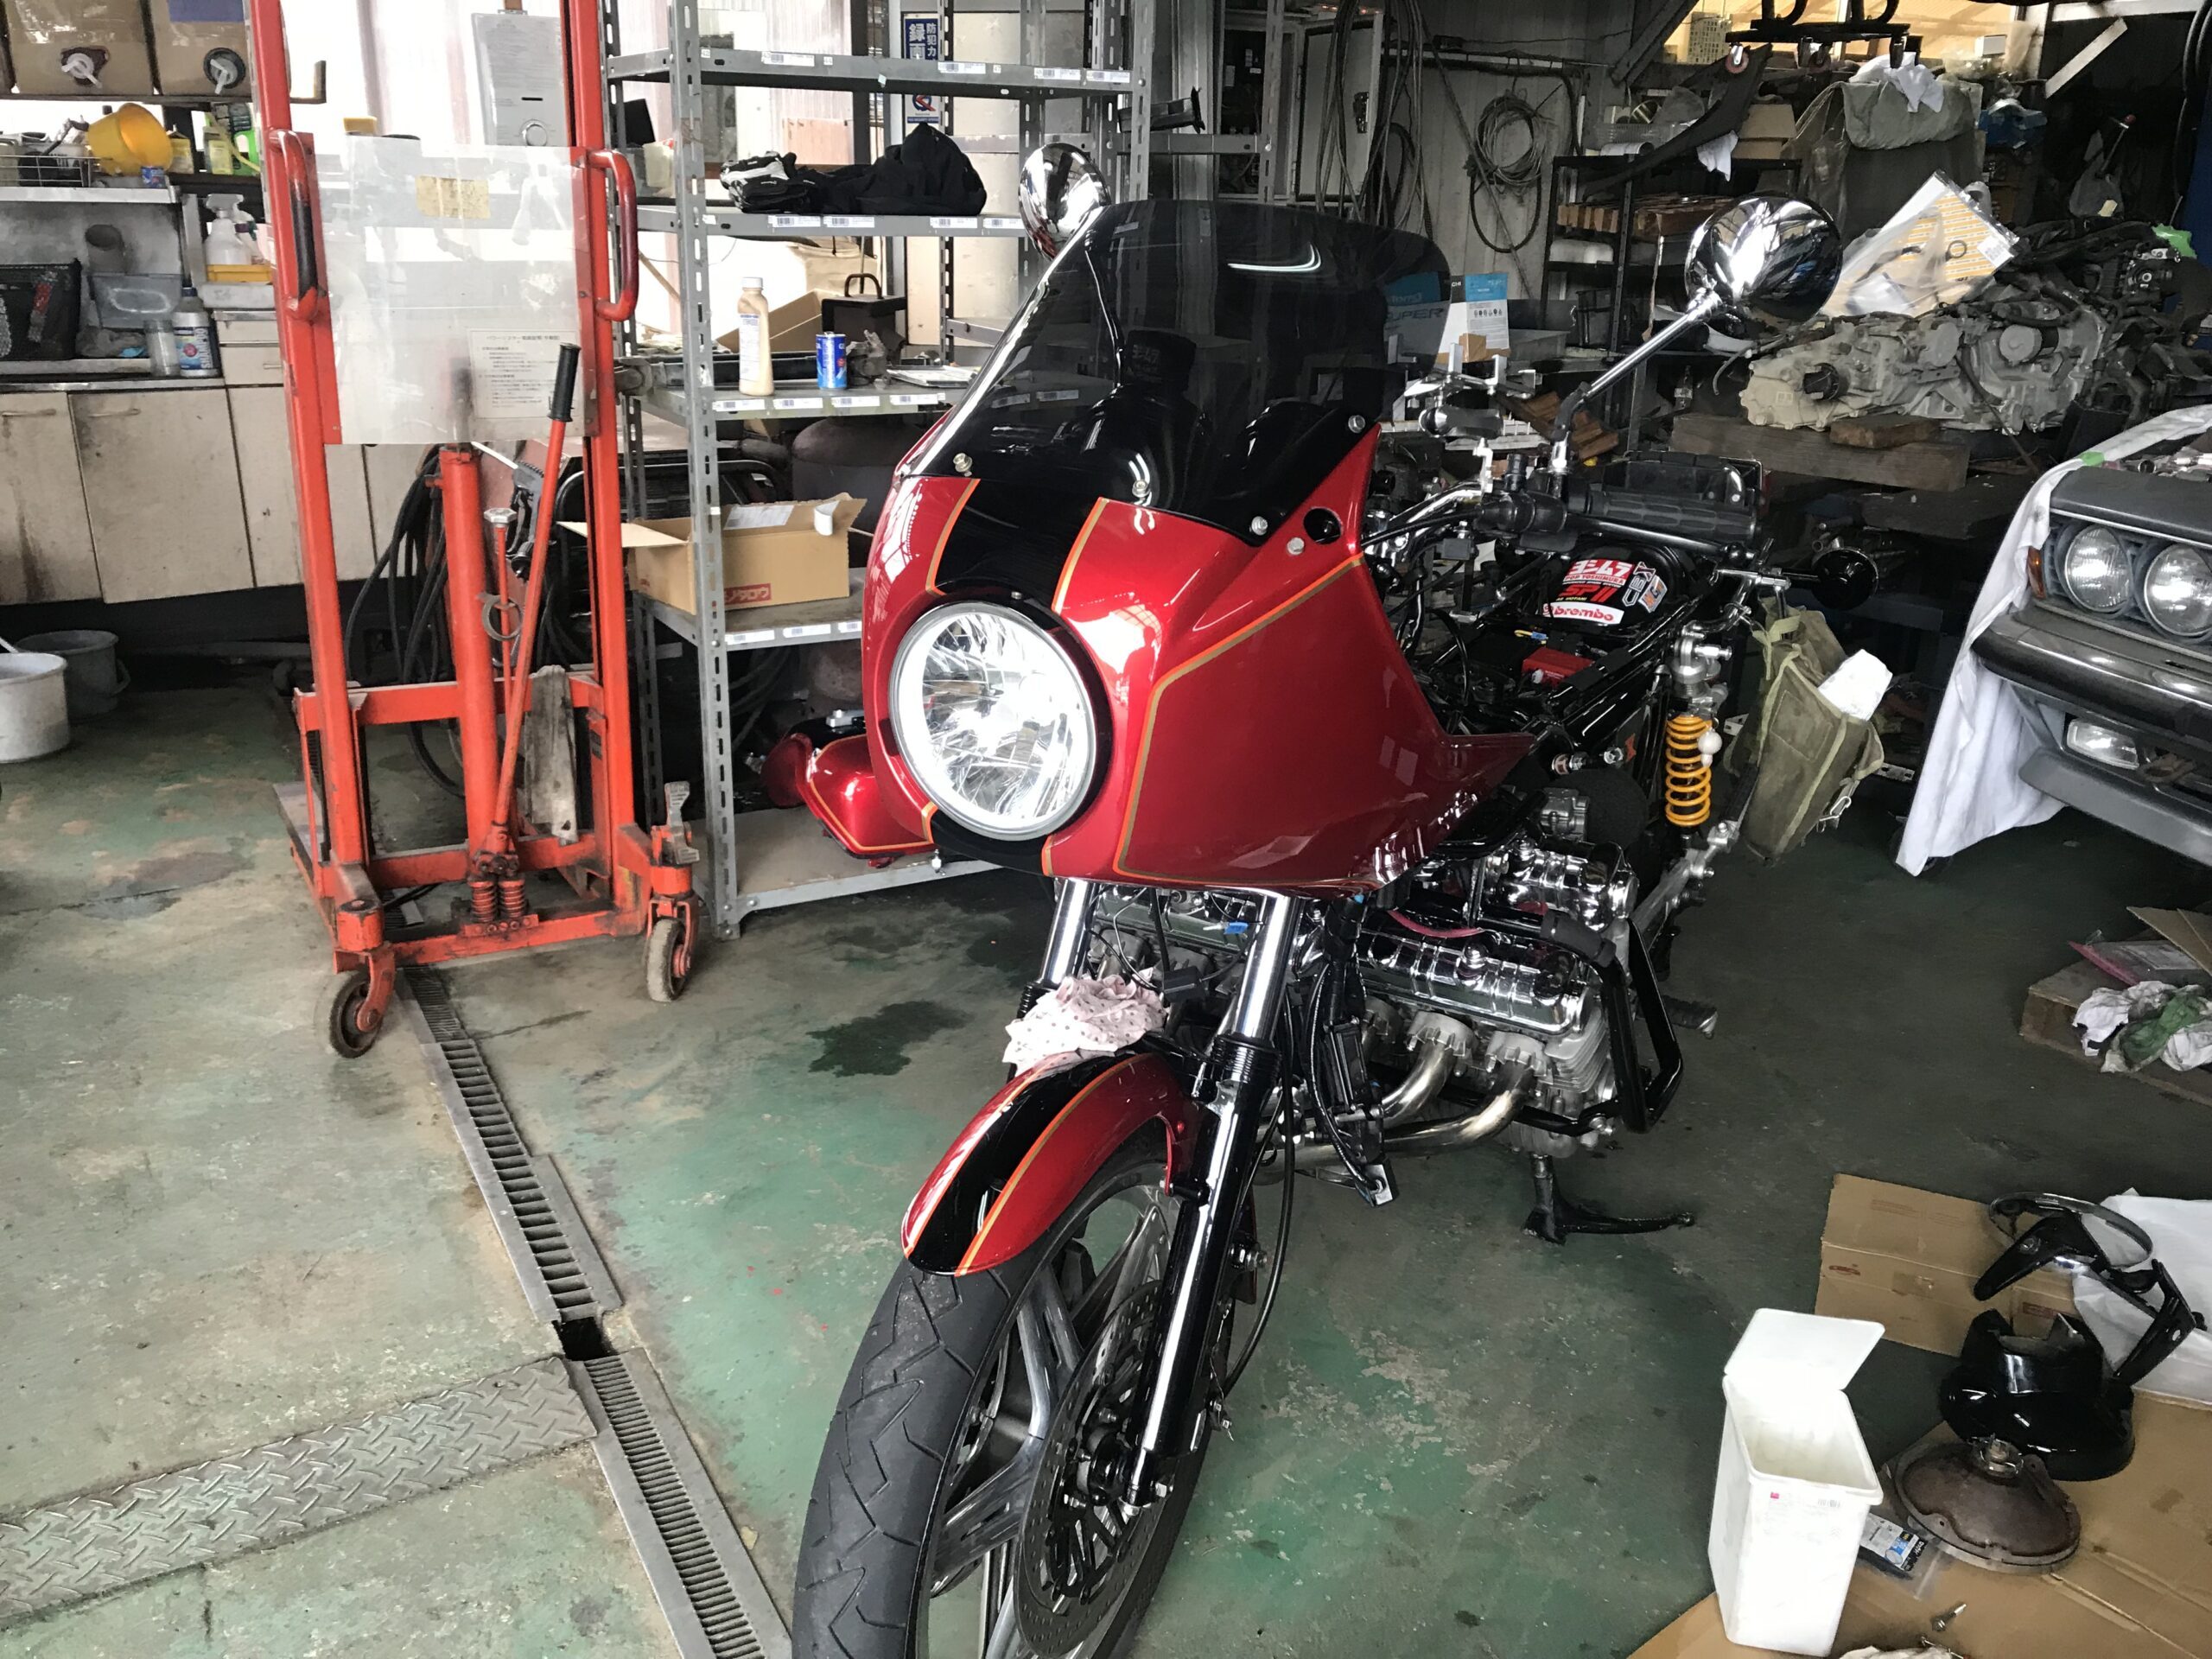
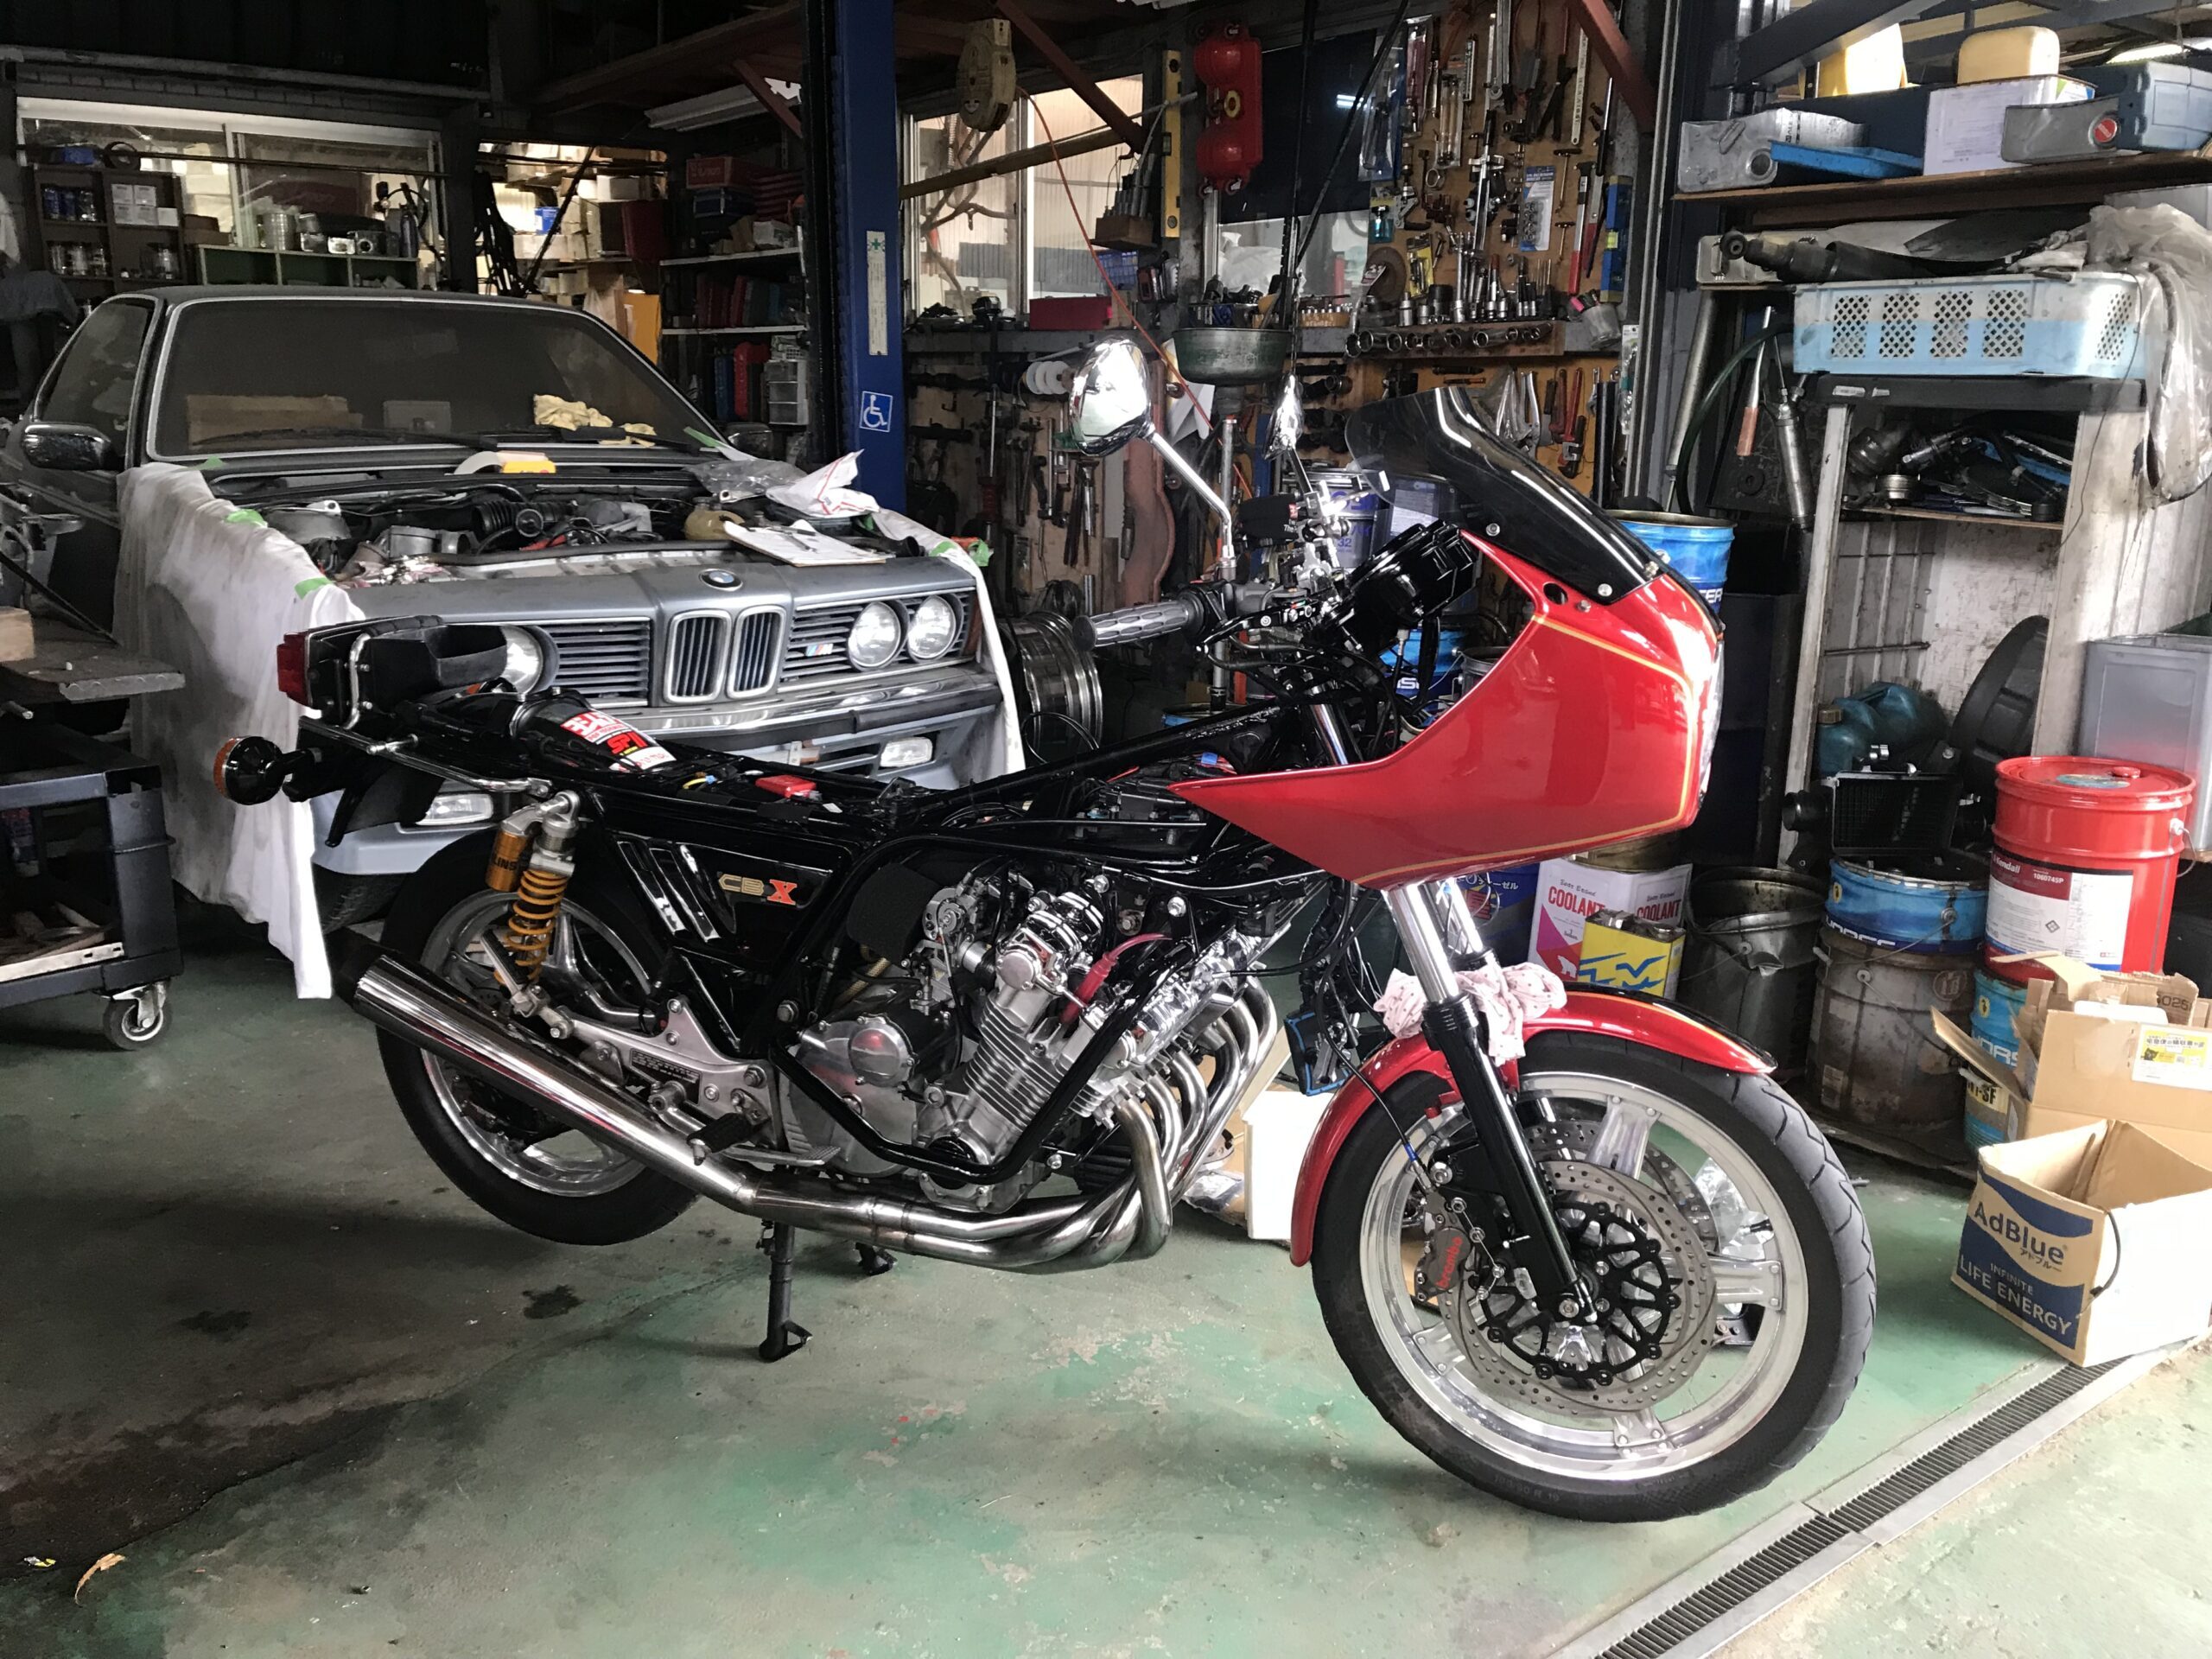
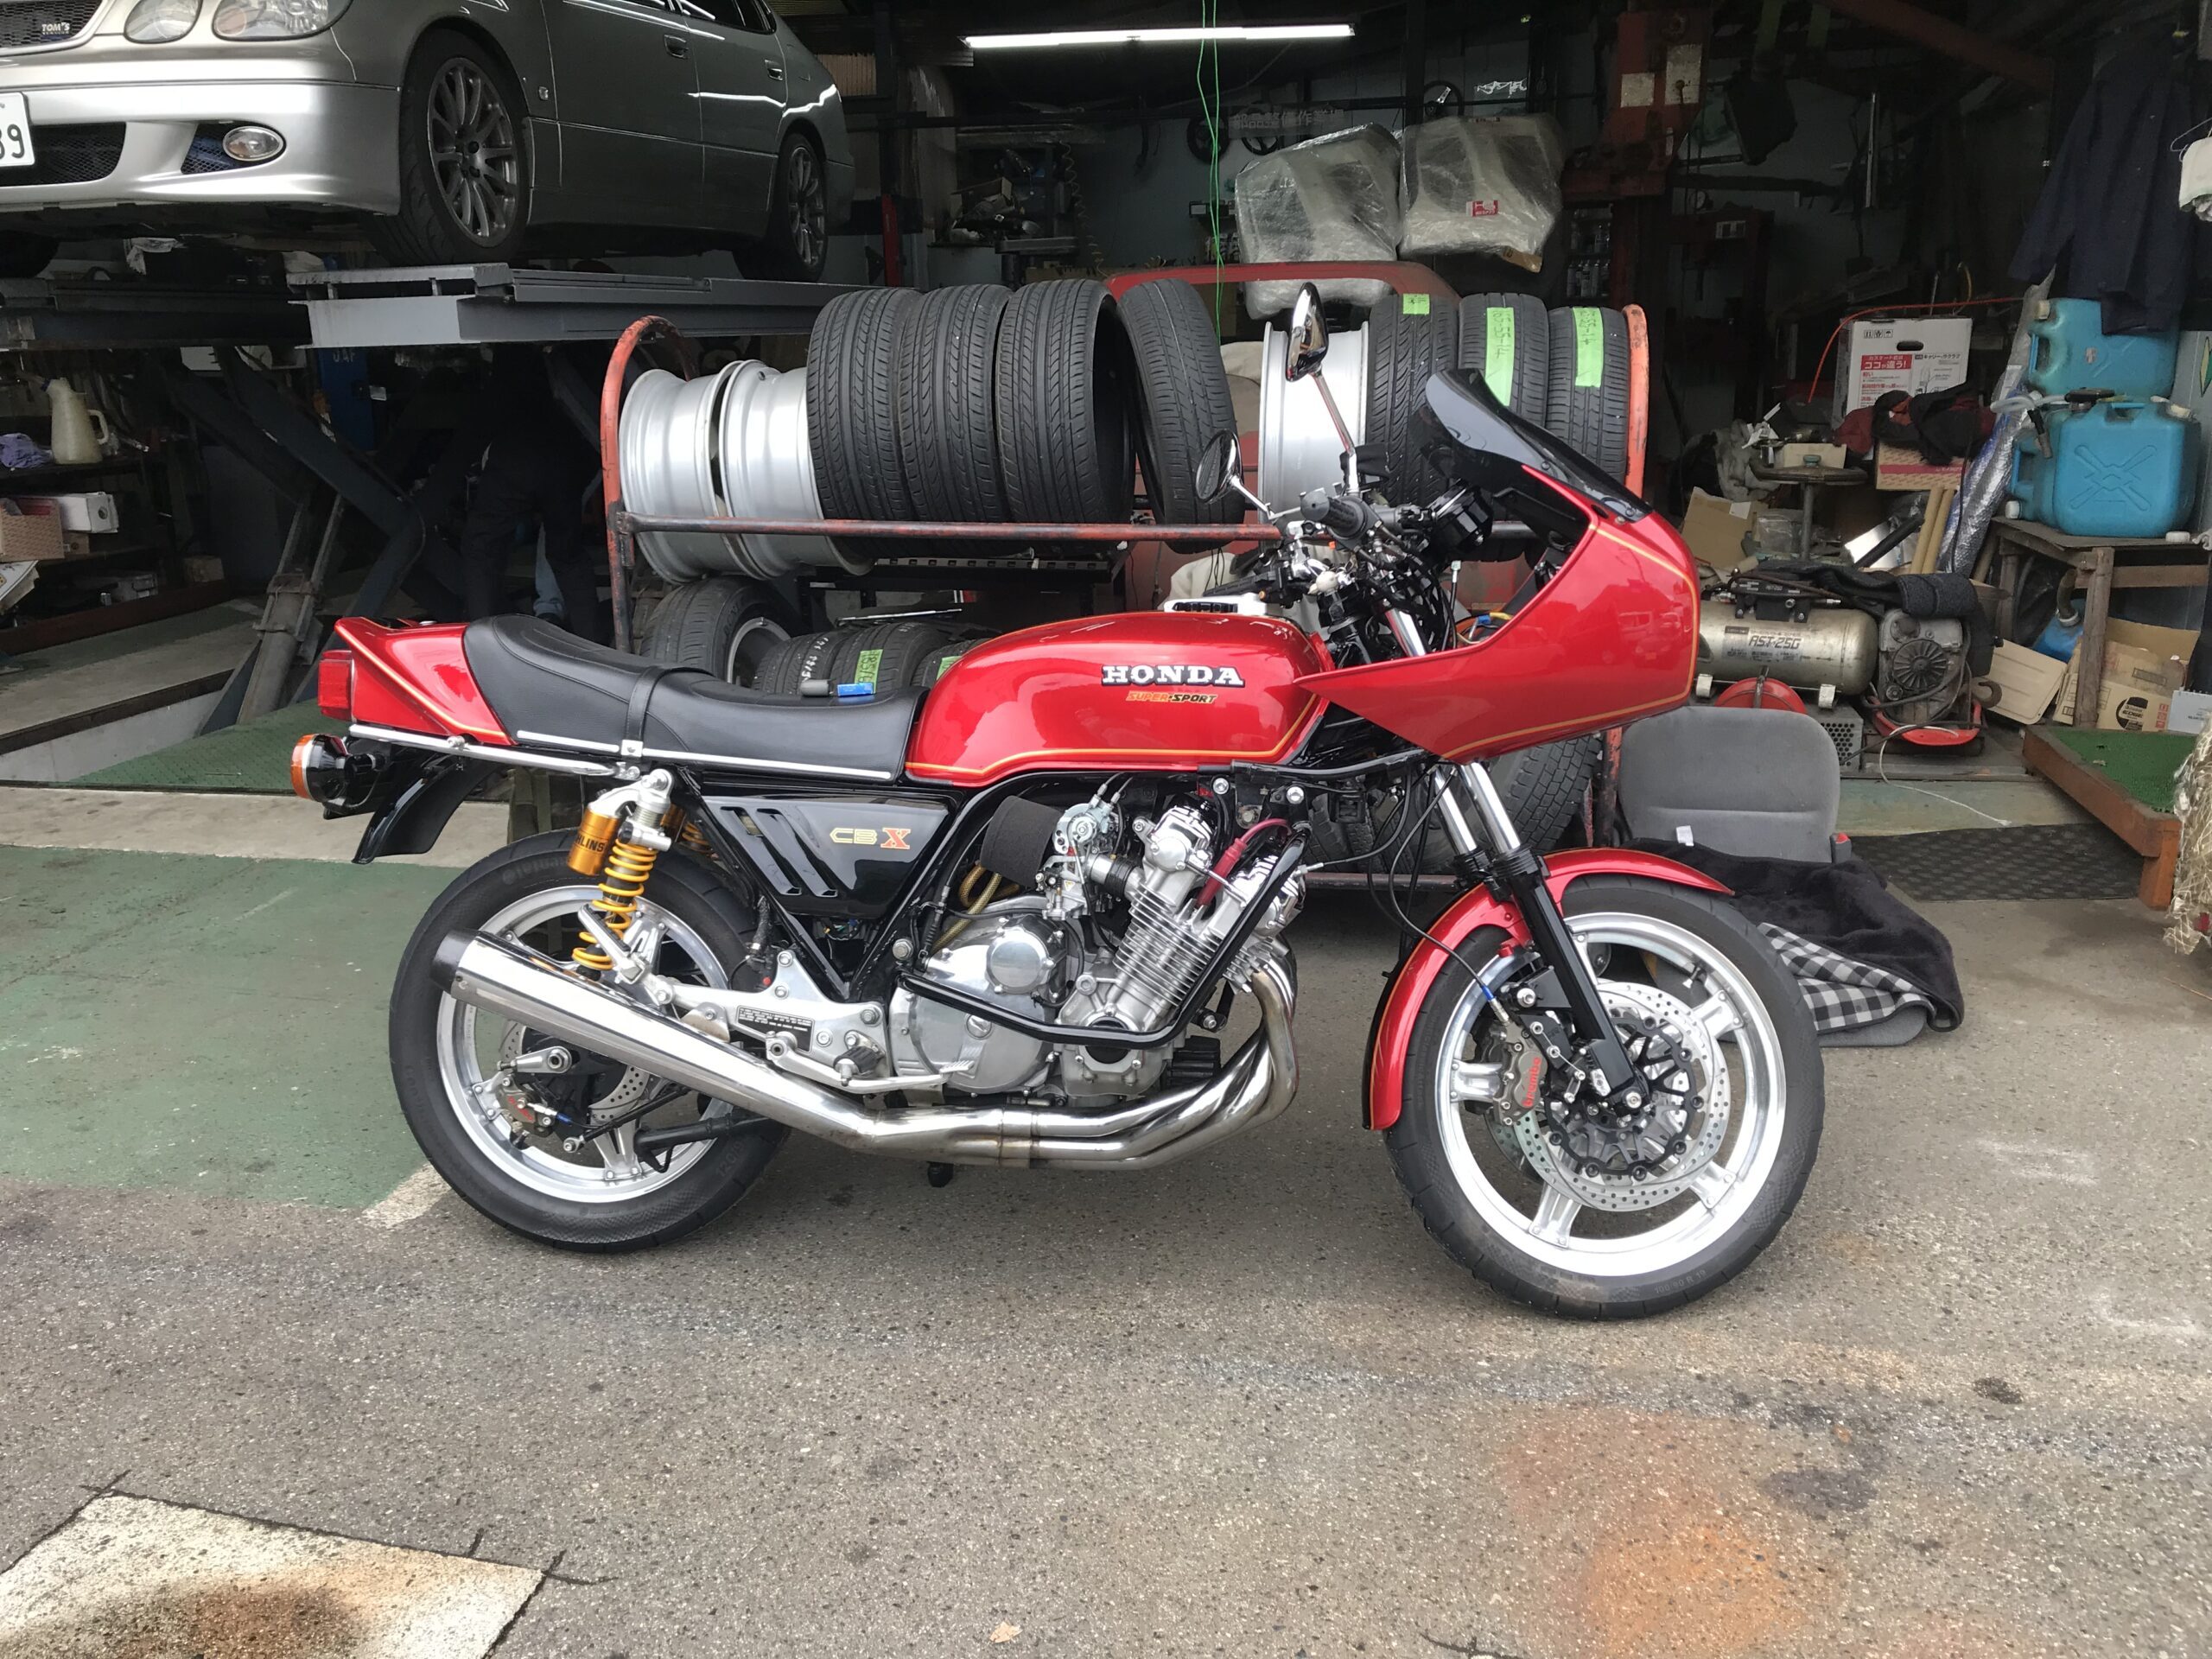
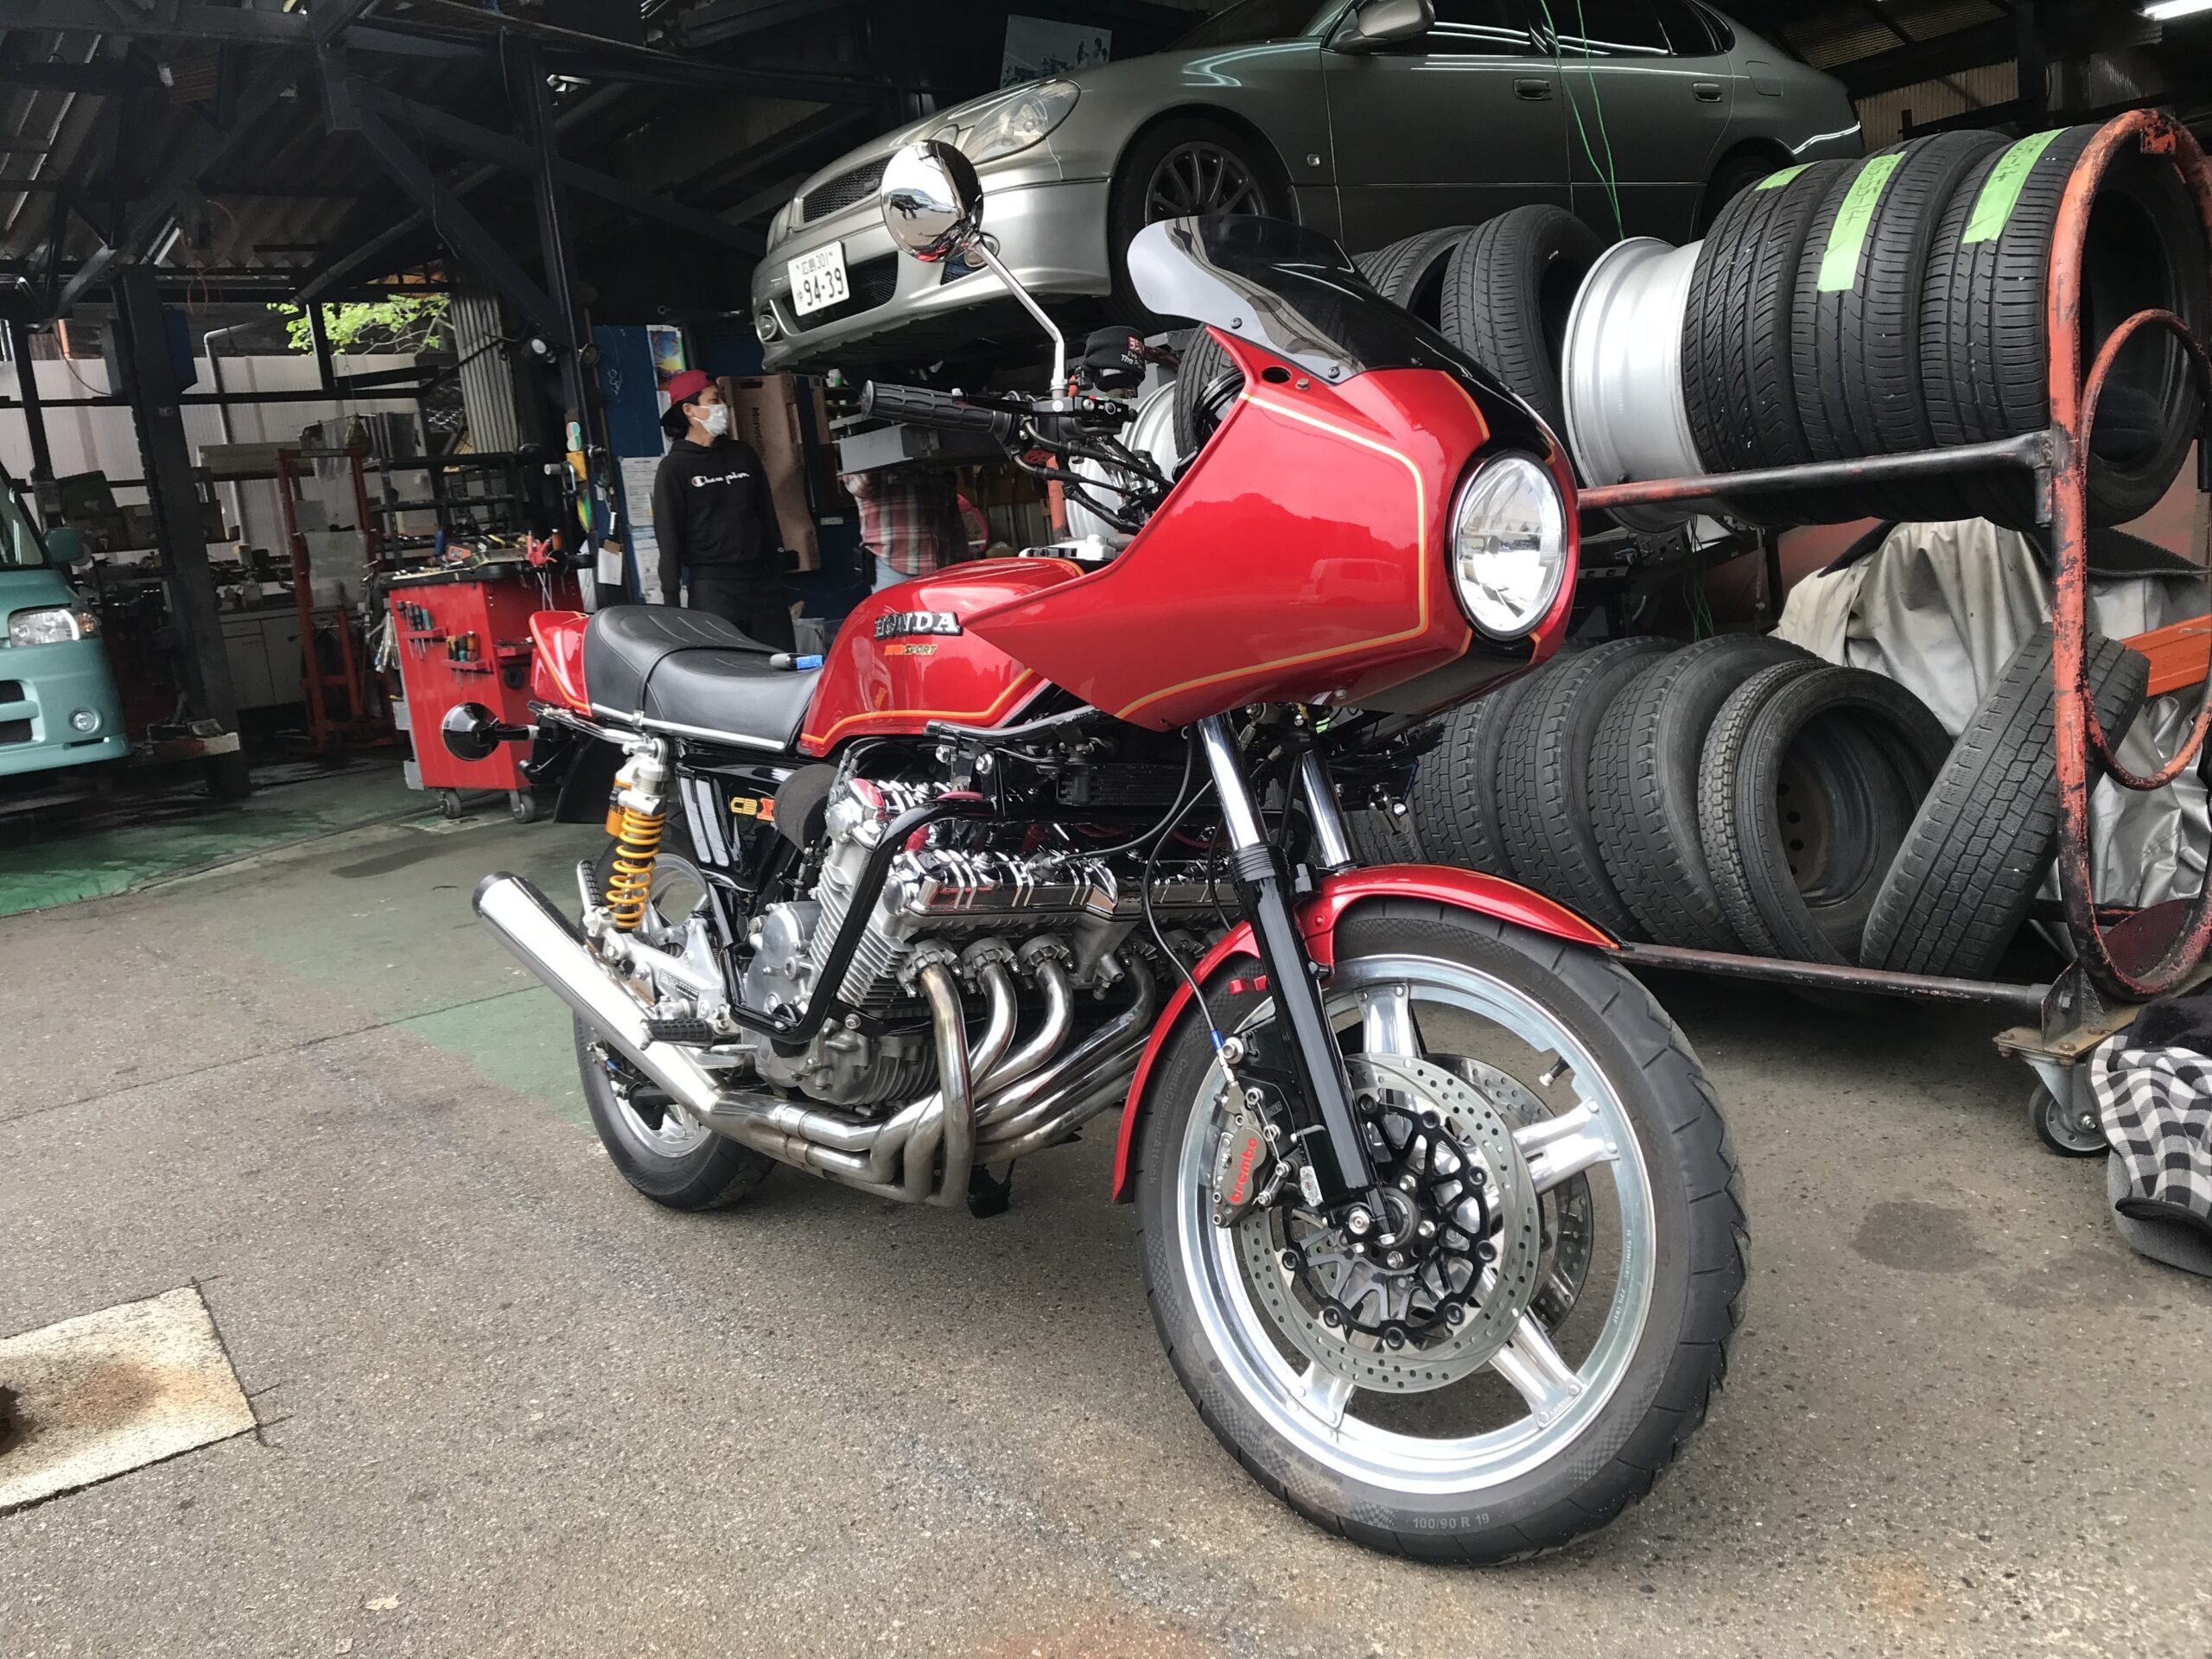
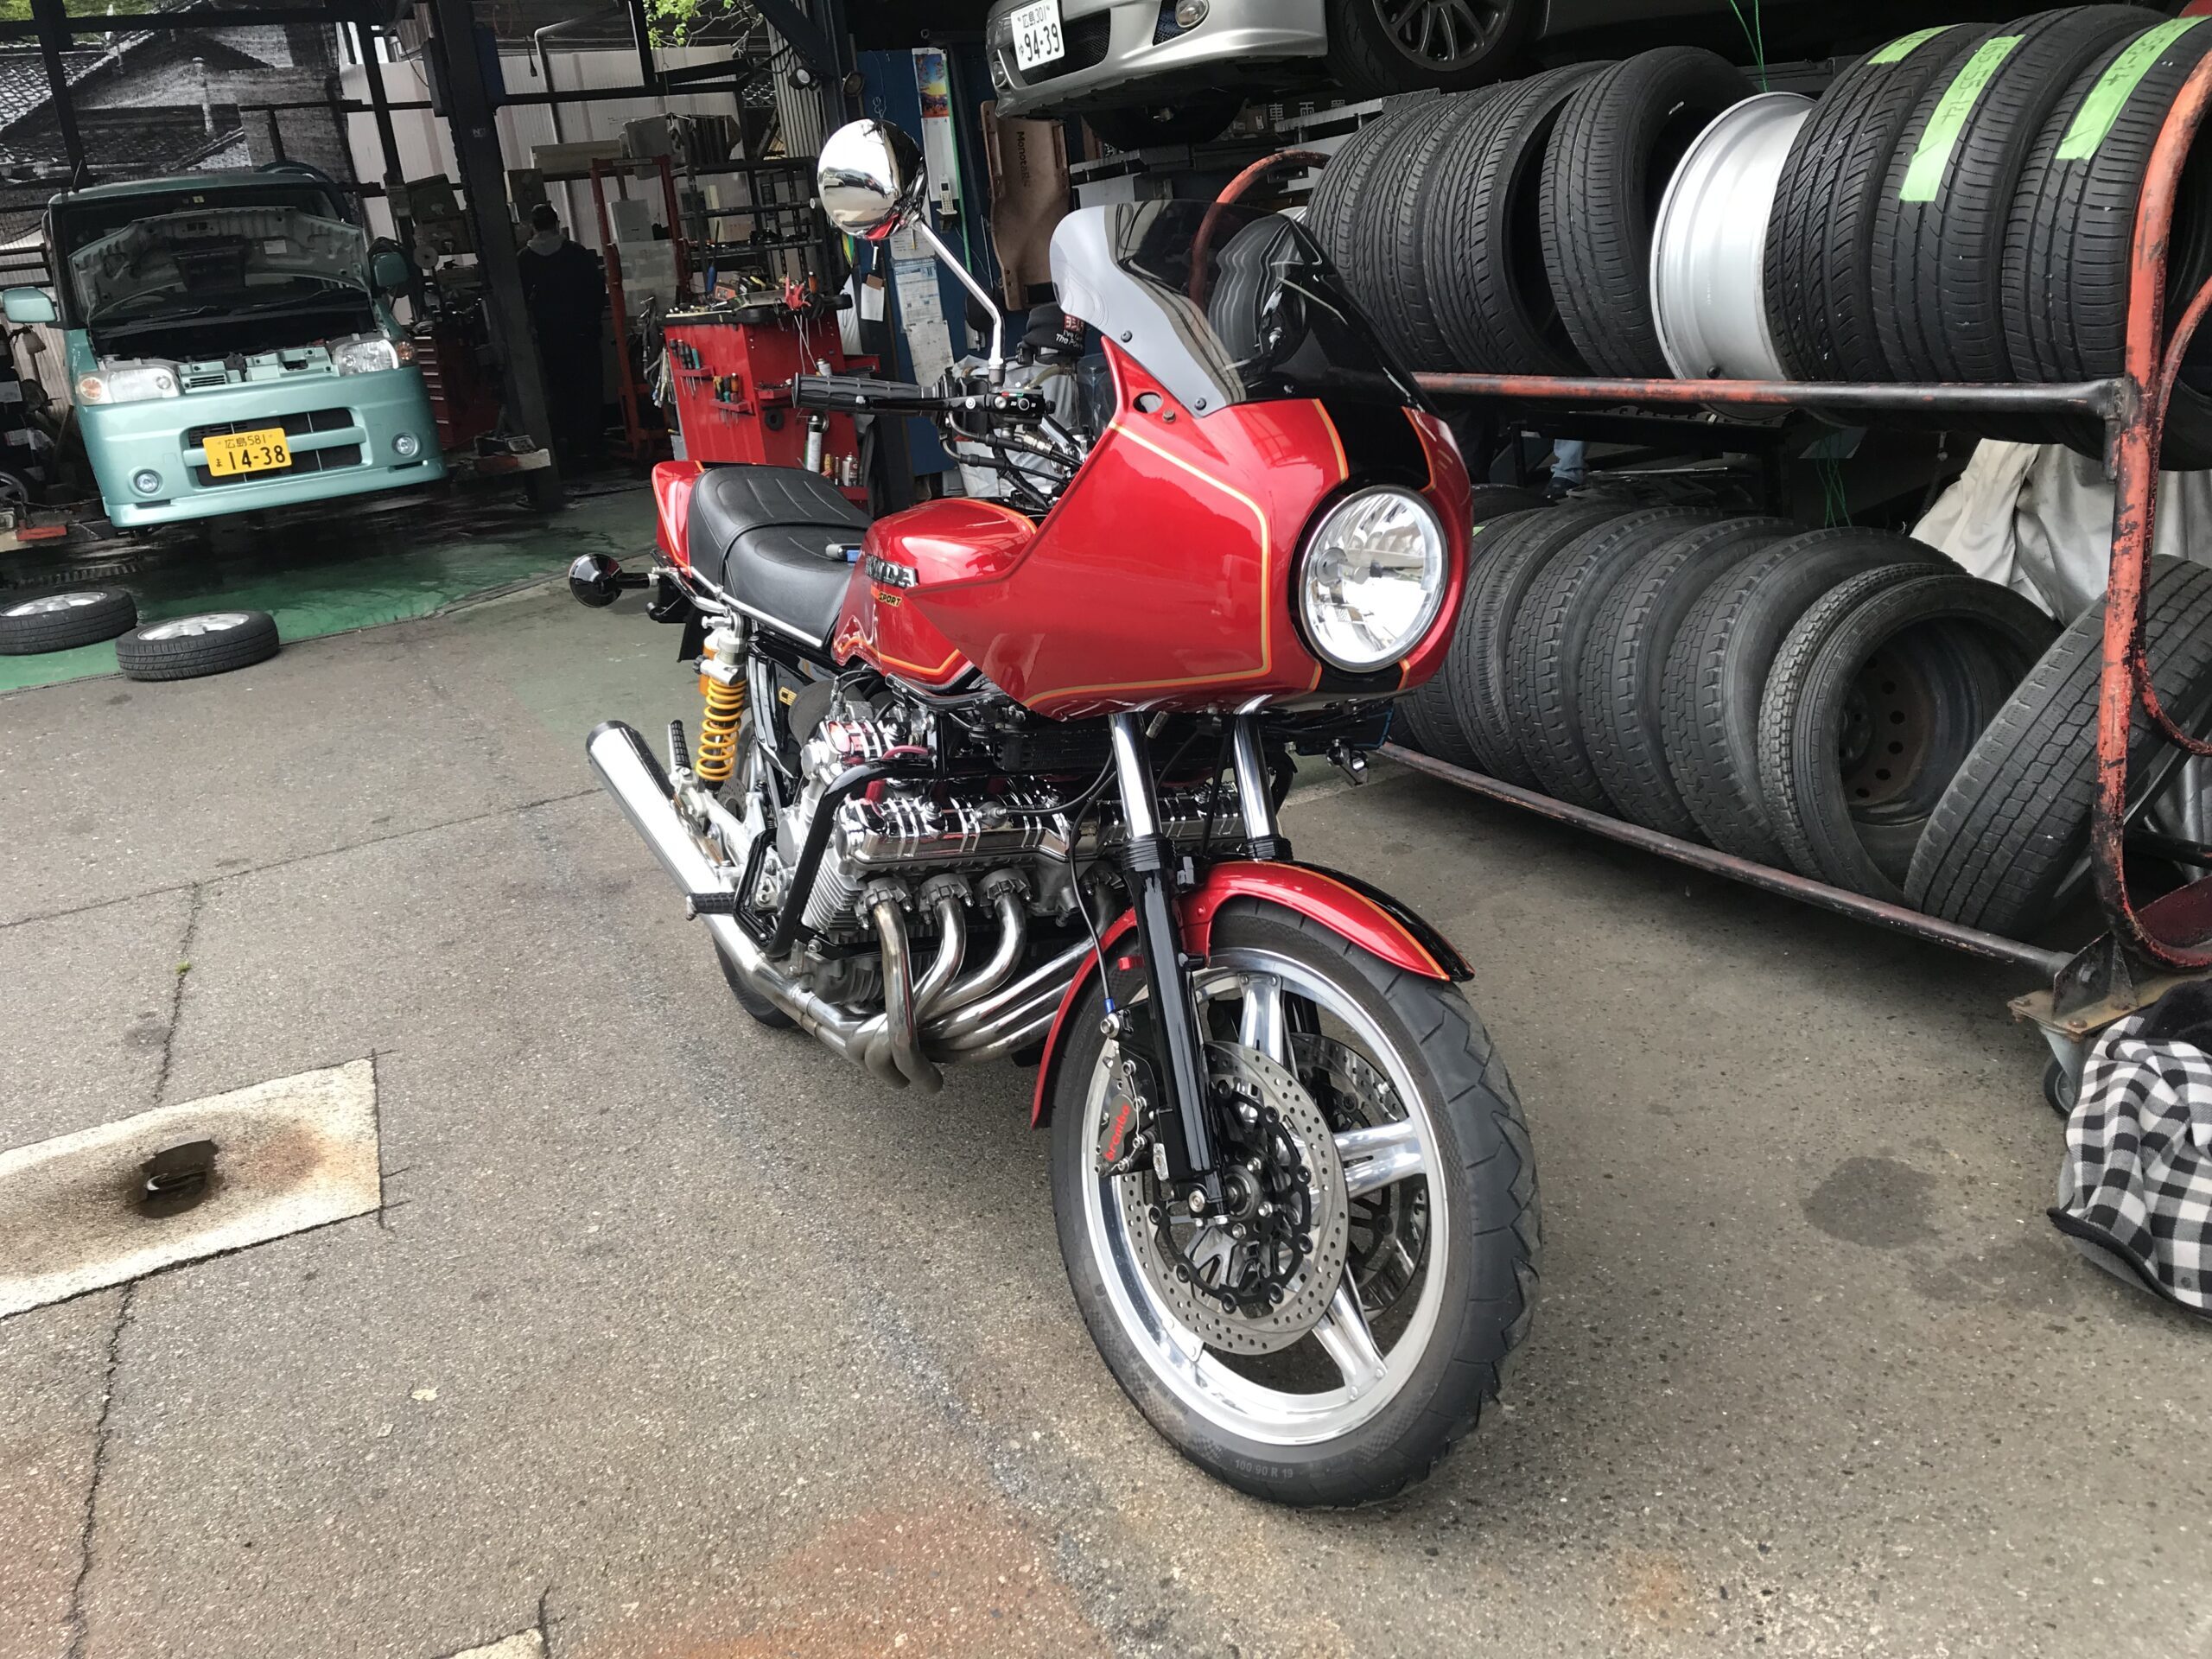
CBX400F Integra cowl installation
CBX400F Integra – from the frontCBX400F Integra – from the sideCBX400F Integra – from behindCBX400F Integra cowl installation
There are no photos. I will post it at a later date. The cowl has an iron stay as its framework.
I try to secure it with bolts and tie wraps. If everything is firmly fixed with welding or bolts, the plastic part of the cowl may break due to vibration, or the steel part may crack.
Another advantage is that it makes it easier to make fine adjustments to things like the angle of the cowl.
The disadvantages are that there are cases where the strength decreases and you have to adjust the angle, so
Work time will increase slightly. It's a matter of balance here.
To be honest, if I wanted to attach a cowl to my CBX1000 with a frame mount,
If you do it like this, you can easily attach the cowl to the GPZ900R.
Of course, the offset (shifting length) is uncool because it interferes with the handle.
The thing that took the most time this time was transplanting the headlights. Headlight stay for CBX400F Integra
Until now, I had a hard time installing the round headlights.
The cause was that the angle of the headlight mounting tabs was different.
As a countermeasure, we installed an aftermarket headlight, so we were able to resolve this by disassembling and shifting the position of the claw. Genuine CBX1000 headlights may not be able to be installed as is.
Depending on the manufacturer and model year, even if the headlight size is the same, the direction of the tabs may be different.
You may need to be a little careful.
I ordered it at the same time as the exterior painting, so there is no problem with the color.
If a frame mount is retrofitted by an amateur, it will be offset to the front, creating a space. Beyond this, it may be necessary to make major modifications to the cowl or to make more special modifications to the vehicle body, so we will consider that.
By the way, the height of the cowl is based on Ducati's bevel.
I could have installed a rocket cowl, but I chose the CBX400F cowl because the rocket cowl has a bad image due to the current Japanese motorcycle situation, and I was conscious of the latter model of CBX1000.
I have a cowl specifically designed for CBX1000, but the concept of the cowl is
It is a long touring specification or rather a tourer specification, with various storage facilities and meters,
As a result, the cowl is large and heavy.
If you search on the internet, you will find CBX1000 and CB-F type vehicles that are being used.
As expected, it's too big. The custom that I thought was cool was the one that was attached to a Harley.
This time I called it a real installation, but I couldn't get the turn signal installed in time.
Mounting and fixing of bolts, etc. have not been thoroughly tested.
Please note that turn signals can be installed anywhere.
The current mounting candidate is for mounting in the large space of the cowl.
I am conscious of Z1R. I was also conscious of the Z1R in how I drew the cowl line, so
The balance won't be bad either.
For this theme, we created the meter with the handle mounted as it is easy to attach and detach.
This is a major cause of space. The mirror is handle mounted.
My goal is to be able to reach 200km/h, so if I can fix things properly,
Test runs on expressways and circuits.
Well then! See you again!