I am the owner of a Honda motorcycle [CBX1000] who lives in Hiroshima City, Japan. I am posting about FCR carburetor and CBX1000 customization. I also post about things other than cars and motorcycles. We will post information that will make bikers around the world happy.
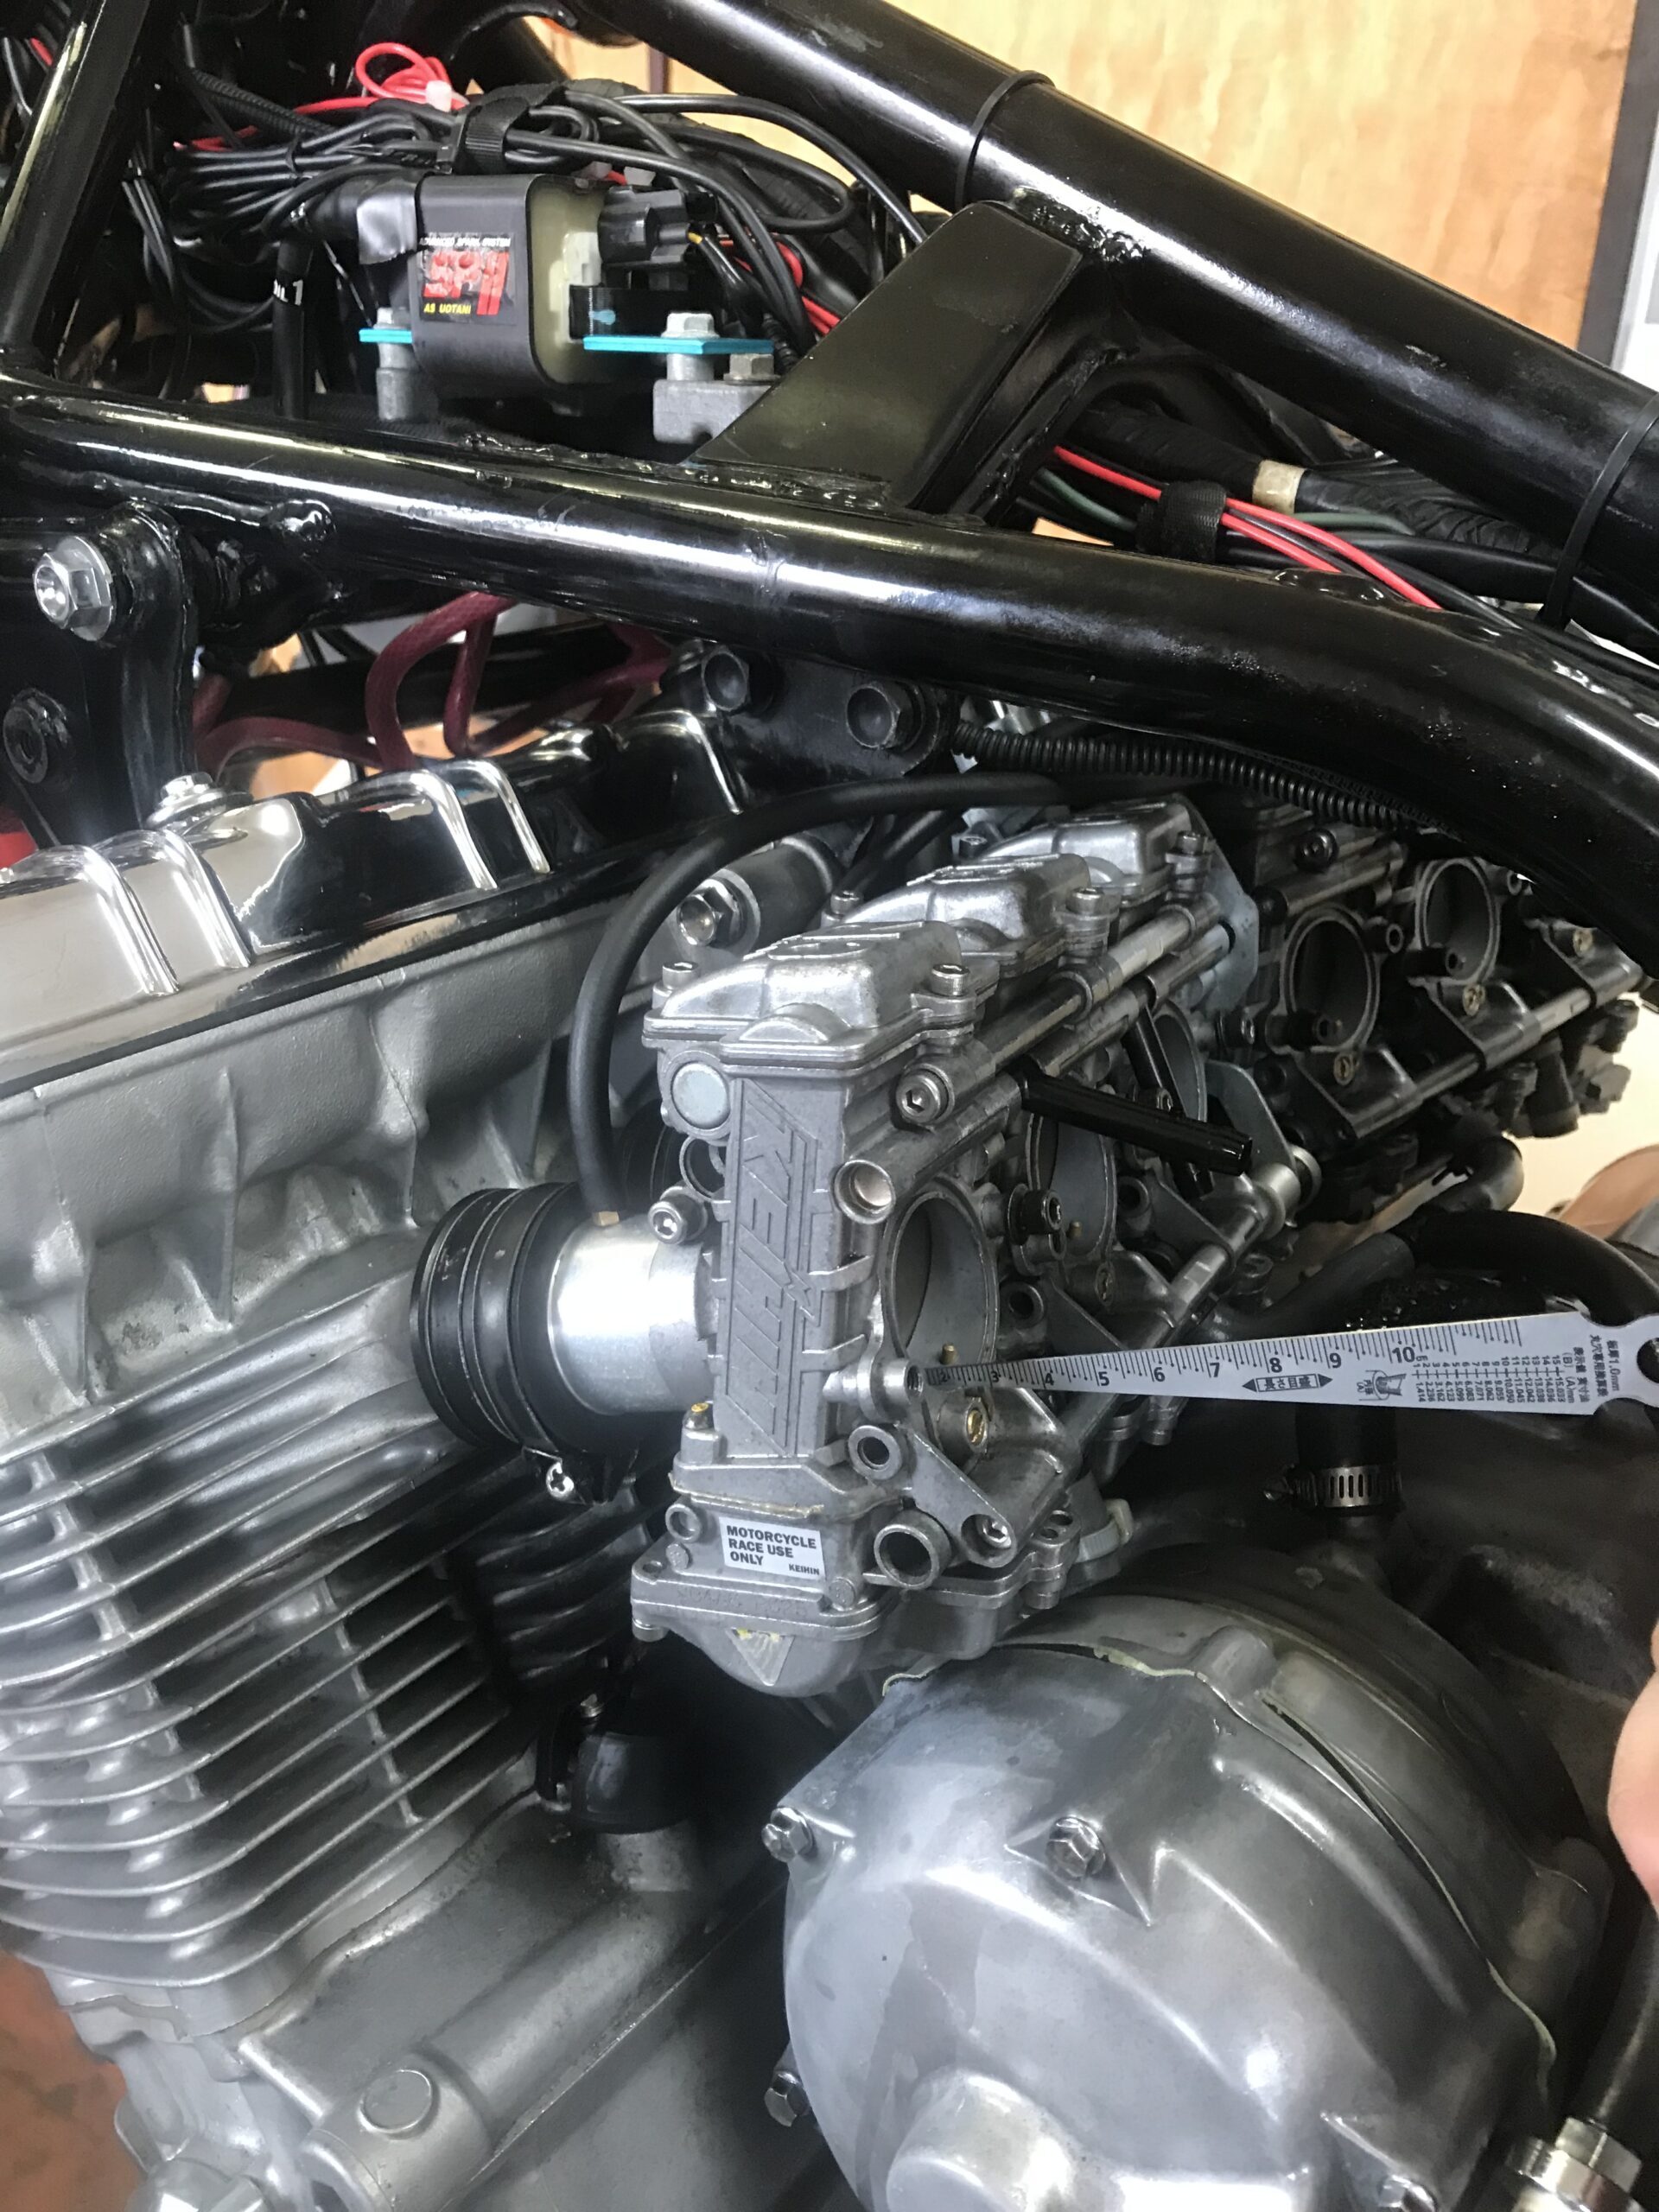
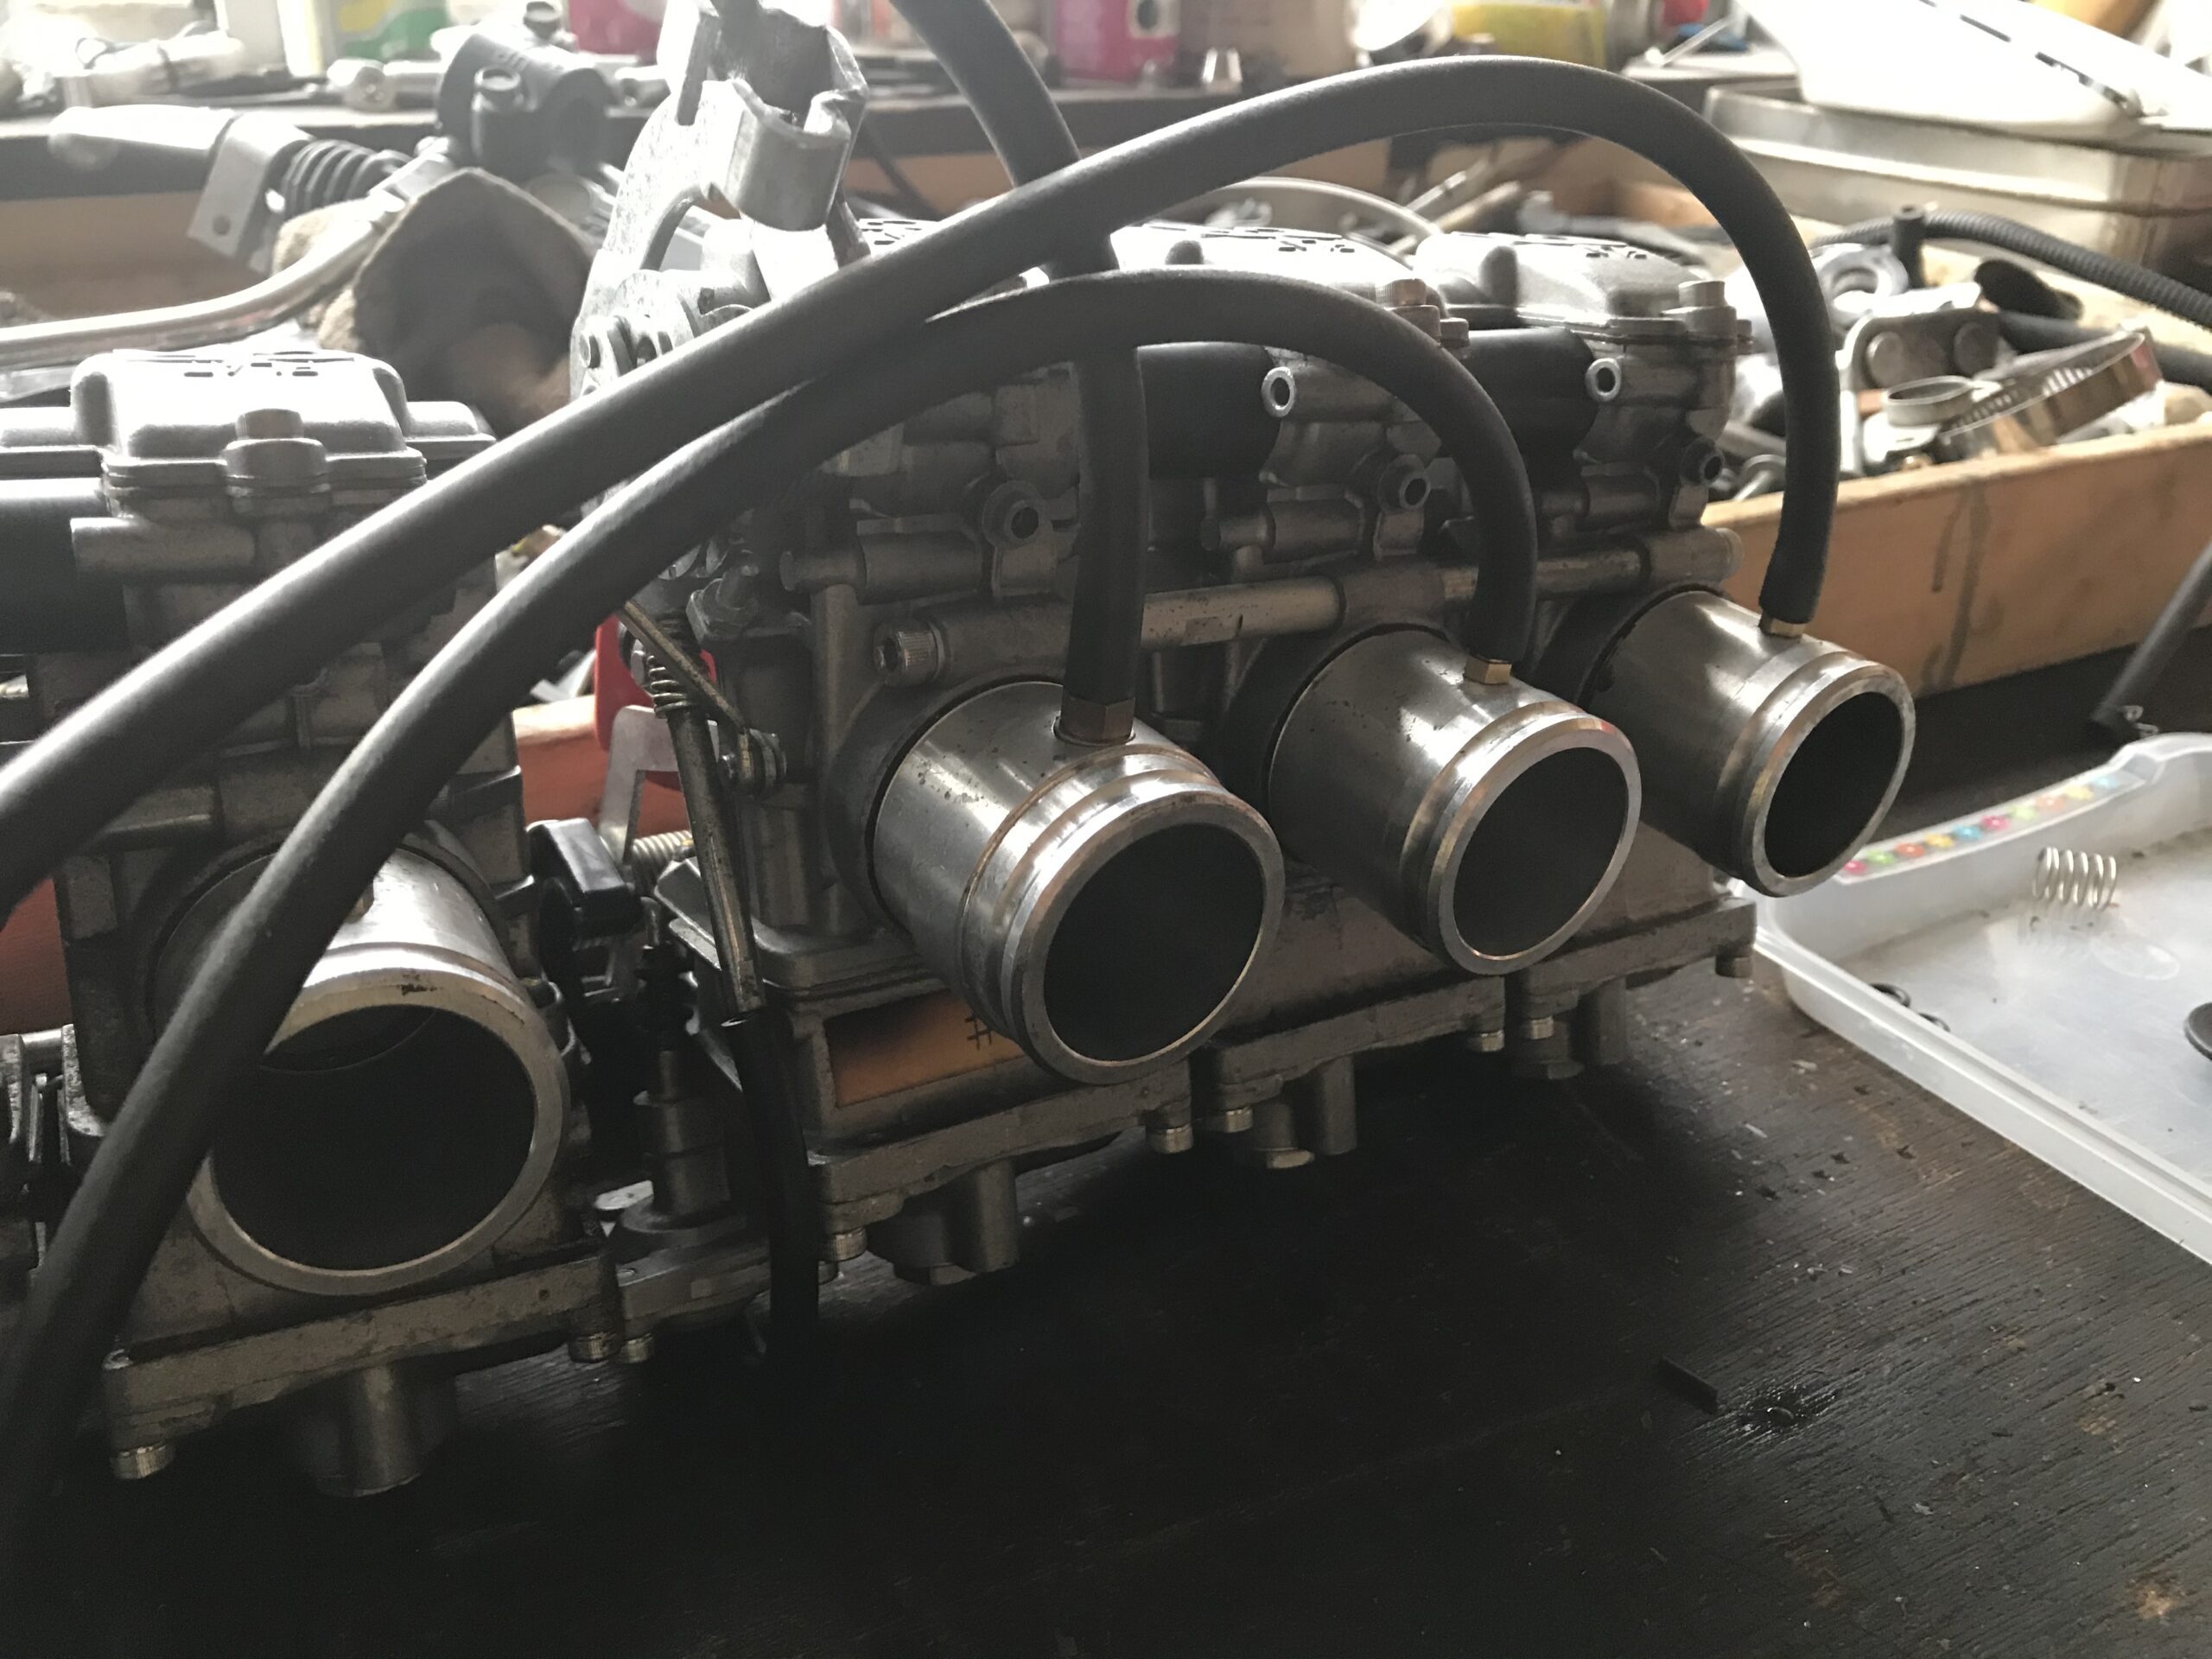
I replaced the parts of the FCR carburetor that I was concerned about, specifically around the throttle valve seal and the accelerator pump. Since the CBX1000 is meant for riding, I try to avoid letting it sit unused for long periods.
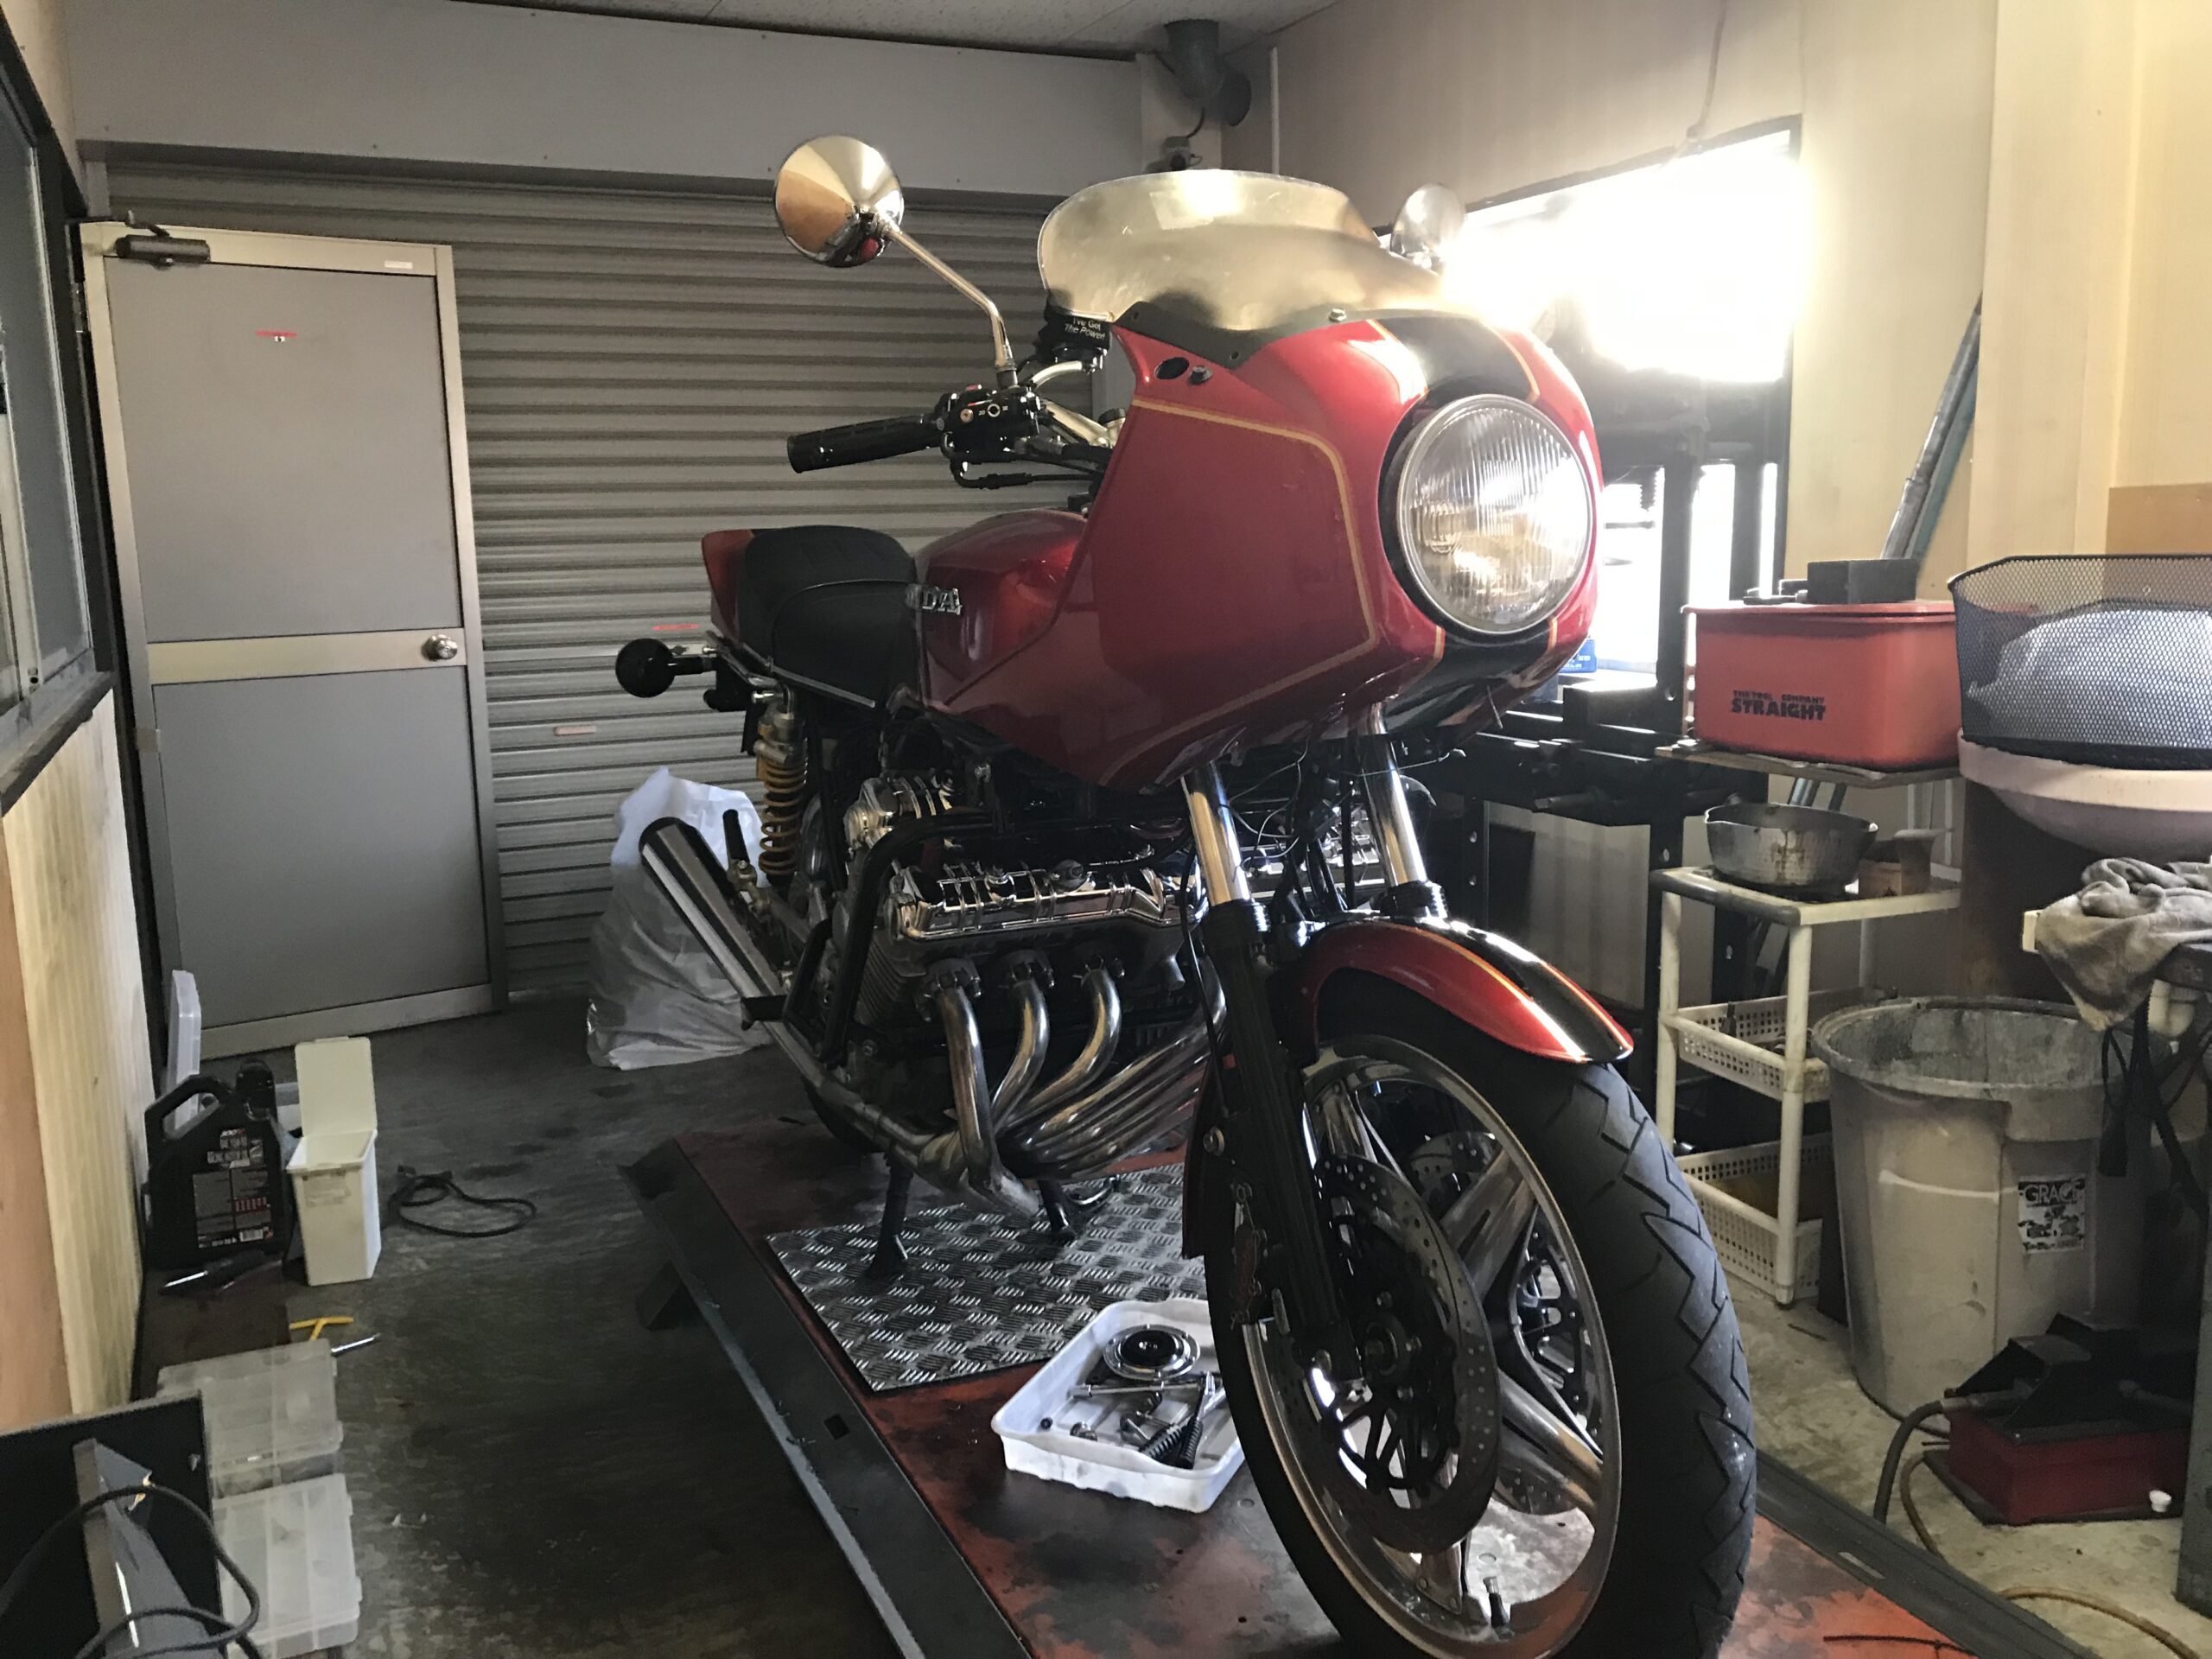
You either need to finish the work in a day, or remove the carburetor as a whole, take it home to fix, and then reinstall it as a complete assembly. Because it's stored in a rental garage, I can’t leave it unattended. That means I can't leave it in a condition where it can't be pushed or pulled, in a dangerous state, or in a position where it might tip over.
Typically, I rent a pit for a day when changing the oil, and I make sure to work carefully and efficiently. This time, while renting a pit, I worked on the FCR carburetor, so I’ll share more details about that here.
FCR-For Beginners – Throttle vale seal – Synchronization
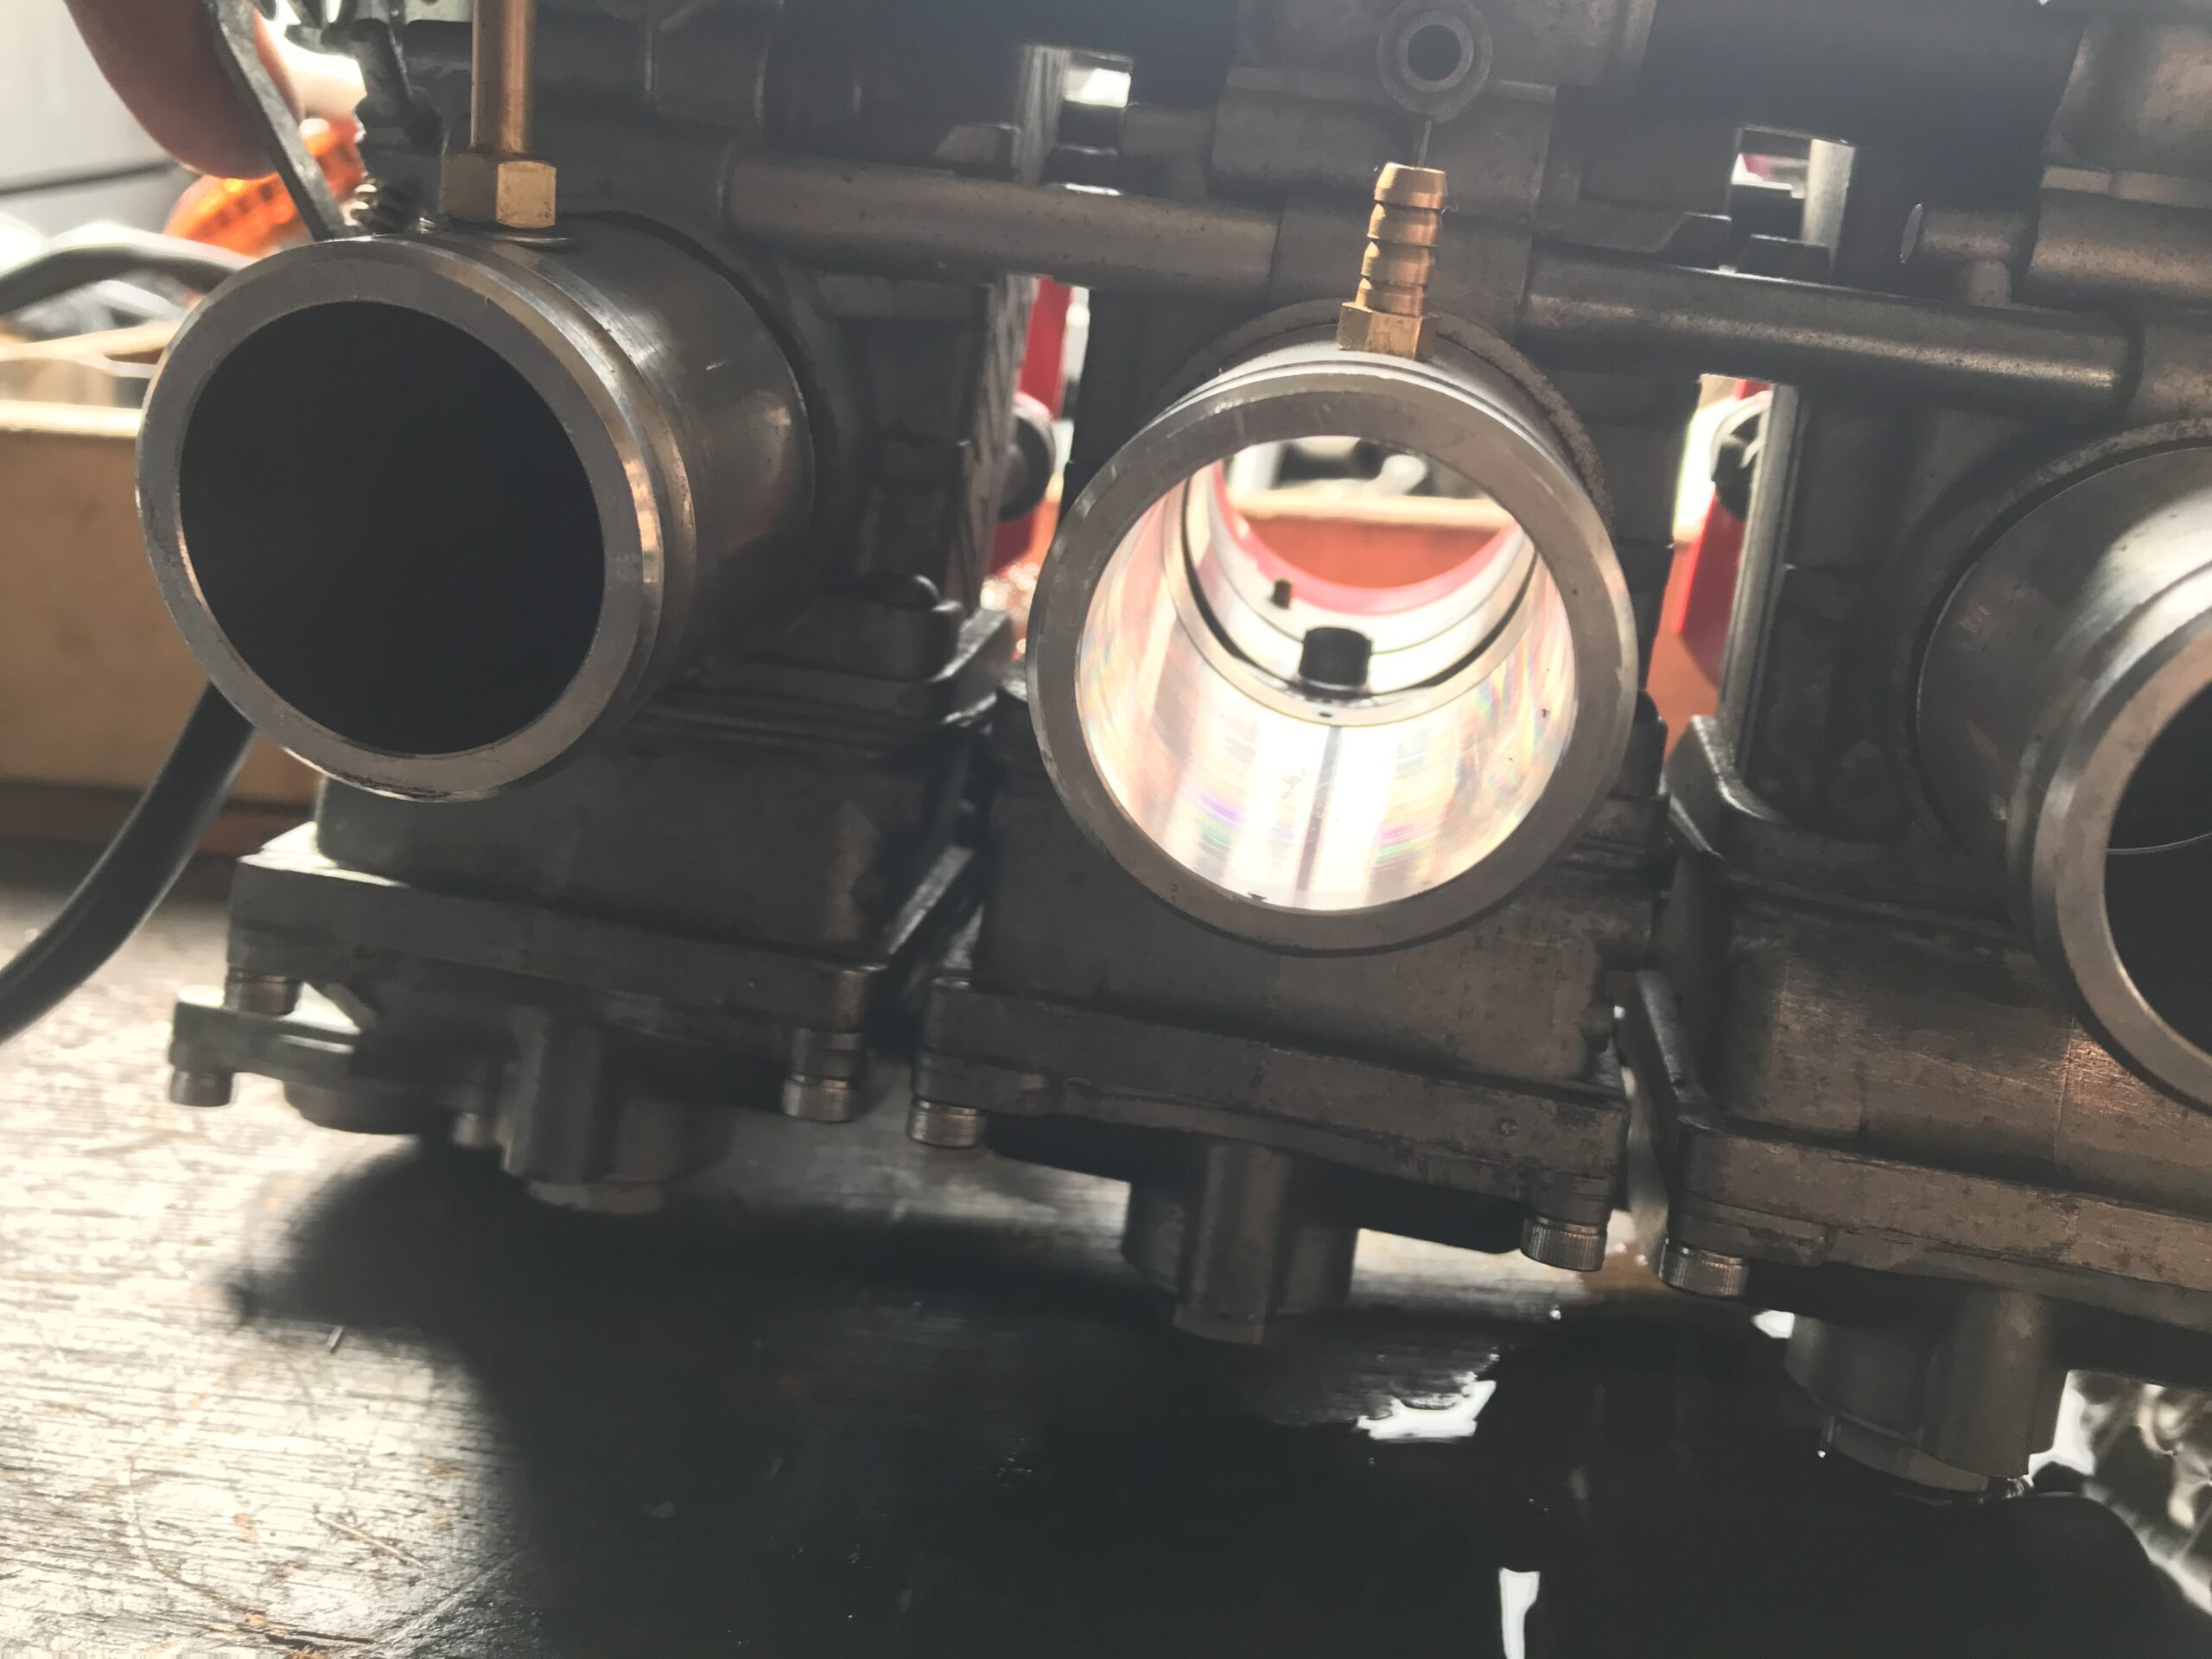
Replacing the throttle valve seal requires synchronization, but I don't have a synchrometer. For beginners, not having a vacuum gauge can be a major hurdle. I took this opportunity to purchase a vacuum gauge, drilled a hole in the spigot, and installed a vacuum port. It was a bit challenging.

Alternatively, you can insert something between the throttle valves to time their release or measure the height of the slide valve with a tapered ruler. People who don’t have the right tools usually aren’t in perfect sync, but even getting them roughly aligned can make a noticeable difference. It won’t harm the bike.

If you want perfect synchronization, gather the proper tools and take on the challenge. When buying tools, it’s better to invest in specialized ones rather than something subpar.

For example, I used to work with four separate vacuum gauges. Now, I’ve purchased two 4-unit vacuum gauges and converted them into a 6-unit setup. While the cost doubled, the efficiency and accuracy are on a completely different level.

If you set things up yourself, you'll find the vacuum gauge gets frequent use. For beginners, it's important to work on the carburetor often until you become comfortable with it. Tools and jets can be a significant expense, but once you have everything, the range of tunings you can perform with the FCR carburetor will greatly expand.
Operation check of new Throttle vale seal of FCR carburetor
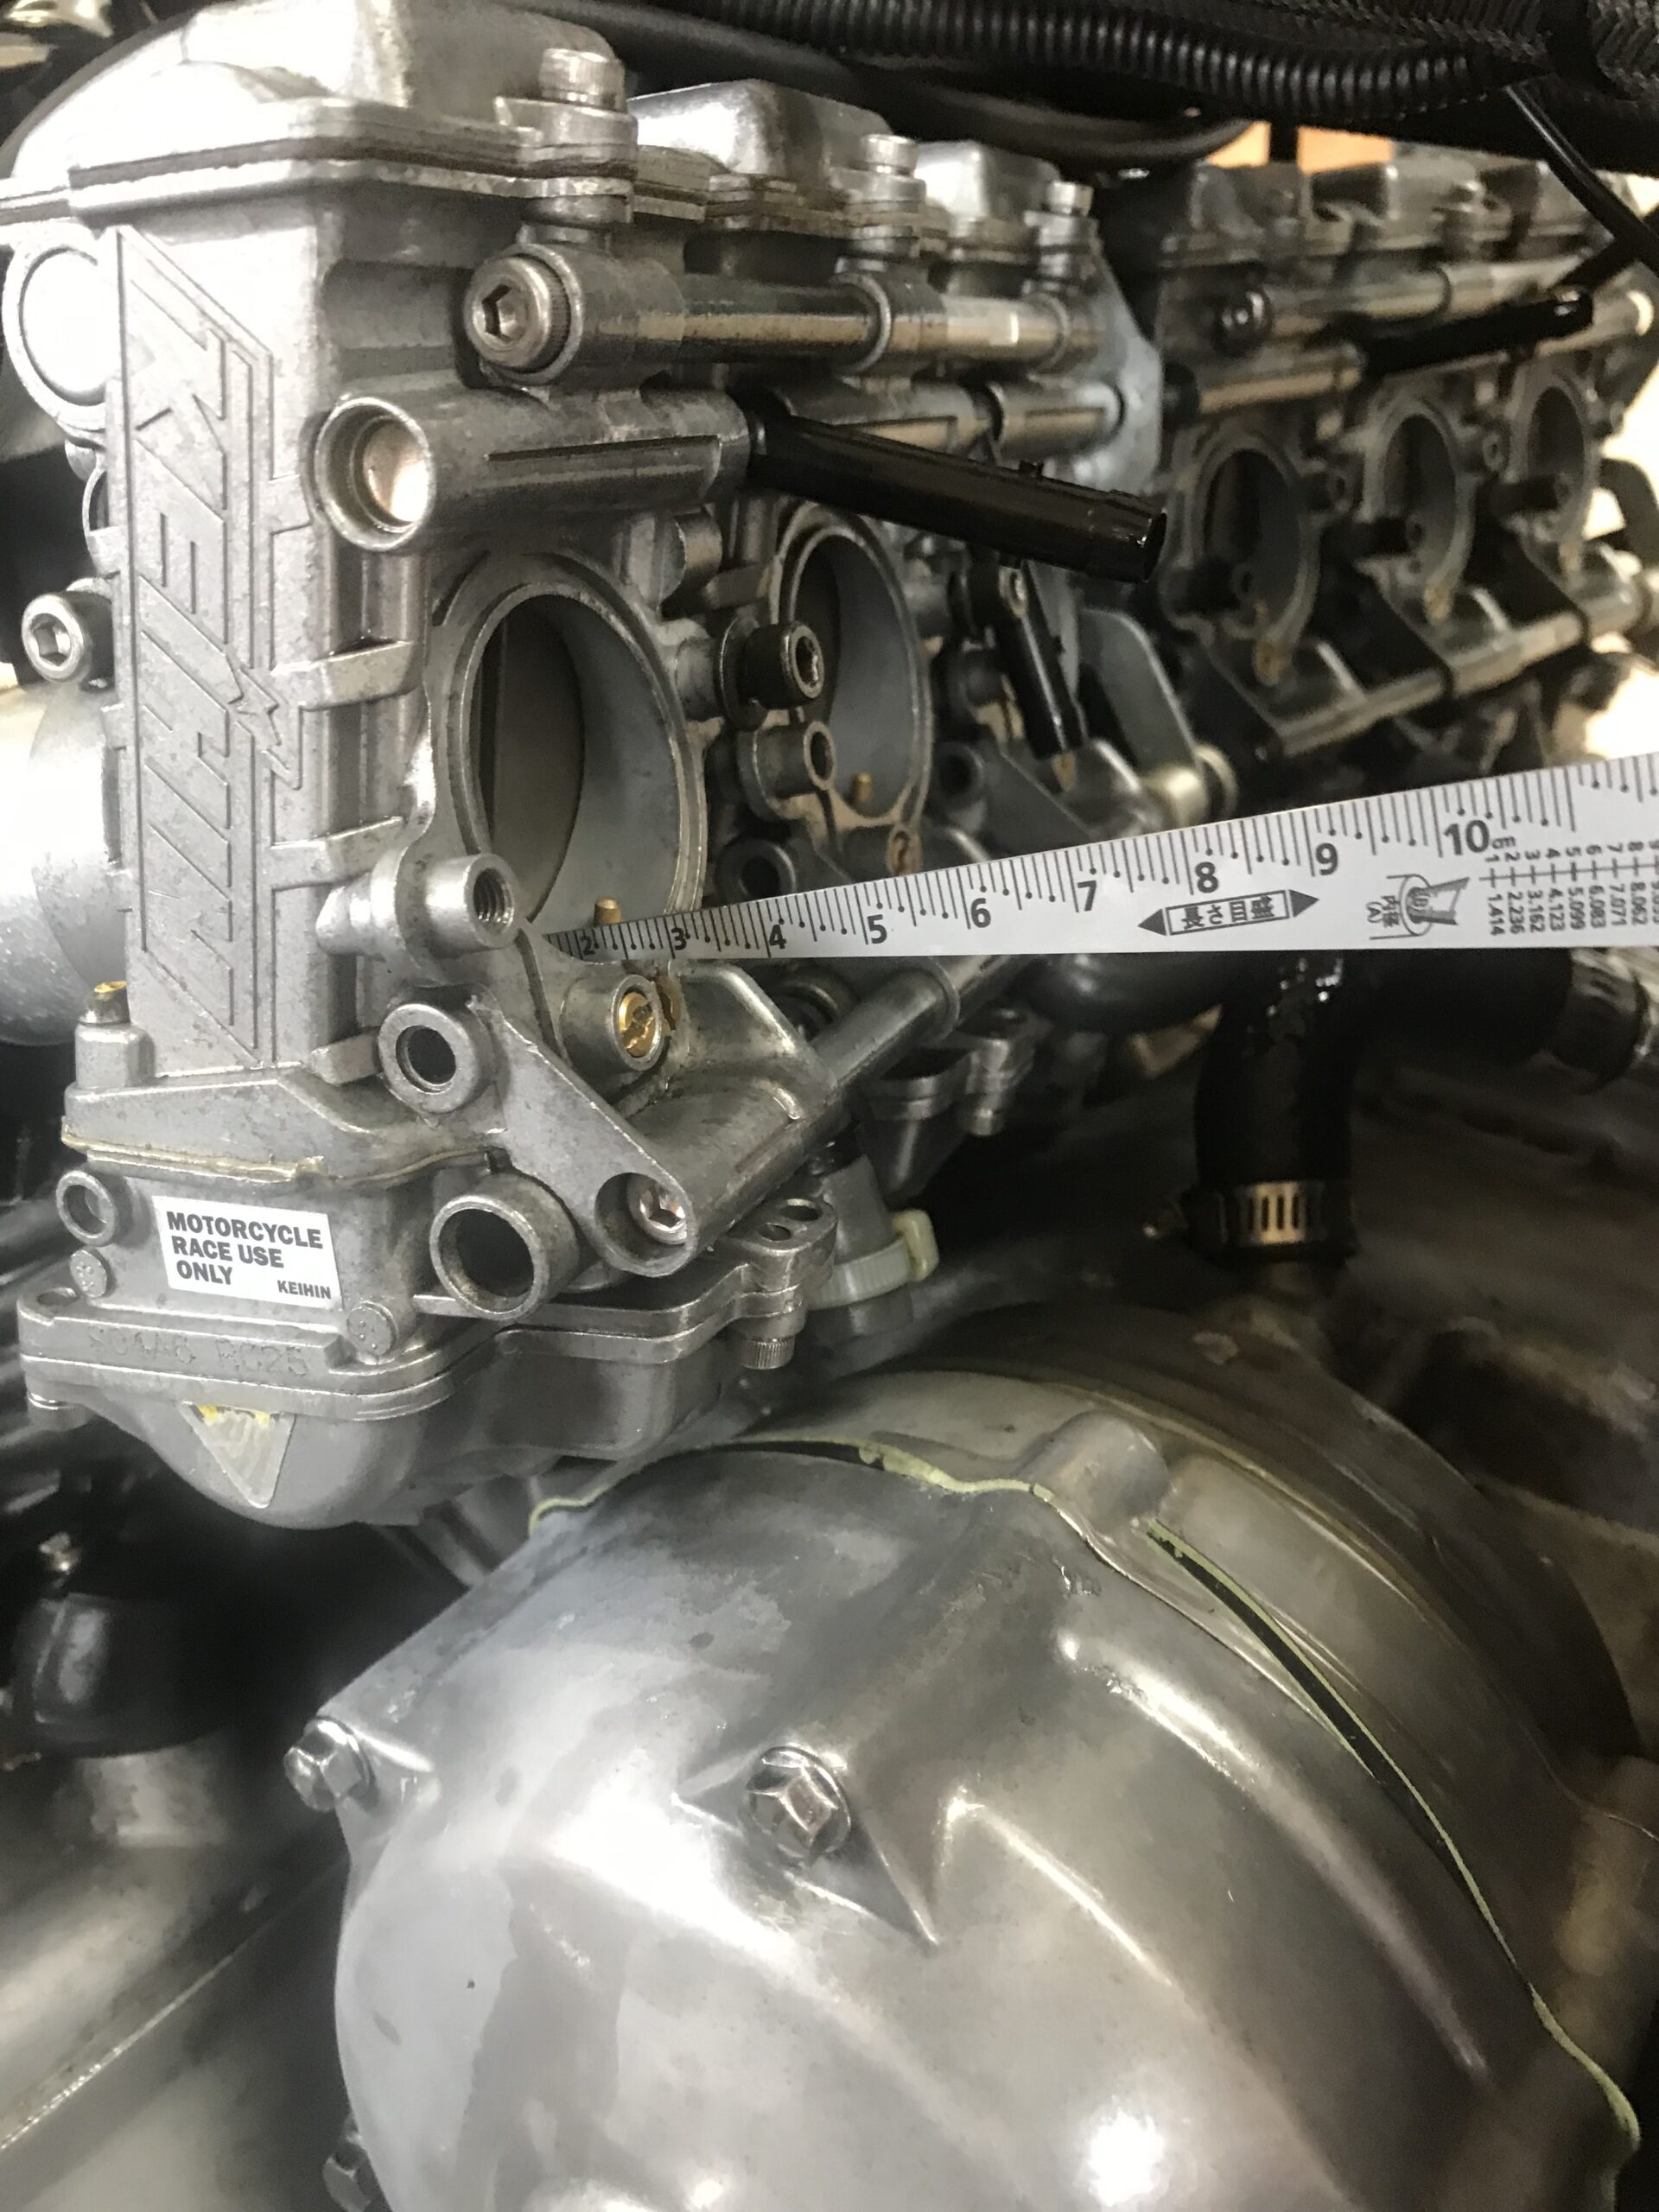
FCR-Taper Gauge
FCR-Taper Gauge
Before I start tuning, I check the approximate height of the slide valve to ensure it's not too far off. This dimension can vary quite a bit. Ideally, the error should be within 0.5mm, but a gauge like this isn’t precise enough to measure with that level of accuracy. So, I just measure it roughly.
FCR carburetor – Throttle vale seal replacement main part
I've never replaced this part before, so I’m going to do it now. The manual recommends replacing it fairly often, but I’ve never gotten around to it. I imagine many riders have never replaced it either.
Initially, I thought it was a part that didn’t really need replacement. However, once you understand how the FCR carburetor works, you realize that it's a component that definitely needs to be replaced.
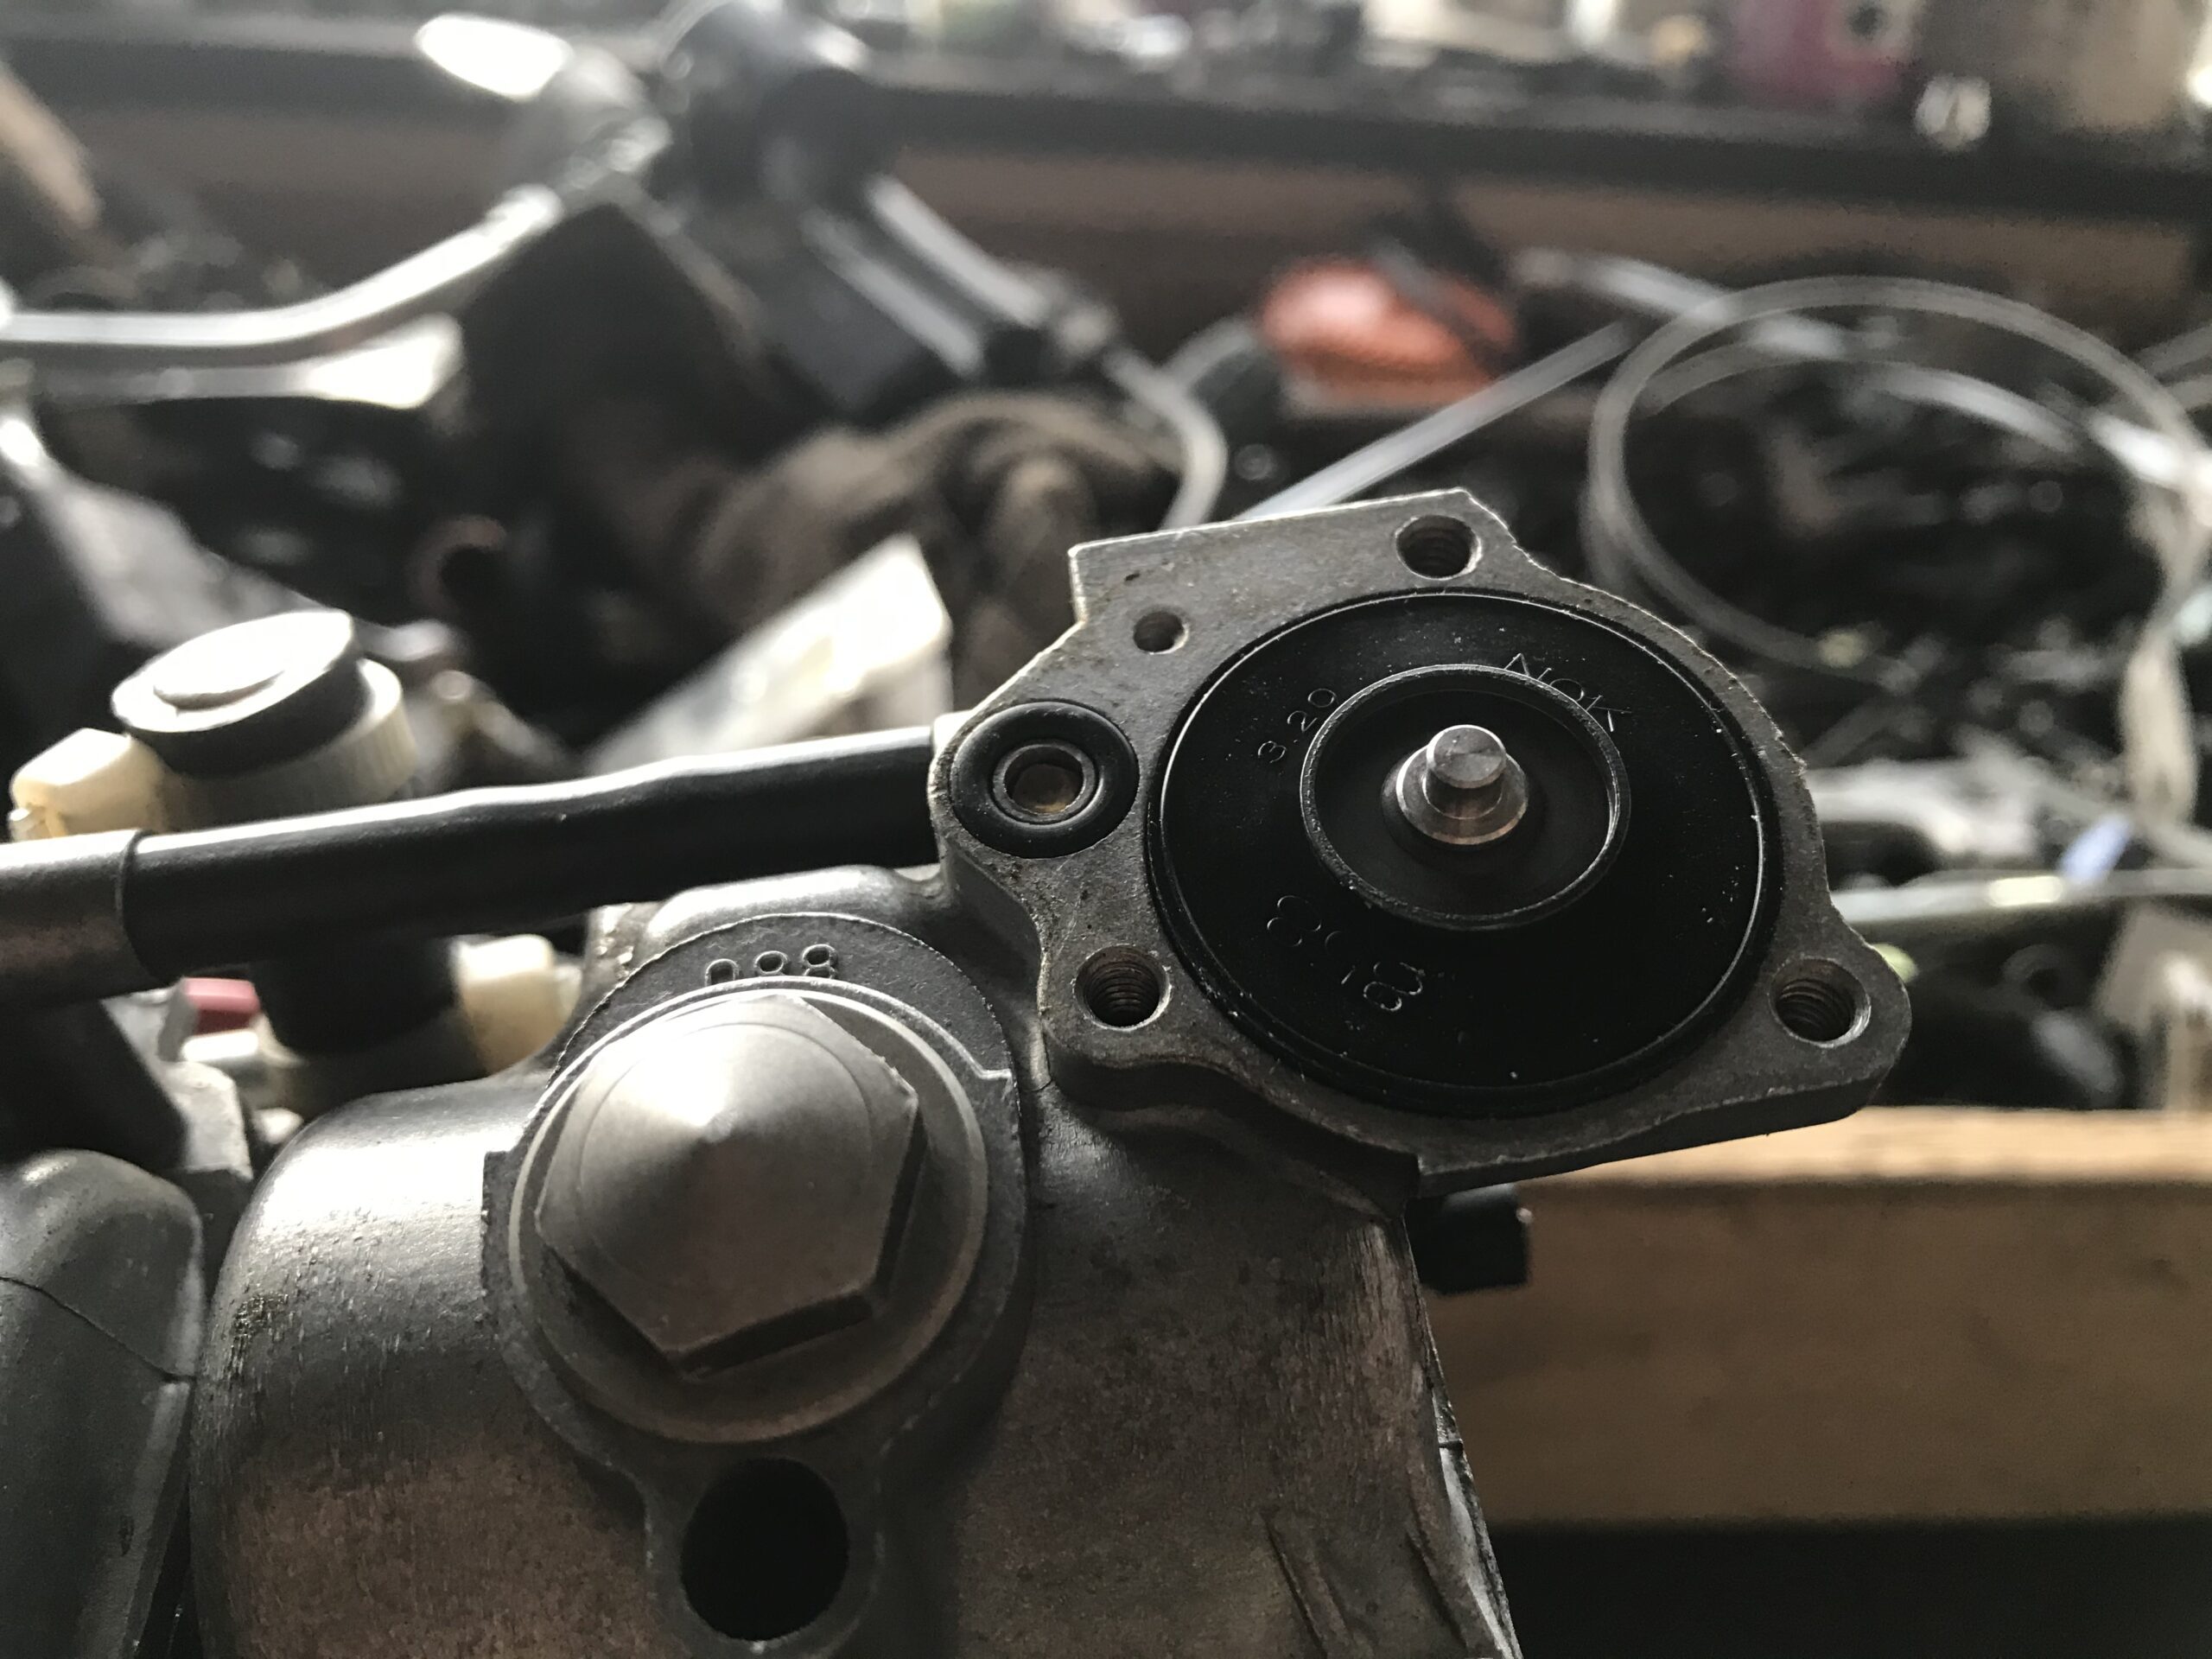
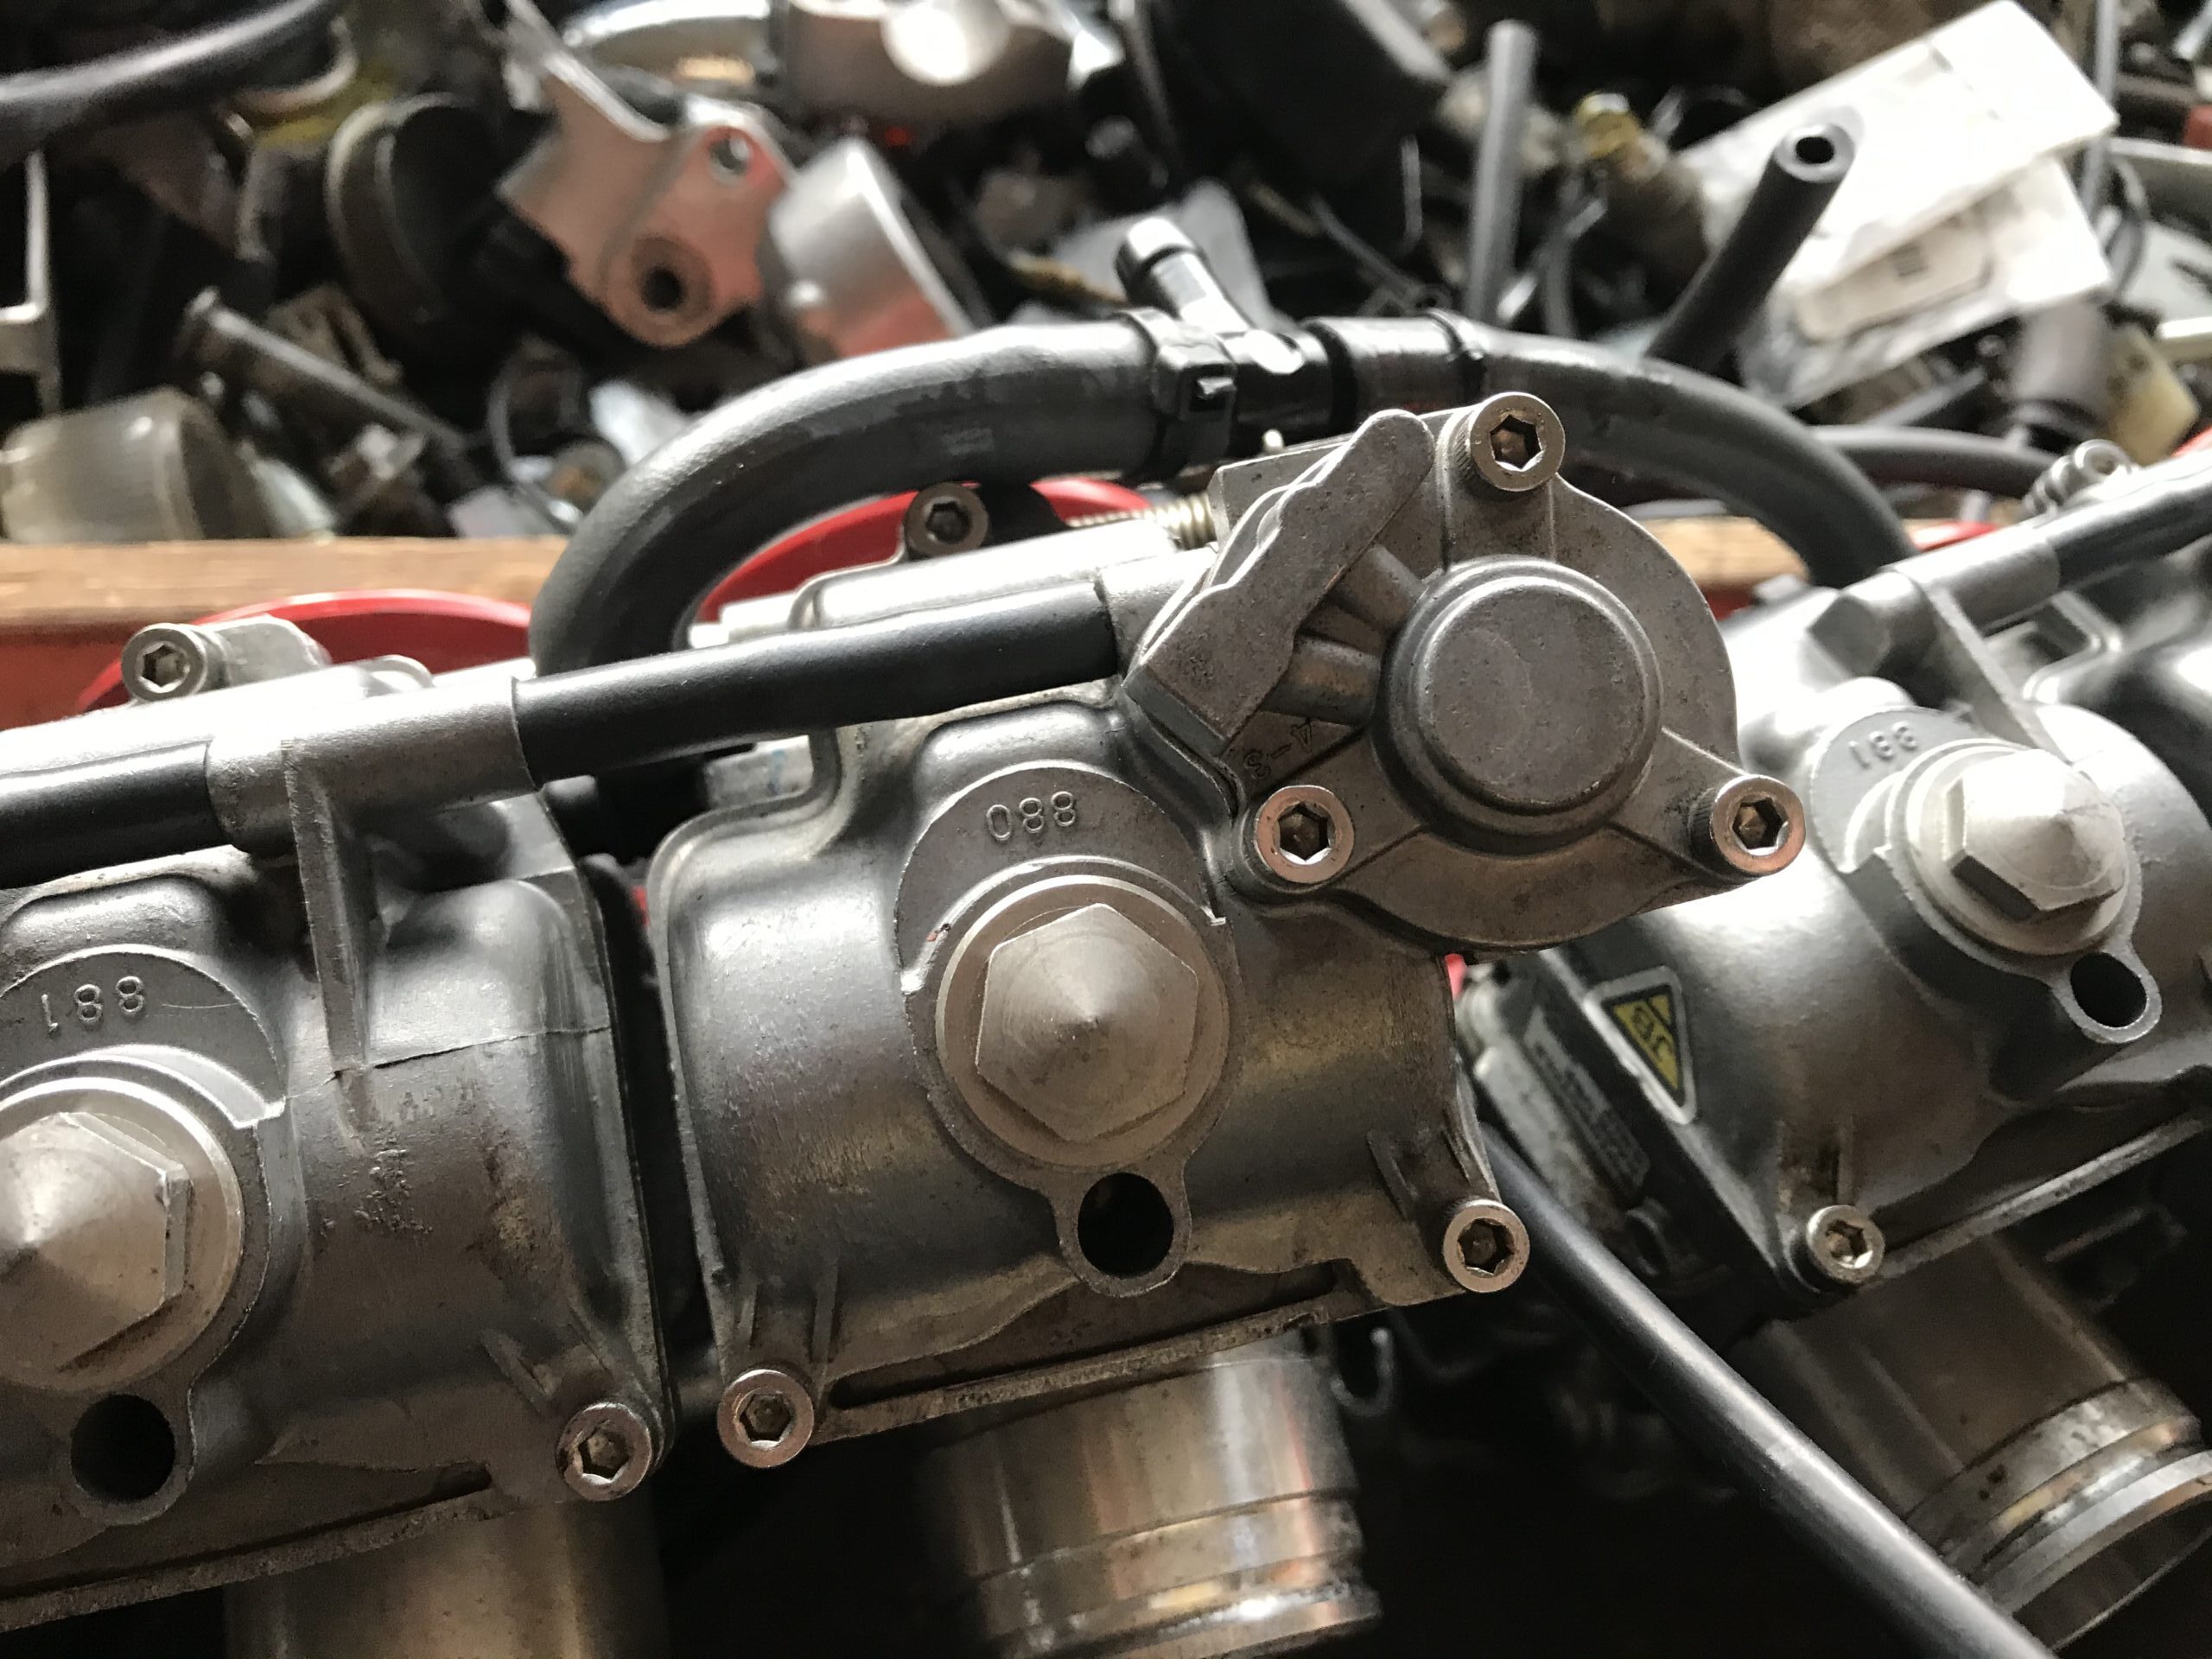
This is a crucial part of the FCR carburetor. There’s a specific direction for installation, so be careful.
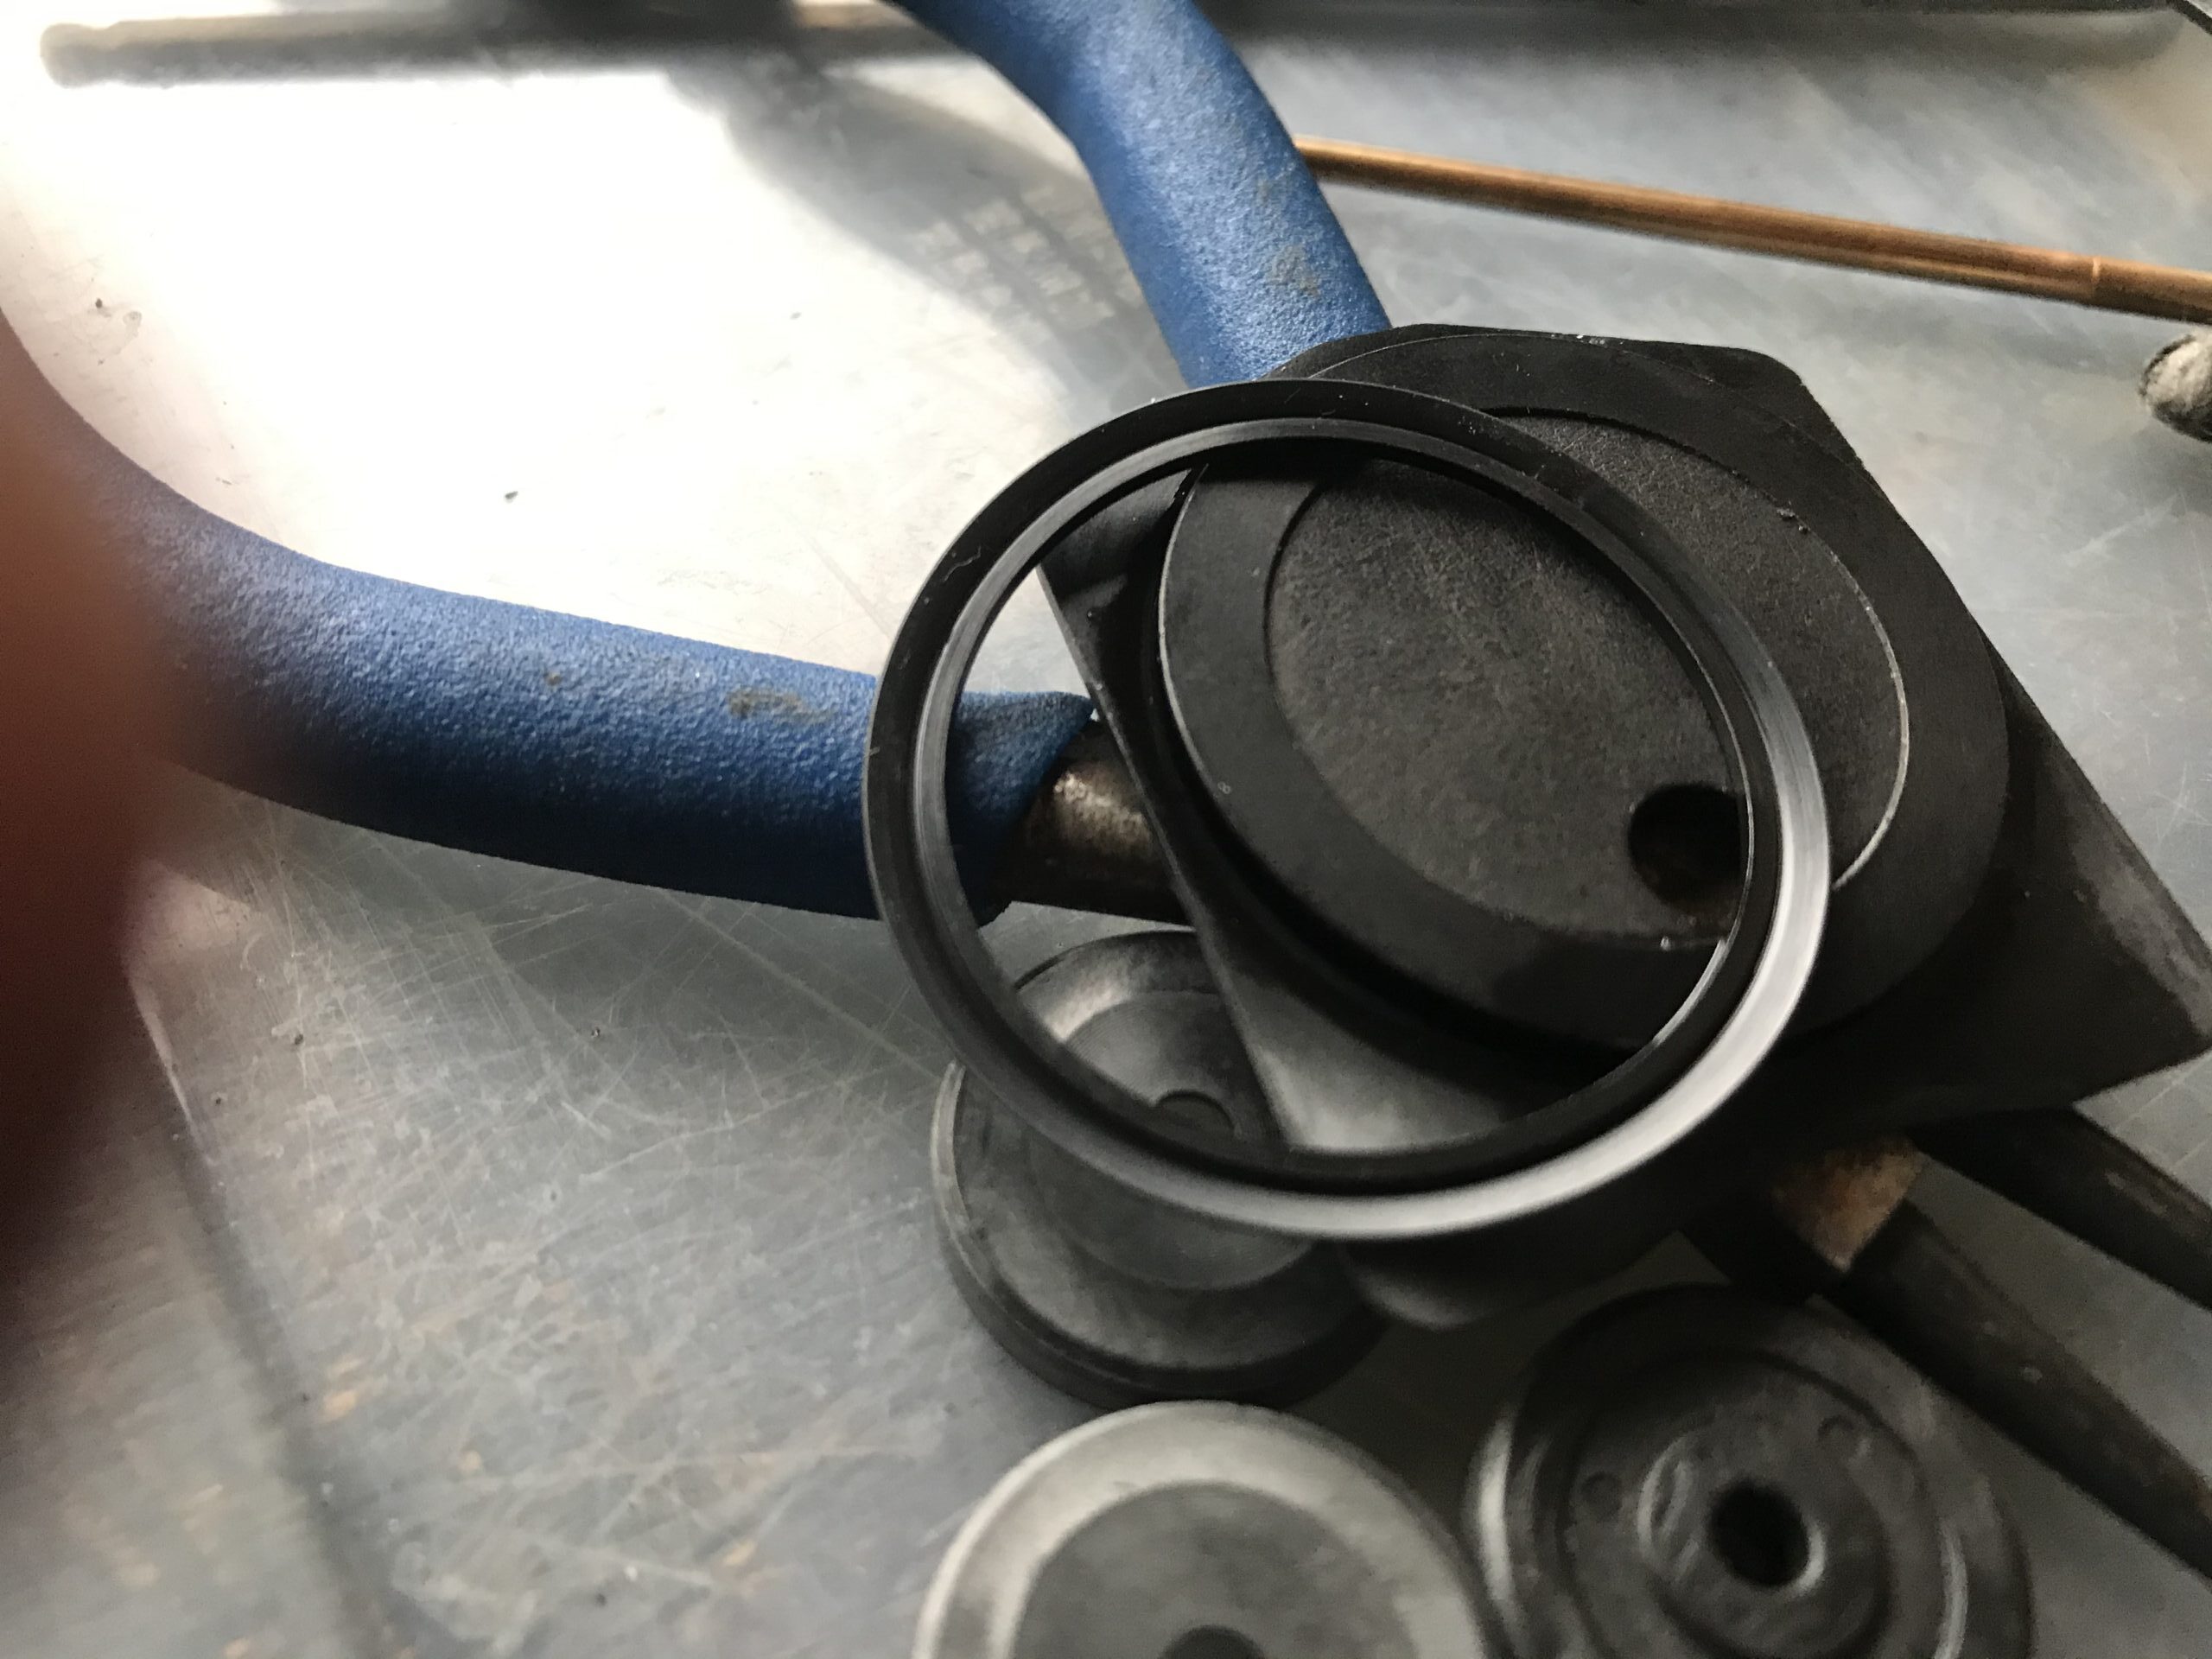
FCR-Throttle vale seal
This is a photo I kept for reference during my own work. The orientation here is probably correct, so if you're unsure about the direction, feel free to use this as a reference.

The small O-ring (or more accurately, the U-packing) of an FCR carburetor also has a specific orientation, and the diaphragm of the accelerator pump does too. It's a good habit to check the orientation and take photos before disassembling any parts. Keeping a record might save you trouble later.
FCR Carburetor – For Beginners – Accelerator Pump Diaphragm
The accelerator pump adjusts the timing of fuel delivery with a notch in the main body, while the amount is controlled by the diaphragm. There are various theories and methods regarding adjustments.

To start, use a 1.2mm feeler gauge to adjust the notch and set it to the default value. Be cautious when adjusting the accelerator pump, as it can be tricky to set it correctly. It’s not that it’s physically impossible, but the adjustments can be difficult to gauge by eye.

If you want to disengage it, you can use a stationery clip or something similar to prevent the push rod from being pressed. For most people, there’s no need to adjust the fuel amount unless you're doing specific fine-tuning.

Once you’ve set it, we don’t recommend changing it until you’re familiar with how it operates. Think of the accelerator pump as a final "seasoning" after your tuning is complete. Changing its settings will either increase or decrease the time it takes for the air-fuel ratio to transition from acceleration to partial throttle.

However, there’s no need to focus too much on partial ratios during your initial tuning, and don’t get too caught up in the numbers. If you do, you may become overly concerned with the partial air-fuel ratio and end up with a tuning that reduces the feeling of acceleration, turning your bike into an "eco-mode" machine.

For example, I once reduced the accelerator pump’s fuel delivery and paid too much attention to the partial air-fuel ratio, making my bike an eco-spec motorcycle. I’ve been reflecting on that mistake recently.
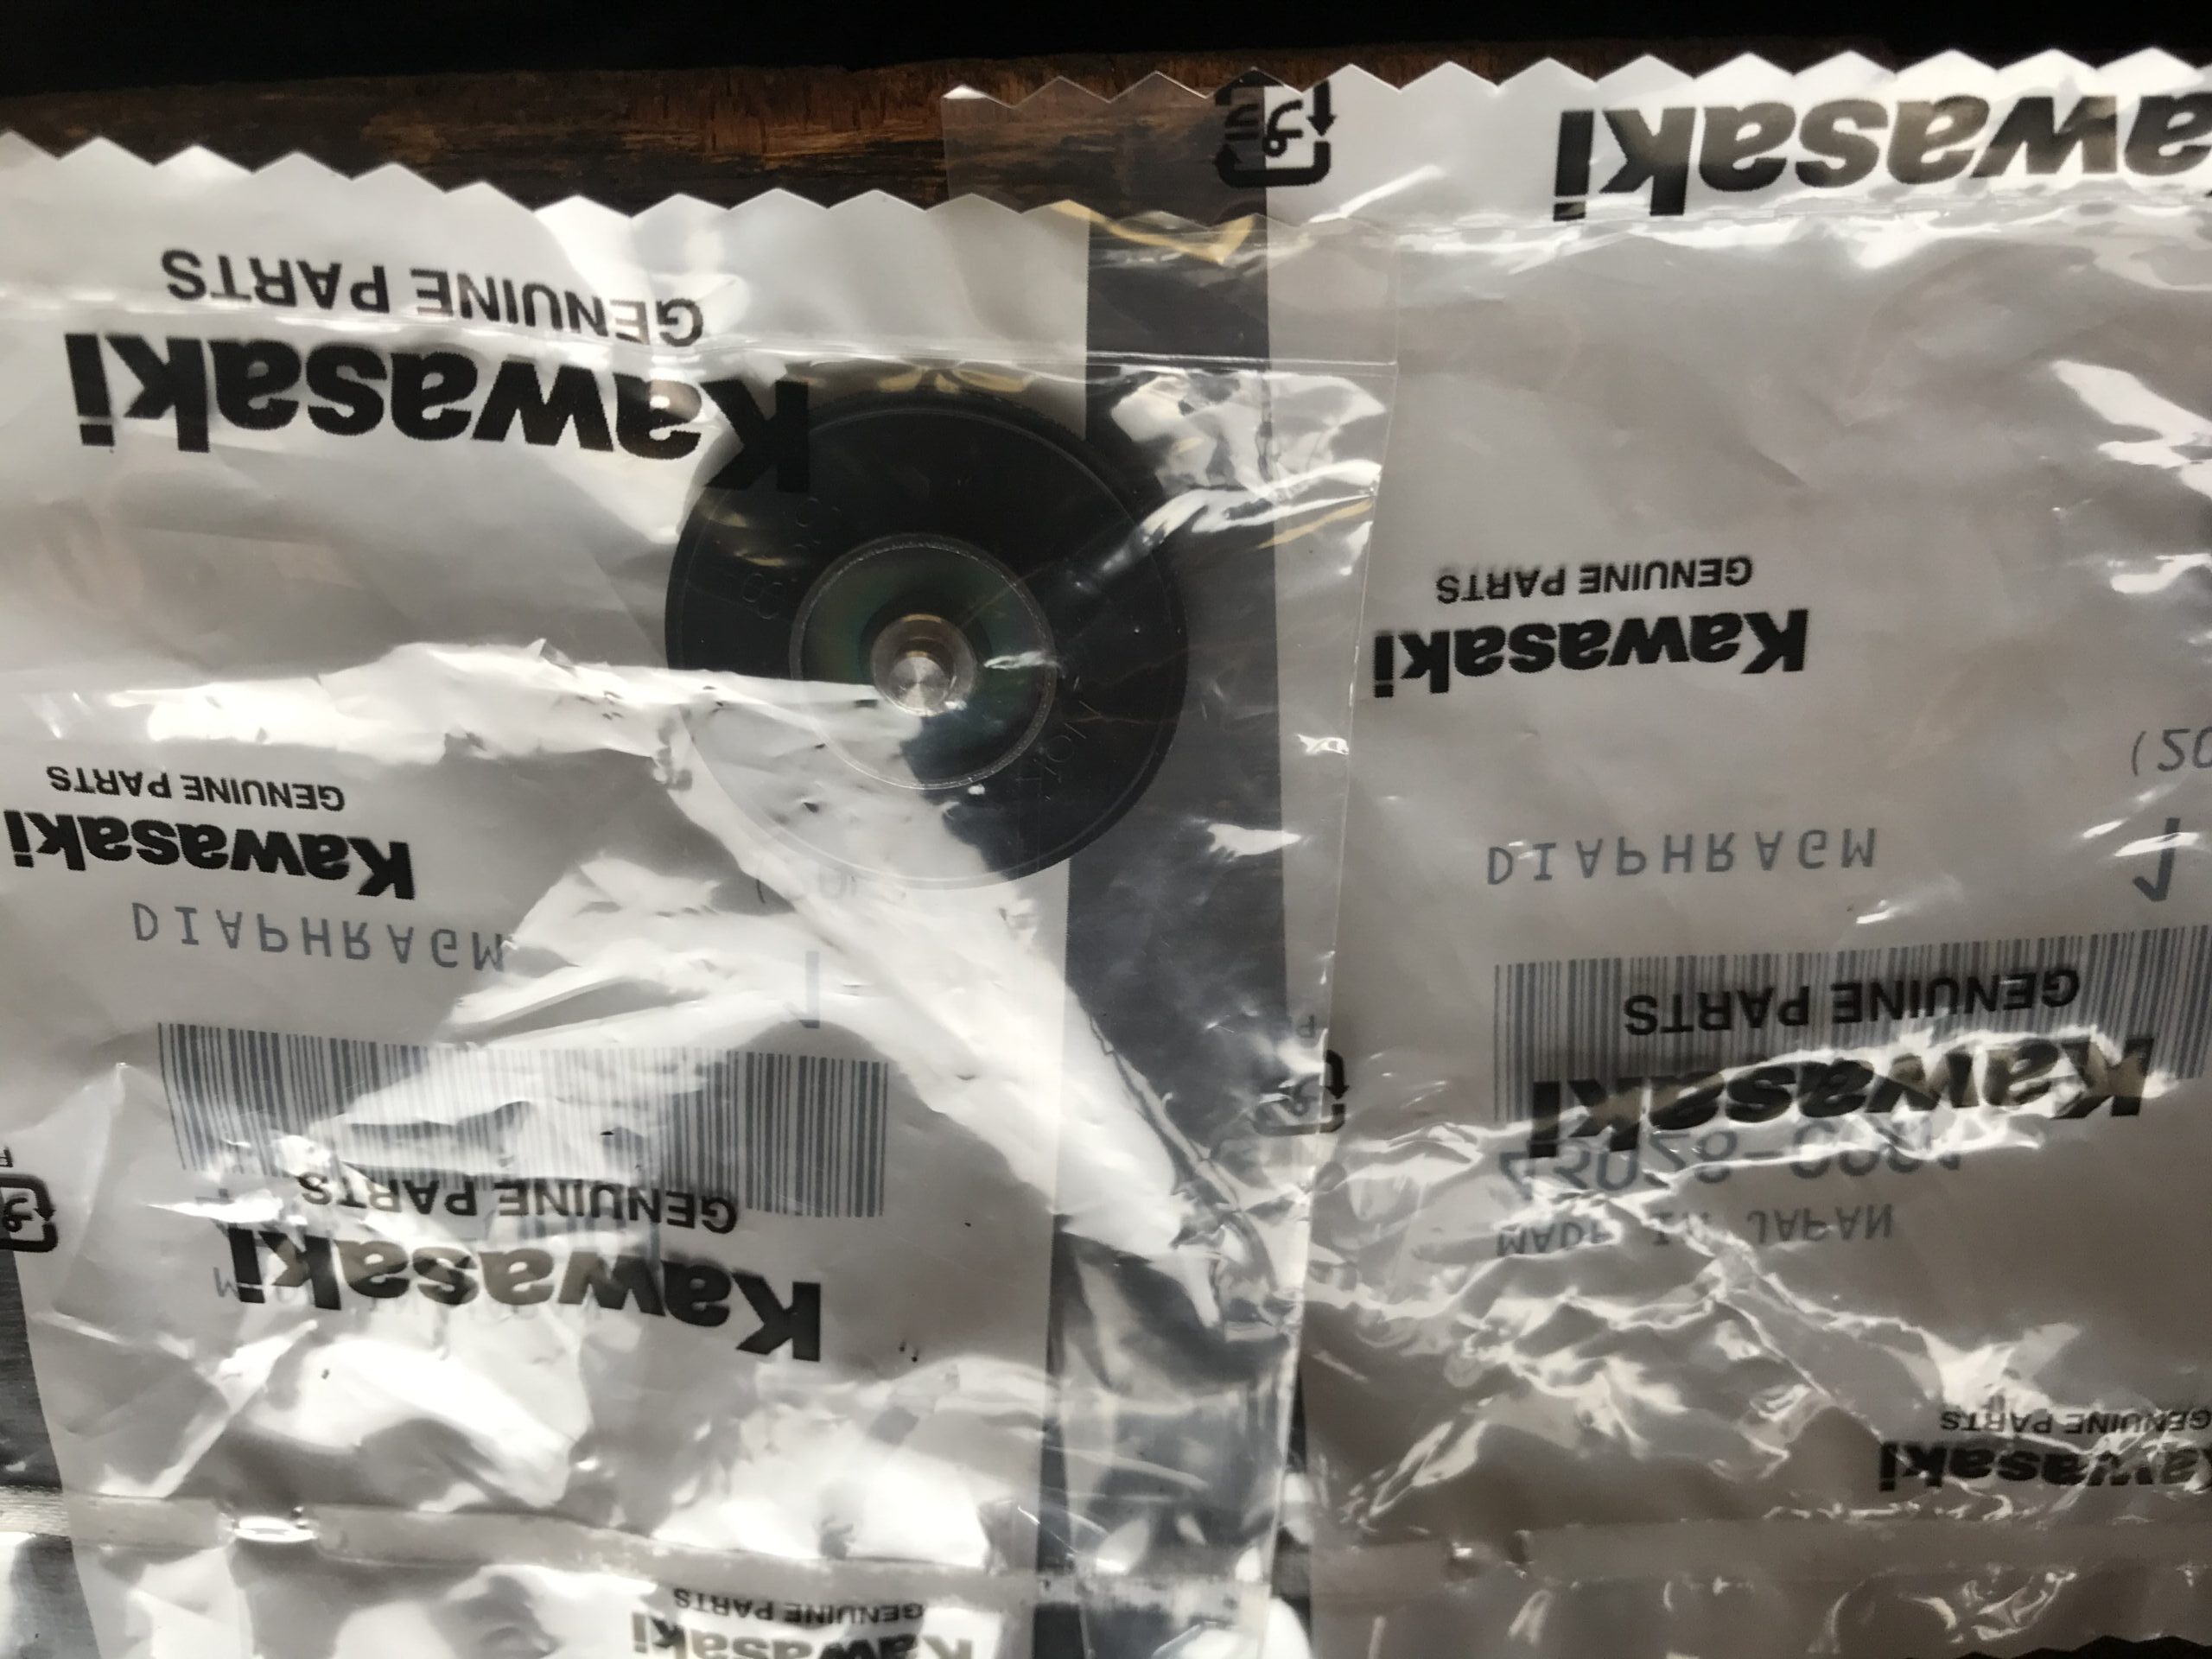
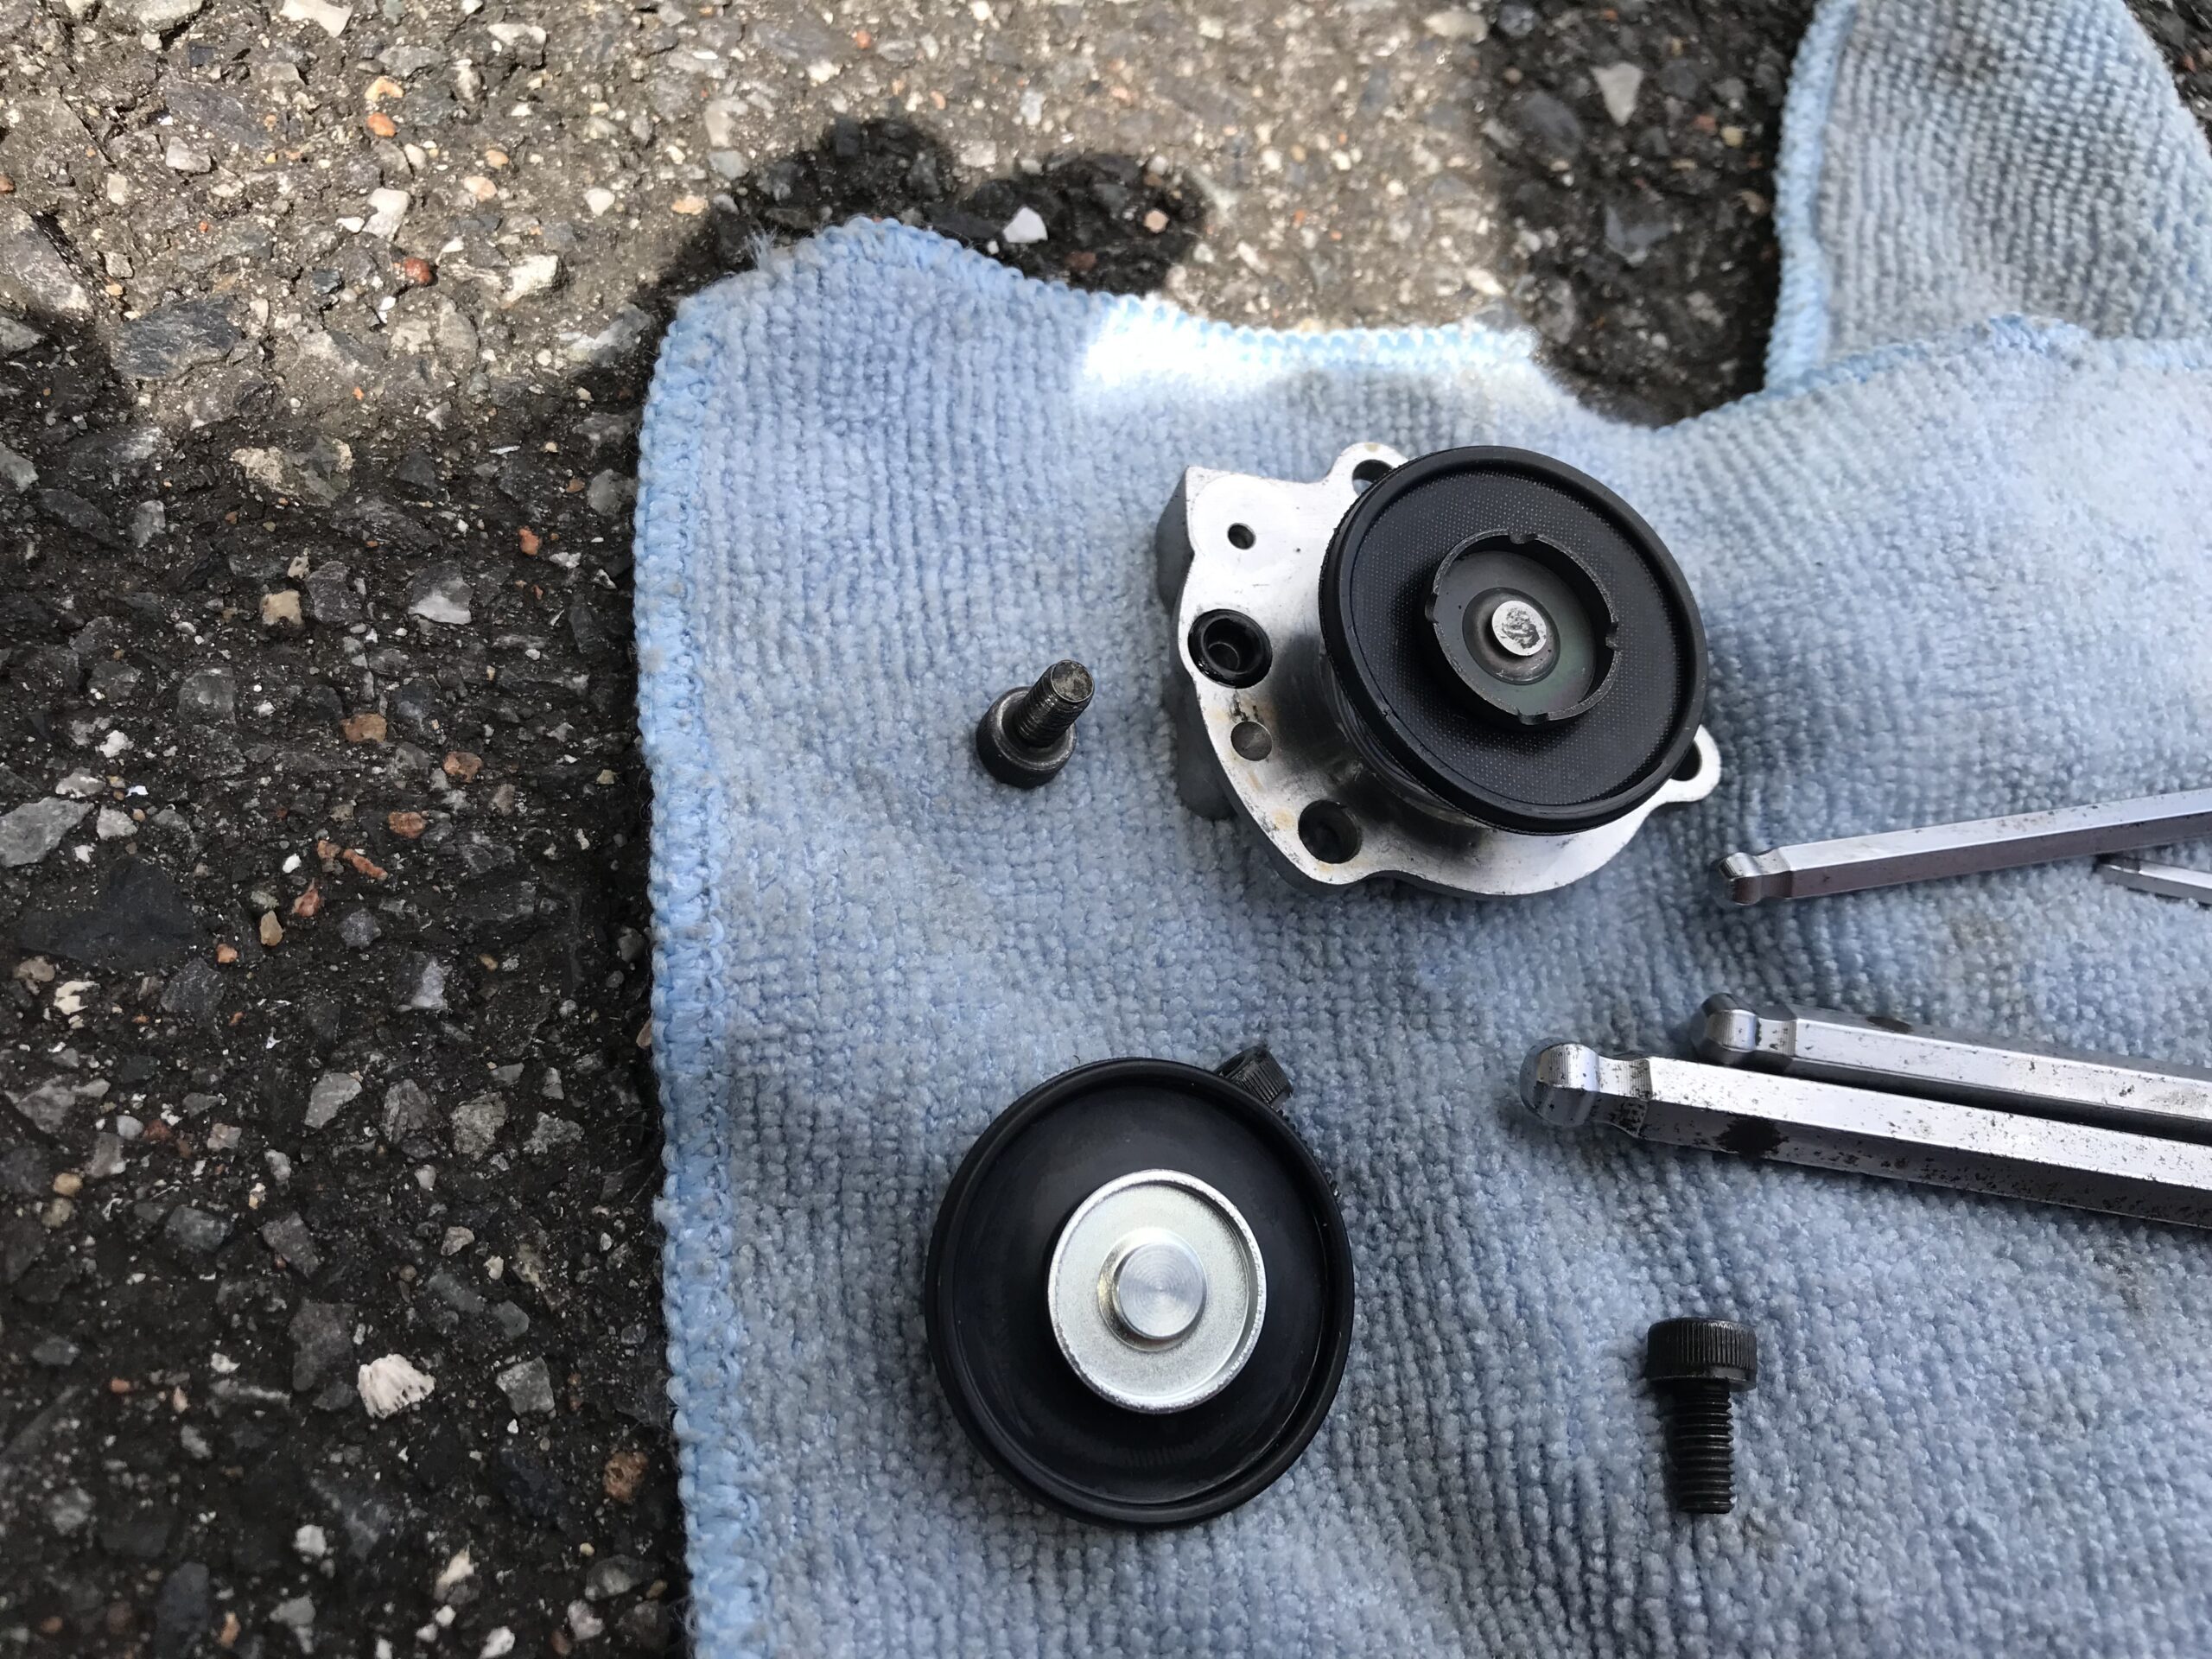
Acceleration pump diaphragm replacement
FCR-Acceleration pump diaphragm
FCR-Acceleration pump diaphragm
FCR-Acceleration pump diaphragm
When installing, the side of the diaphragm with the stamp should face the ground. Also, be mindful that there’s an O-ring on the lid side as well.

By the way, here’s a photo of when I replaced the diaphragm on a Kawasaki KLX400 and KLX250. The fuel delivery from the accelerator pump has been reduced. For now, I’ve tuned the pump to the standard setting, and it’s working well.
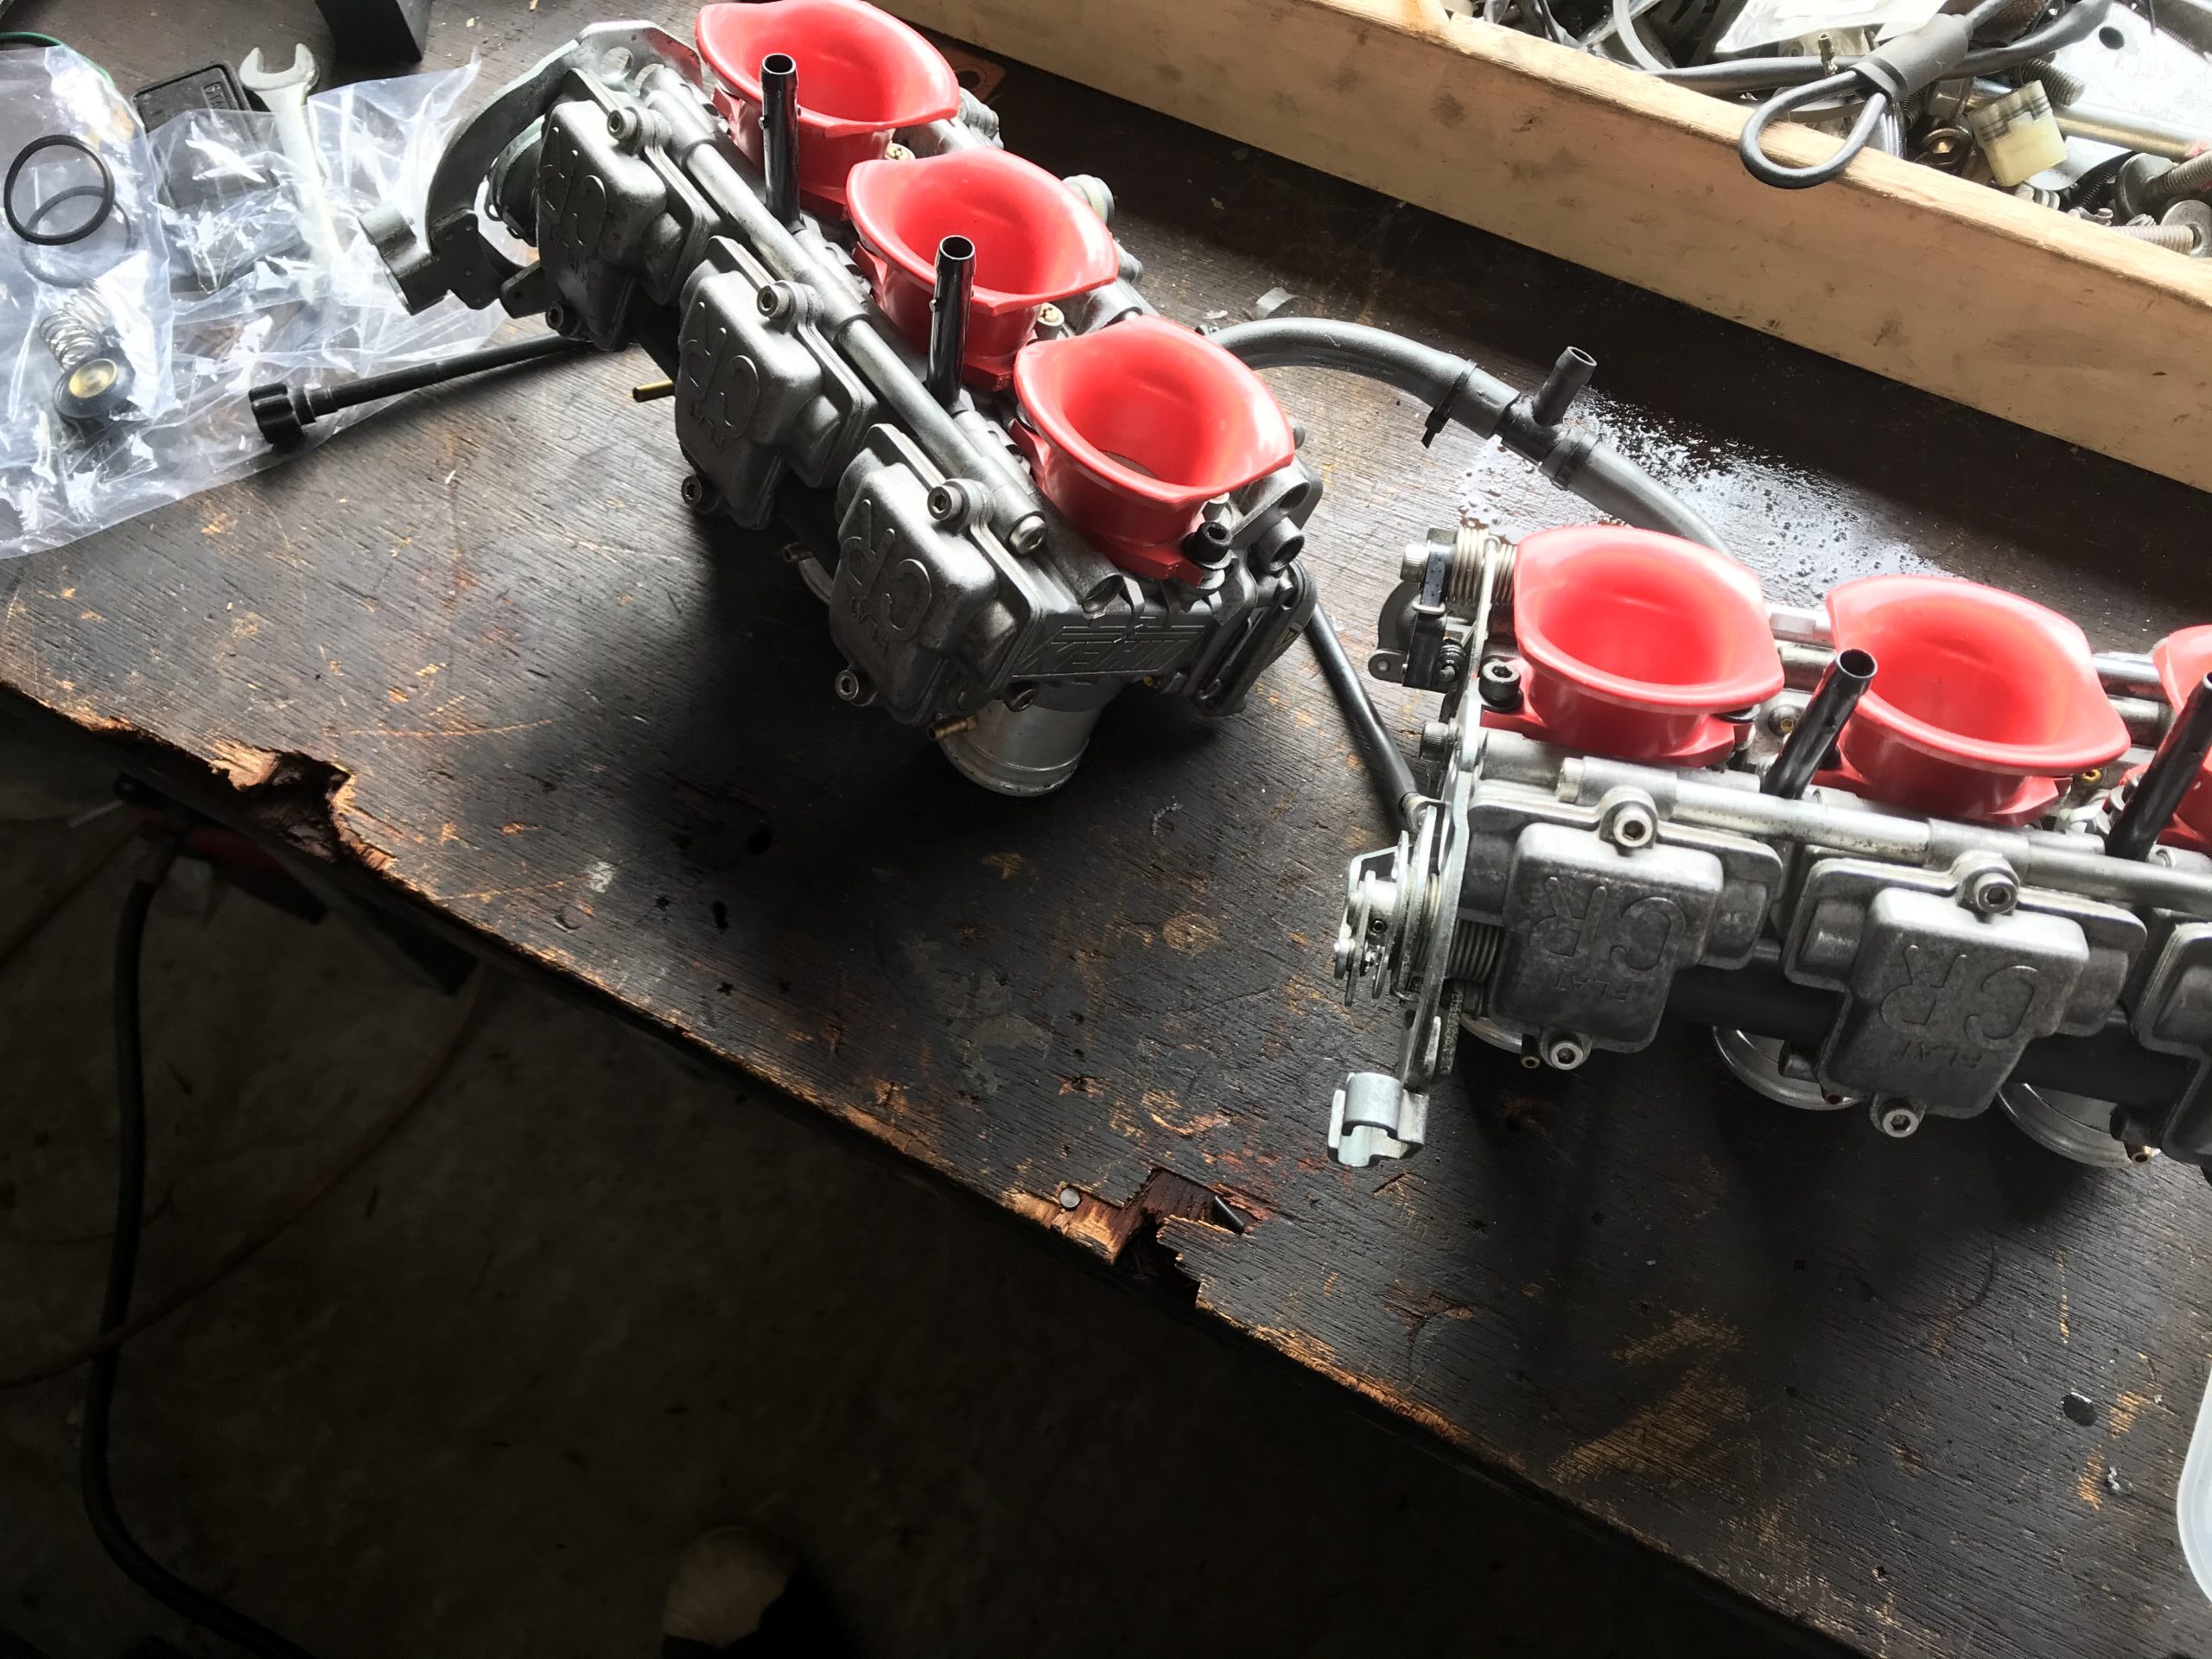
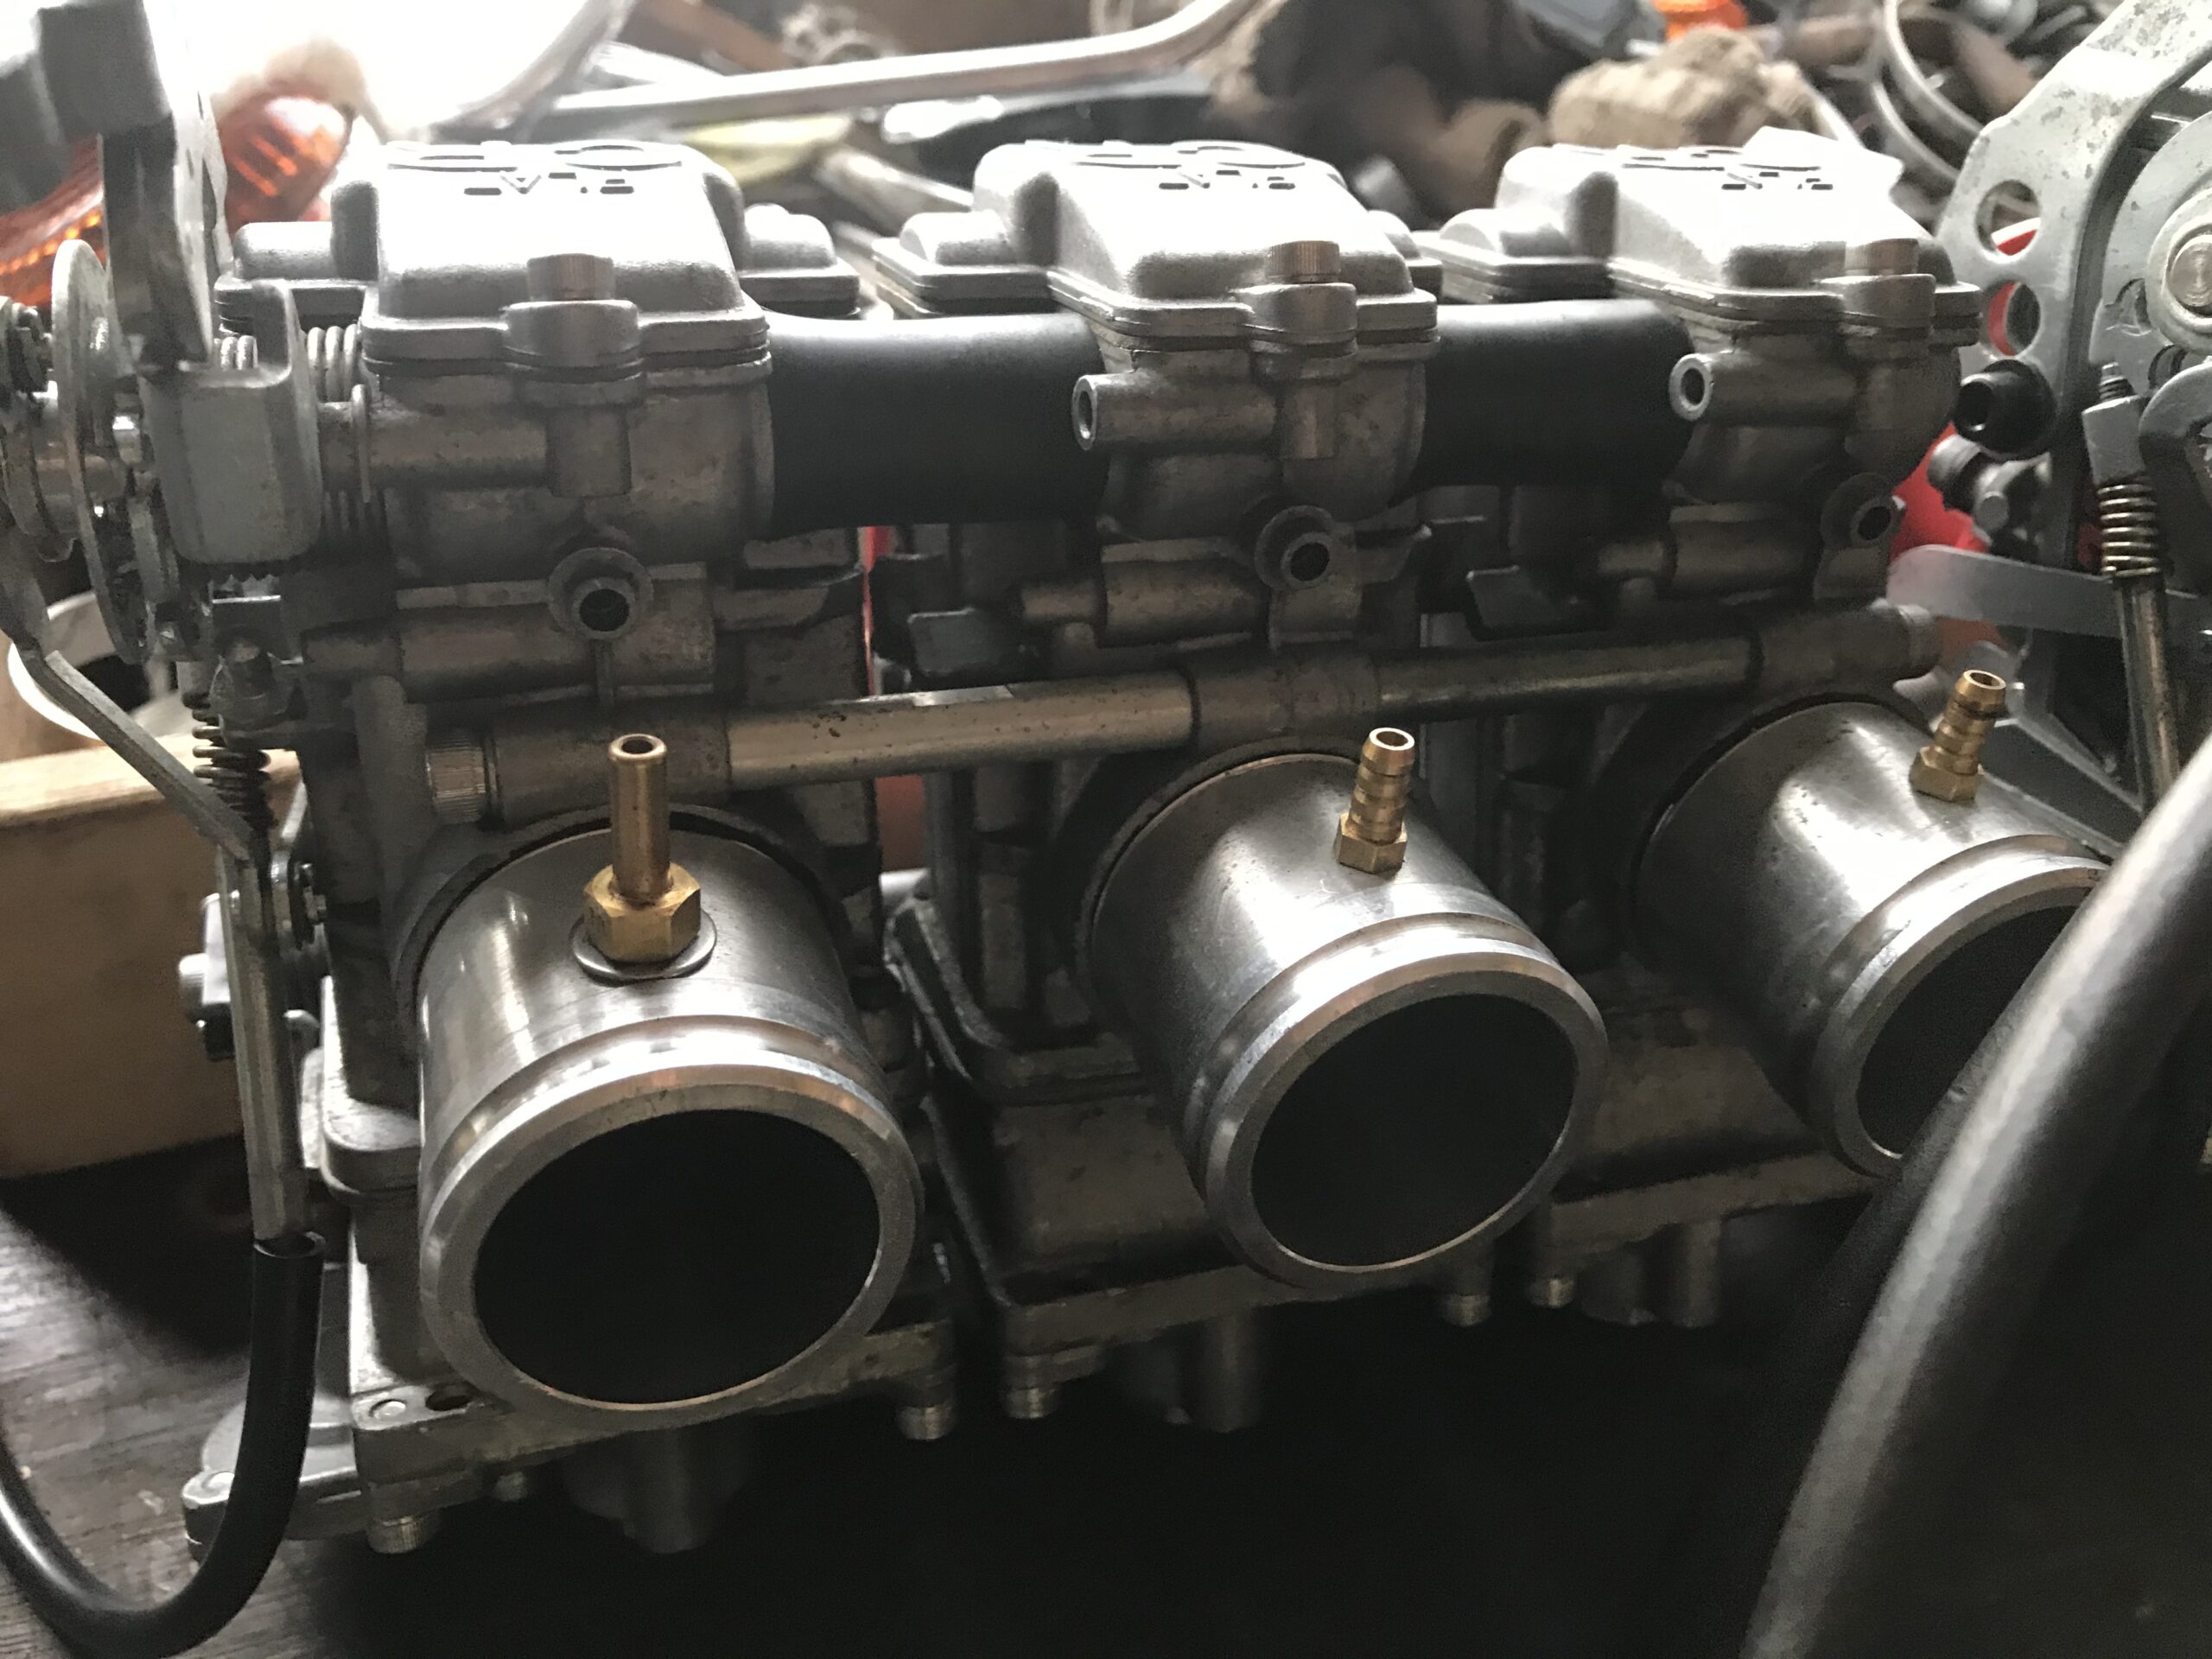
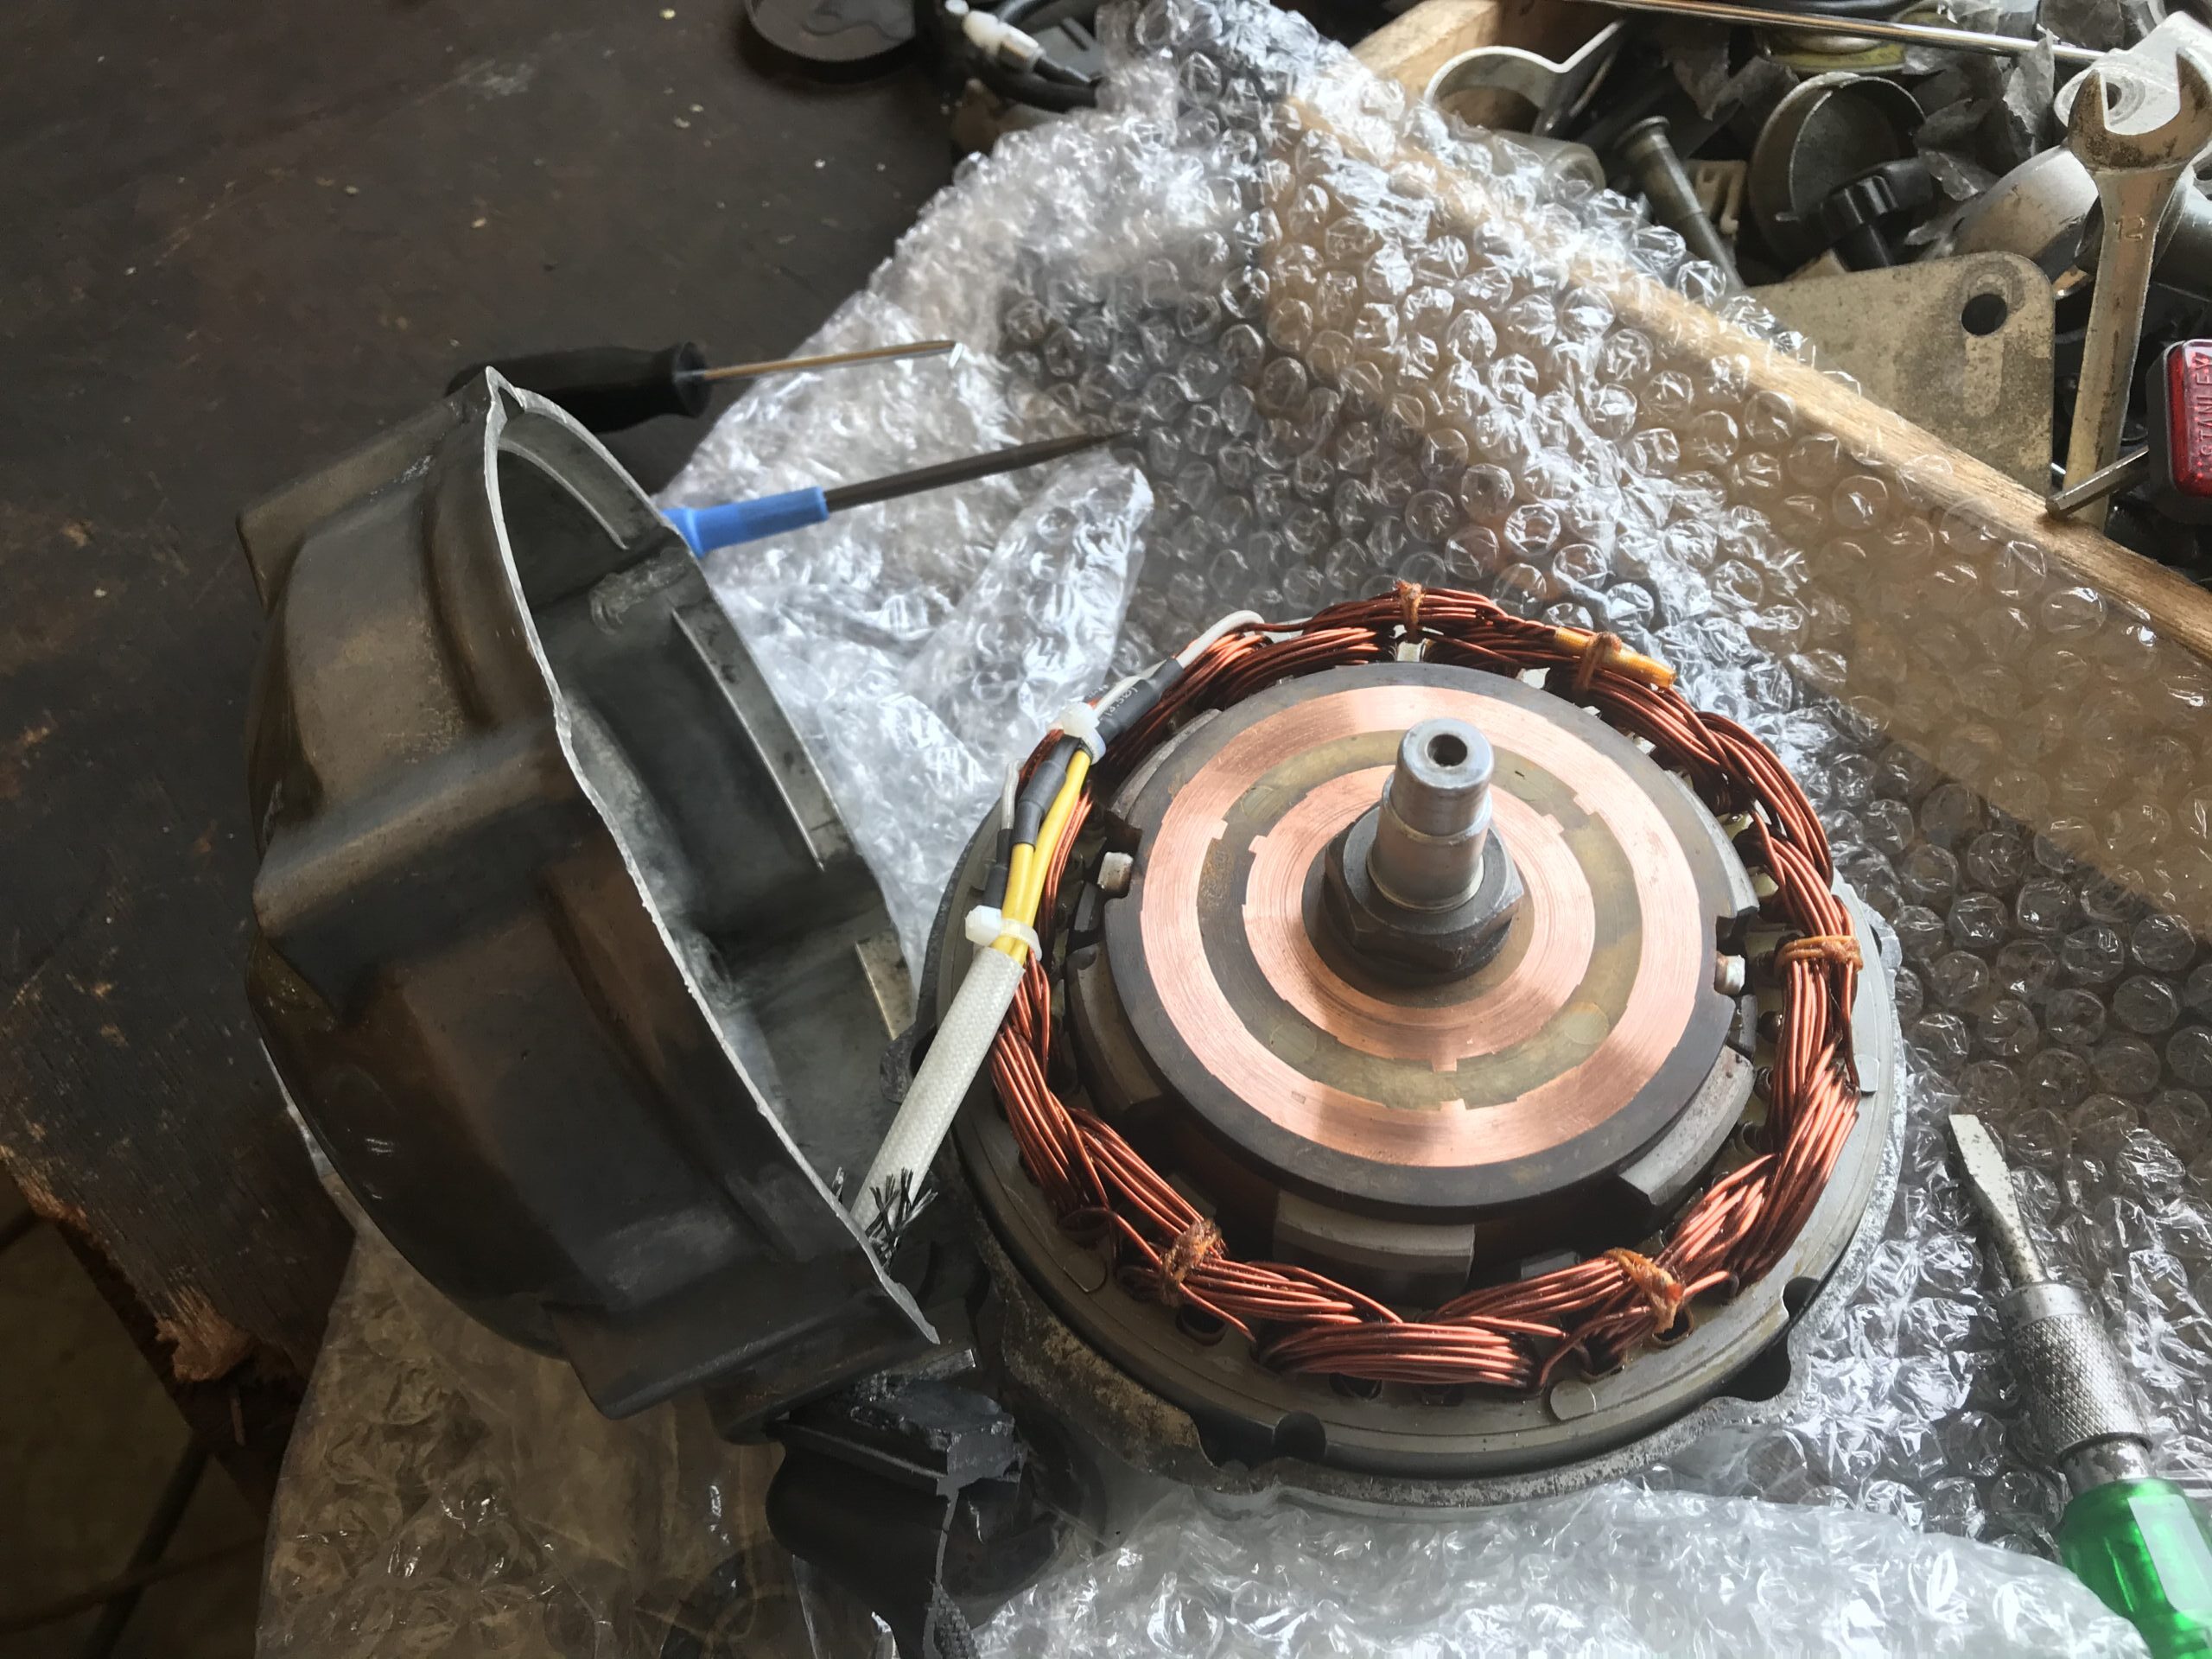
Negative pressure outlet nipple
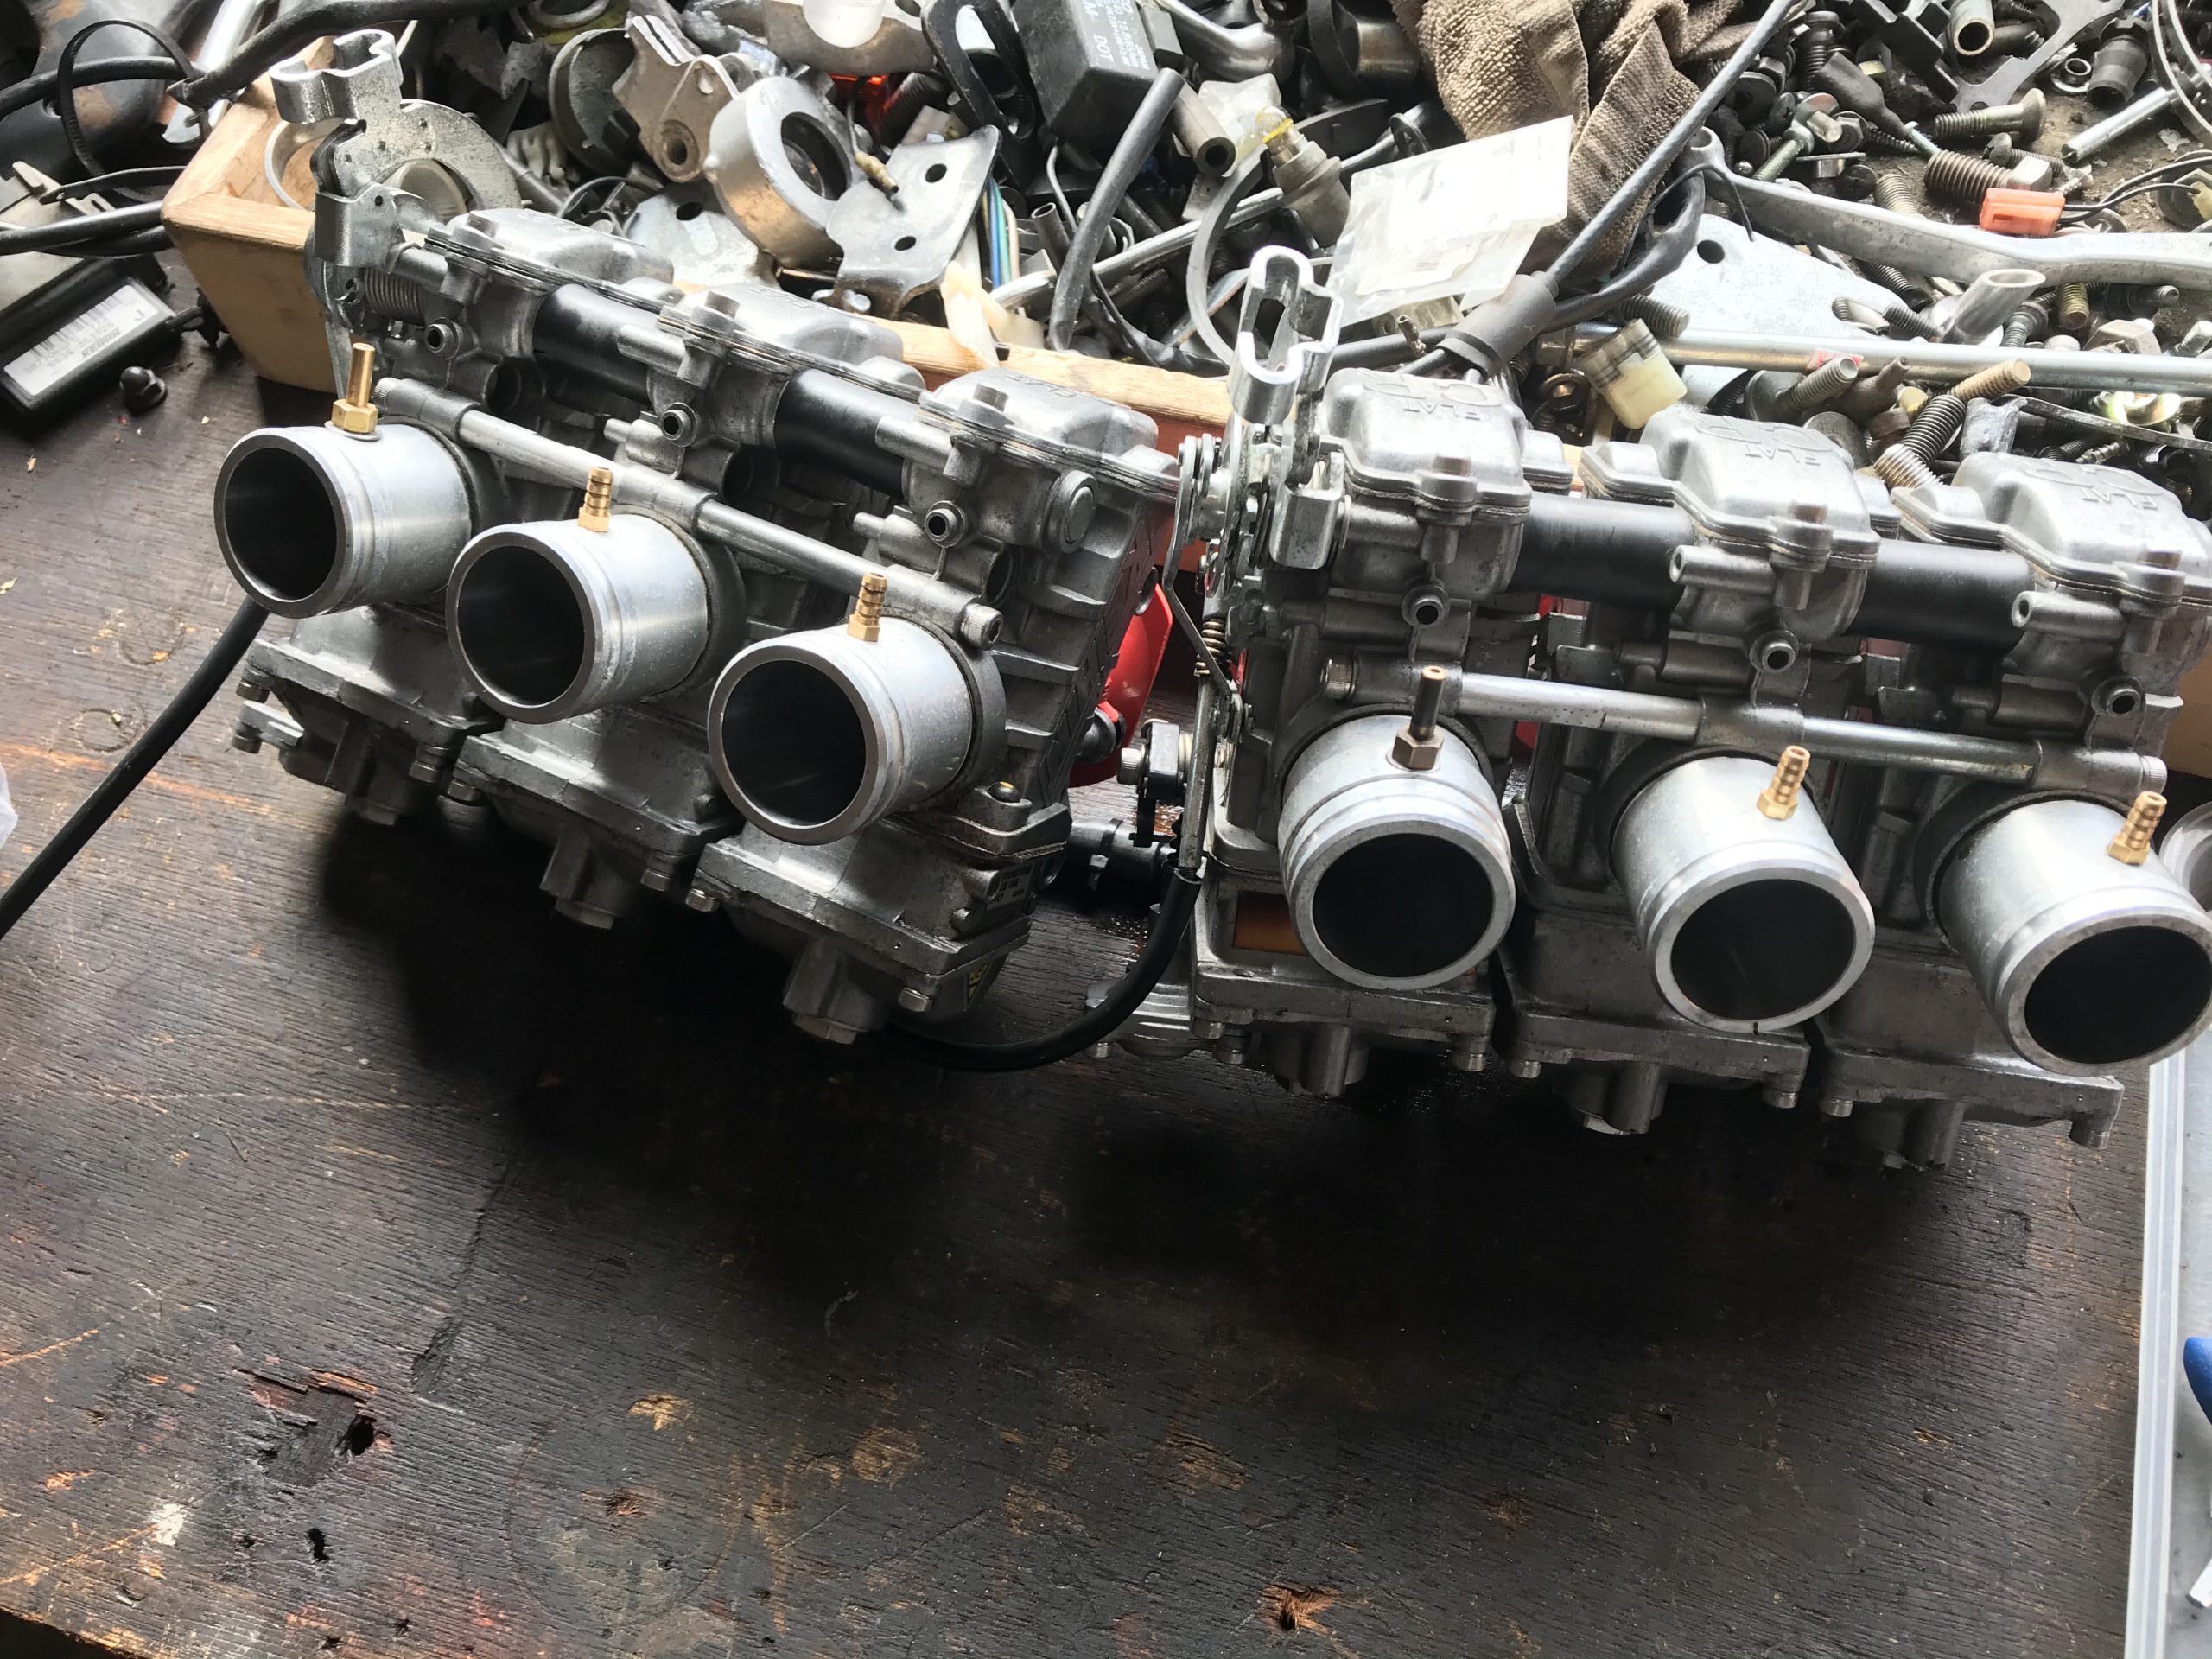
FCR-Negative pressure outlet nippleFCR-Red Velocity StackFCR-Negative pressure outlet nippleFCR-Acceleration pump diaphragmFCR – Working in a rental pitFCR – Working in a rental pit
The nipple is attached to the spigot as an afterthought. Instead of capping or removing it, it's used as a balance pipe. I'm not entirely sure how effective it is, but I’m confident it has some impact.

The setup balances cylinders 1 and 6, 2 and 5, and 3 and 4. However, I’m not exactly sure how to handle a 3-cylinder carburetor in this context.

When ordering an FCR carburetor from Bito, you can likely request that all spigots be processed this way from the start. On my CBX1000, negative pressure extraction nipples were already installed on cylinders 3 and 6.
FCR Carburetor – Throttle Valve Seal Replacement【summary】
This photo was taken back when I didn’t know much about FCR carburetors. Feel free to use these photos as a reference when working on your own carburetor.

With that said, enjoy your FCR carburetor journey! Good luck!