I am the owner of a Honda motorcycle [CBX1000] who lives in Hiroshima City, Japan. I am posting about FCR carburetor and CBX1000 customization. I also post about things other than cars and motorcycles. We will post information that will make bikers around the world happy.
FCR Tuning – Adjusting the air screw to the appropriate setting after changing the slow jet – 2023-08-13
The air screw position has fallen below 0.30 minutes return.
I changed the slow jet from 45 to 48. Since it's summer now, I adjusted the air screw with winter in mind when I would need to close it further as a preventative measure. The changes since last time are as follows:
48 → 45 → 48.

I was happy with the tuning of the slow jet45.
The reason for richening the slow jet was to bring the adjustment range of the air screw closer to 1.00 turn out. The slow jet and the straight diameter of the jet needle are responsible for the lower range of the jetting. For fine-tuning, I adjust both the pilot screw and the air screw. In terms of throttle opening, this affects about up to 1/4 throttle. Beyond that, the straight diameter of the jet needle and the clip position play a bigger role.

For my CBX1000, I believe the slow jet will likely fall within the 48 to 52 range. The reason I didn’t try 52 or 50 this time is based on the history of past tuning, where 48 seemed to be the most suitable. Just looking at the slow jet, it feels like 50 might be better. However, considering a change in the jet needle, I decided on 48. The previous tuning used 45 as more of an experimental choice. My records from last winter indicate that 48 seemed good, so this time I returned to that.

The manual suggests that an air screw return between 0.30 minutes return and 3.00 minutes return is ideal. The initial settings for tuning are AS1.00 and PS1.00, so if the settings exceed 1.00 during spring or fall, the slow jet is likely appropriate. The best scenario is when it exceeds 0.30 minutes return during winter. Heading into summer, the air screw will be adjusted leaner. Even if the air screw falls below 0.30 turns, there's no issue with running. When the AS is within its proper range, if it’s between 0.30 minutes return and 0.25 minutes return, even the slightest adjustment will make a noticeable difference. On the other hand, if you move it between 2.00 and 2.15 minutes return, the response becomes vague.

In short, when the AS is too tight, it becomes overly sensitive, while when it’s too open, it becomes too loose. What’s important is not how much you turn the screw but how much of the total range you’re using. This is on the assumption that the air screw is near its proper setting. By selecting an SJ that settles around 0.45minutes return in the winter, I believe it’s possible to avoid changing the SJ throughout the year. As for the pilot screw, if I feel the engine is difficult to start, I open it slightly from 1.00 turn. Generally, I adjust it in the opening direction. Even if you use a larger SJ, the engine will idle and start even with the pilot screw fully closed. I keep the pilot screw at 1.00 and adjust it by 0.15 minutes return when idling or starting becomes difficult.

In winter, I spend several days adjusting it by 15 minutes at a time to find the best starting position. Since the oil has settled and the engine is cold when I adjust it, I check for changes each day. I also adjusted the synchronization. I’ll share photos of the work as I go along. So, let’s get started!
Current Tuning
This is the tuning from 2023-08-13:
AS - 0.50 minutes return
PS - 1.00 minutes return
SJ - 48
JN - 90FTS#2
MJ - 120
Accelerator Pump - 1.0mm
Accelerator Pump - Standard

As we head into winter, the air will become denser.
I will close the air screw, richen the straight diameter of the jet needle, adjust the clip position towards a richer setting, and increase the main jet size.
The ideal position for the air screw is 1.00 minutes return, but for now, I will observe the situation at the current setting.
Even if the jet needle’s straight diameter is richened, it affects the lower throttle positions.
For this reason, I’ve chosen the slow jet at 48.
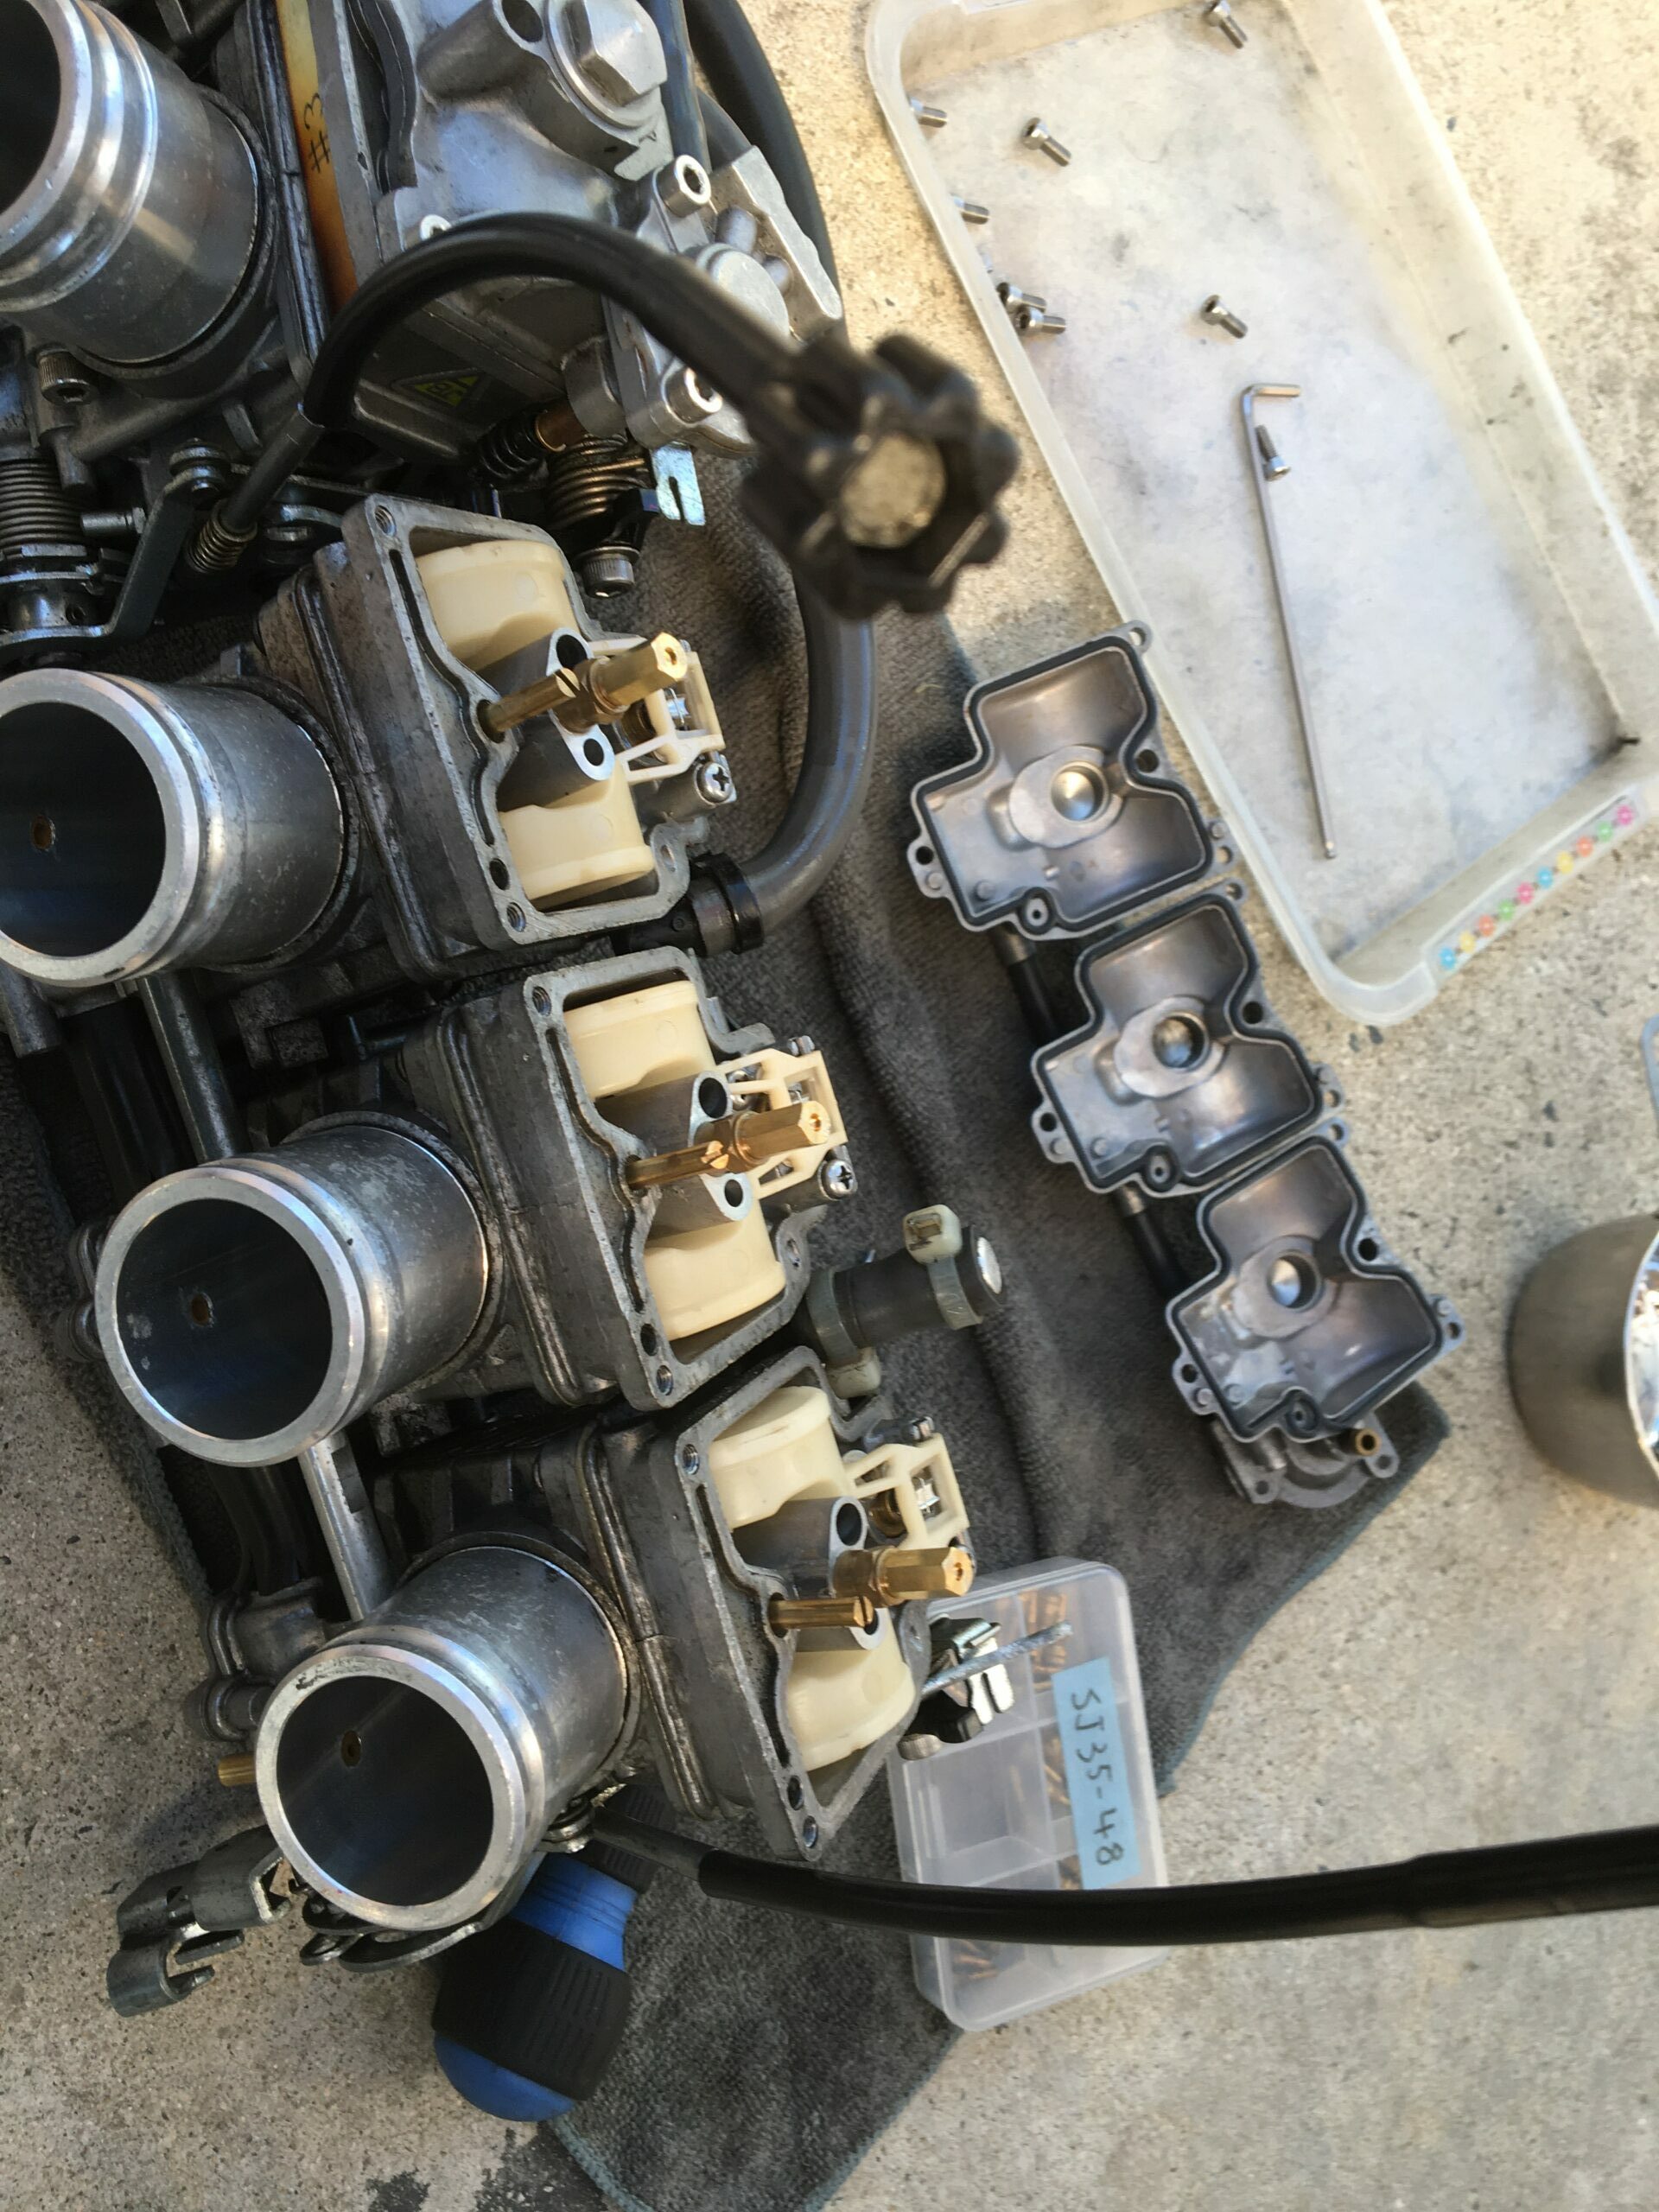
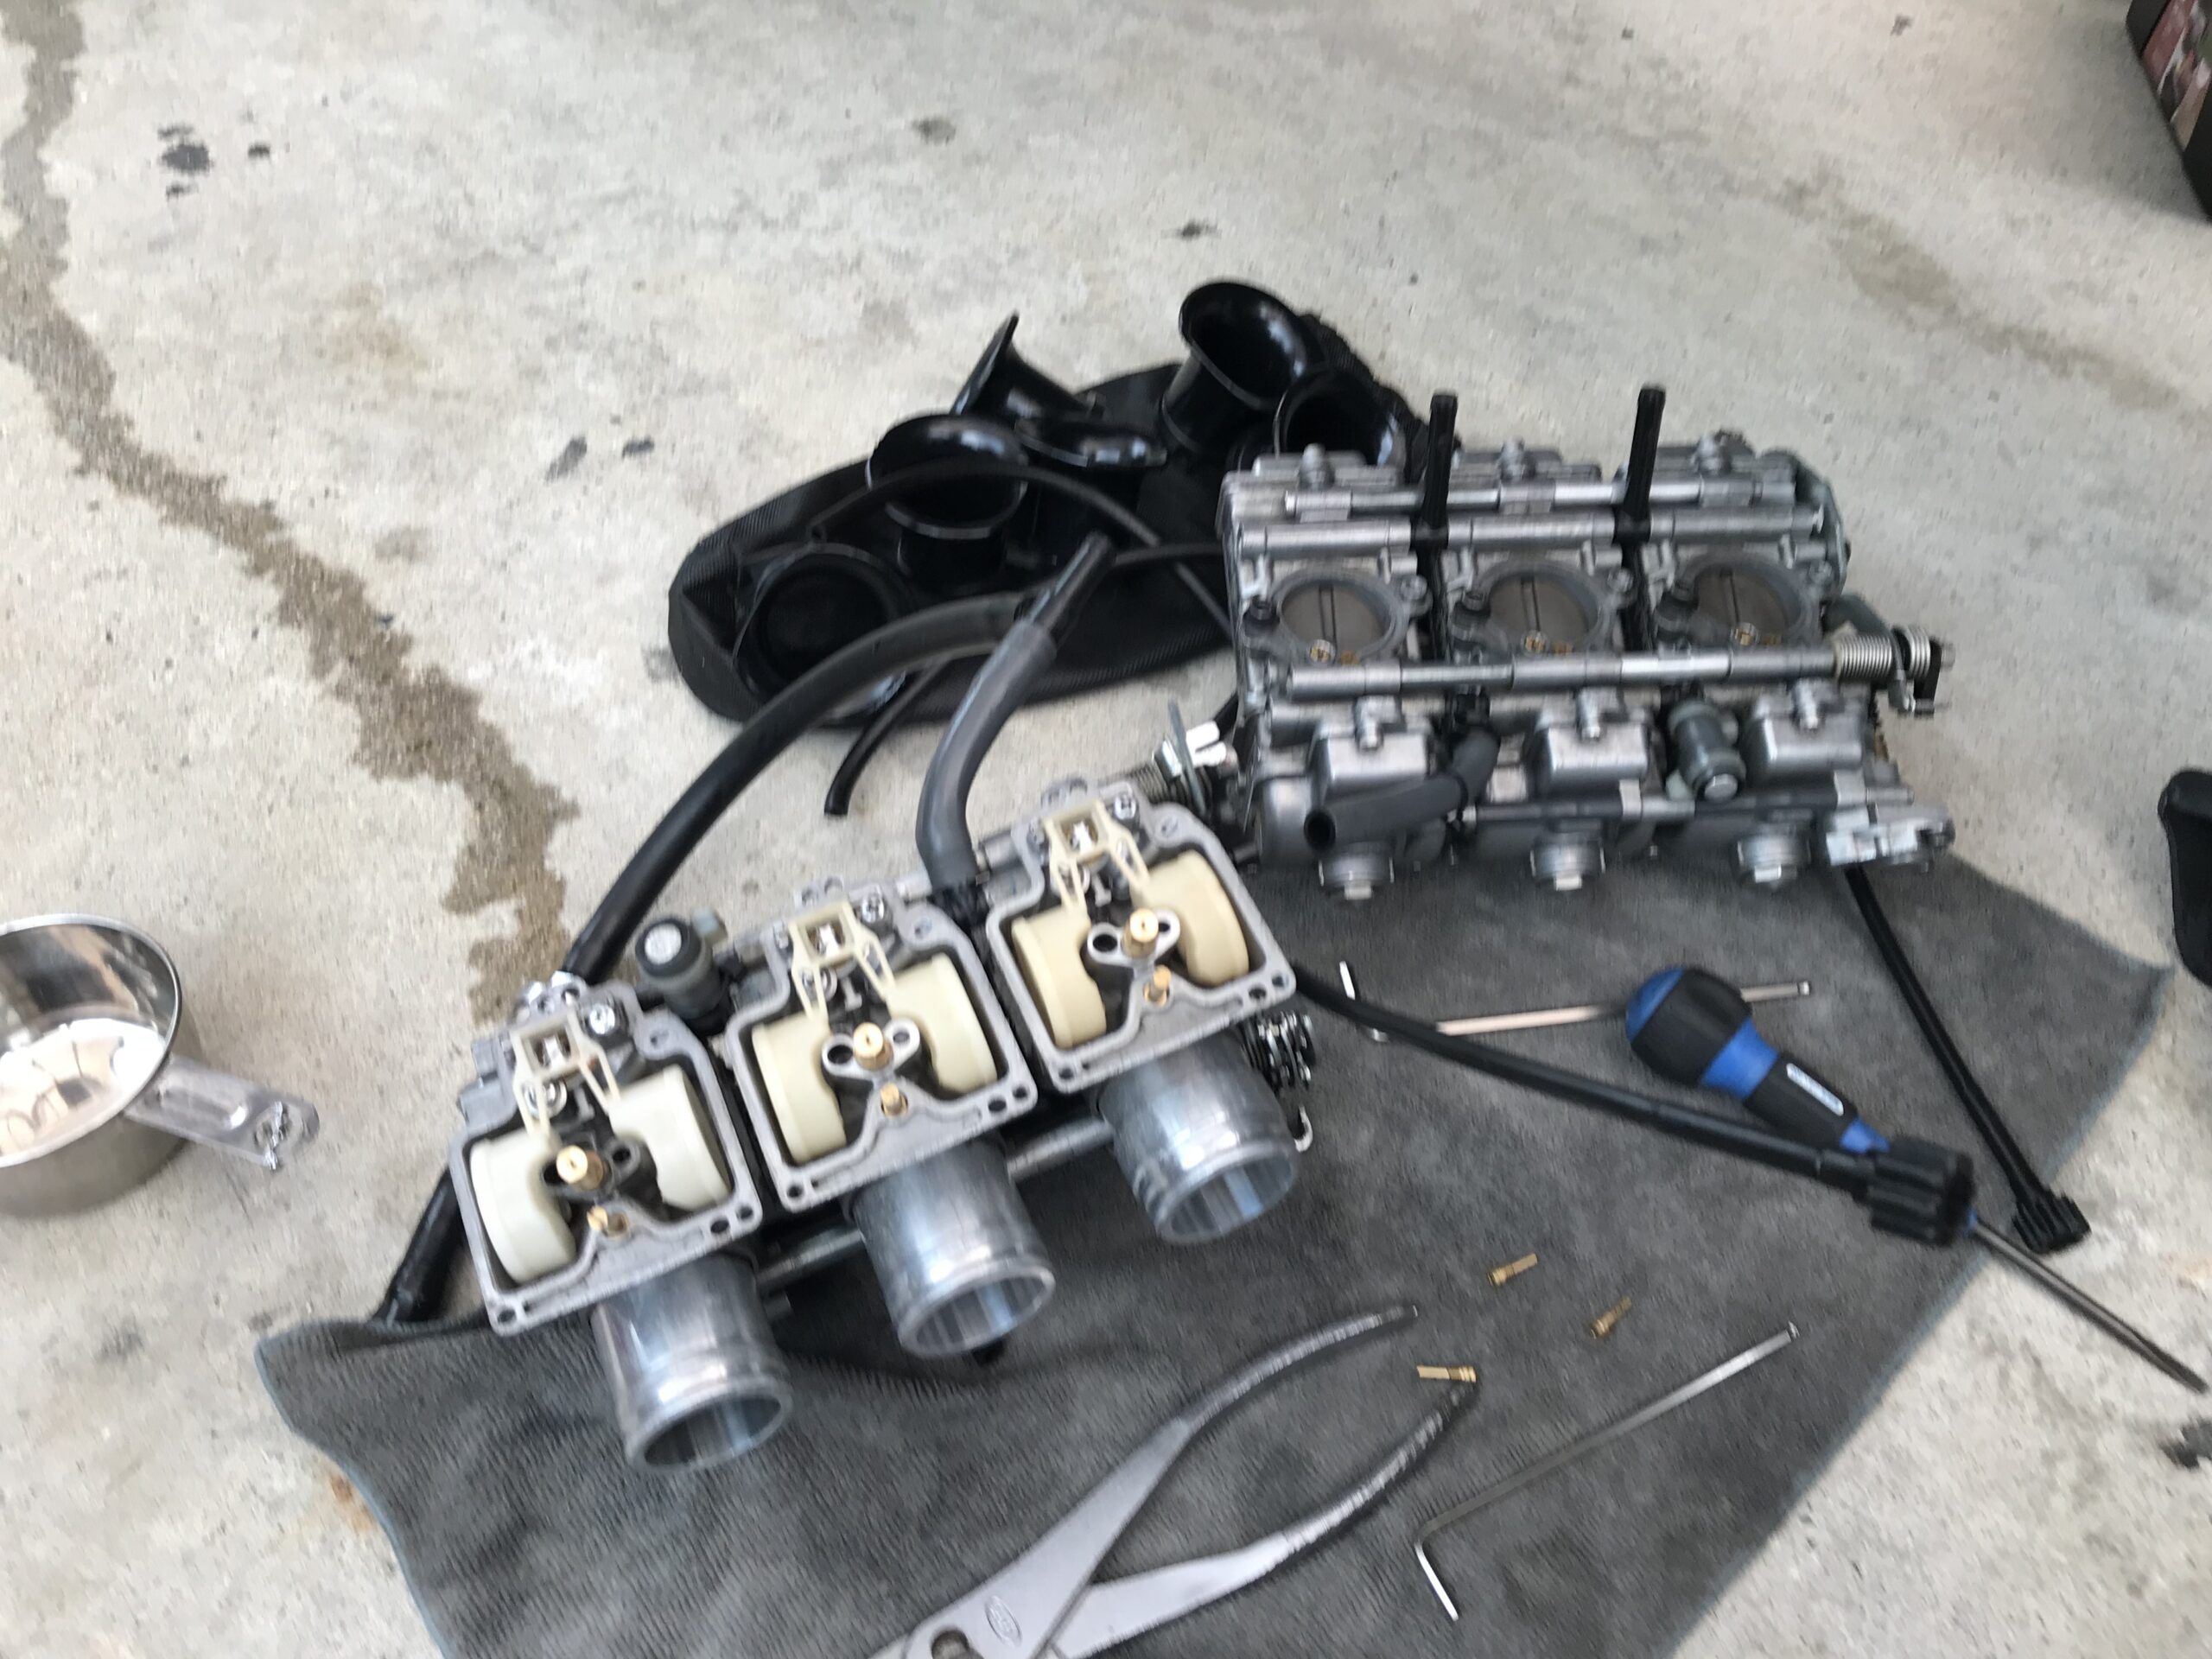
FCR-Slow Jet Change
Changing the slow jet requires disassembling many parts of the FCR, so it’s more efficient to avoid changing it as much as possible.
I don’t think even Keihin intended for frequent slow jet changes.
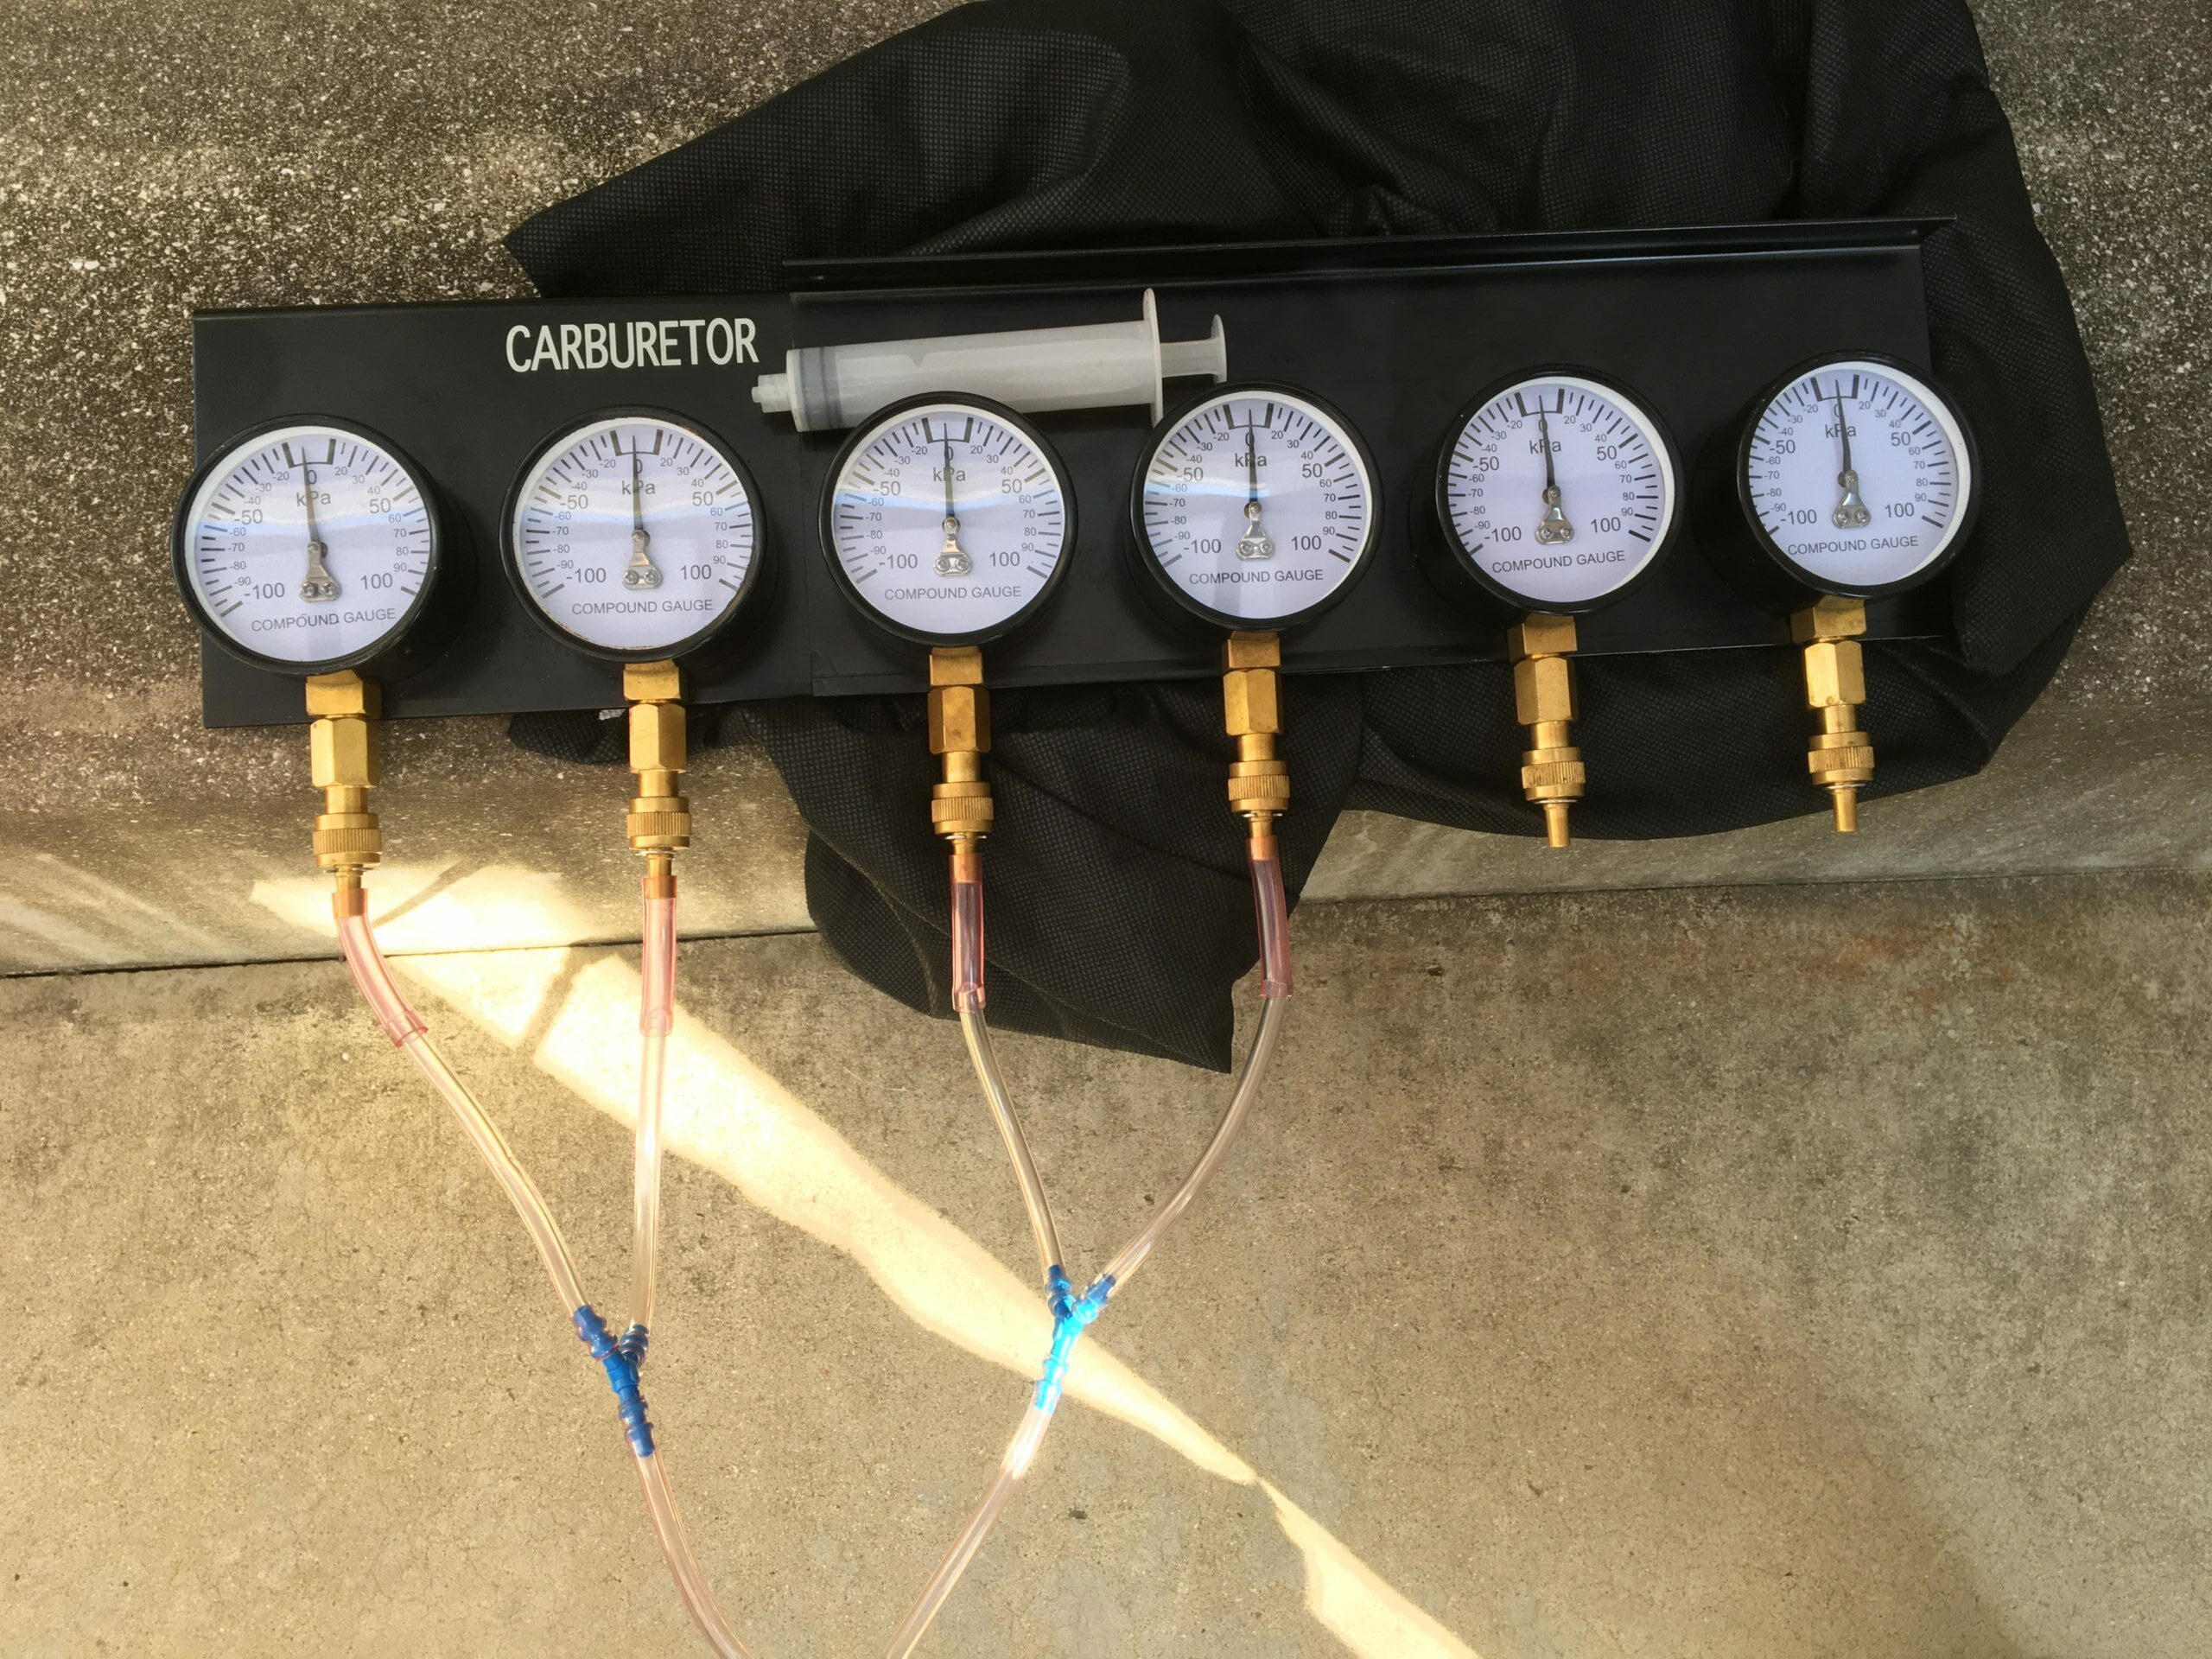
Always calibrate the vacuum gauge before synchronization work.
Always calibrate the needle before synchronization. The balance of the vacuum gauge needle was off even when I bought it new. Without this calibration, you’ll never achieve proper synchronization. Calibrating the needle is a task that only takes a few minutes.
Vacuum gauge needle zero calibration
I use a syringe-type cylinder along with pipes and joints purchased from a hardware store to calibrate the needle.
Previously, I had a set of 4 vacuum gauges. To improve efficiency, I’ve since upgraded to 6 gauges. The reason for this is to speed up the work, as adjusting one cylinder also affects the vacuum of the others, and to perform the task more efficiently.
I will write more specifically about the synchronization work.
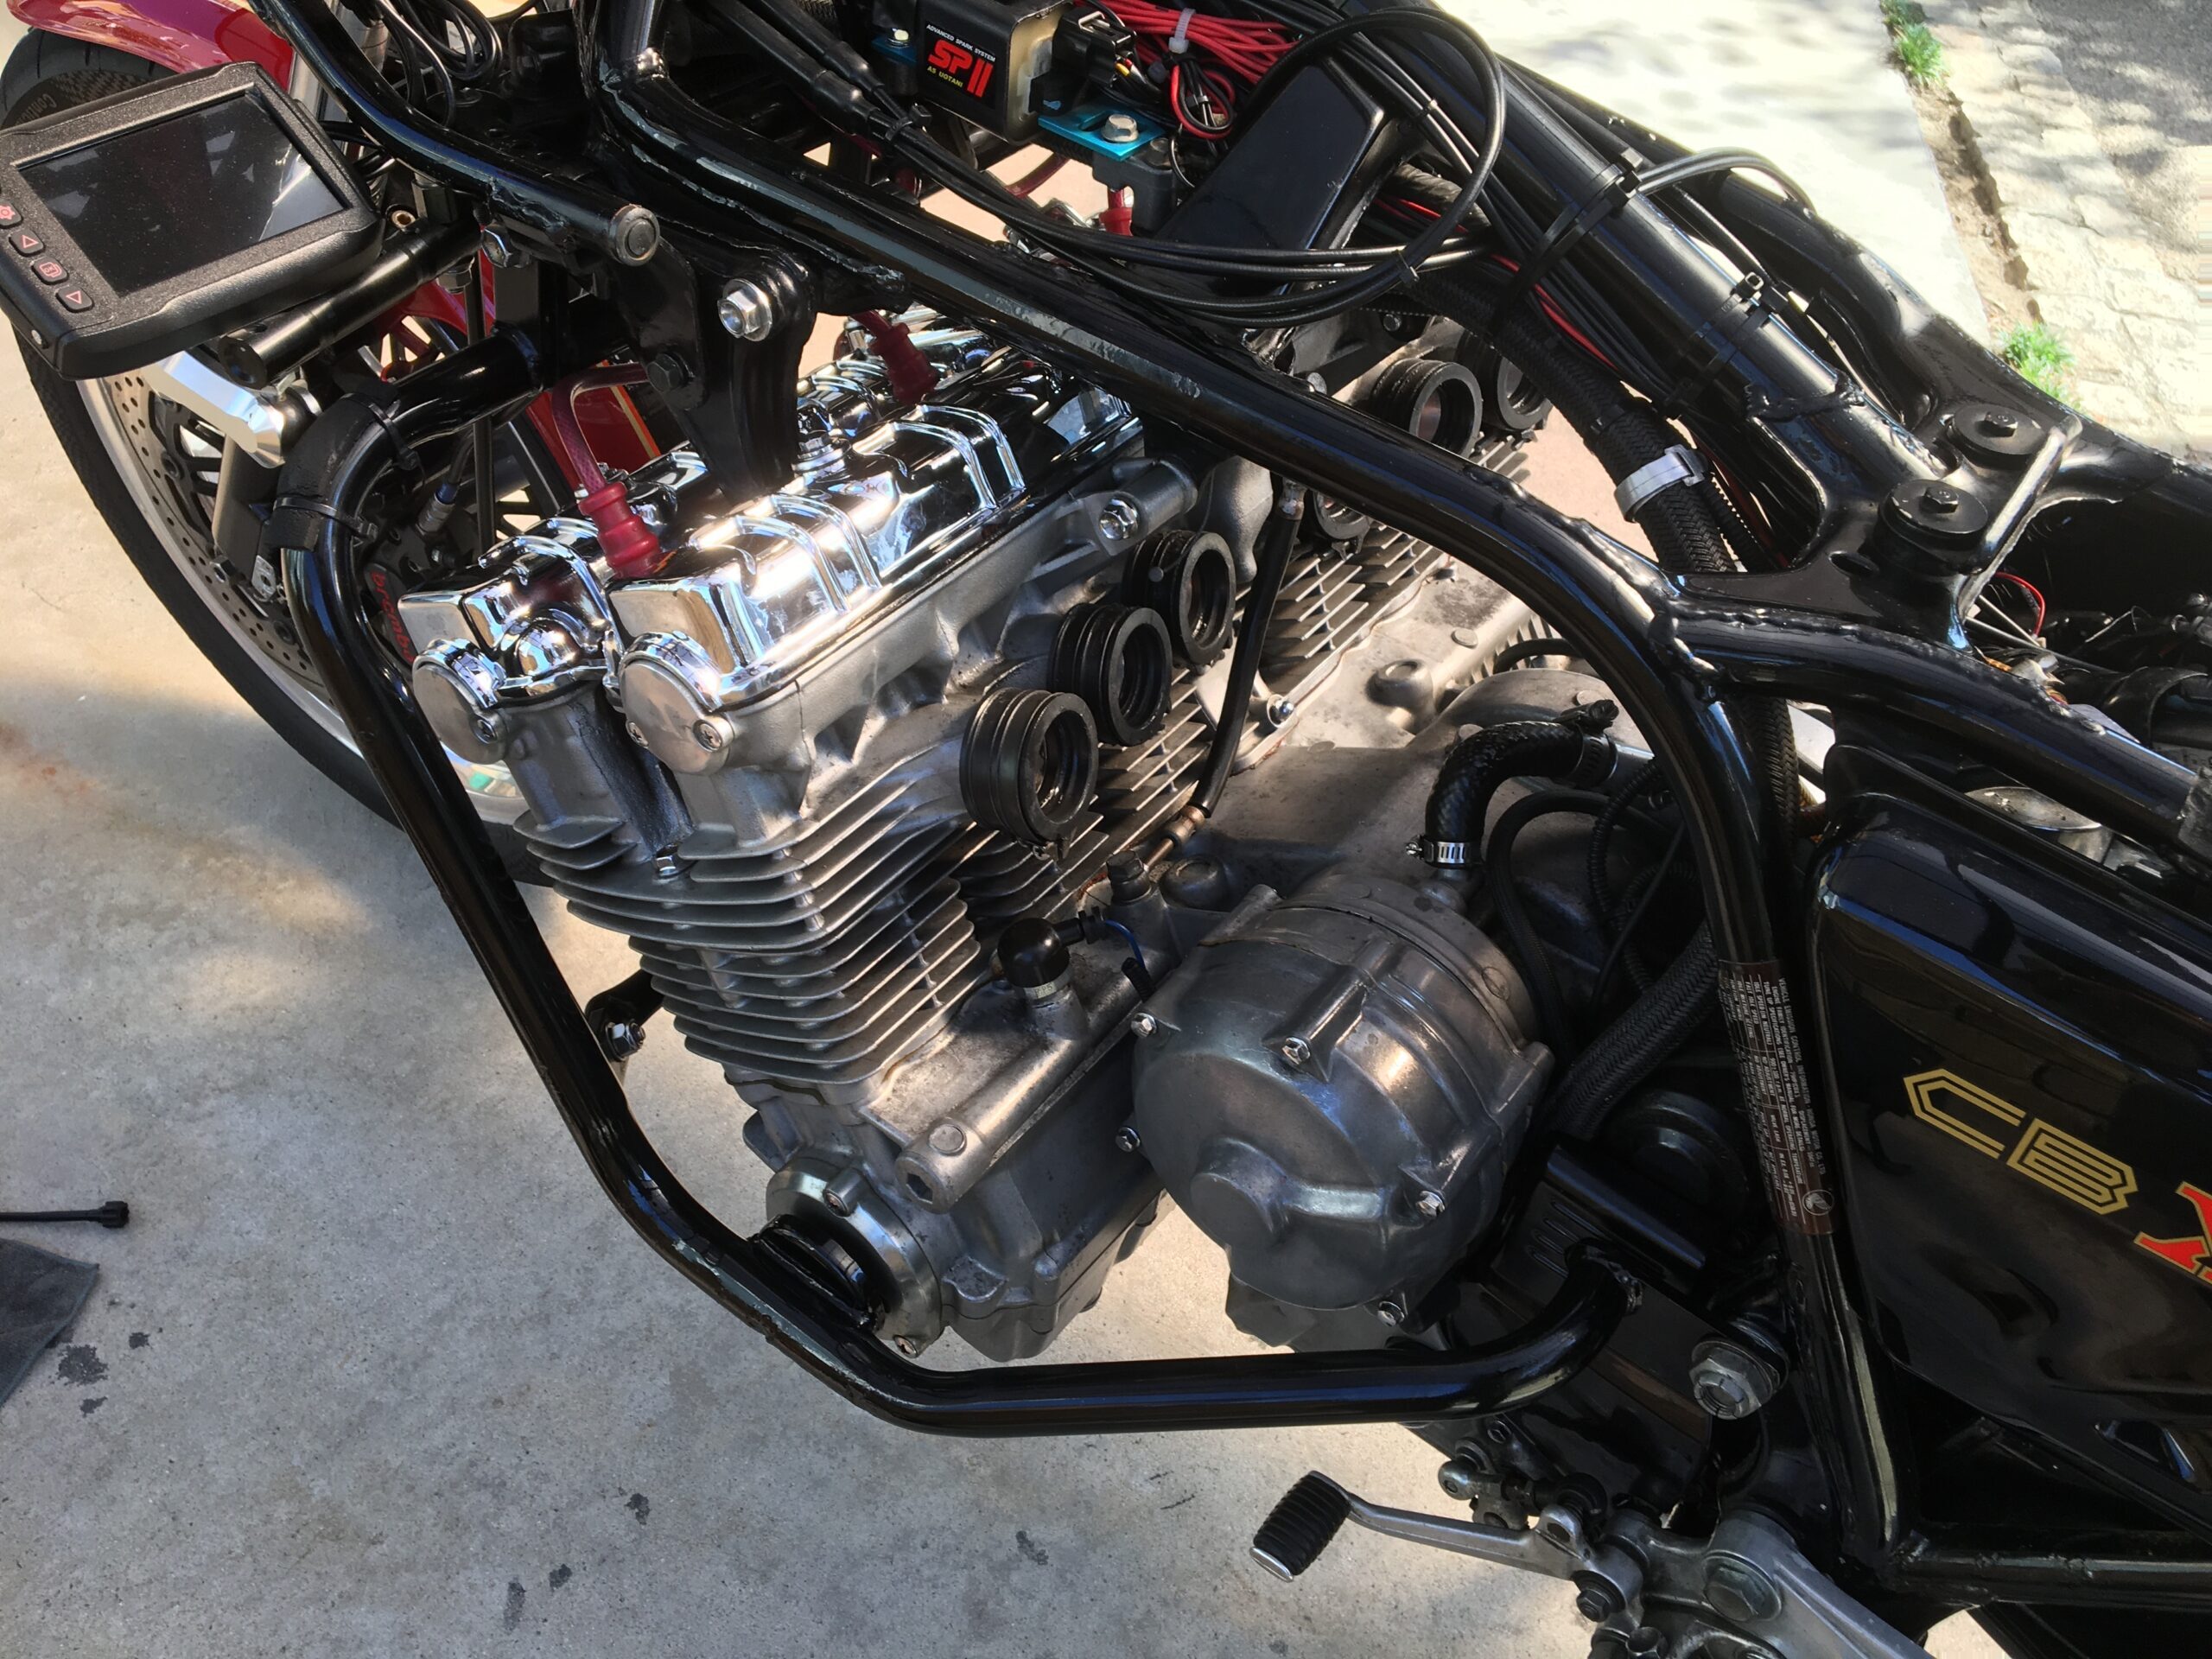
I have written about synchronization work on my blog several times in the past. Any differences in the content are due to updates and improvements. My CBX1000’s FCR is an older model. The FCR is divided into the 【123】 and 【456】 groups. It is controlled simultaneously by a dual-throttle cable for the three-carburetor setup.

Adjust the tension of the throttle cables so that the left and right FCR groups, 【123】 and 【456】, are the same. Leave some slack for the return. It is crucial to adjust the throttle so that when fully opened, the throttle valves in the 【123】 group and the 【456】 group open simultaneously.

Adjust the idle stop screw so that the starting point is the same for all cylinders. Set the idle as low as possible without the voltage dropping too much. Set the air screw to 0.30 minutes return and find the position where the idle suddenly increases. When adjusting from 1 to 6, you’ll often find the idle increase around the adjustment of 3. Set all cylinder air screws to the higher position. The air screw should be in a richer position as a premise. Turn the screws about 5 to 10 minutes richer. The air screws should be set at the same position for all cylinders. This is a preliminary adjustment. Once you find the position where the idle suddenly increases, set all screws to the same position. Then, use the idle stop screw to adjust the idle to the correct position.

Begin the synchronization work. Adjust the synchronization nut and screw while monitoring the vacuum gauge. Sometimes, the idle may suddenly increase during synchronization. In that case, adjust it with the idle stop screw. The work is complete when synchronization is properly set.
Adjusting the Air Screw
Once the synchronization is adjusted, you will need to fine-tune the air screw while test riding. The target is to adjust up to 1/4 throttle opening. The air screw is initially set roughly during synchronization.

Points to check are:
・Is there sufficient power when starting off?
・Is the mixture too lean when you begin opening the throttle after starting?

For low throttle openings, being too rich does not have much impact and may cause a gasoline smell. If it’s too lean, the engine will rev up when you twist the throttle, but there will be a lack of power. Adjust the air screw to just below the point where you get the maximum power.

Using a digital tachometer to adjust each cylinder individually is also an option. In the case of my CBX1000, the differences between cylinders are minimal, so I apply the same adjustment for all. This completes the air screw adjustment.
Adjusting the Pilot Screw
After adjusting the air screw, adjust the pilot screw to the correct position. The pilot screw mainly affects the throttle when fully closed and has minimal impact during operation. If synchronization was performed recently, the engine should be at a higher temperature.

While monitoring the air-fuel ratio meter, adjust it to between 12.5 and 13.0 for proper settings. Without an air-fuel ratio meter, it might be sufficient to fix it around 1.00 turn out. As an alternative, on another day, find a slightly higher position for initial engine start-up. In that case, turn the screw 30 minutes rich direction at a time.

If the cold start-up is too rich, it indicates that the engine will be too rich when it warms up.
Finally, recheck the synchronization.
Adjusting the air screw alone can affect synchronization. Therefore, perform the synchronization adjustment once more at the end. Minor deviations typically don’t require adjustment. If you’re constantly adjusting synchronization, you’ll end up spending more time on this than riding your motorcycle.

When changing the slow jet or disconnecting the throttle cables, it’s a bit of a hassle, but I make sure to redo the synchronization a few times. If you want to quickly move on to another tuning, you might not repeat the synchronization process multiple times.

The main issue with misalignment occurs when the engine’s RPM drop-off is poor. This means that the speed doesn’t decrease easily even when you close the throttle. This can be dangerous, so please be cautious.
For Beginners with FCR – Changing the Slow Jet
When operating an FCR, you should avoid frequently changing the slow jet. Changing the slow jet often means you are essentially starting the tuning process from the beginning. The slow jet also affects the straight diameter of the jet needle.

Here are the initial criteria for selecting the slow jet:

Set the PS to 1.0 minutes return and AS to around 1.0 minutes return. You should find a jet size that ensures good engine starting and stable idling.
You can usually find information on the optimal slow jet size for each motorcycle by searching online. Asking on social media platforms can also provide you with various tuning suggestions. Even if you can't find specific information, you can determine a good starting point for the slow jet by referring to motorcycles with similar engine types and displacements.

Once the engine starts, continue tuning the FCR until you are satisfied with the results. Often, even without perfect tuning, the FCR can provide excellent throttle response and acceleration.
FCR Tuning – Adjusting the air screw to the appropriate setting after changing the slow jet – 2023-08-13【summary】
This time, I've covered various aspects of the slow jet. Changing from a 45 to a 48 slow jet affects not only the adjustment position of the screws but also the riding feel. My CBX1000 is equipped with an air-fuel ratio meter. Minor changes are often not visible in the numbers, but using a logger can make these changes more apparent.

Currently, I am only able to visually monitor the air-fuel ratio while riding. For circuit use, it might be better not to spend too much time on low-throttle settings. For street use, tuning the FCR until you are satisfied is important.

If you want to tune quickly and ride on the street, setting it slightly rich should allow for smooth riding without stress. There may still be minor issues, but spending time on these small concerns may not yield significant results. However, tuning these minor details is part of the fun of working with FCRs.

If you have questions about other aspects of the work, feel free to email me, and I'll be happy to respond. Have a great time with your FCR, and see you again!
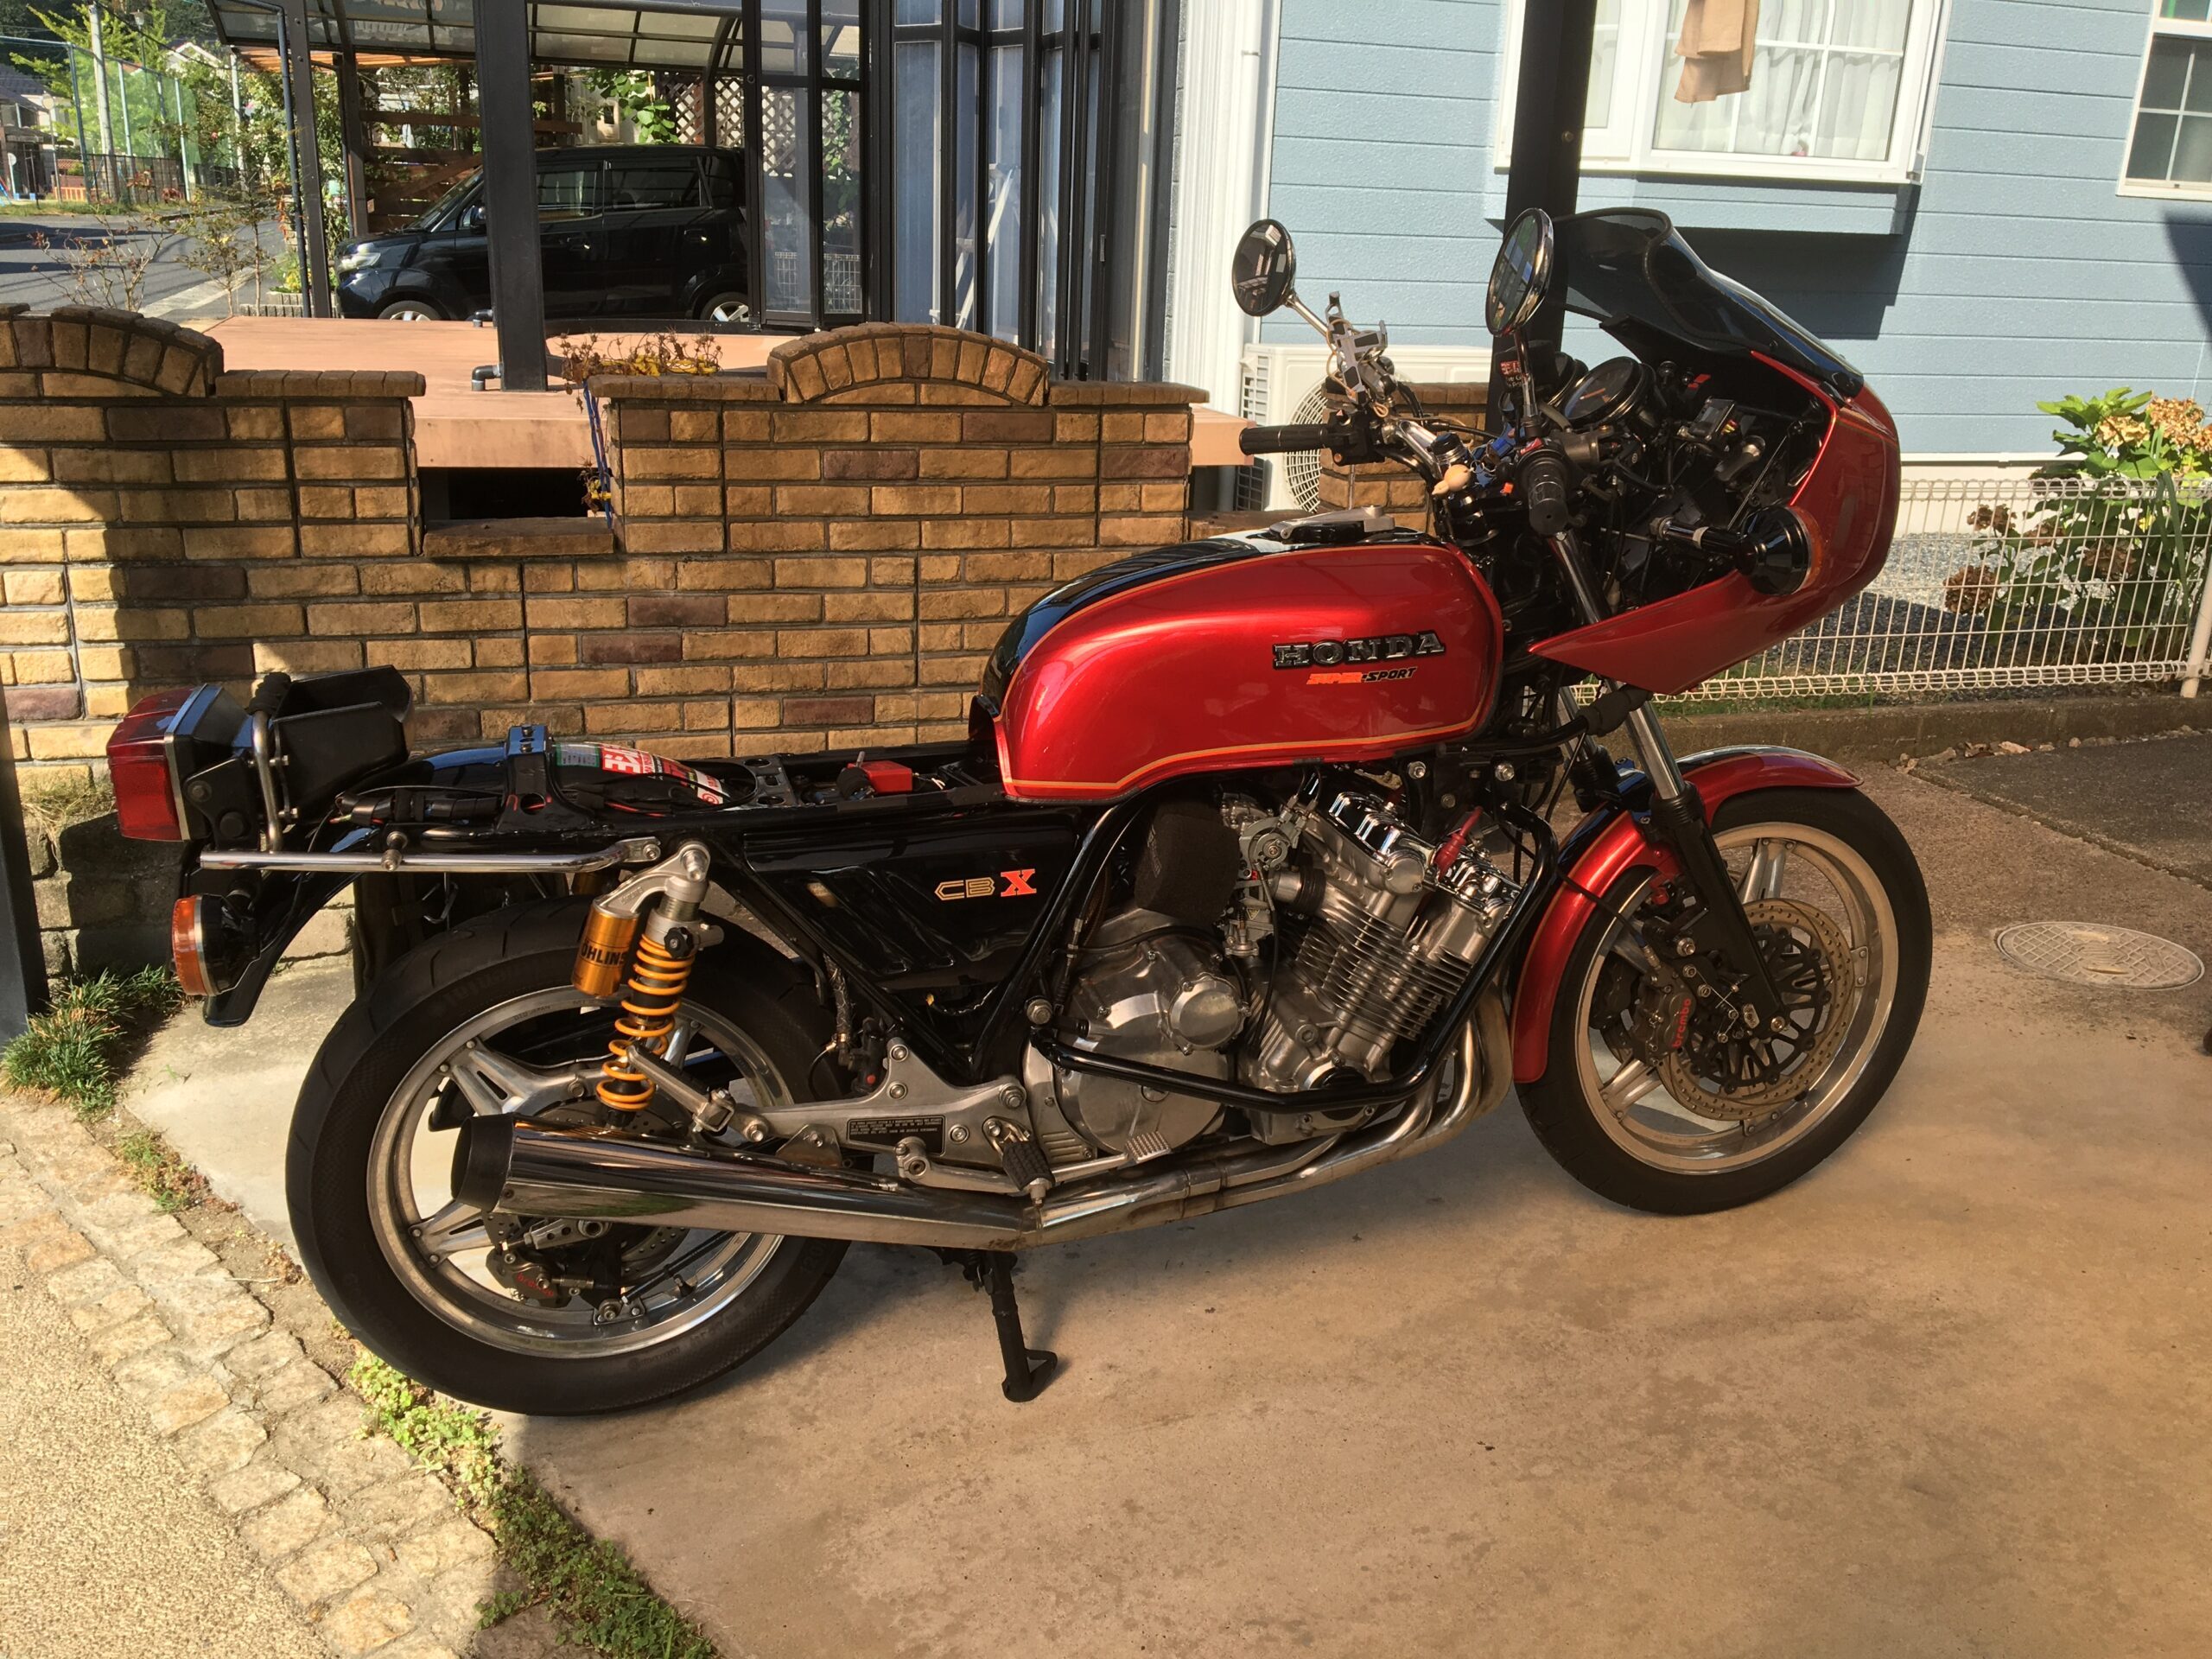
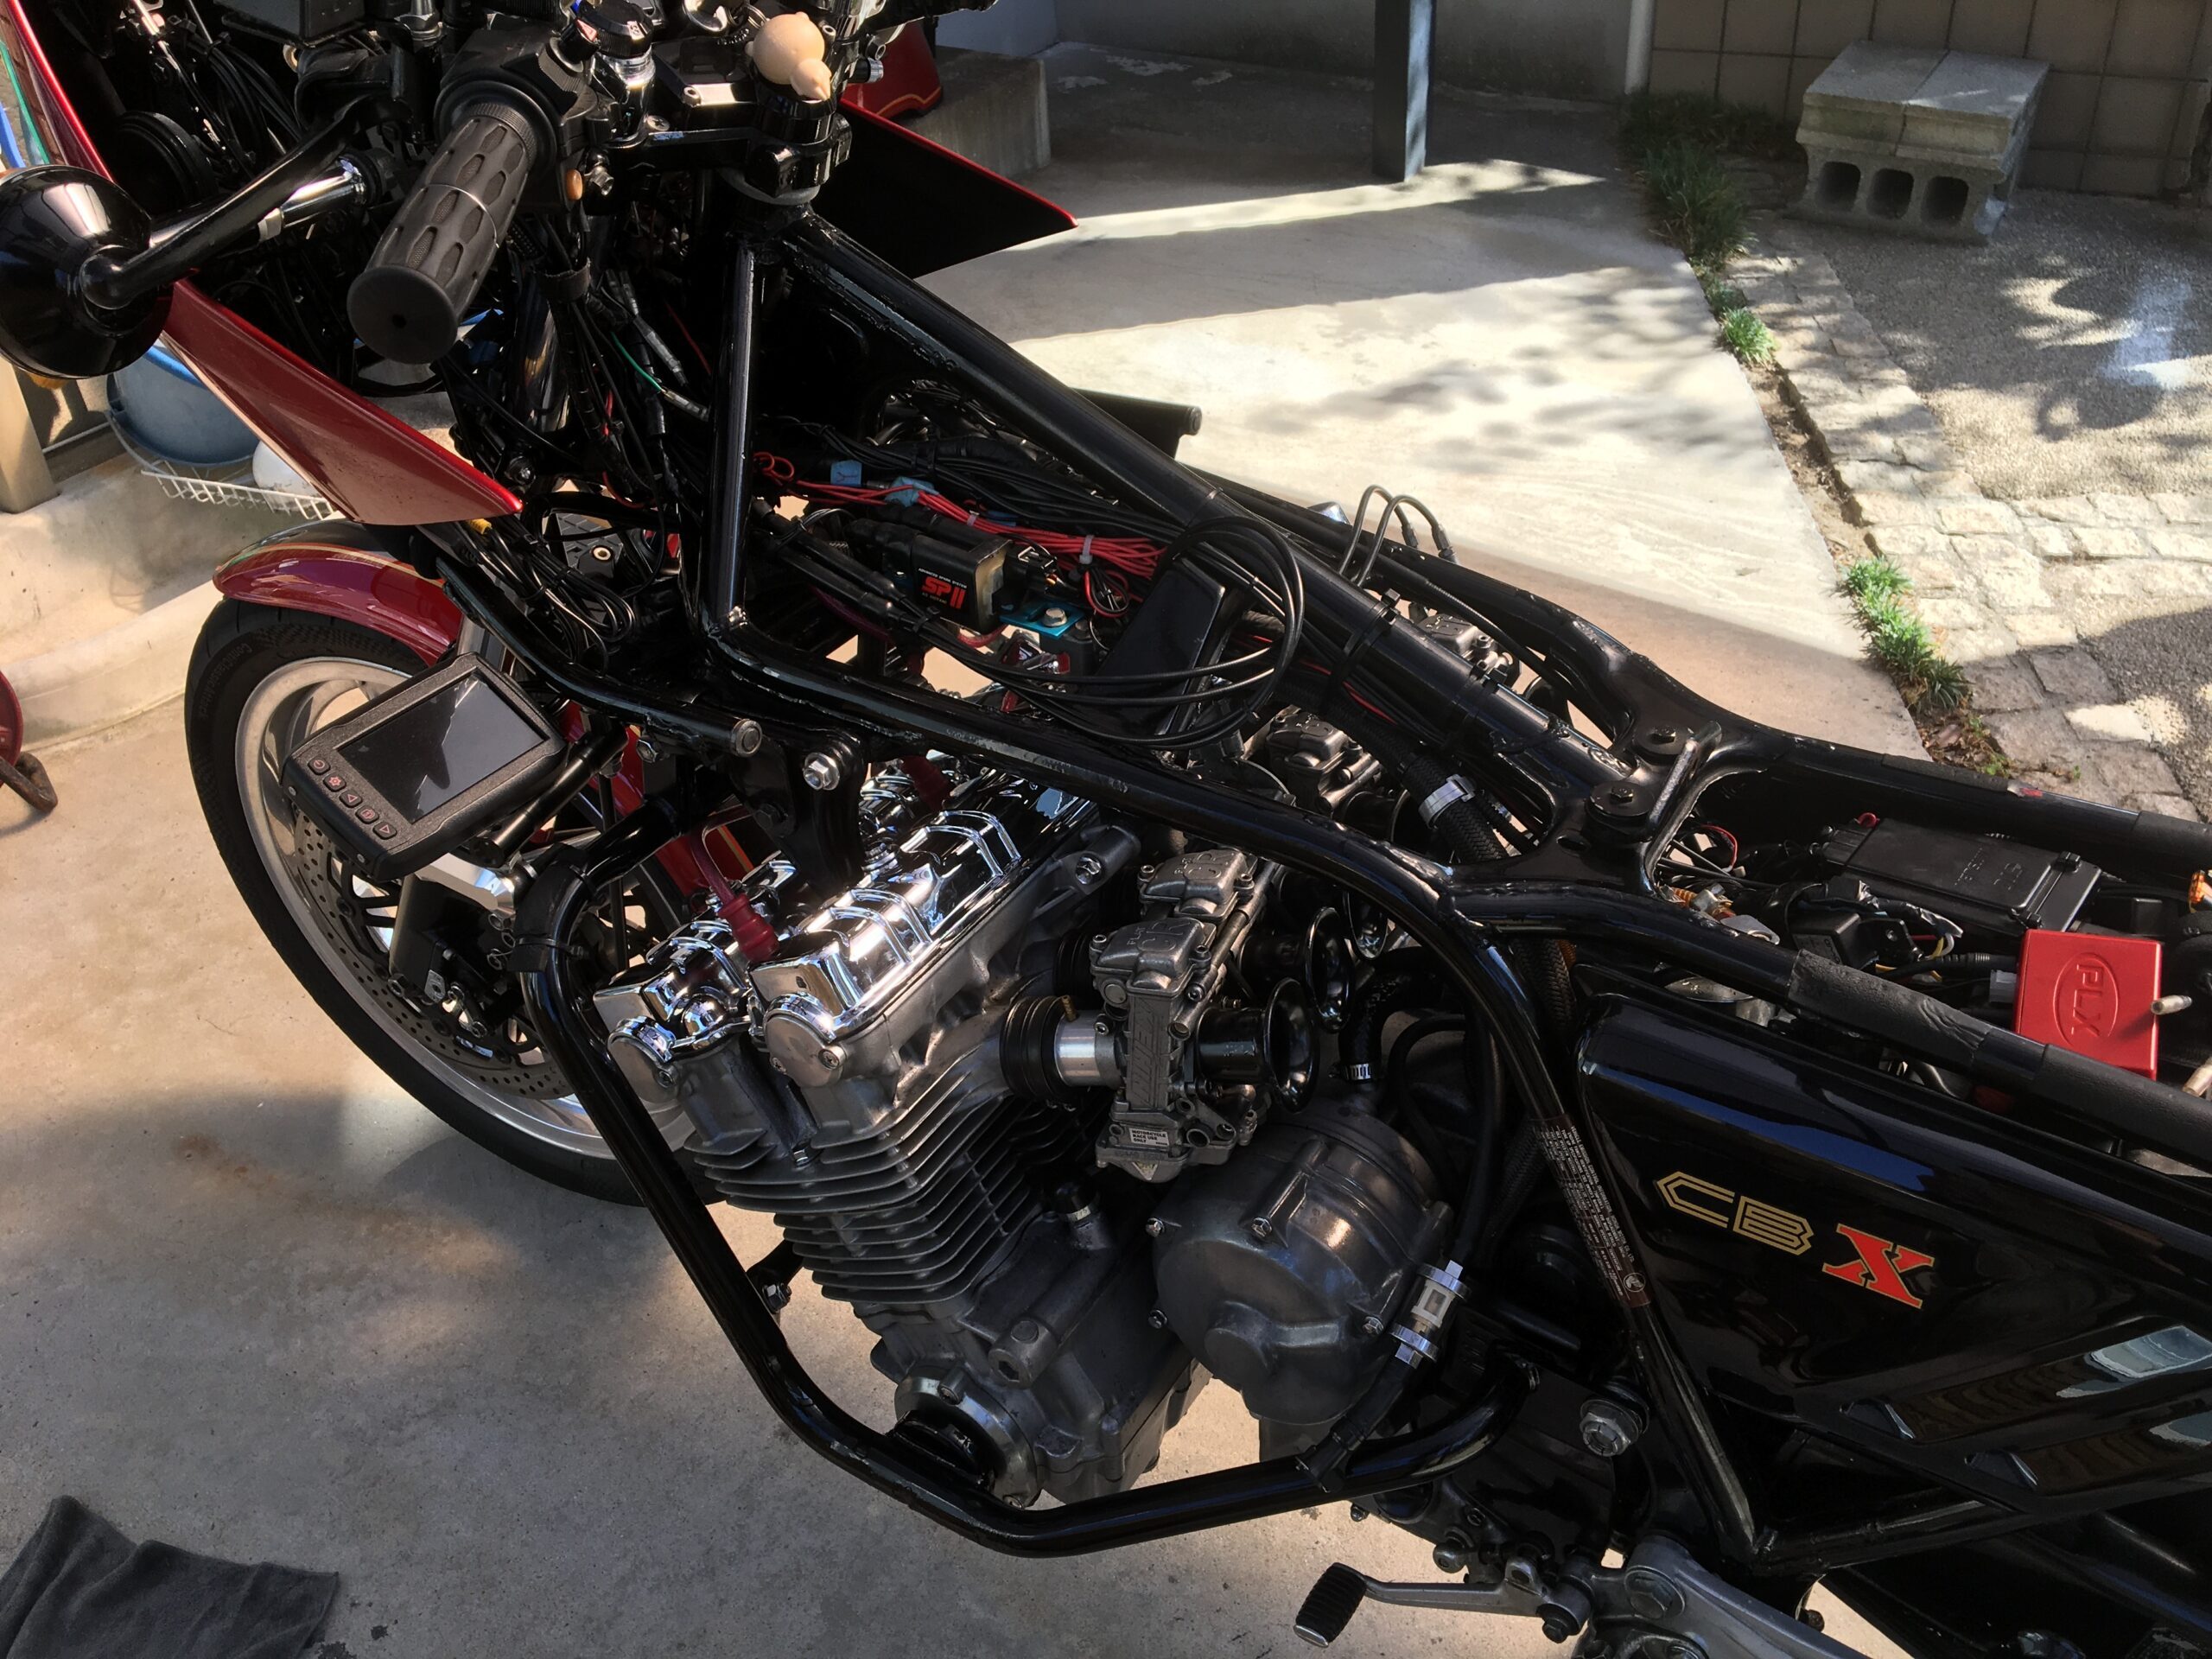
CBX1000 Photo Gallery
Although the photos are often similar, this time I am only including newly taken ones.