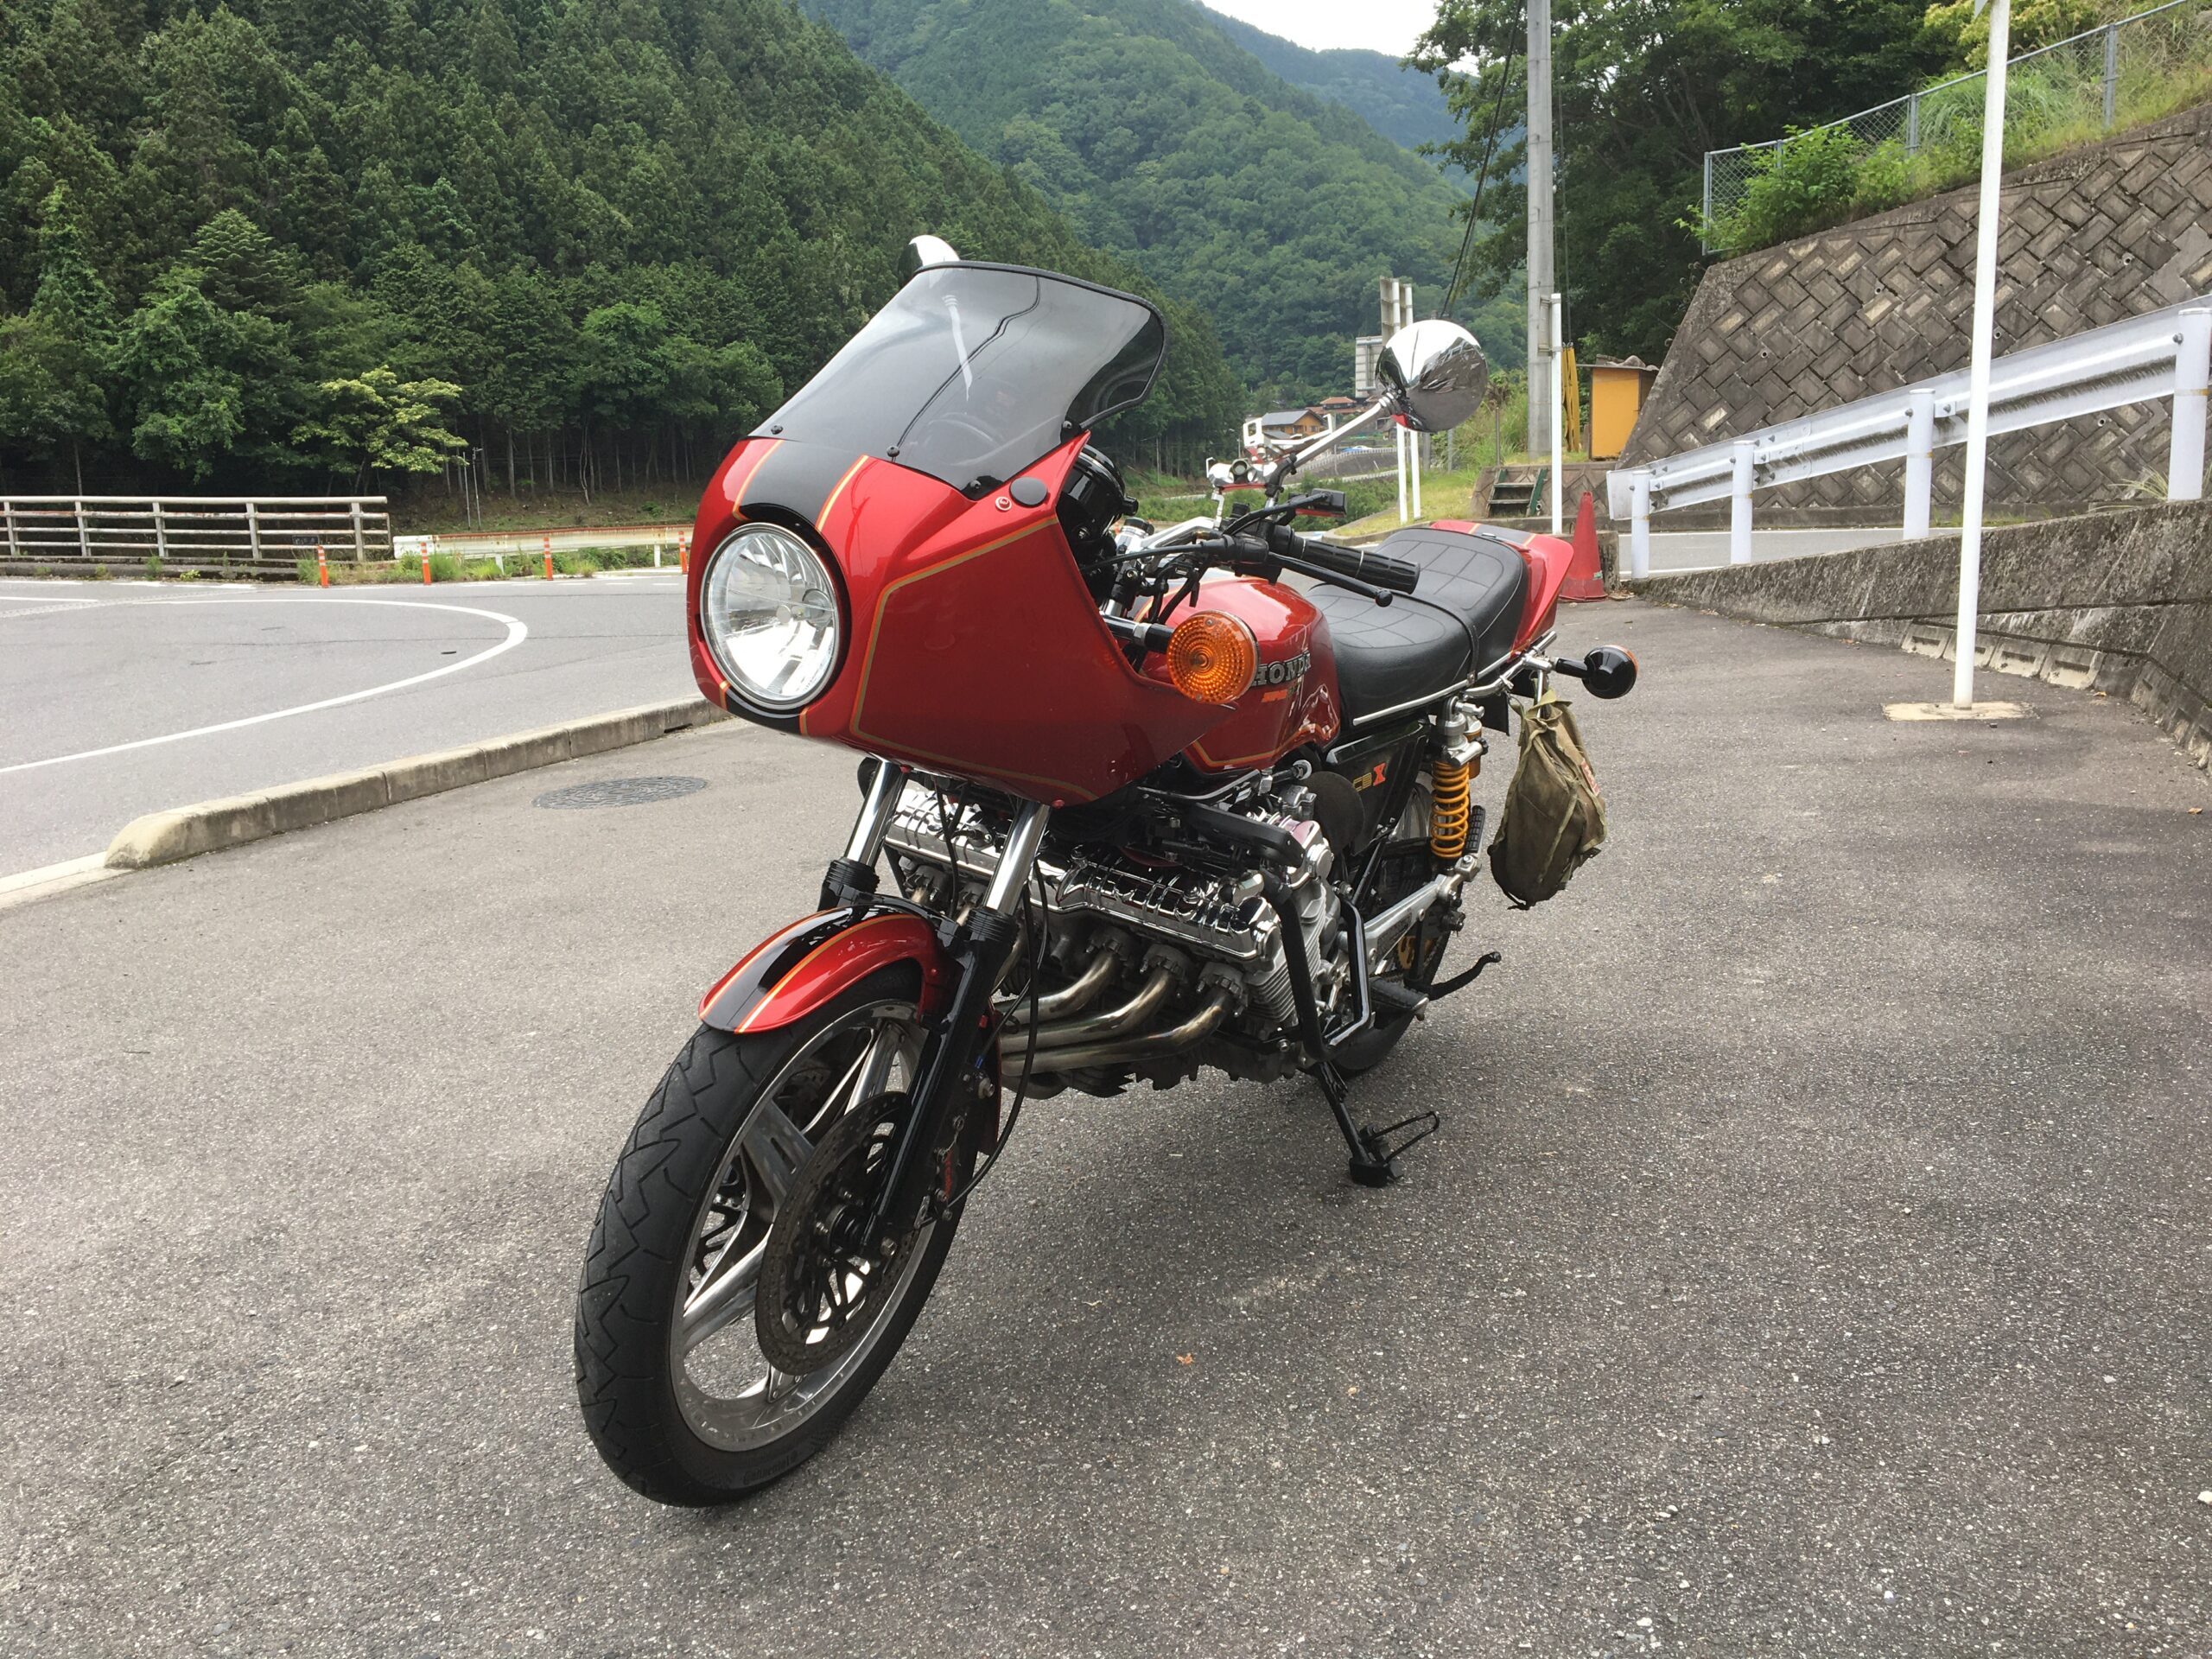
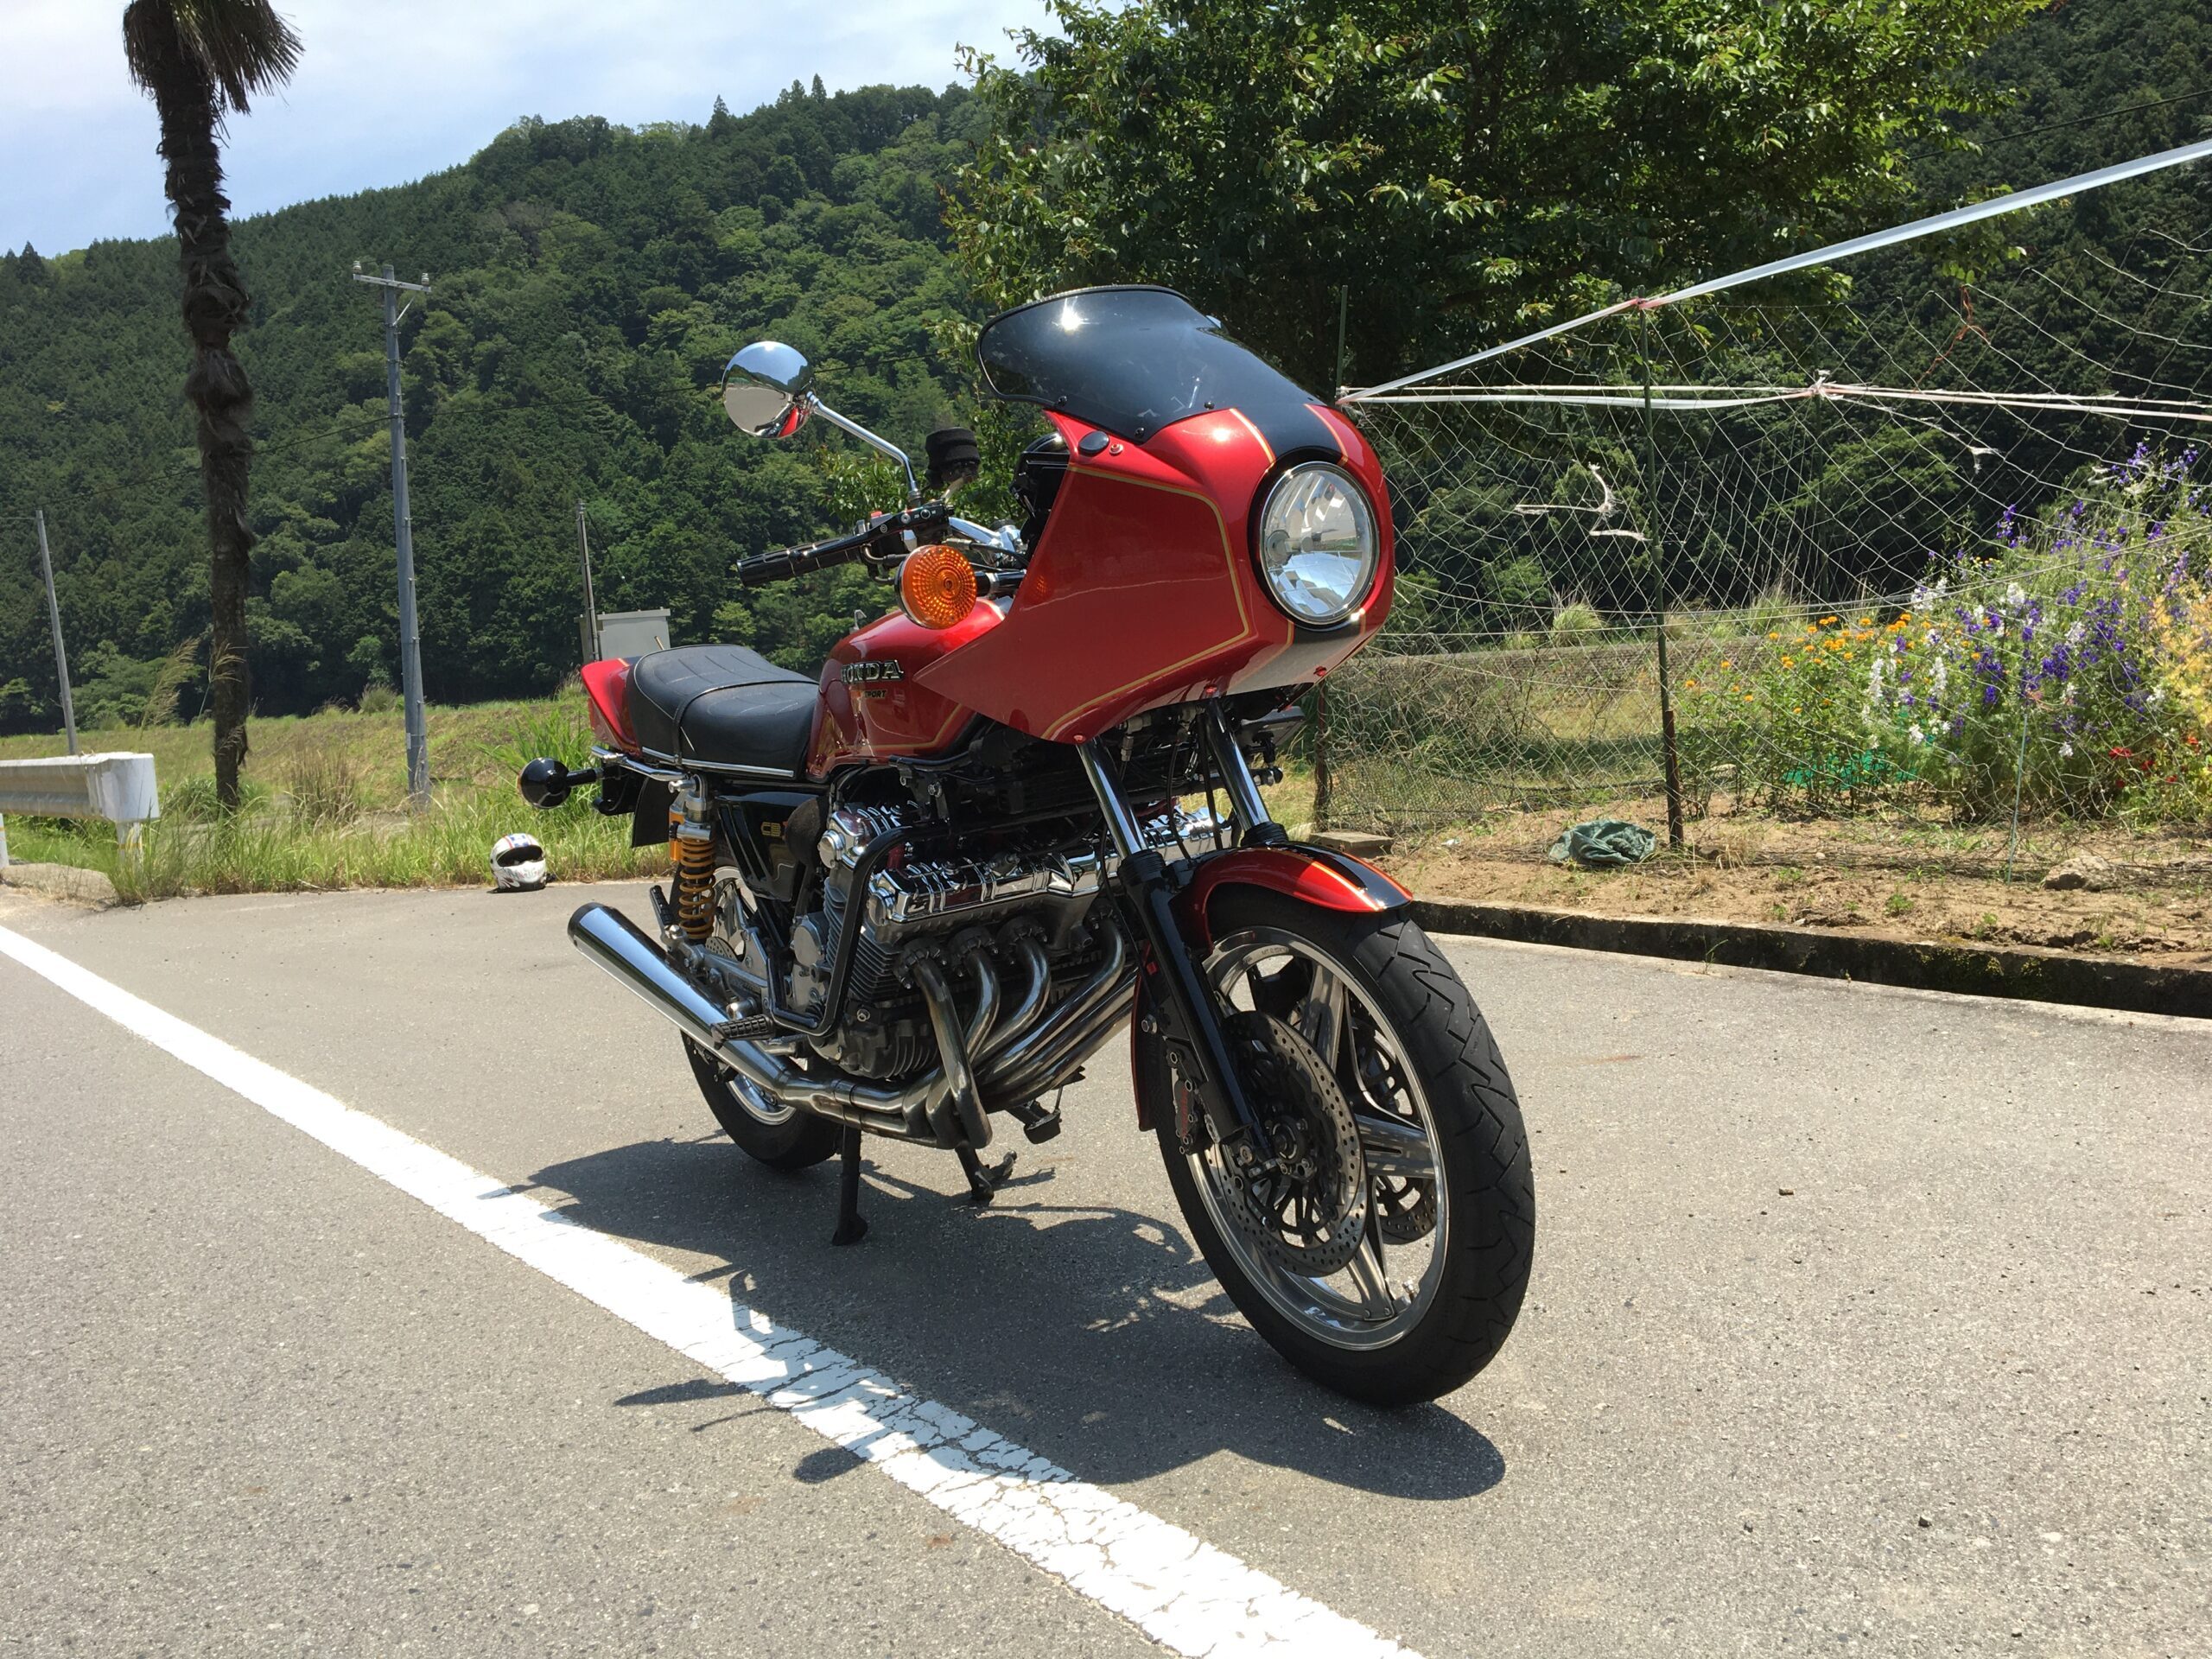
I am the owner of a Honda motorcycle [CBX1000] who lives in Hiroshima City, Japan. I am posting about FCR carburetor and CBX1000 customization. I also post about things other than cars and motorcycles. We will post information that will make bikers around the world happy.
Carburetor synchronization is not the kind of maintenance where you can fail – the challenging part is the preparation.
A neighbor of mine recently asked for advice because they wanted to try carburetor synchronization. Since this is a straightforward topic, I’ll get to the conclusion quickly.

"I’ve never heard of anyone failing at carburetor synchronization, but I’ve also rarely heard of anyone attempting it."

Most people give up during the preparation stage. Occasionally, I hear stories about people who disassemble their motorcycles and can’t put them back together. However, I’ve never heard of a case where a motorcycle was damaged as a result of completing carburetor synchronization.

There was a time when I used to synchronize carburetors without calibrating the needles of my multi-vacuum gauge. I couldn't quite figure out why something felt off. If the needles of the multi-vacuum gauge aren't balanced correctly, it’s impossible to achieve a perfect synchronization. Even so, it never caused my bike to run poorly.

Carburetor synchronization is a relatively easy task. What makes it difficult is that the preparation can be a significant hurdle for beginners. Once you're ready, you can complete the synchronization in your own way. Whether it’s perfect or not, you should be able to finish the job. If you’re not satisfied, you can stop midway without rendering your motorcycle inoperable.

With that in mind, I’ll go over the process in detail. The steps are pretty much the same for carburetors other than the FCR. However, I’ll use the FCR as the basis for my discussion.

So, let’s get started!
What exactly do you do during carburetor synchronization? And what are the benefits?
In a multi-cylinder motorcycle, carburetor synchronization is the process of balancing the intake vacuum strength of each cylinder during idling. This is done using a multi-vacuum gauge to equalize the vacuum pressure. If you're working with an FCR carburetor, you can also manually align the height of the Vacuum Release Plate by sight.

Synchronization affects the consistency of the engine’s idling rhythm, the engine's response when you close the throttle, and the behavior in the low throttle range. If the synchronization is only slightly off, it won’t cause major issues during riding. However, if it’s significantly out of sync, the engine might have poor throttle response when decelerating, which can be very dangerous. You might also notice odd idling behavior, such as a sudden increase in idle speed when the engine gets hot.

When synchronization is done well, you might feel a different, slightly unusual rhythm in the engine's idling. In my case, my CBX1000 always has a distinct pulse when the synchronization is spot on. Sometimes, I choose to settle for a synchronization that’s around 90% perfect rather than 100%, because I tune the carburetors frequently. Achieving that last 10% takes a lot of time, and even if I get the synchronization perfect, I’ll soon be removing the FCR carburetors again. Adjustments to the throttle cable or idle stop screw can quickly throw off the synchronization. I aim for perfection only when I know I won’t be tuning for a while.
What are the disadvantages of having an unsynchronized carburetor?
The engine's deceleration response becomes poor. When riding a motorcycle, poor engine deceleration can be dangerous. If the carburetor synchronization is severely out of alignment, it’s best to take your motorcycle to a shop for an overhaul. It’s unlikely that synchronizing the carburetors yourself would make the bike run extremely poorly. If the performance is still bad, worn-out parts might be the issue.

Synchronization mainly affects the engine at low throttle openings. At higher throttle openings, it doesn't have much impact.
It feels great when the carburetor synchronization is perfect.
What happens when carburetor synchronization is perfect?

"It feels great."

Riding a well-maintained motorcycle is a very satisfying experience. Achieving perfect carburetor synchronization, however, often yields only modest benefits relative to the time invested. A synchronization with slightly lower precision can still provide good results for the time spent.

If you spend a lot of time on perfect synchronization, the cost-effectiveness may not be very high. For motorcycles that rarely require carburetor adjustments, it’s advisable to keep the synchronization perfect on a regular basis. The goal of synchronization is to achieve the best possible alignment you can envision.

Synchronization can be made perfect with enough time, provided there are no other issues such as secondary air leaks from the insulator or poor engine condition. The level of precision deemed "perfect" ultimately depends on the technician.
Tools and Methods Required for Carburetor Synchronization
t varies by type of motorcycle. The service manual also includes the procedures.
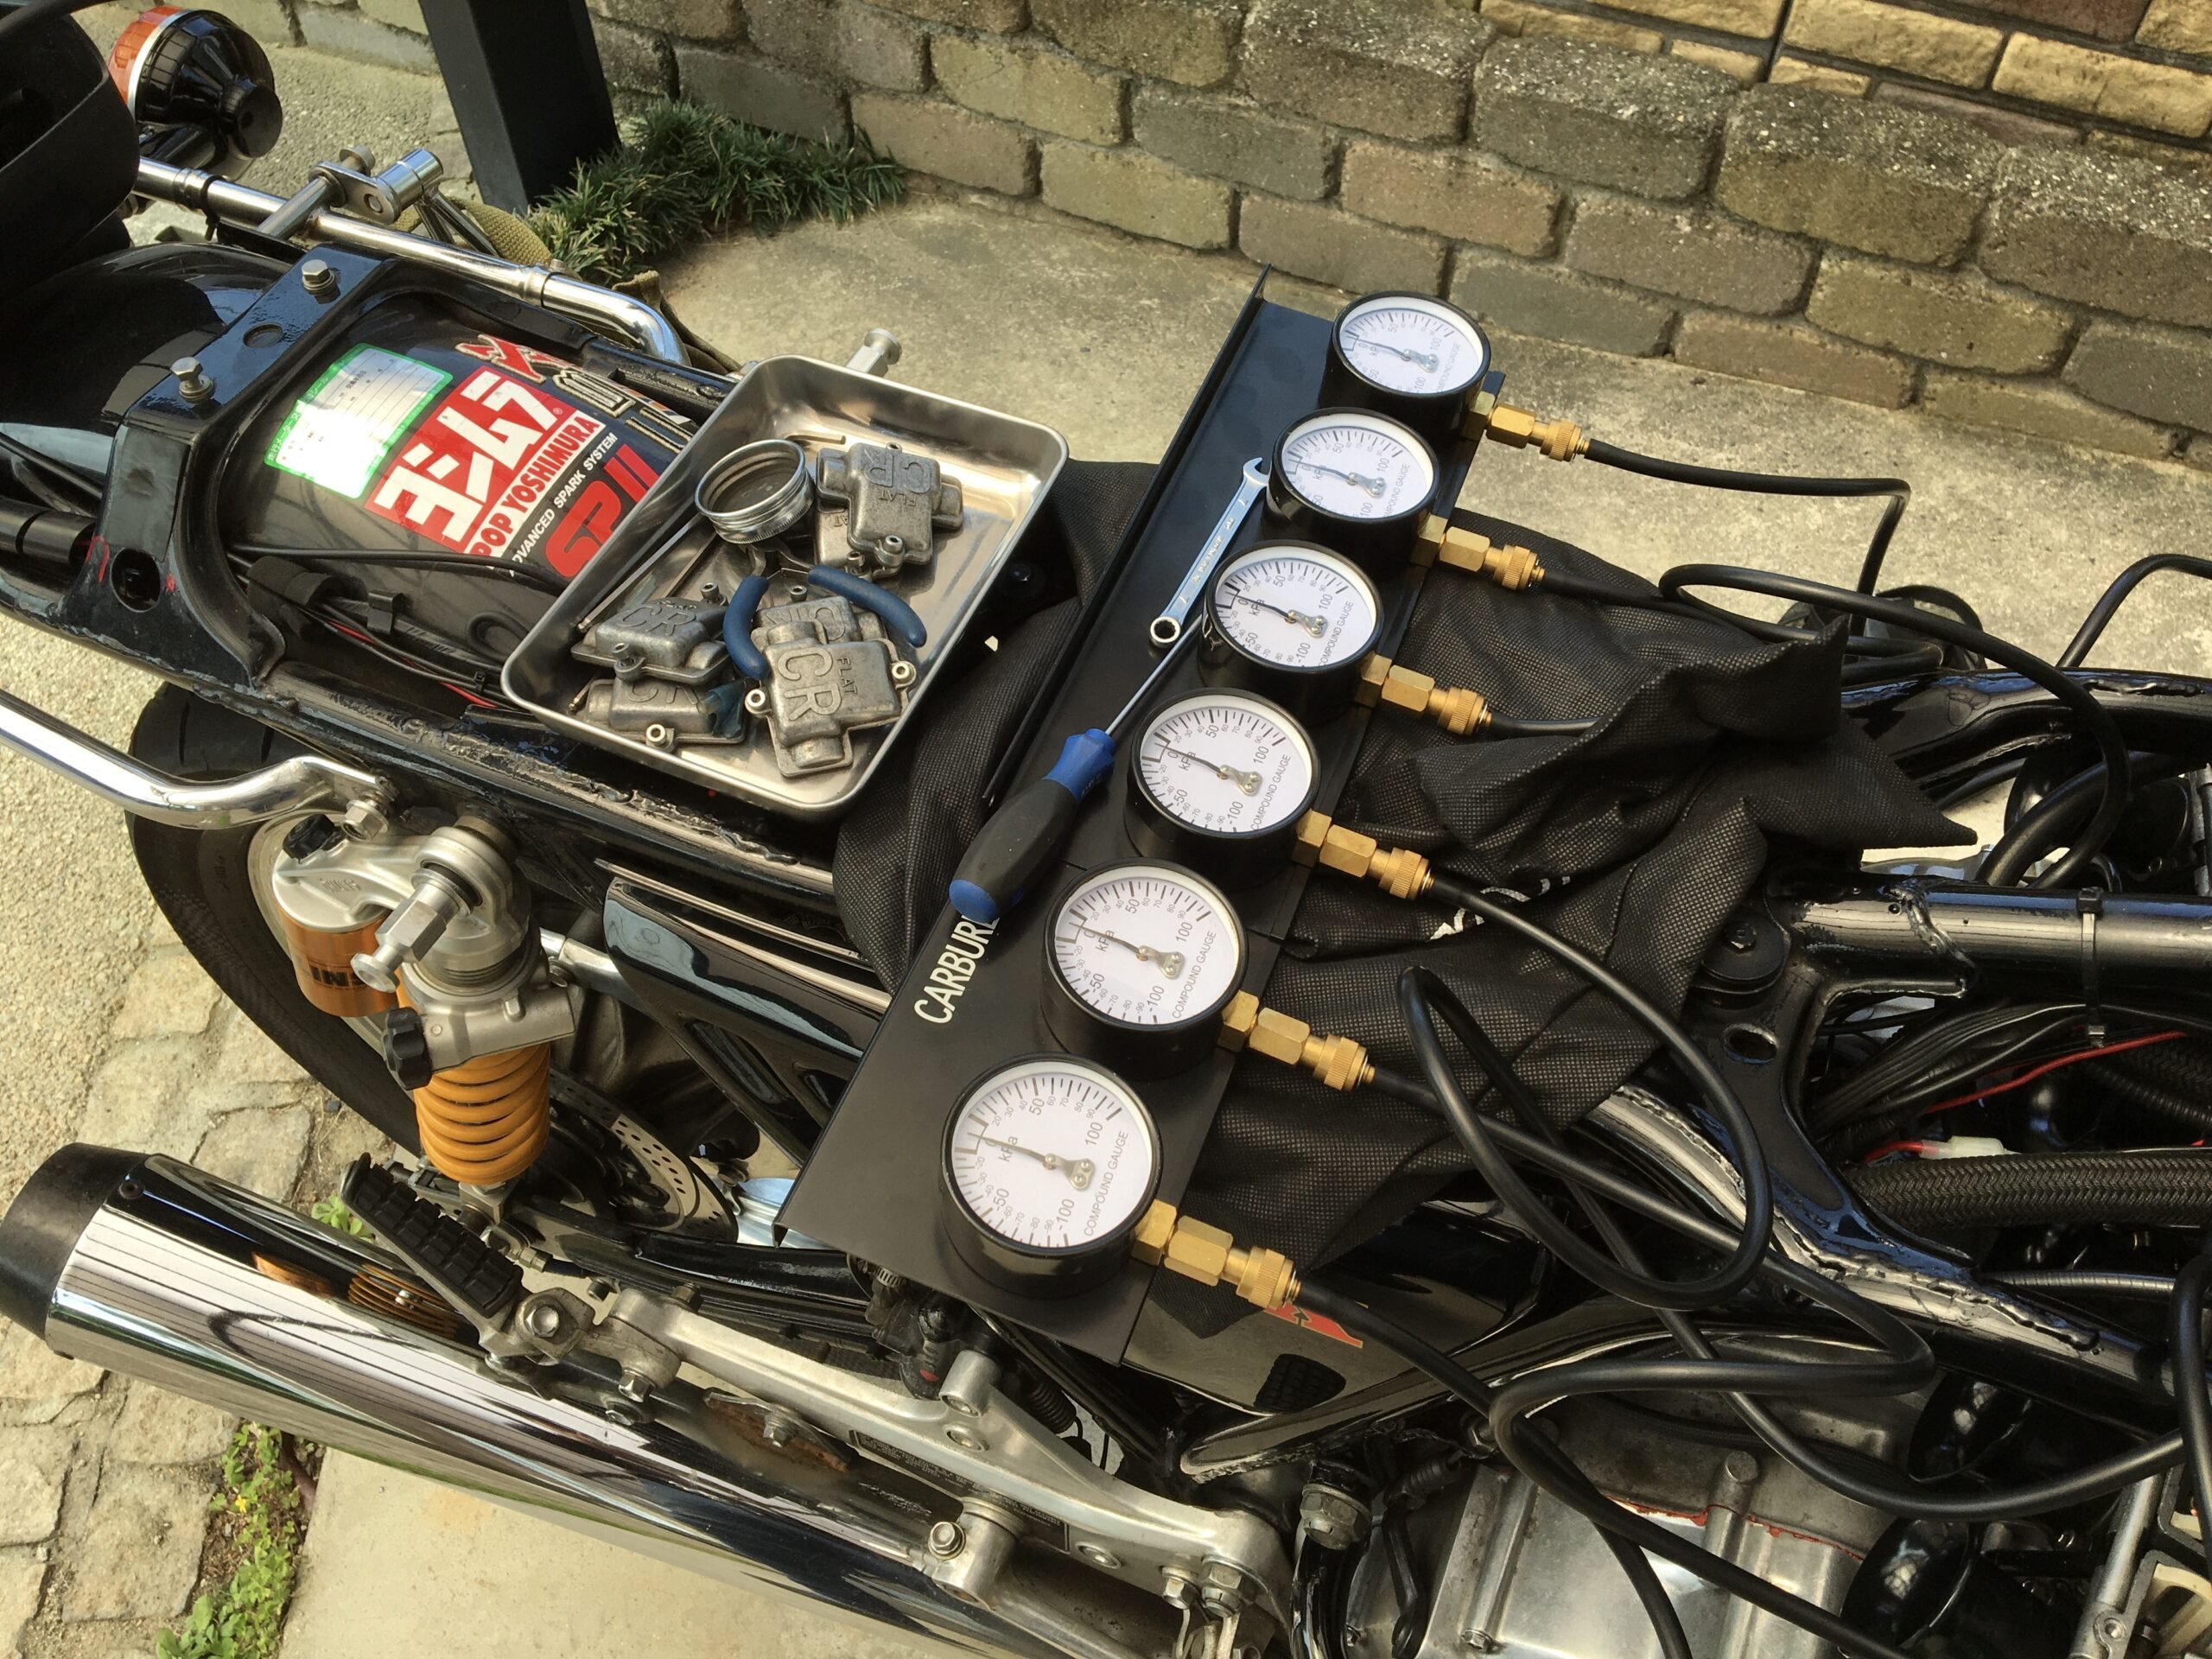
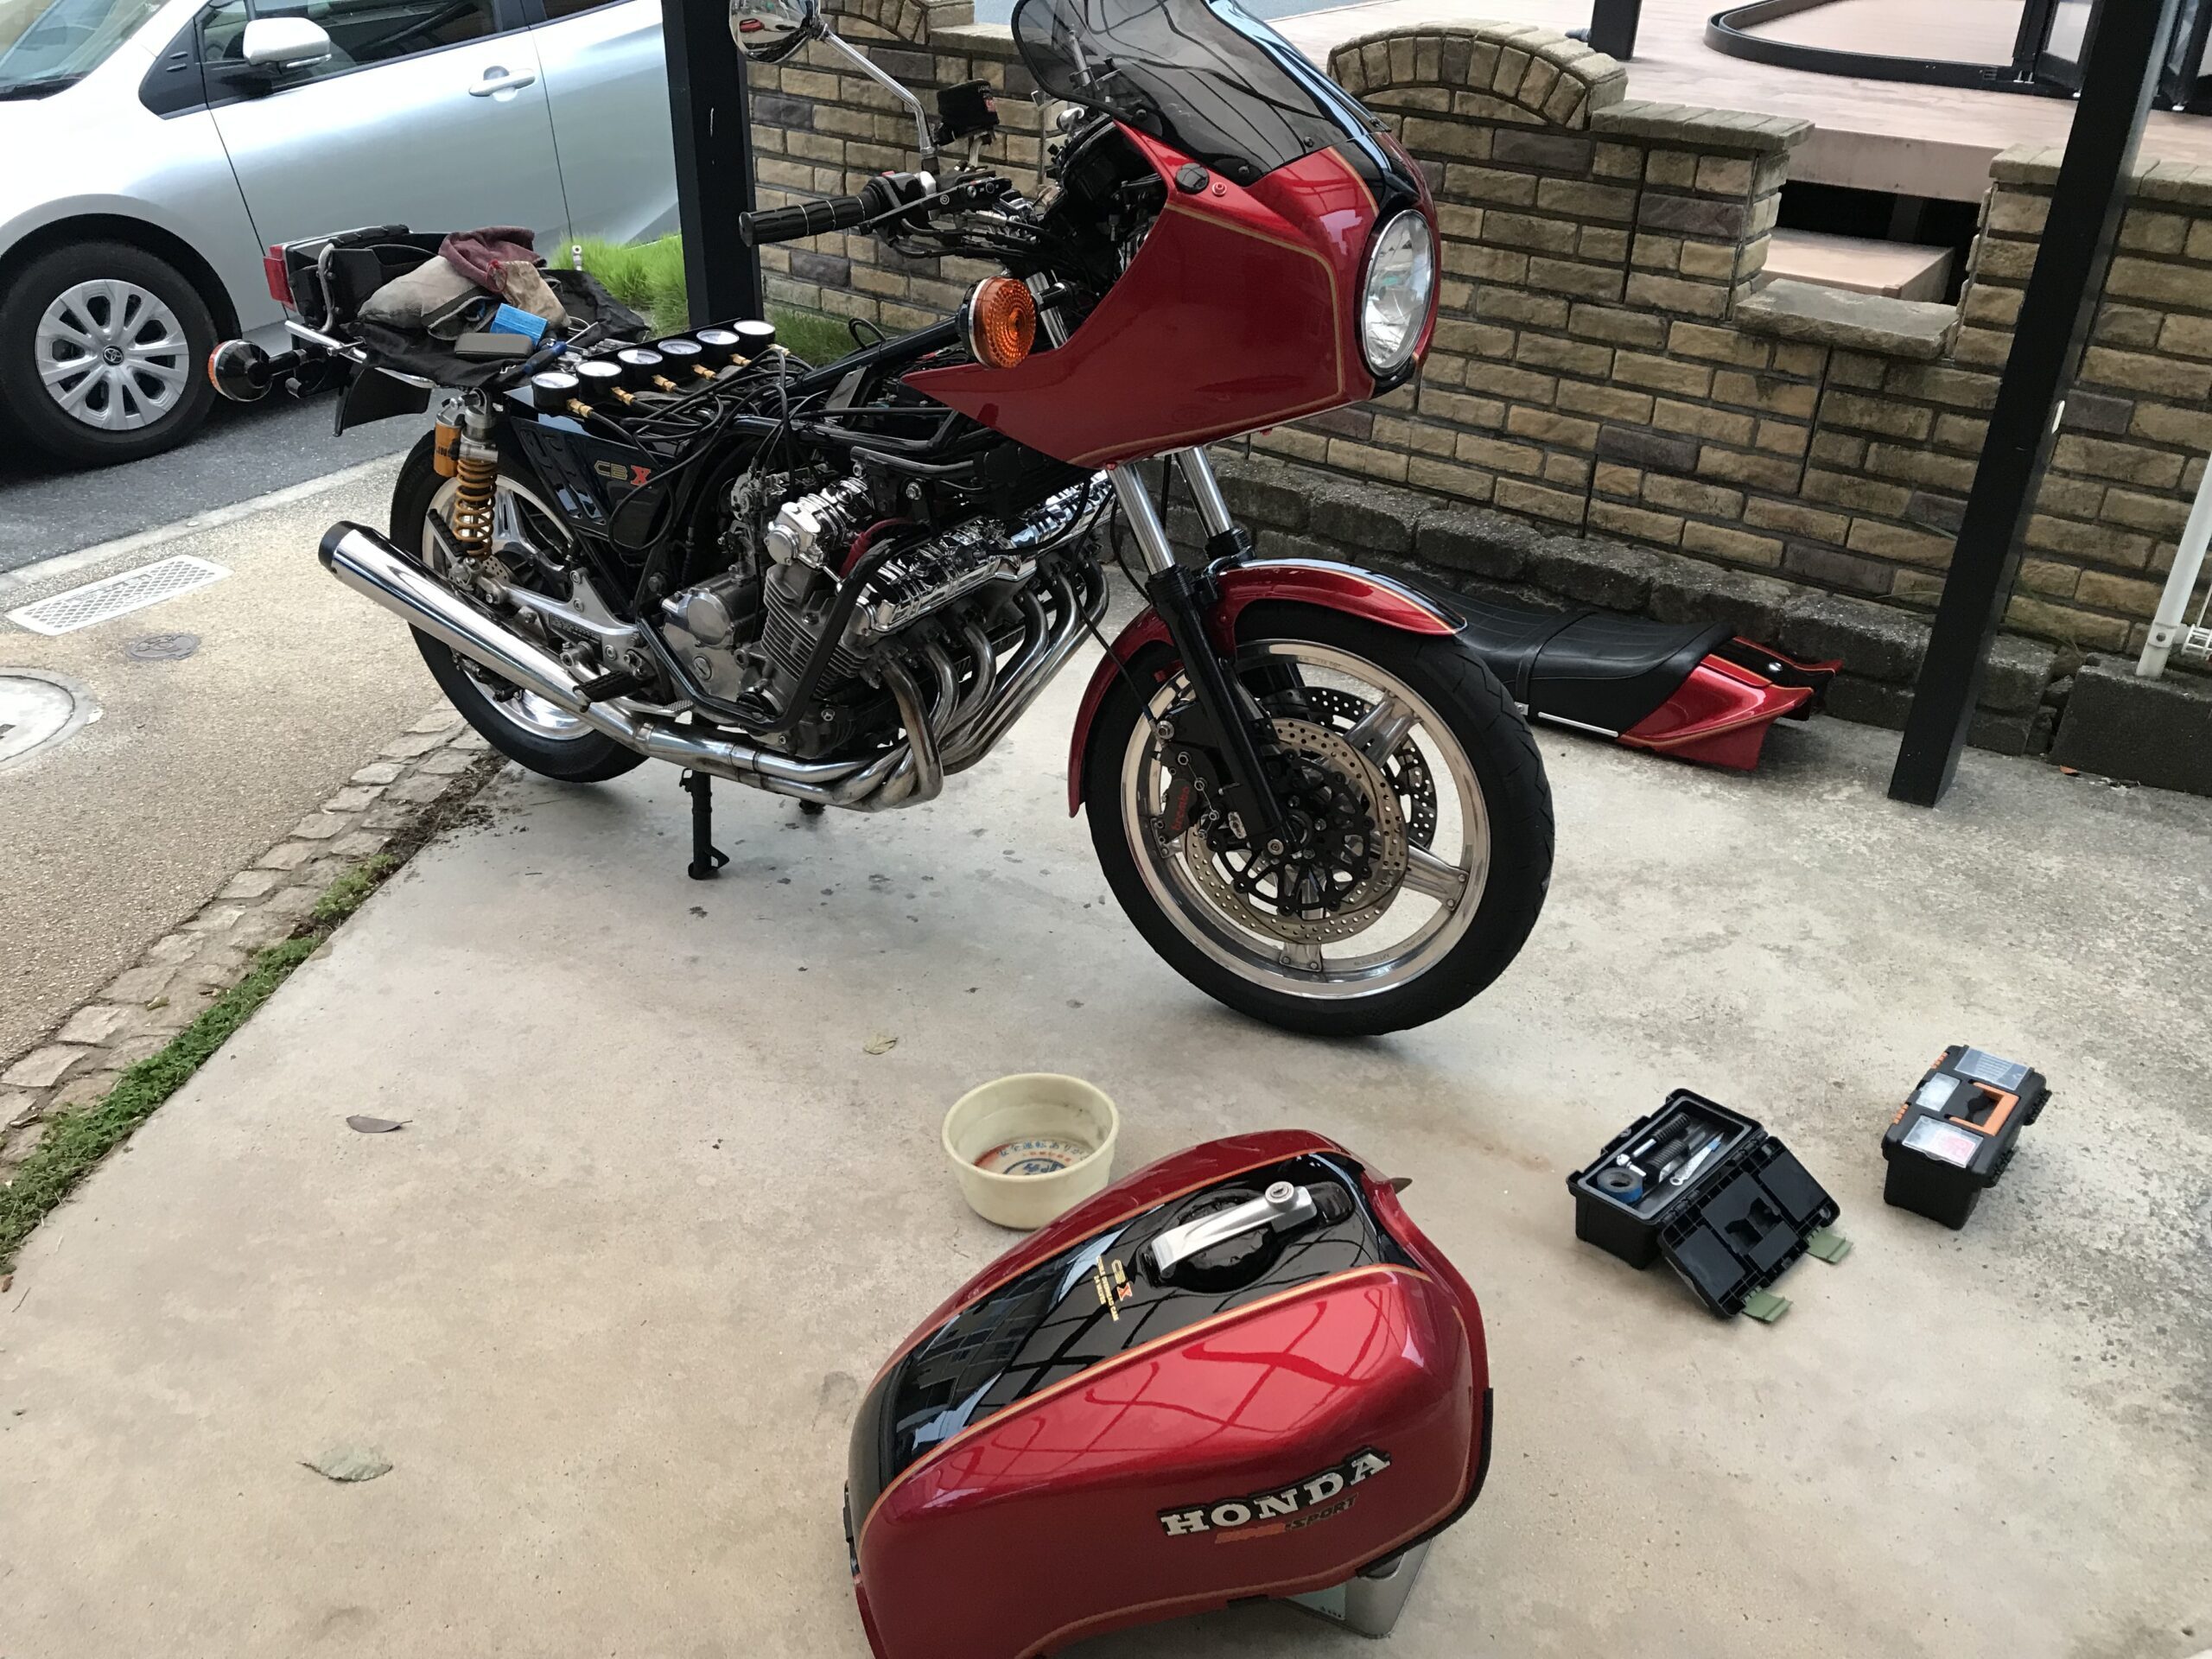
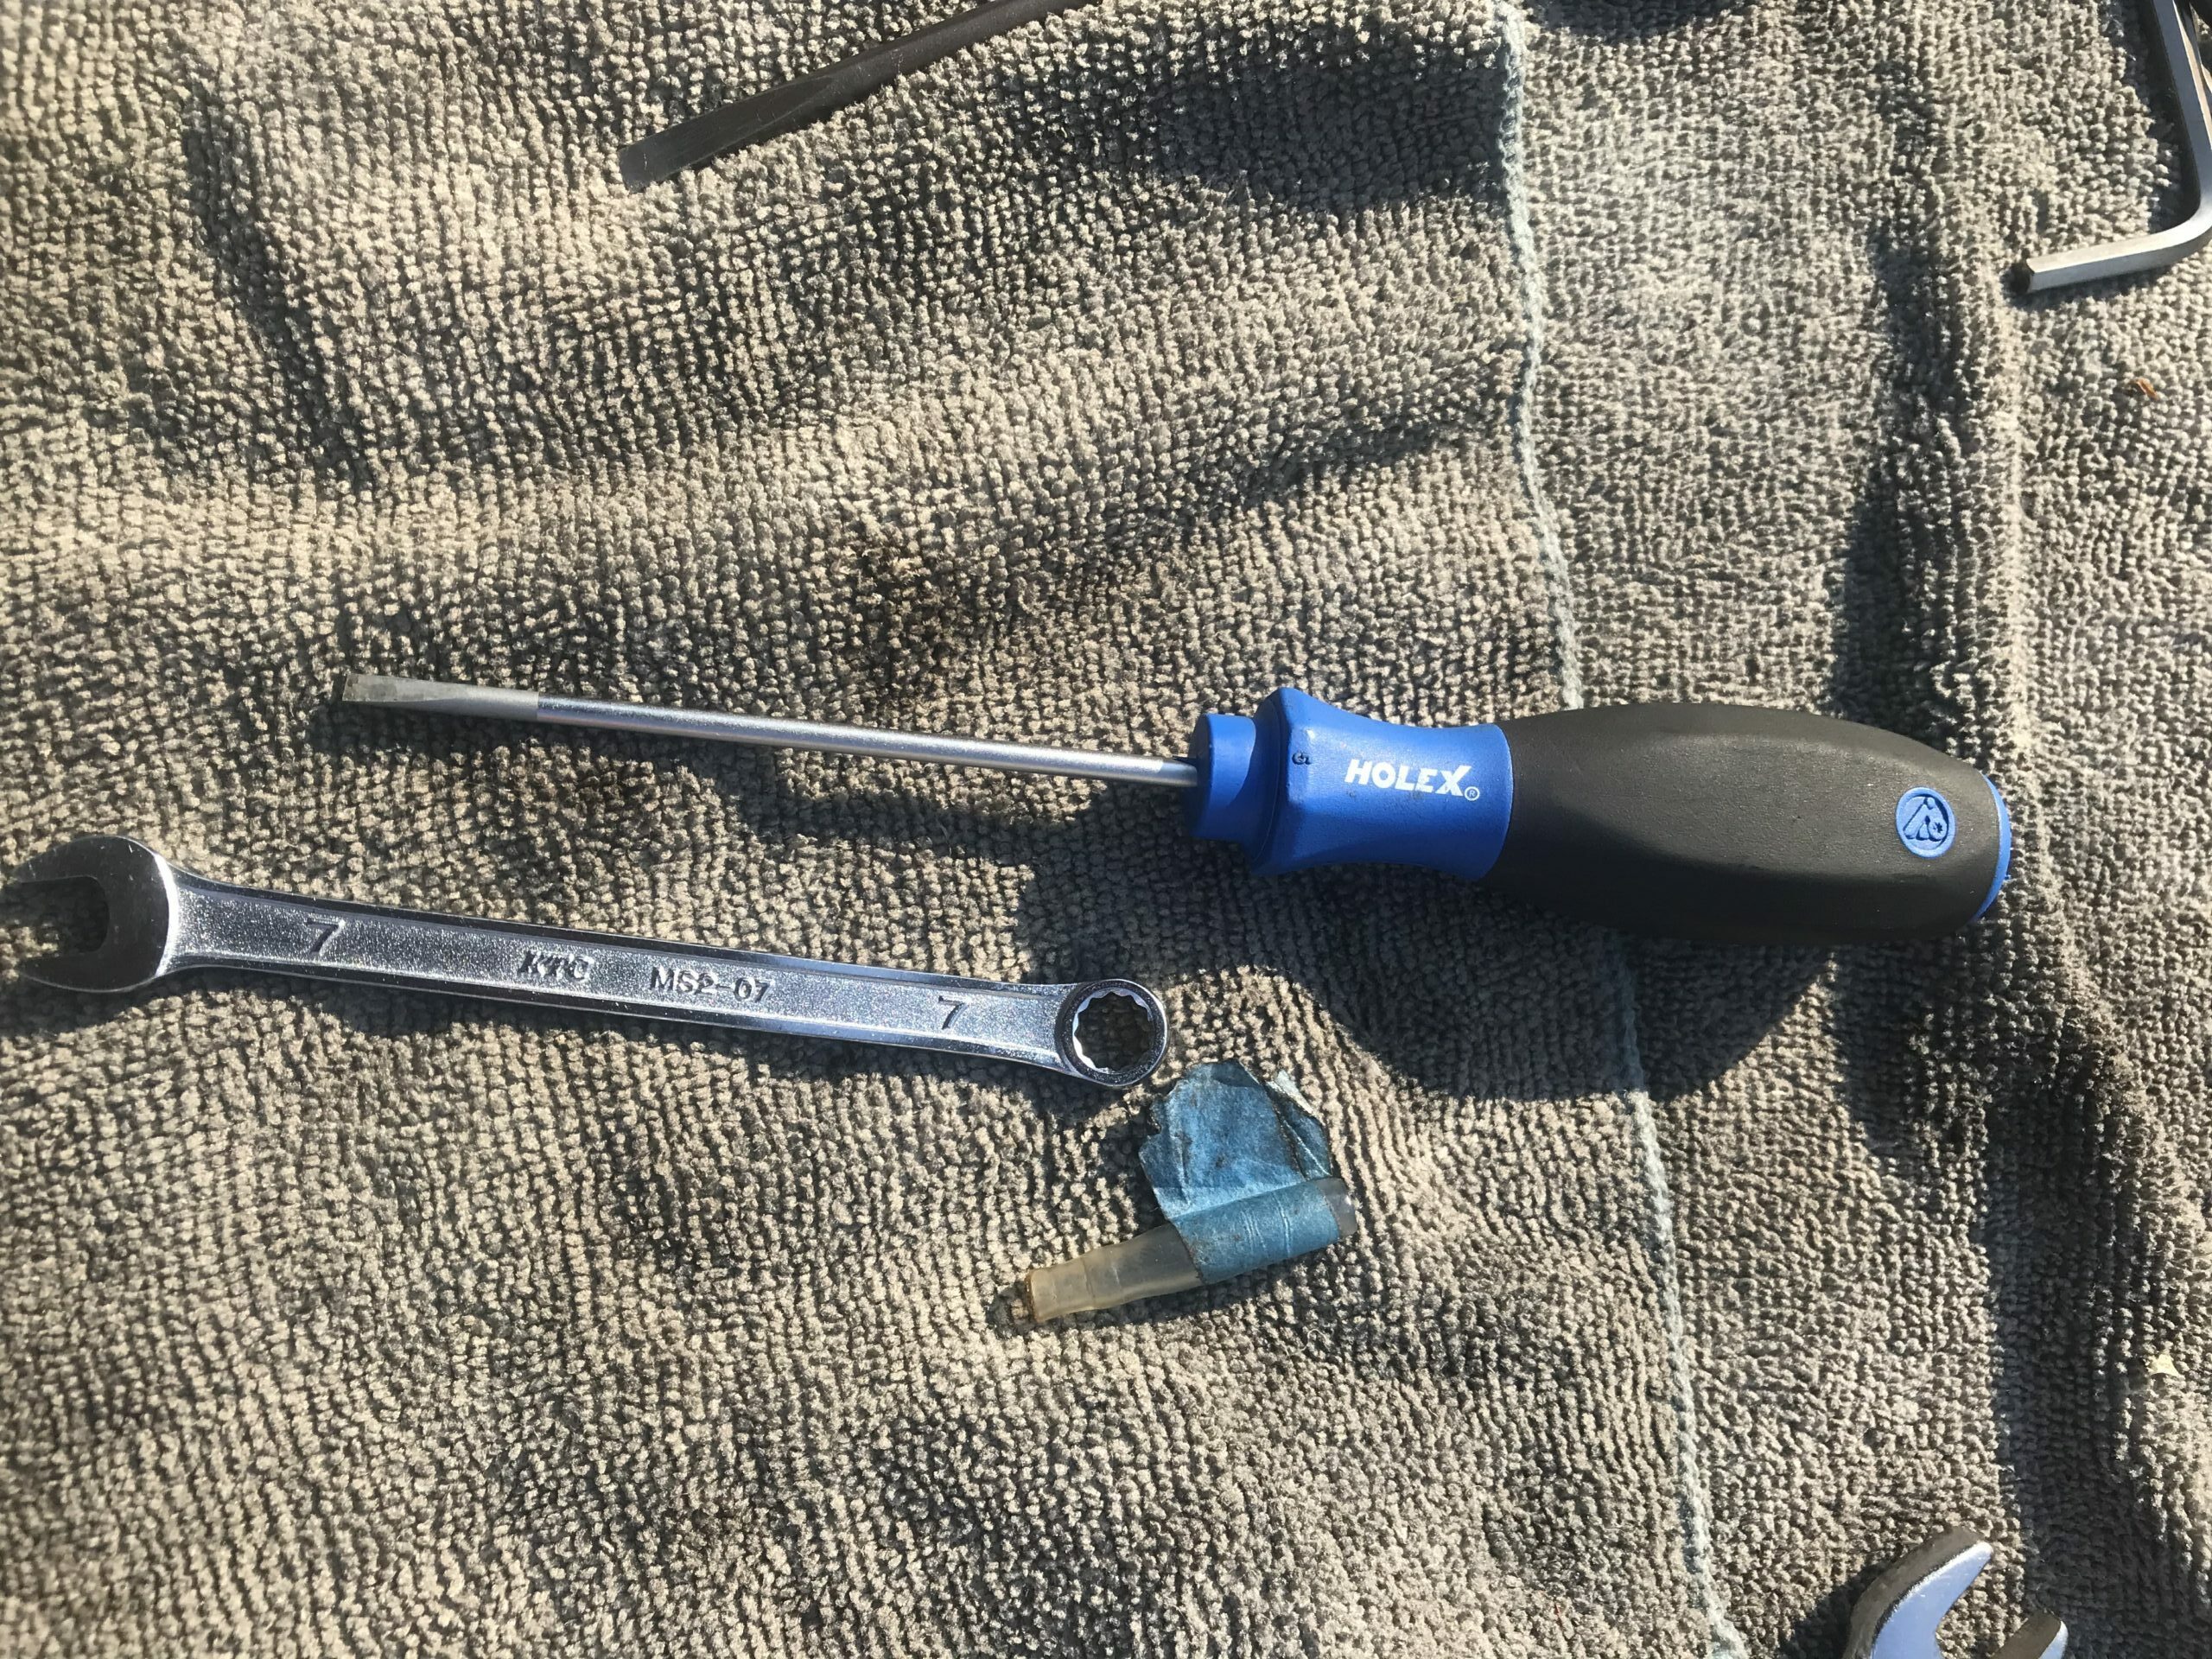
[Procedure] 1. Warm up the engine moderately. 2. Remove the fuel tank to expose the top of the carburetors. 3. Connect the sub-tank, commonly referred to as a drip tank, to the carburetors. 4. Attach the multi-vacuum gauge. 5. Use a fan to cool the engine. 6. Turn the adjustment screws with a screwdriver (for FCR carburetors, a 7mm wrench is needed).
[Required Tools] ・Multi-vacuum gauge (various substitutes are possible) ・Sub-tank ・Basic maintenance tools (no special tools are required)
To briefly explain, once you reach step 6, the rest of the procedure is relatively simple. A fan in step 5 should be prepared if you anticipate that the work will take a long time. Prolonged high temperatures can damage the engine oil.
For Beginners with FCR – The procedure for synchronization is described in the tuning manual. In some cases, extracting vacuum can be challenging.
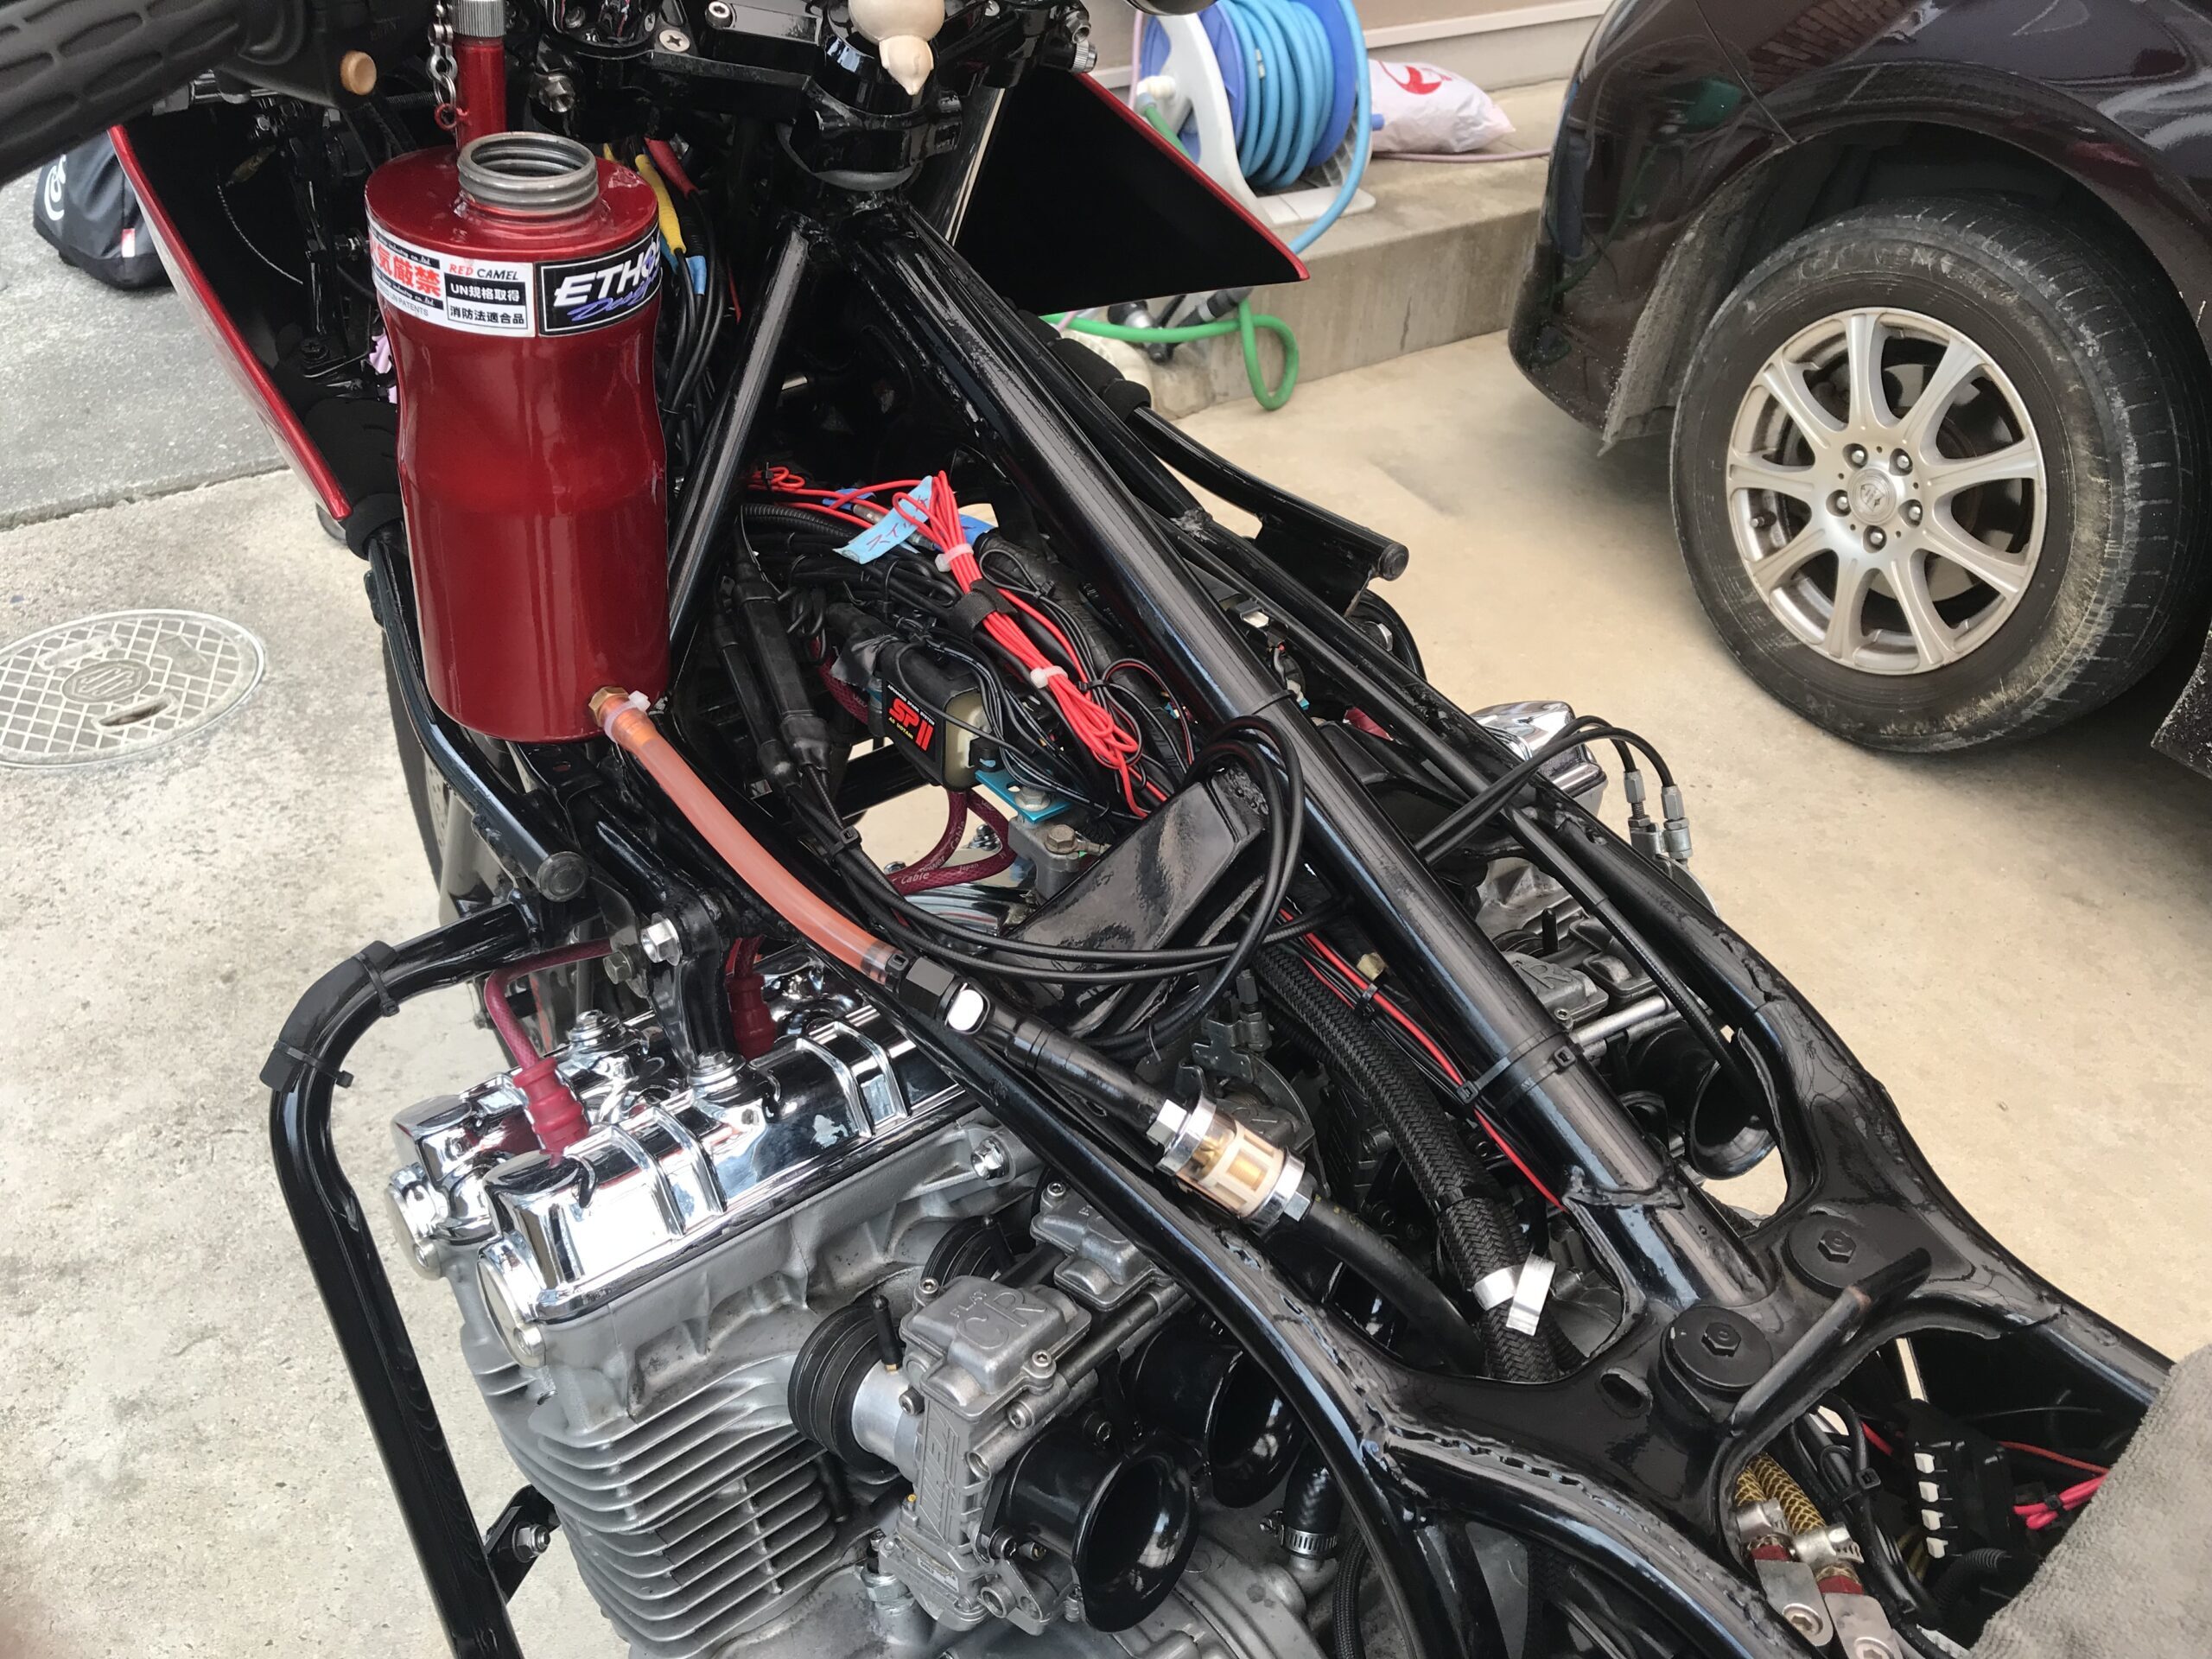
FCR carburetors come with a vacuum nipple only on the reference carburetor by default. In models like the CB-F series, you can extract vacuum directly from the cylinder head, so you can handle it as is.
For the CBX1000, however, if you are using FCR carburetors, you will need to modify them to extract vacuum. In my CBX1000, I modified the intake manifold to add a vacuum extraction nipple.
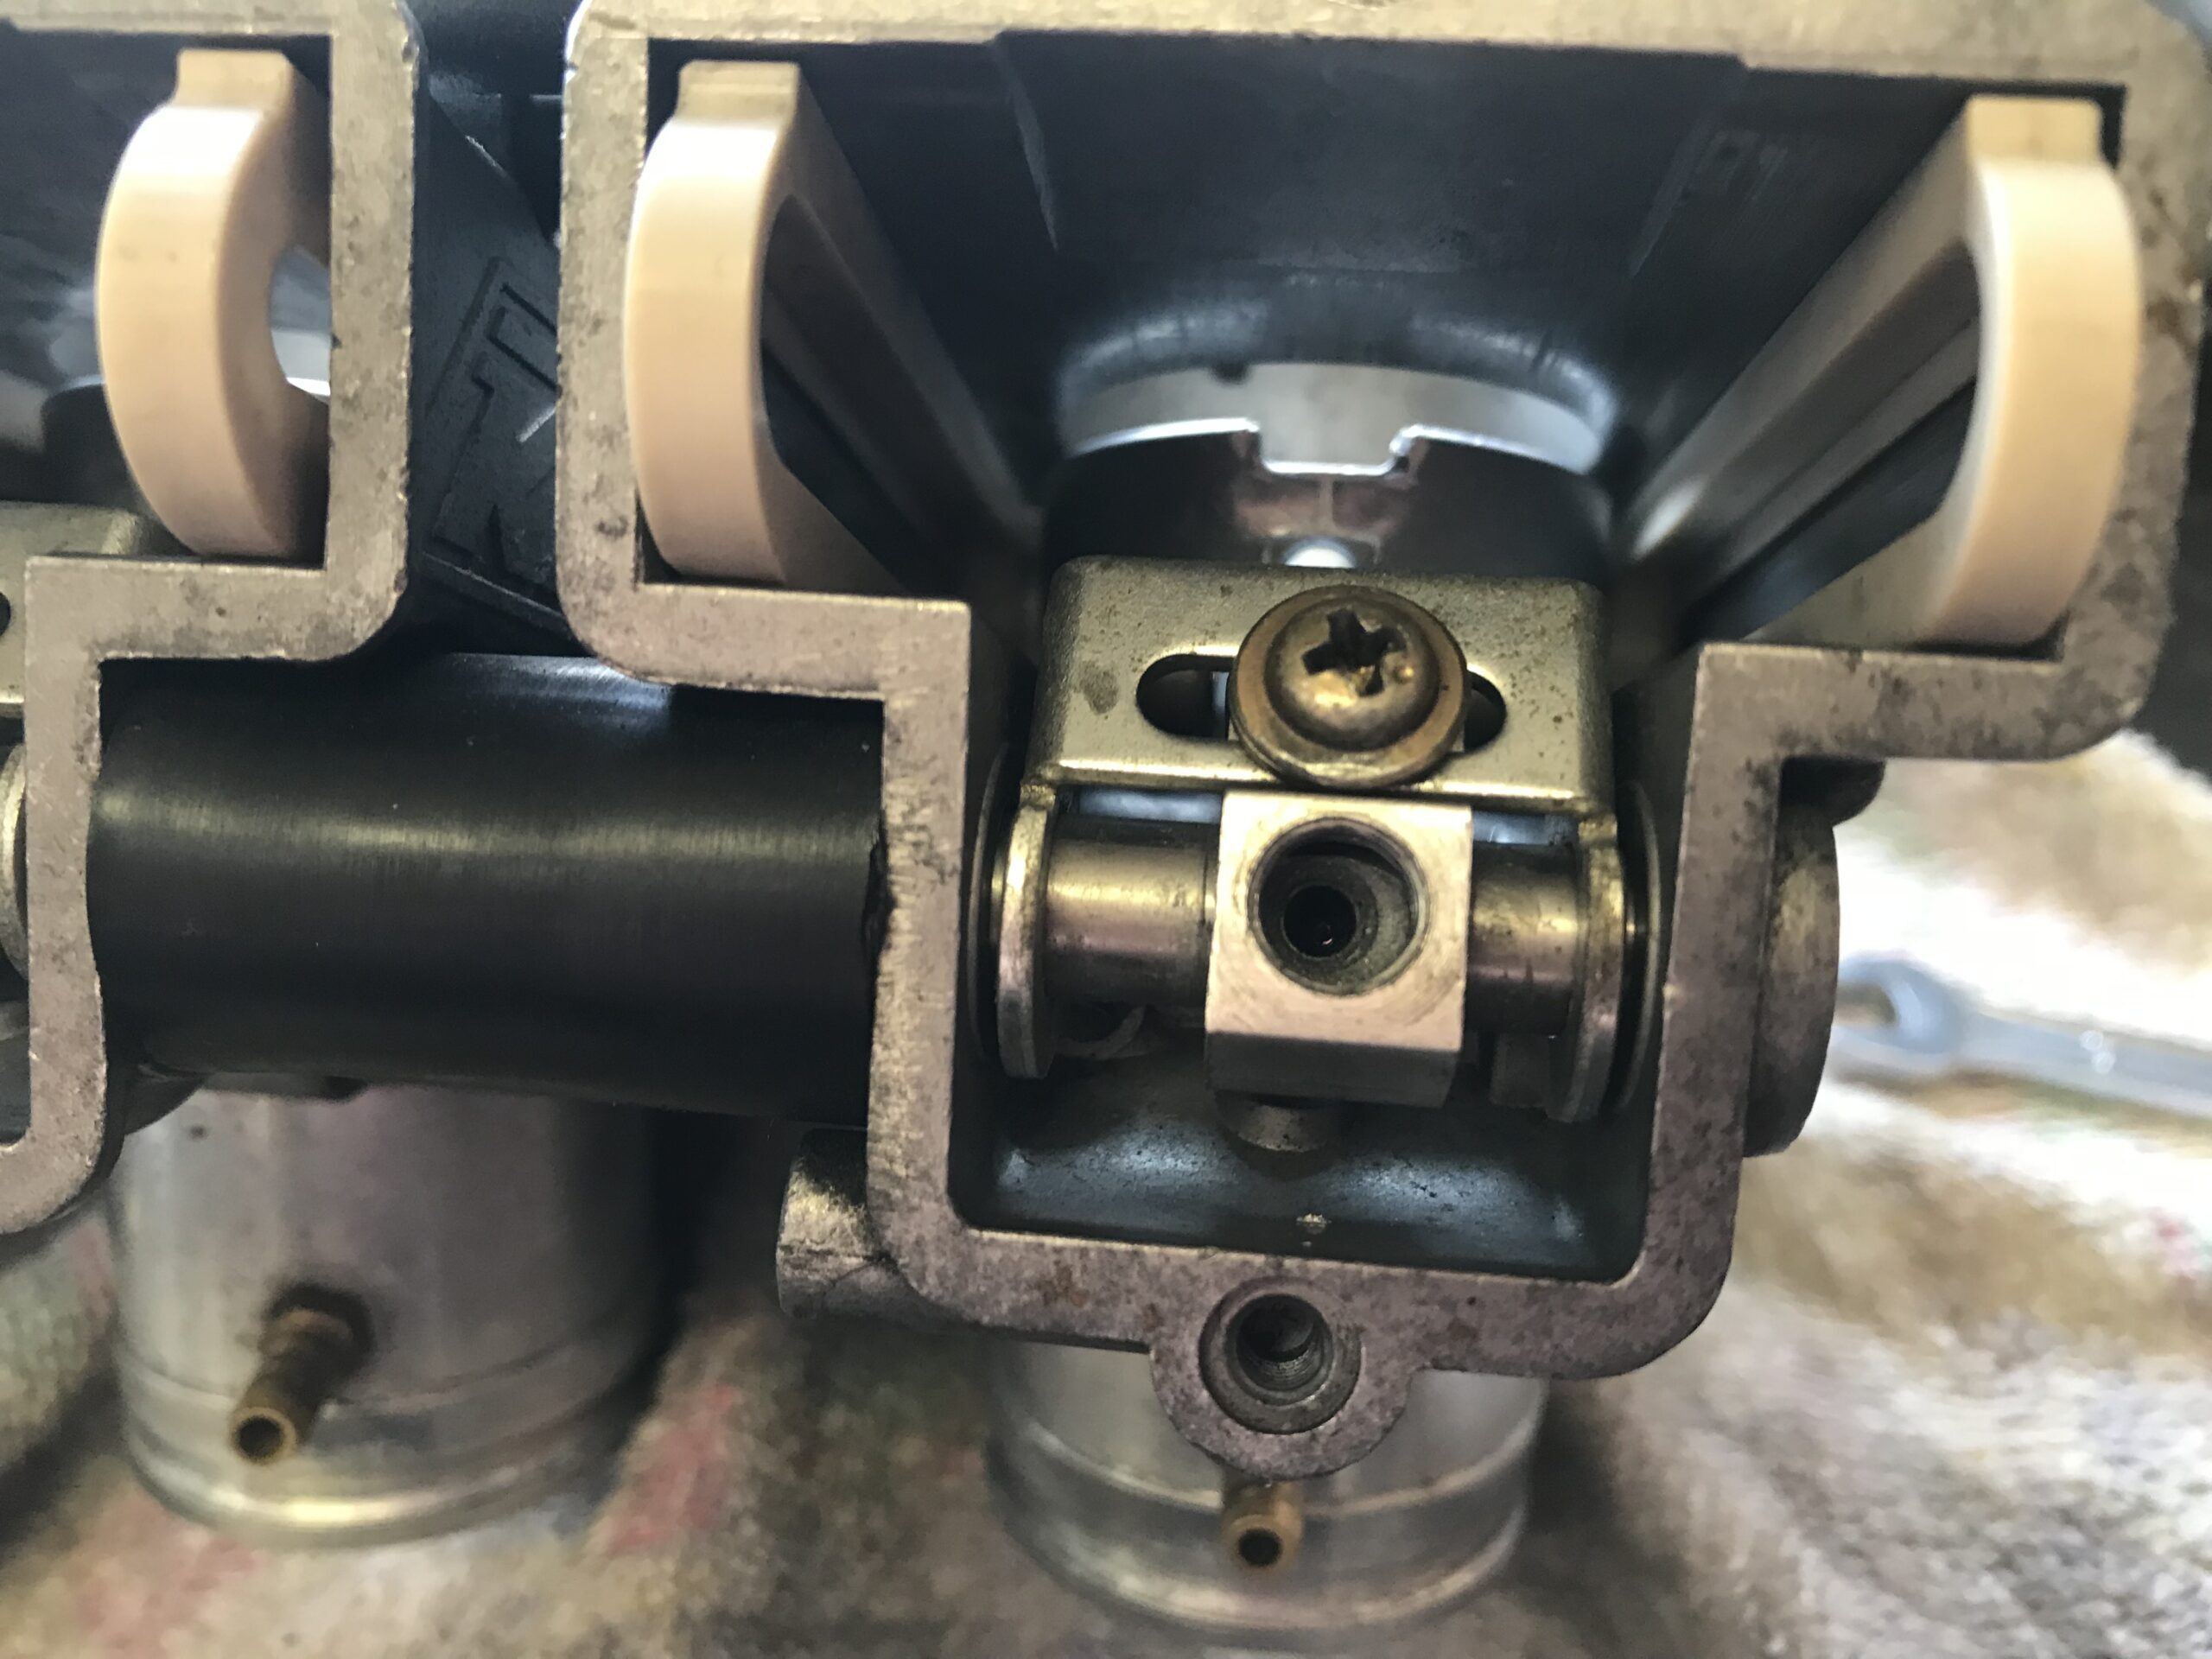
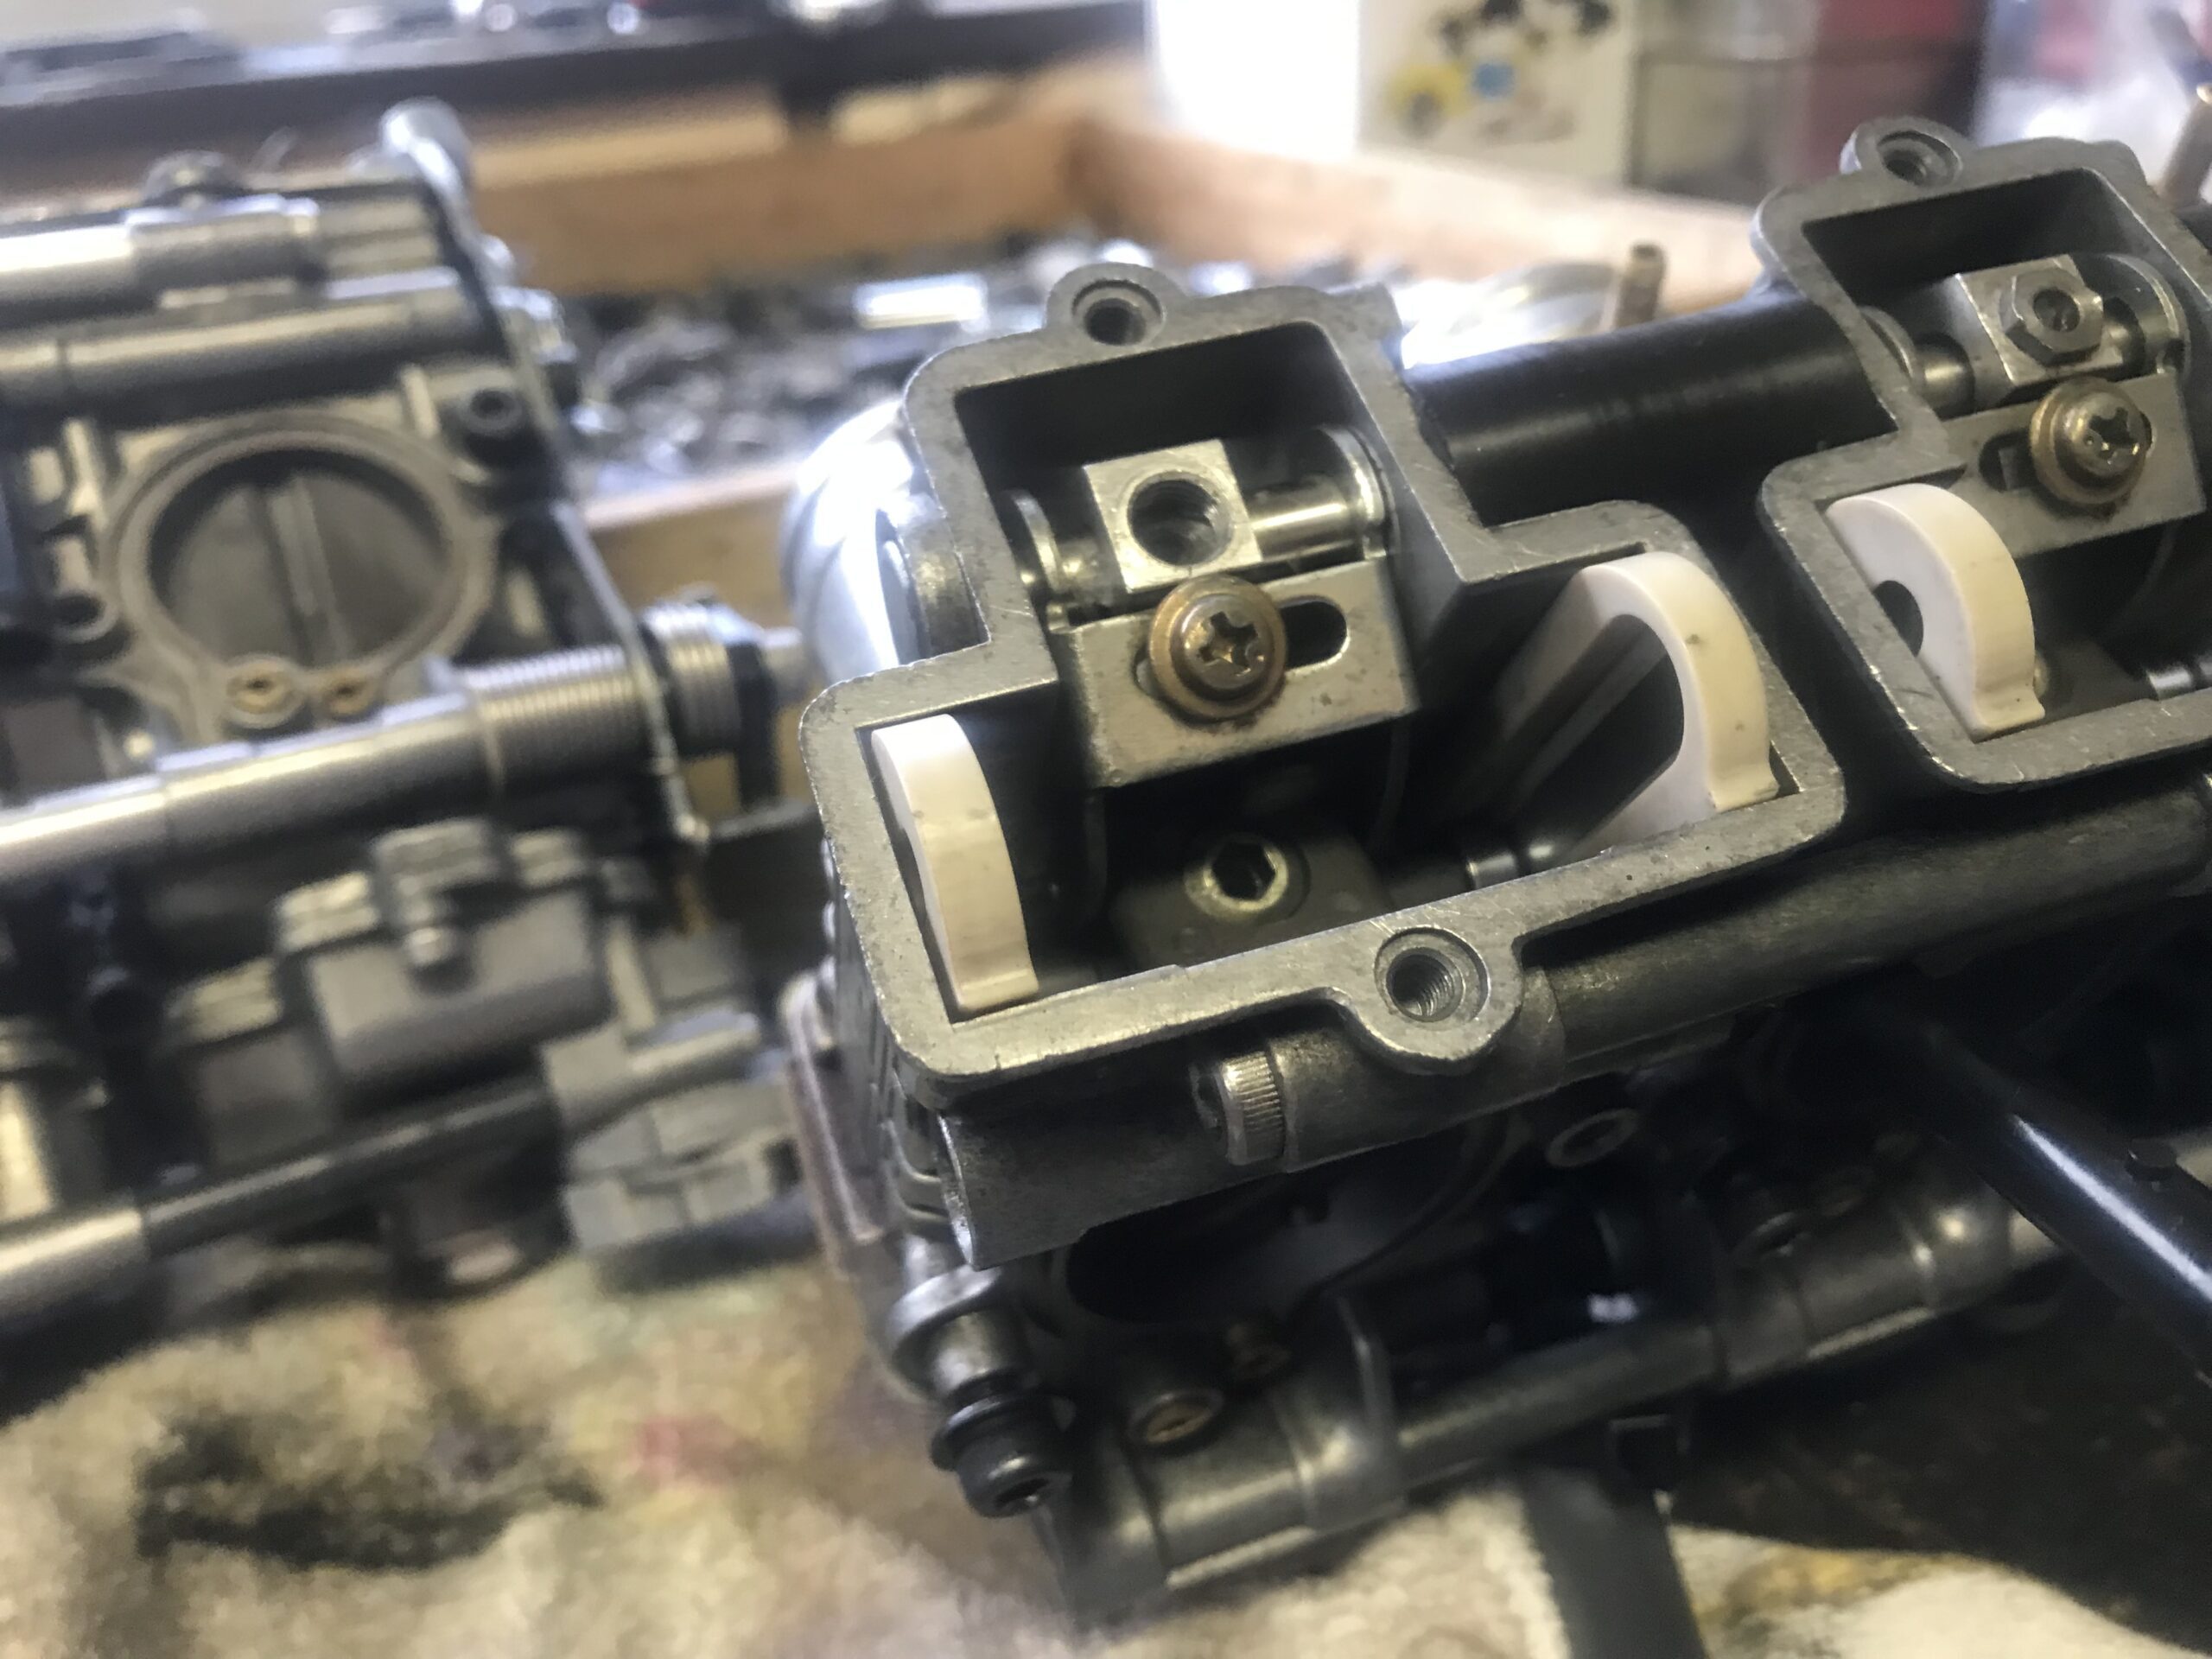
Getting to the starting line can be a bit cumbersome. The actual work involves adjusting two screws: the synchronization nut and the synchronization screw. Once you get the hang of it, it’s not a big deal. If things don’t go well, start over from the beginning.
Begin by ensuring that the throttle valve heights are evenly adjusted using visual inspection or a ruler. You should find that the task is easier than you initially expected.
For multi-cylinder engines like the CBX1000, changing the vacuum on just one cylinder will slightly affect the vacuum on the other cylinders as well.
Carburetor synchronization is not the kind of maintenance where you can fail – the challenging part is the preparation.【summary】
The most challenging part of carburetor synchronization is the preparation process. The synchronization work itself can be managed with effort.

Synchronization work includes both preparation and the actual task. However, the preparation can be quite demanding. It’s not a flashy job that you see frequently, and it can be difficult to visualize the specifics of the work. If you’re tuning FCR carburetors on your own, it’s a task worth taking on.

For those beginners reading this blog post, I encourage you to give it a try someday.

See you again!
FCR Synchronization Work Photo Gallery
I have written extensively about synchronization in past articles as well. Please search the site for more information.
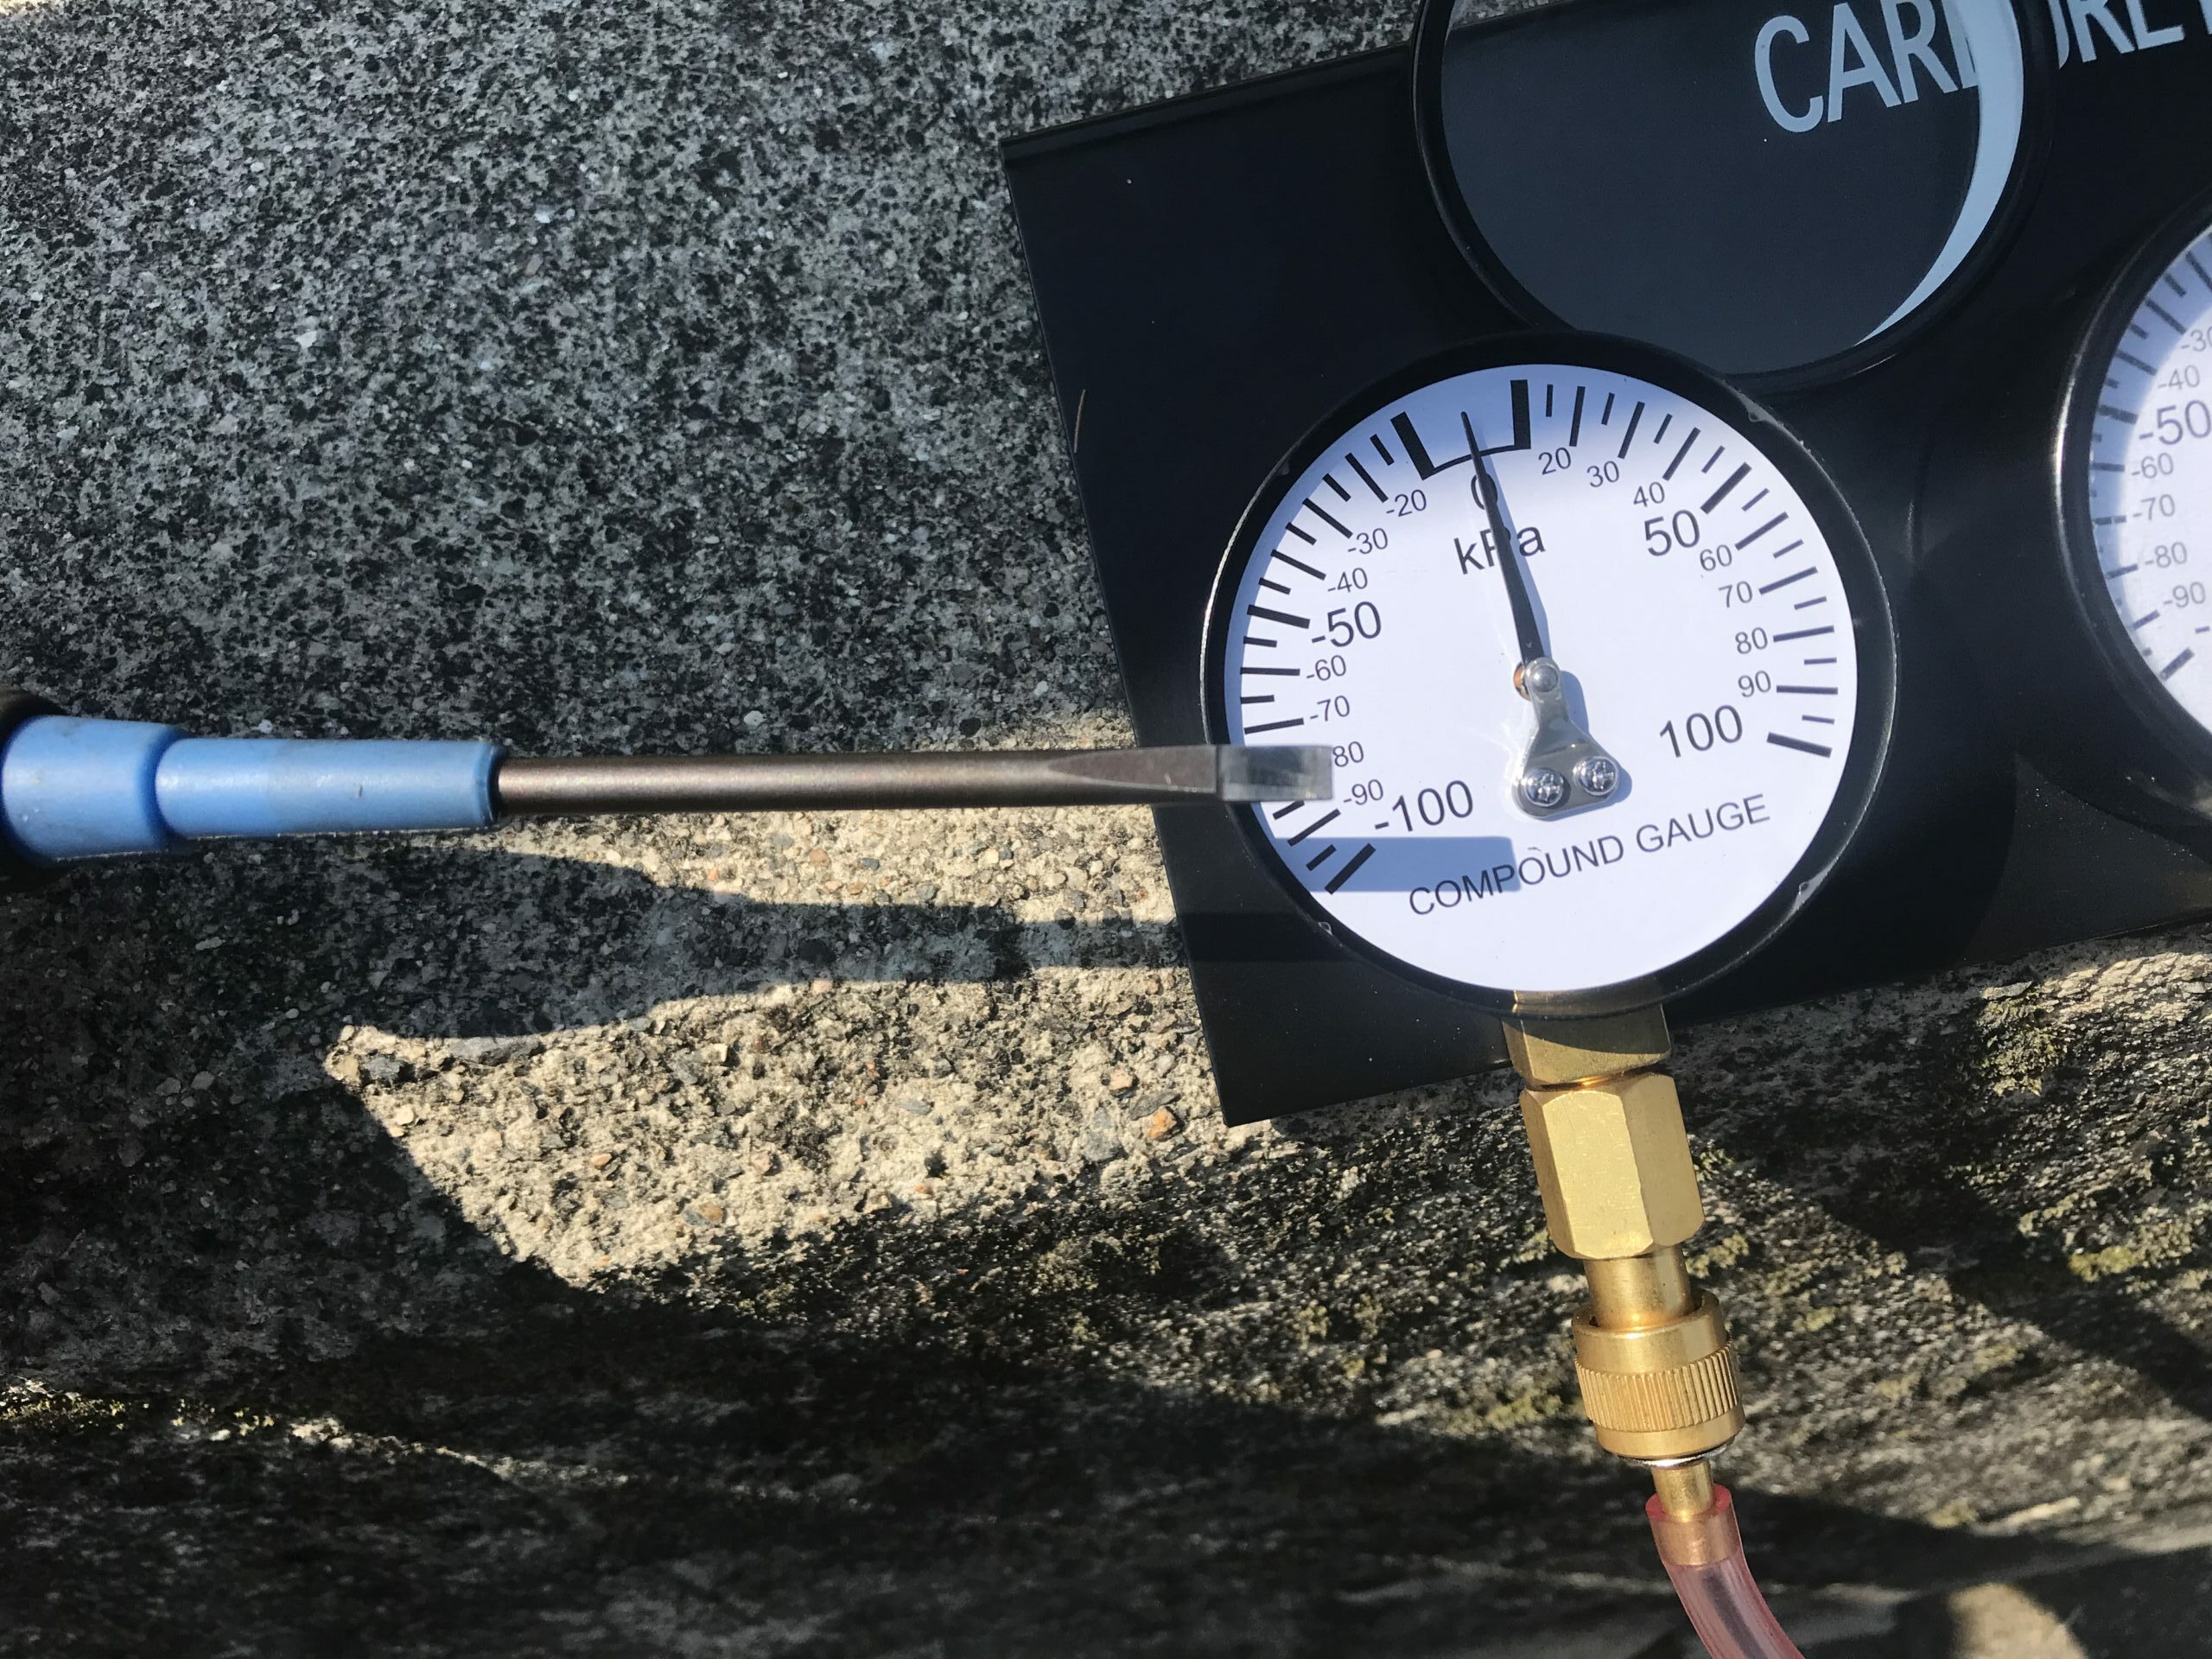
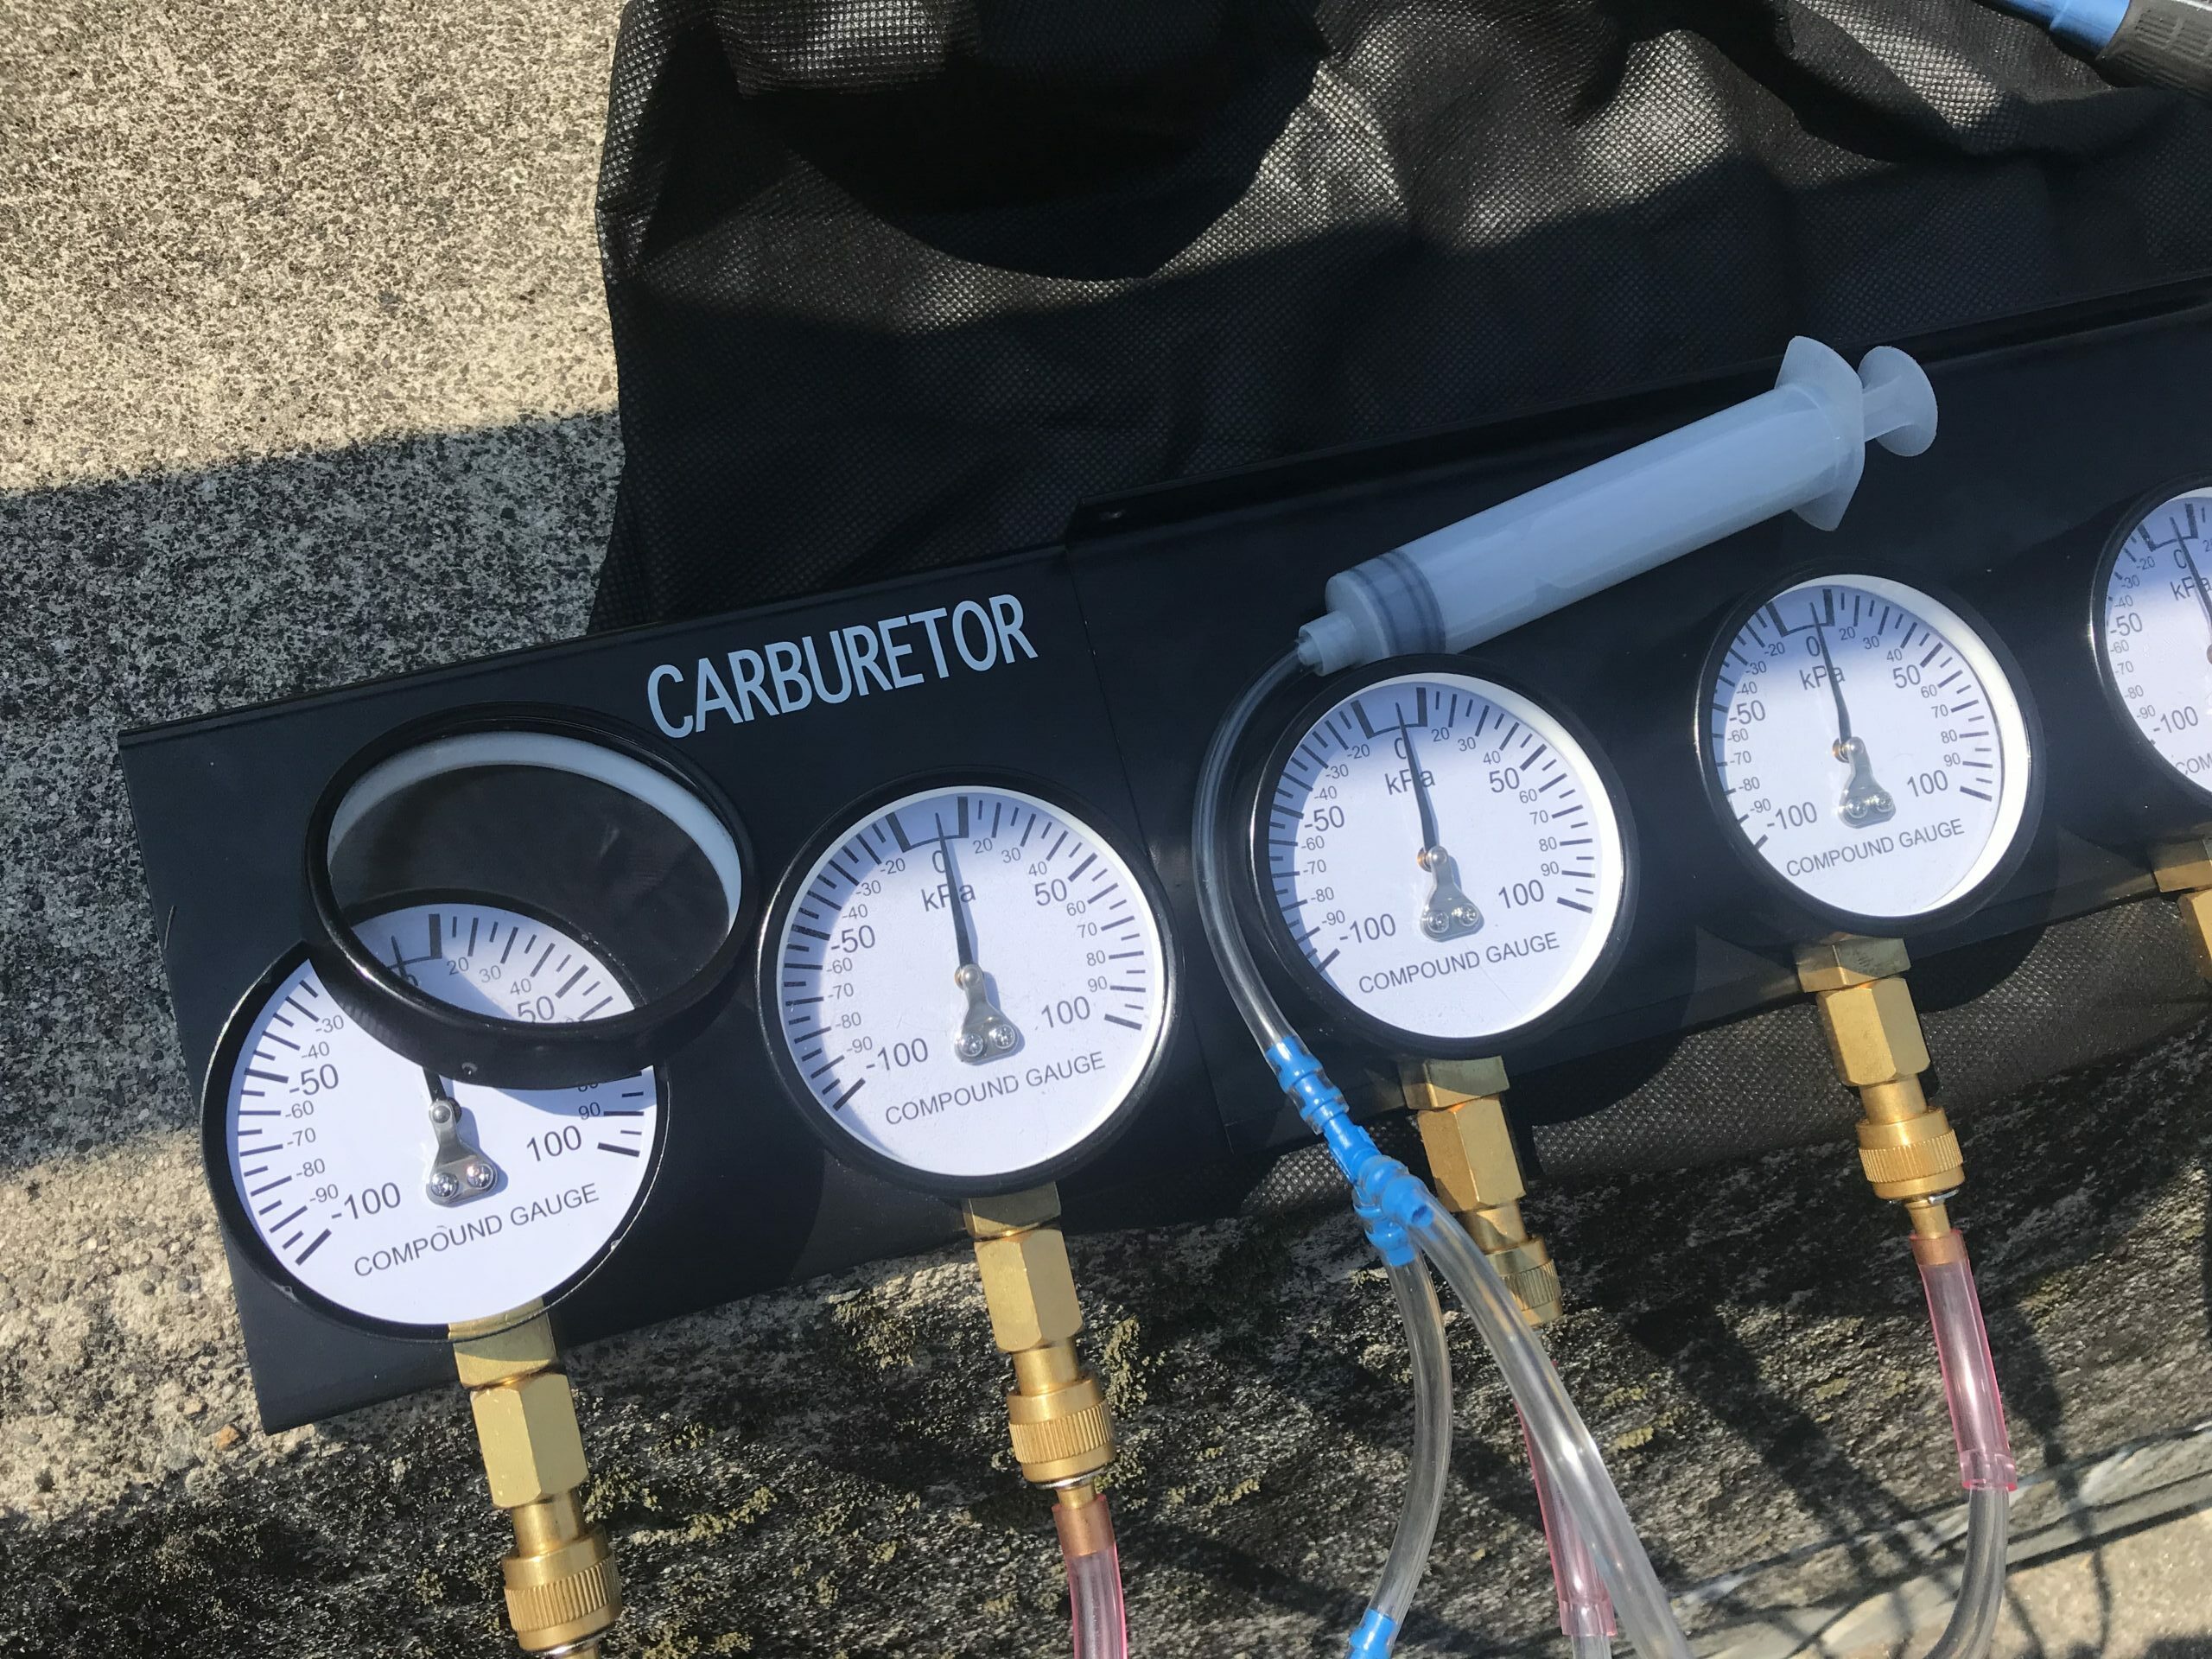
HONDA CBX1000-FCR SynchronizationRemove the FCR synchronization nut and synchronization screwRemove the CBX1000-FCR sync screws and sync nutsHONDA CBX1000-synchronization workHONDA CBX1000-FCR SynchronizationTo calibrate the vacuum gauge, press the rotating shaft of the needle.Vacuum gauge calibration syringeFor FCR tuning screwCBX1000 – FCR Carburetor synchronization