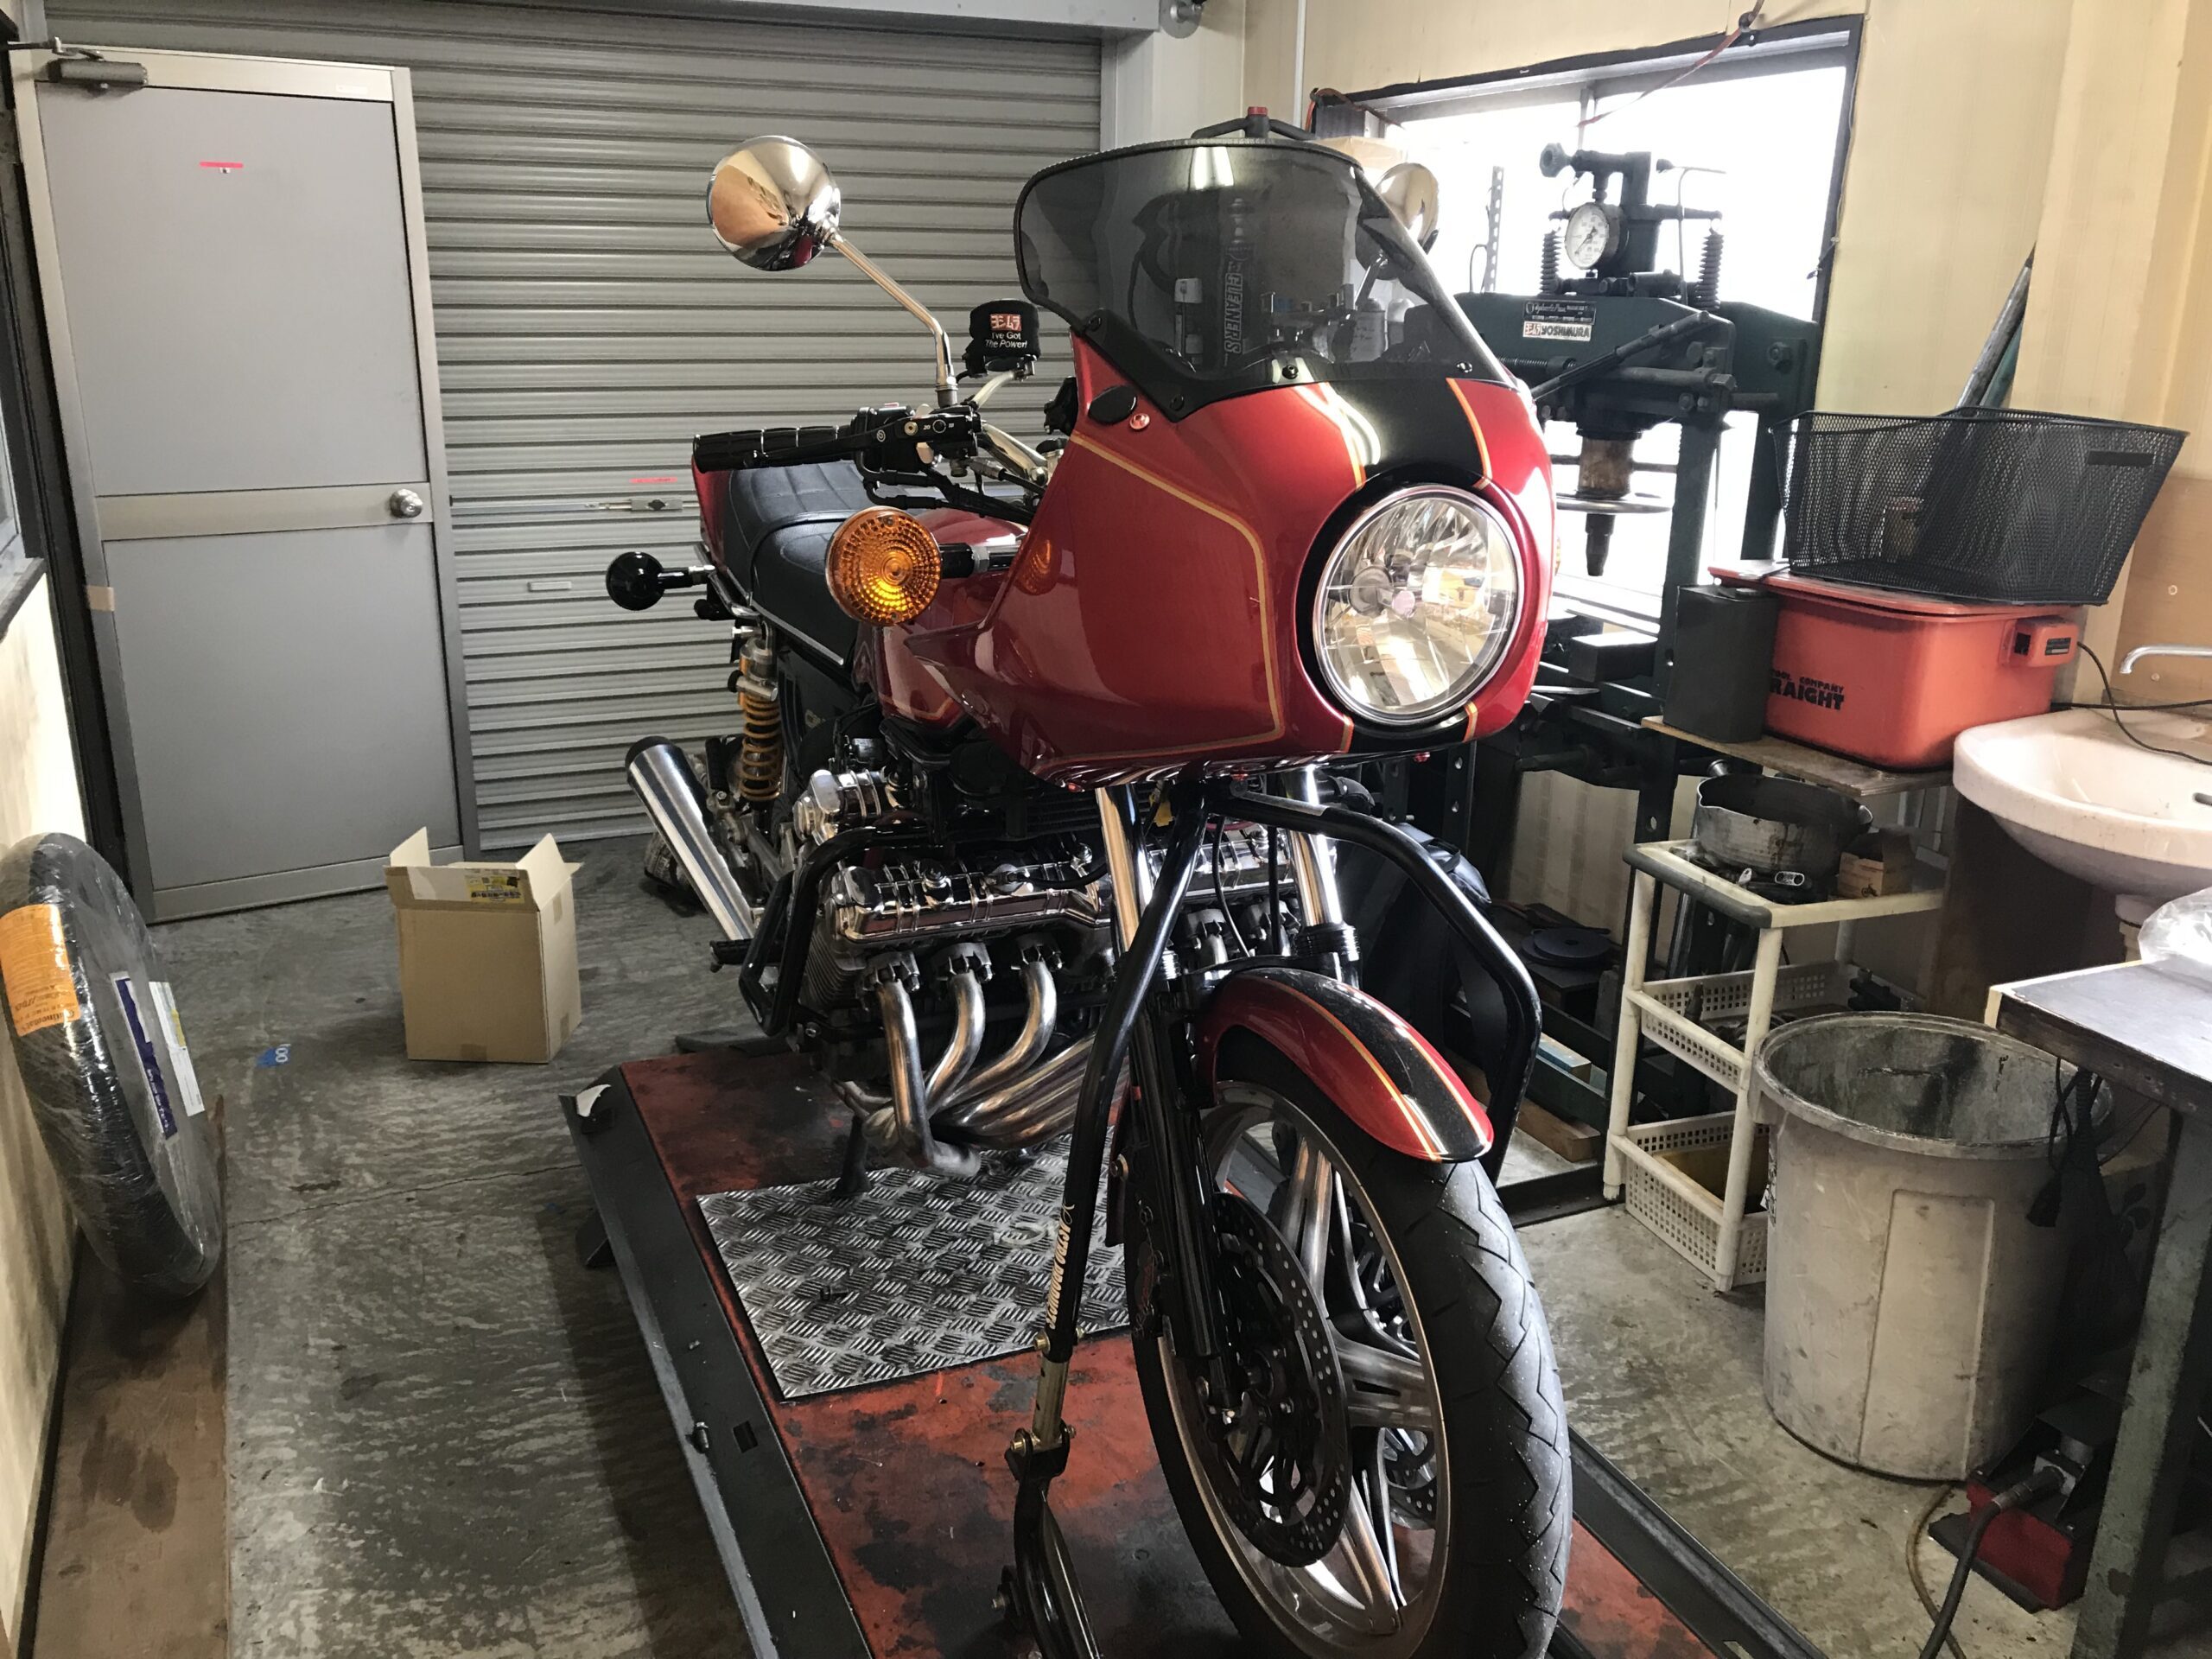
I am the owner of a Honda motorcycle [CBX1000] who lives in Hiroshima City, Japan. I am posting about FCR carburetor and CBX1000 customization. I also post about things other than cars and motorcycles. We will post information that will make bikers around the world happy.
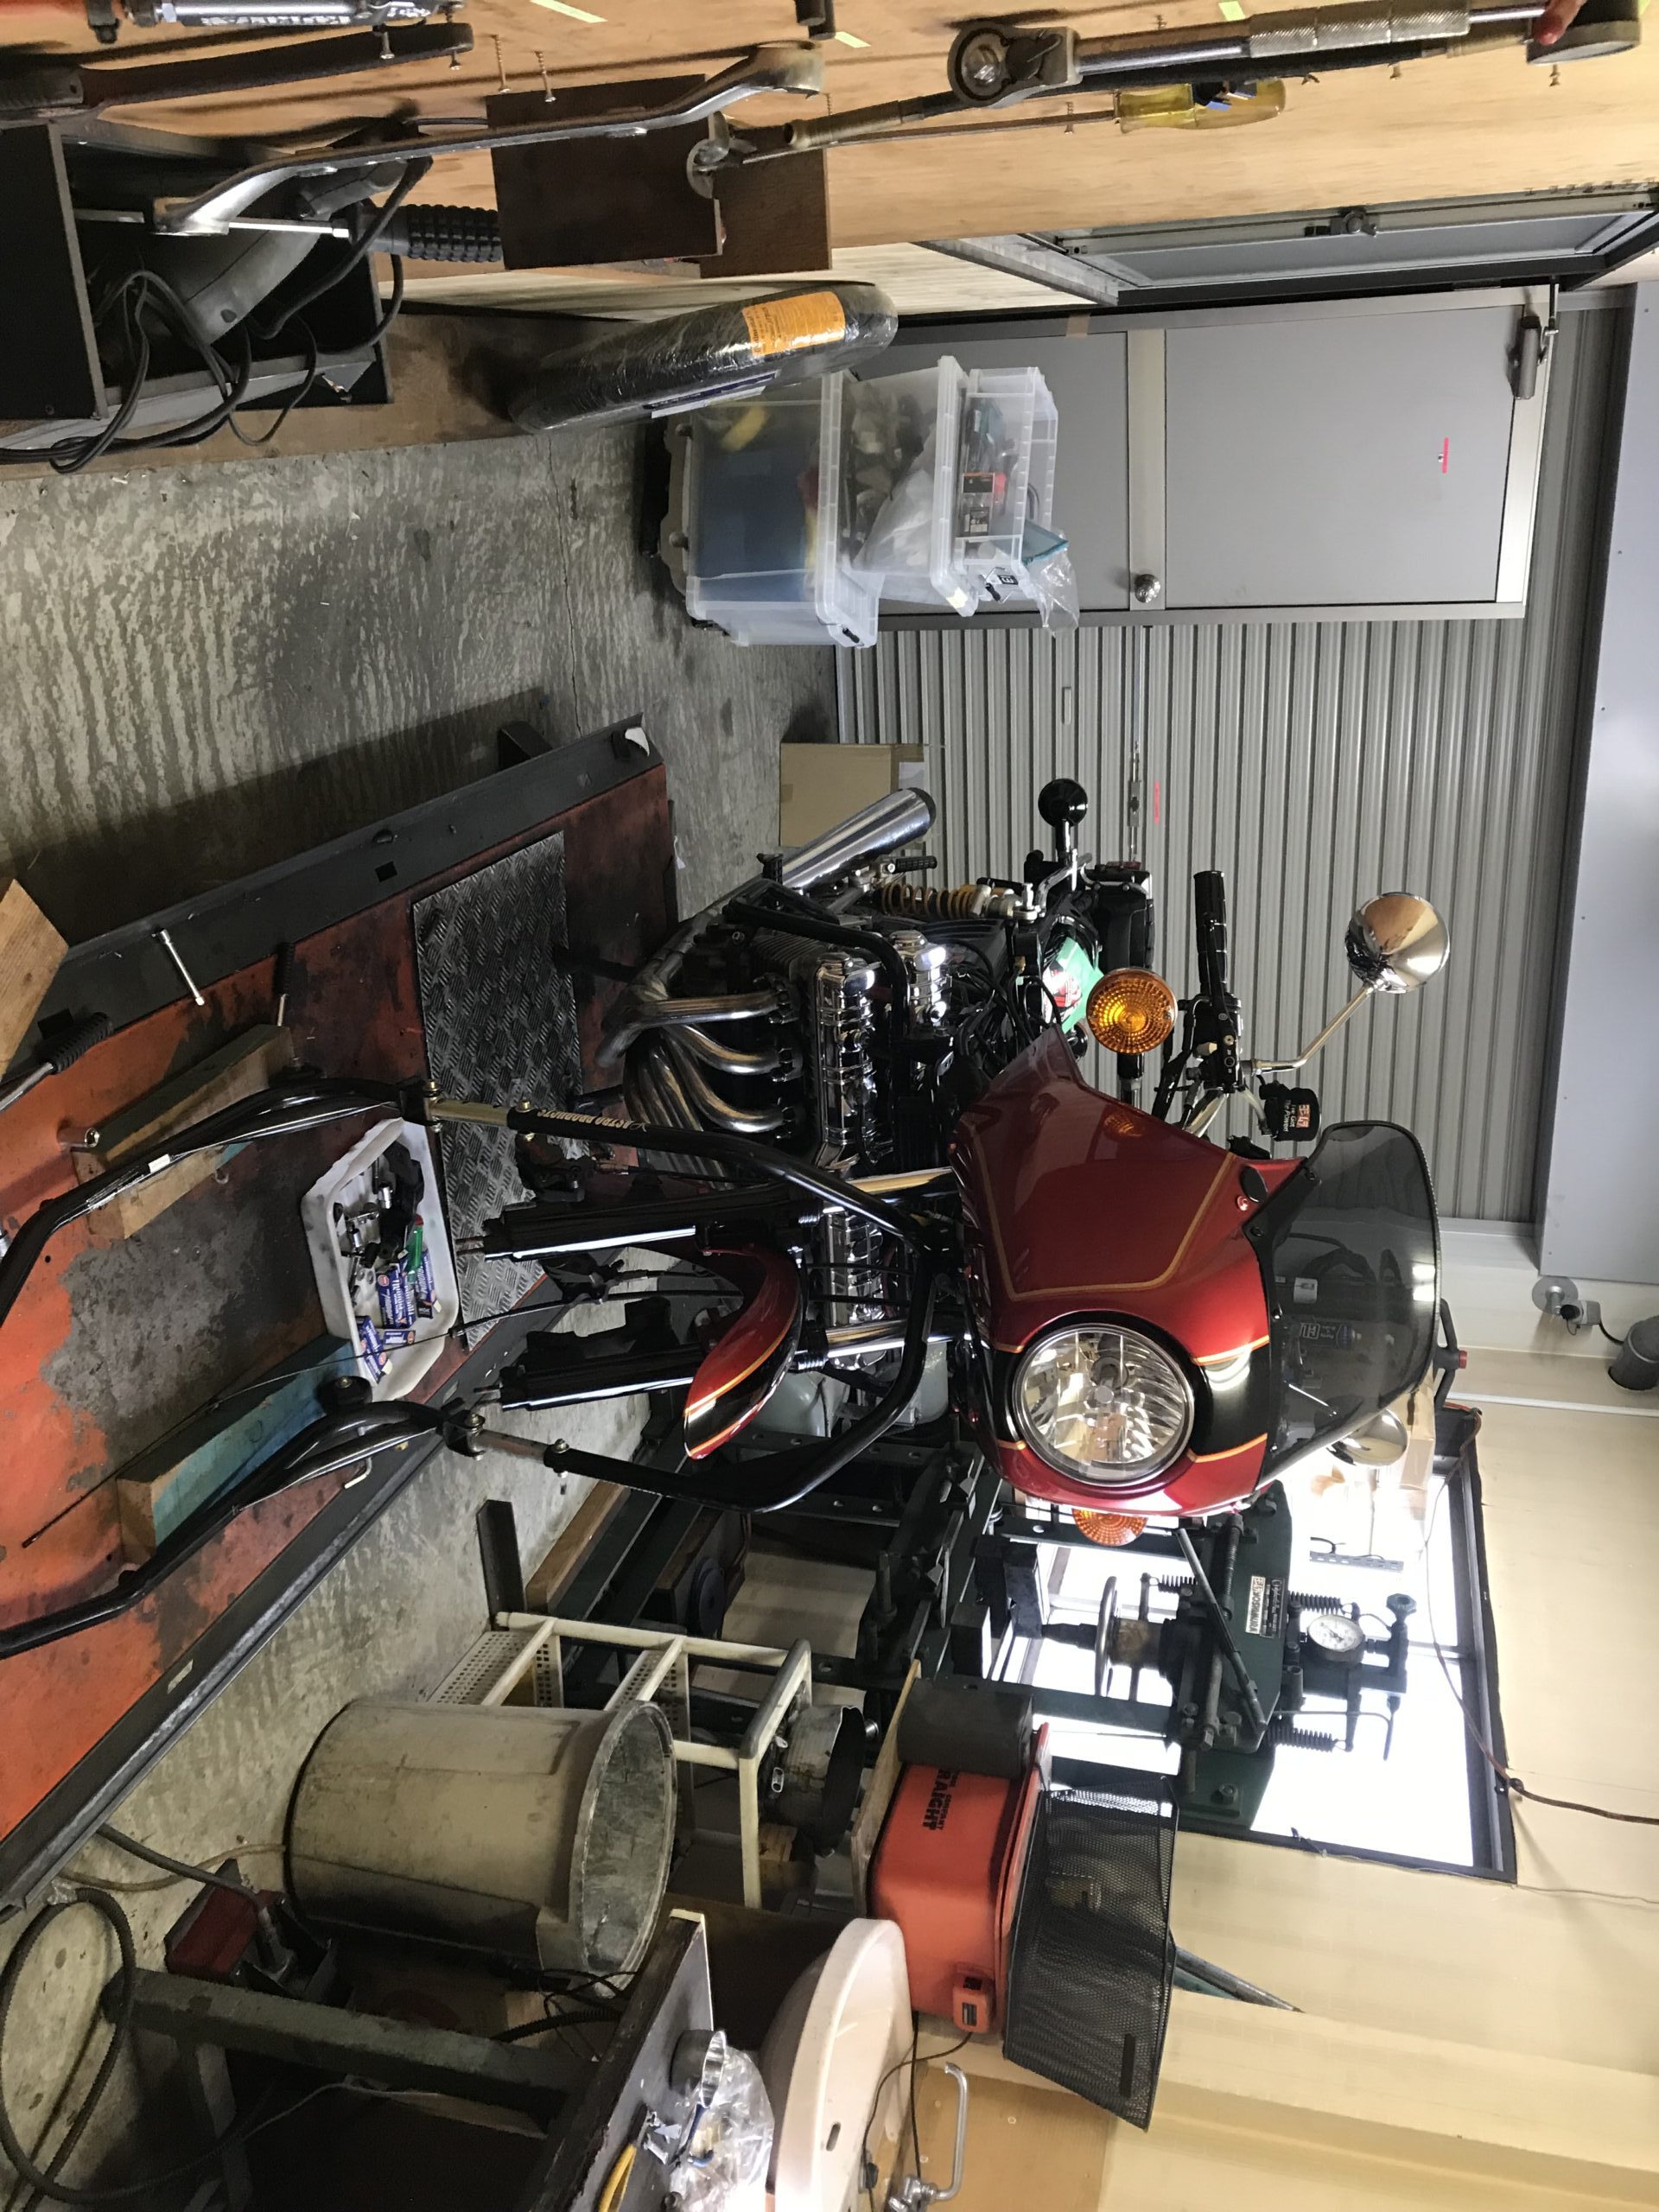
Work at the rental pit on 2023-03-25 – Installing the FCR and removing the front tire
This is part of the winter maintenance work on my CBX1000. The plan for today was to replace the vacuum release plate and finish the synchronization work, but I made an easy mistake and drained the battery.

So, I've changed my plan to get the work done up to just before the synchronization and removing and reinstalling the tires.

Tomorrow, I plan to complete the synchronization and replace the tires.

Now, let's get started!
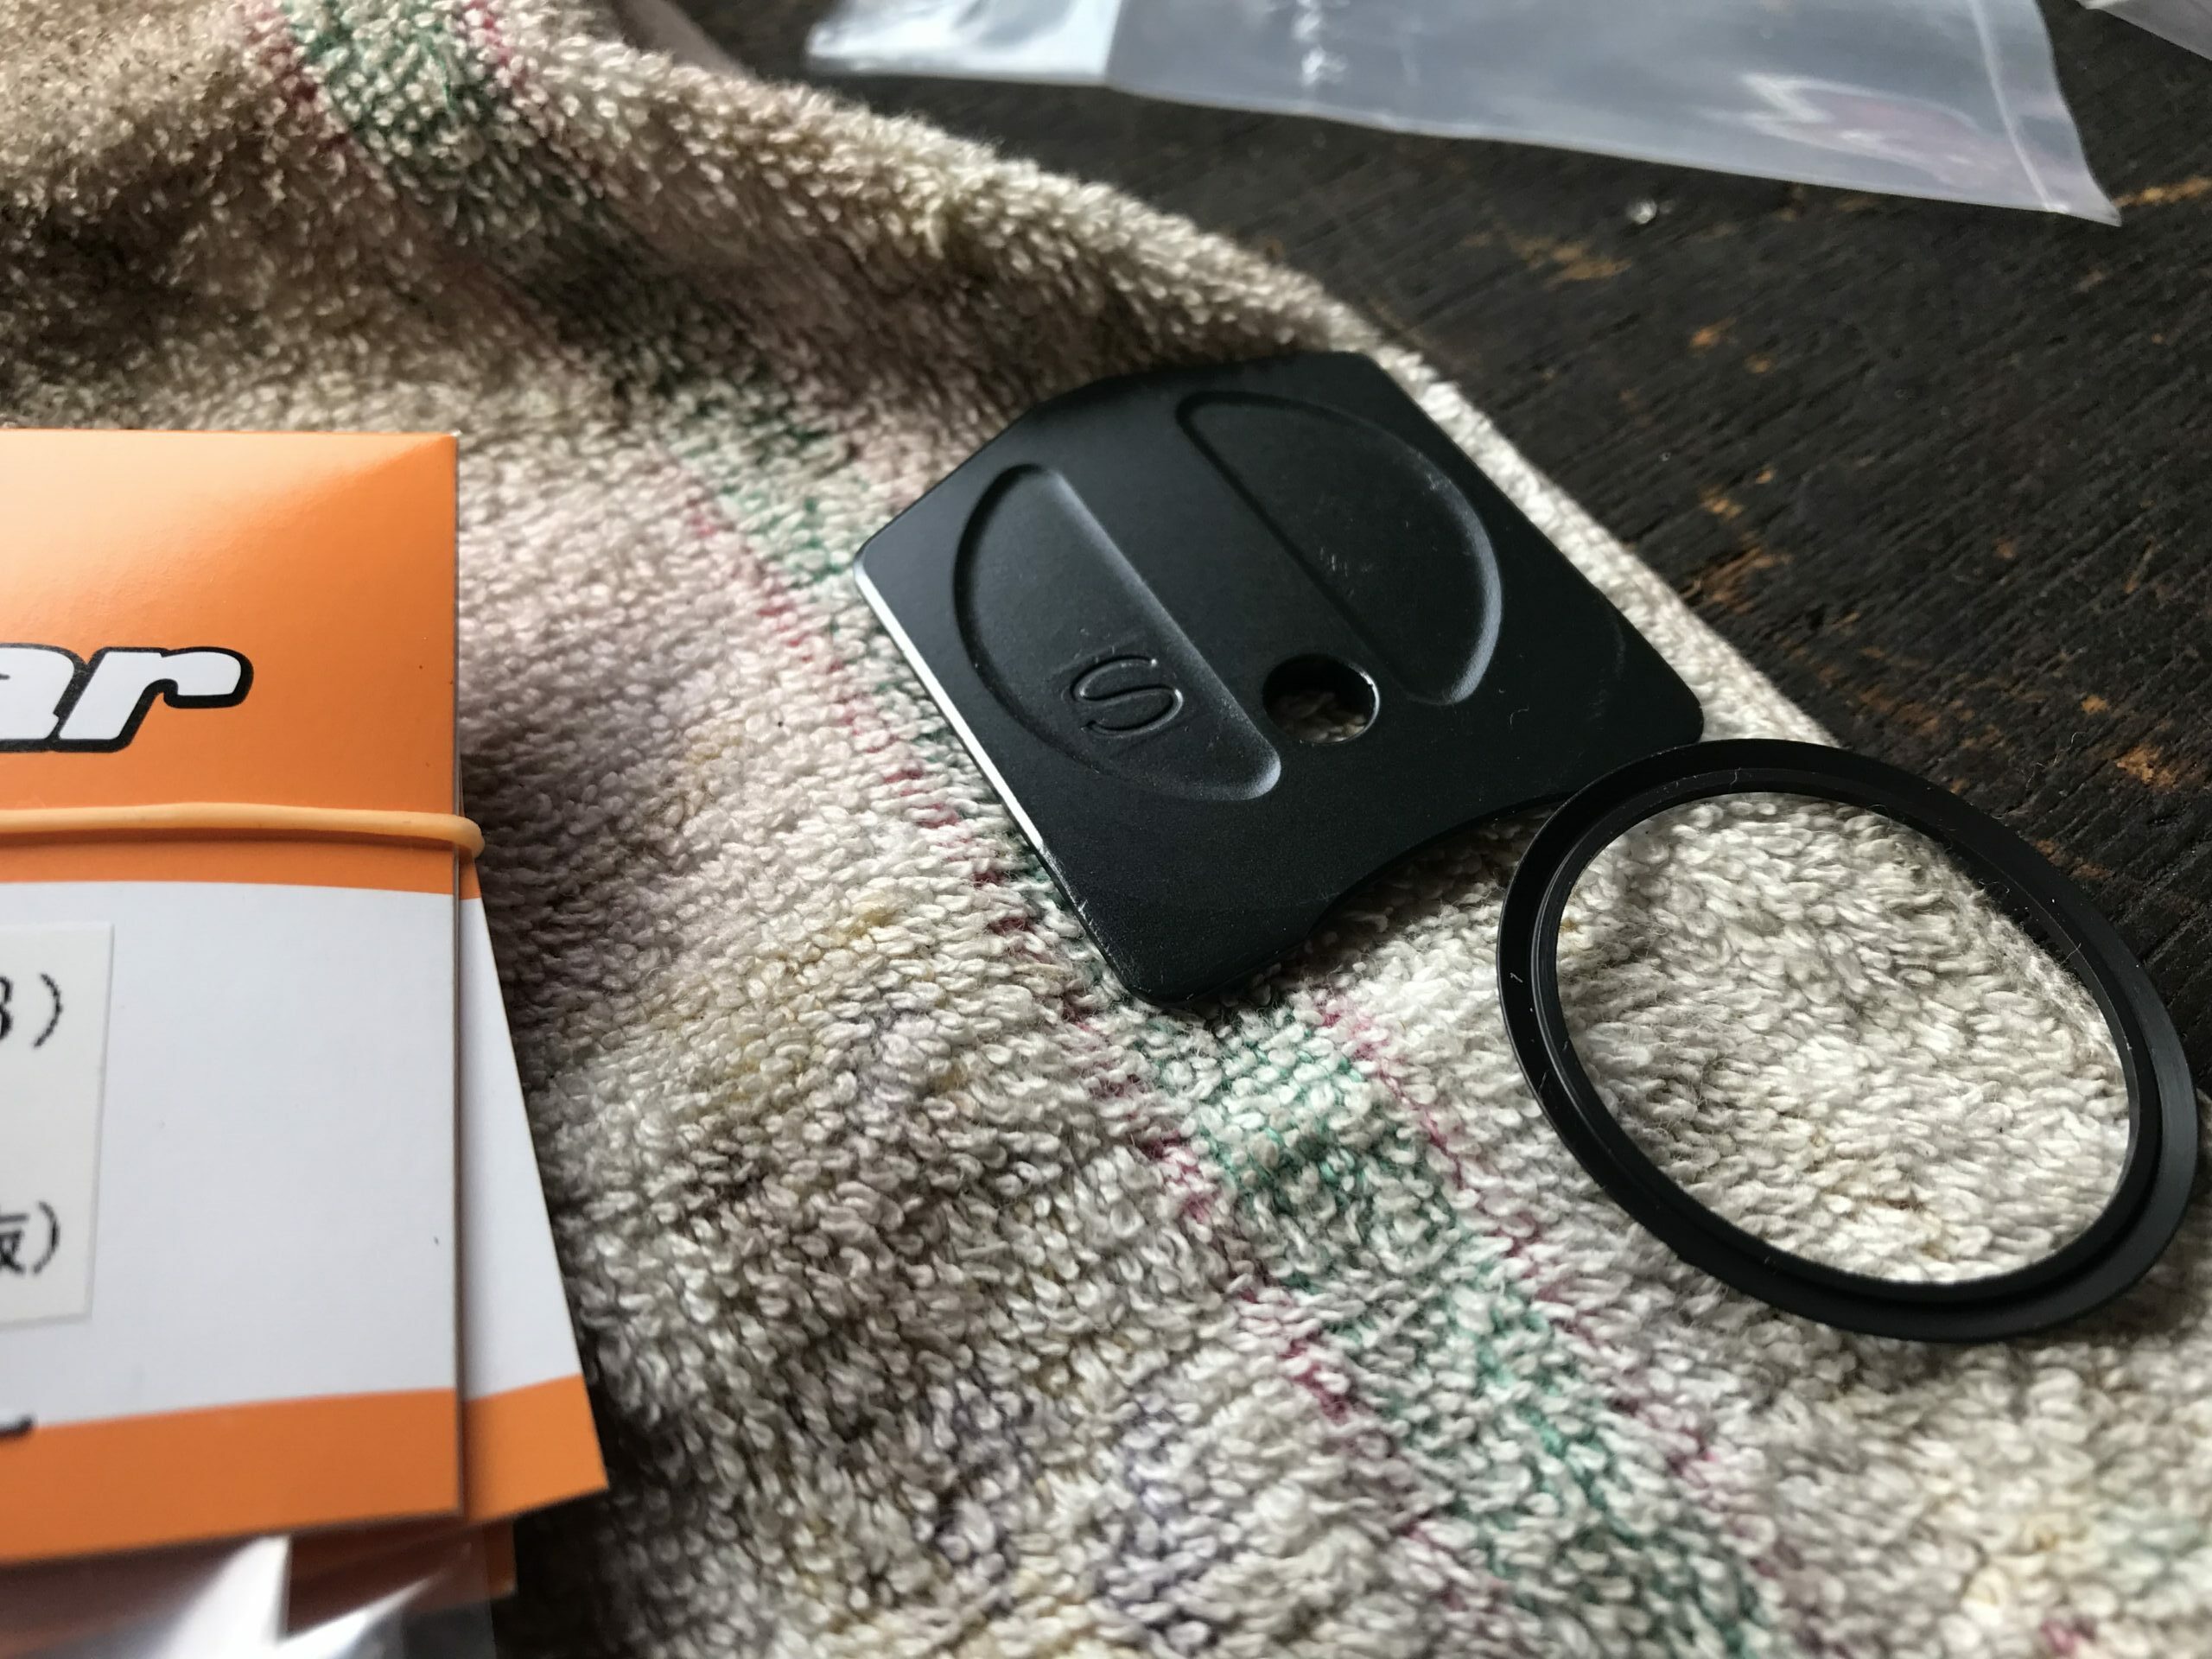
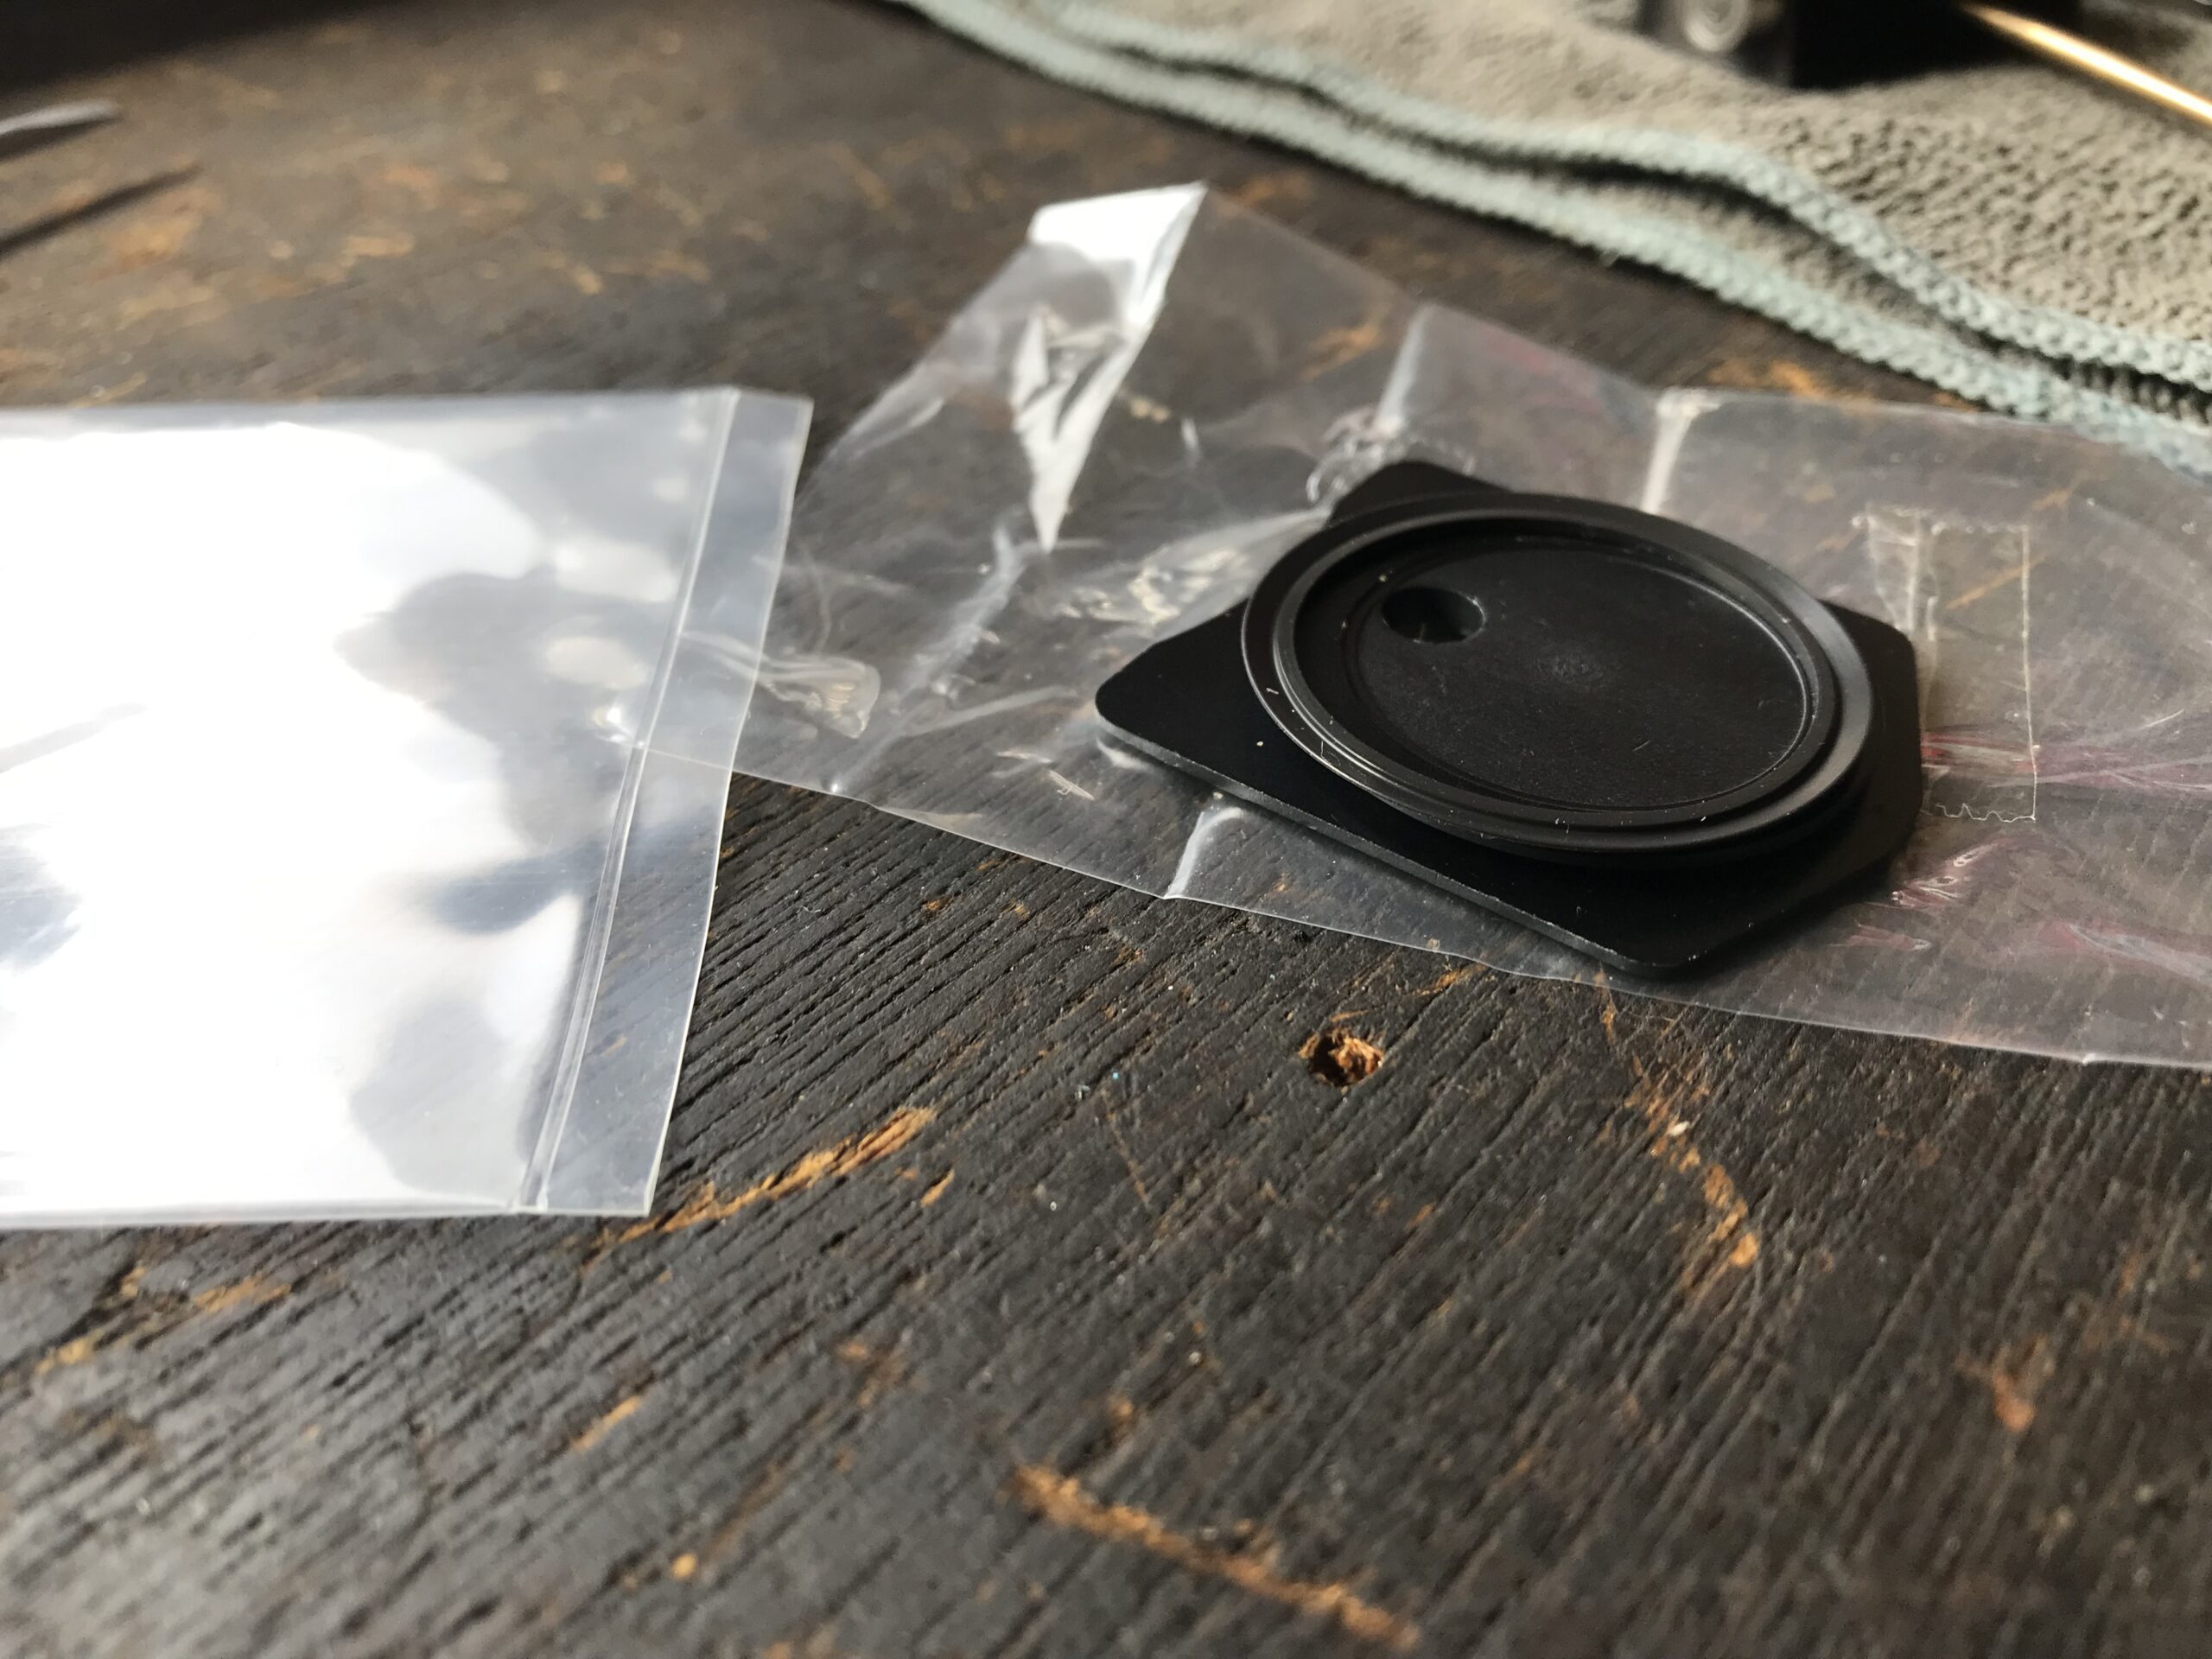
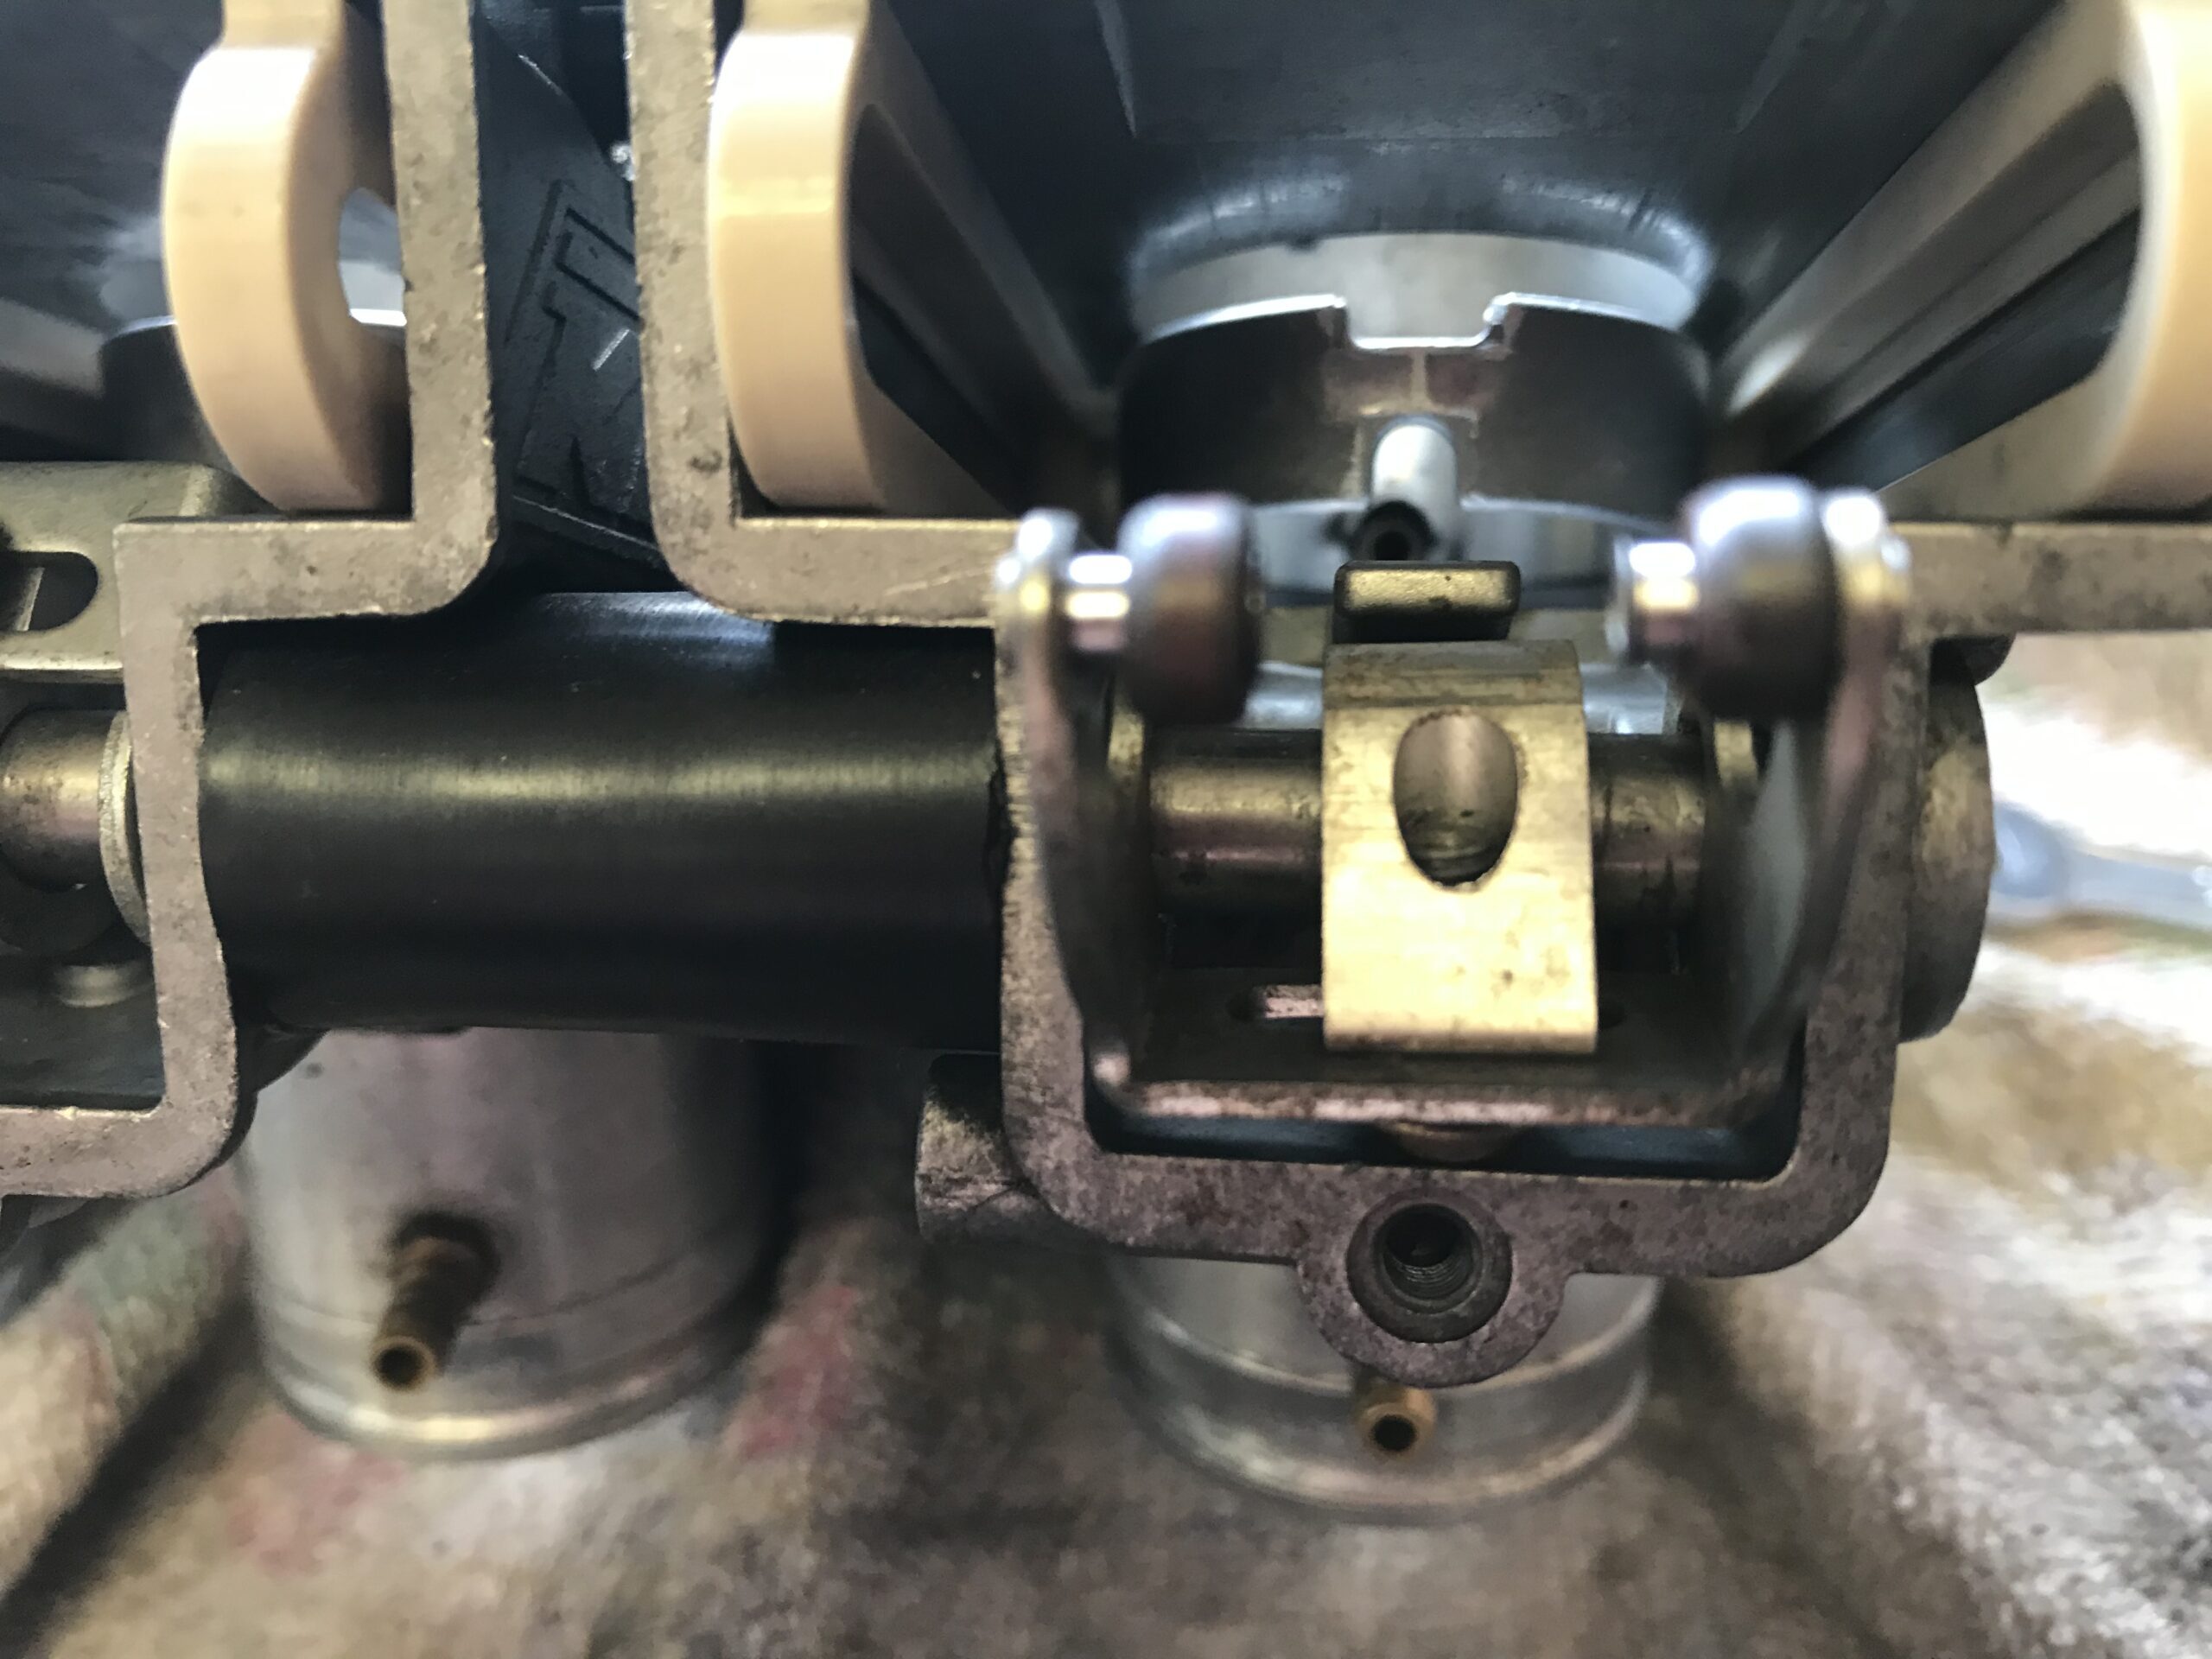
Vacuum release plate change
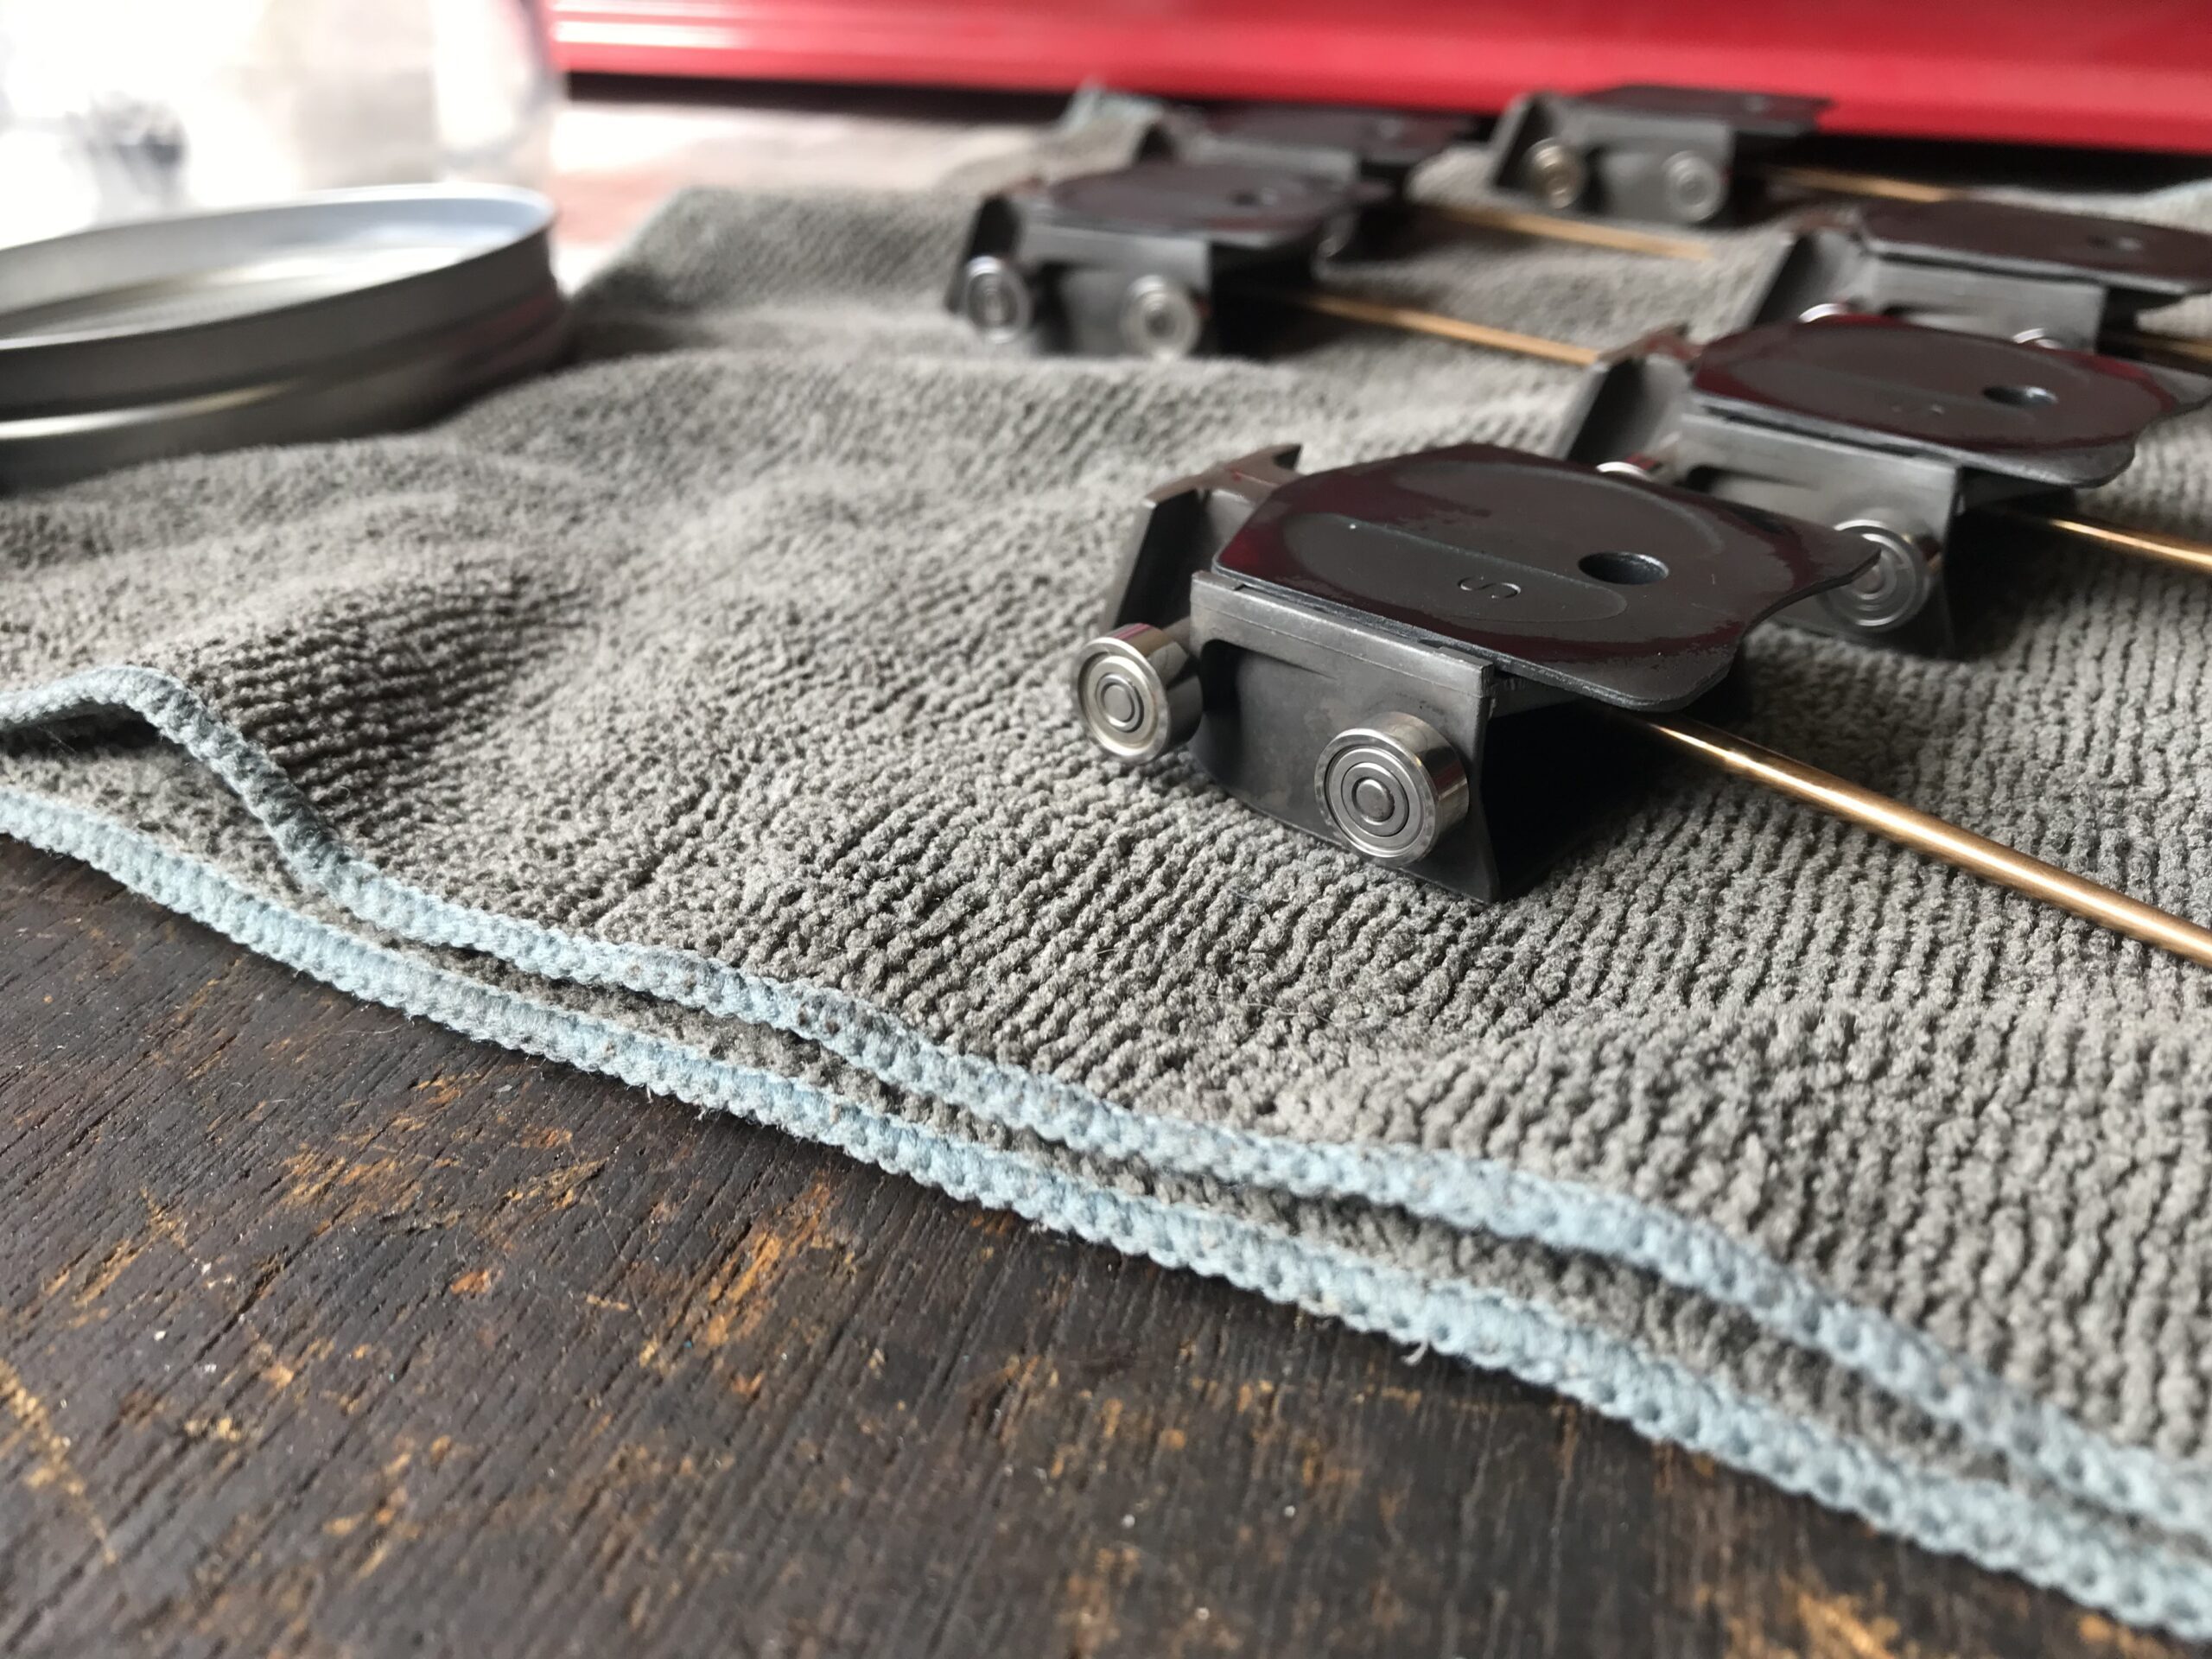
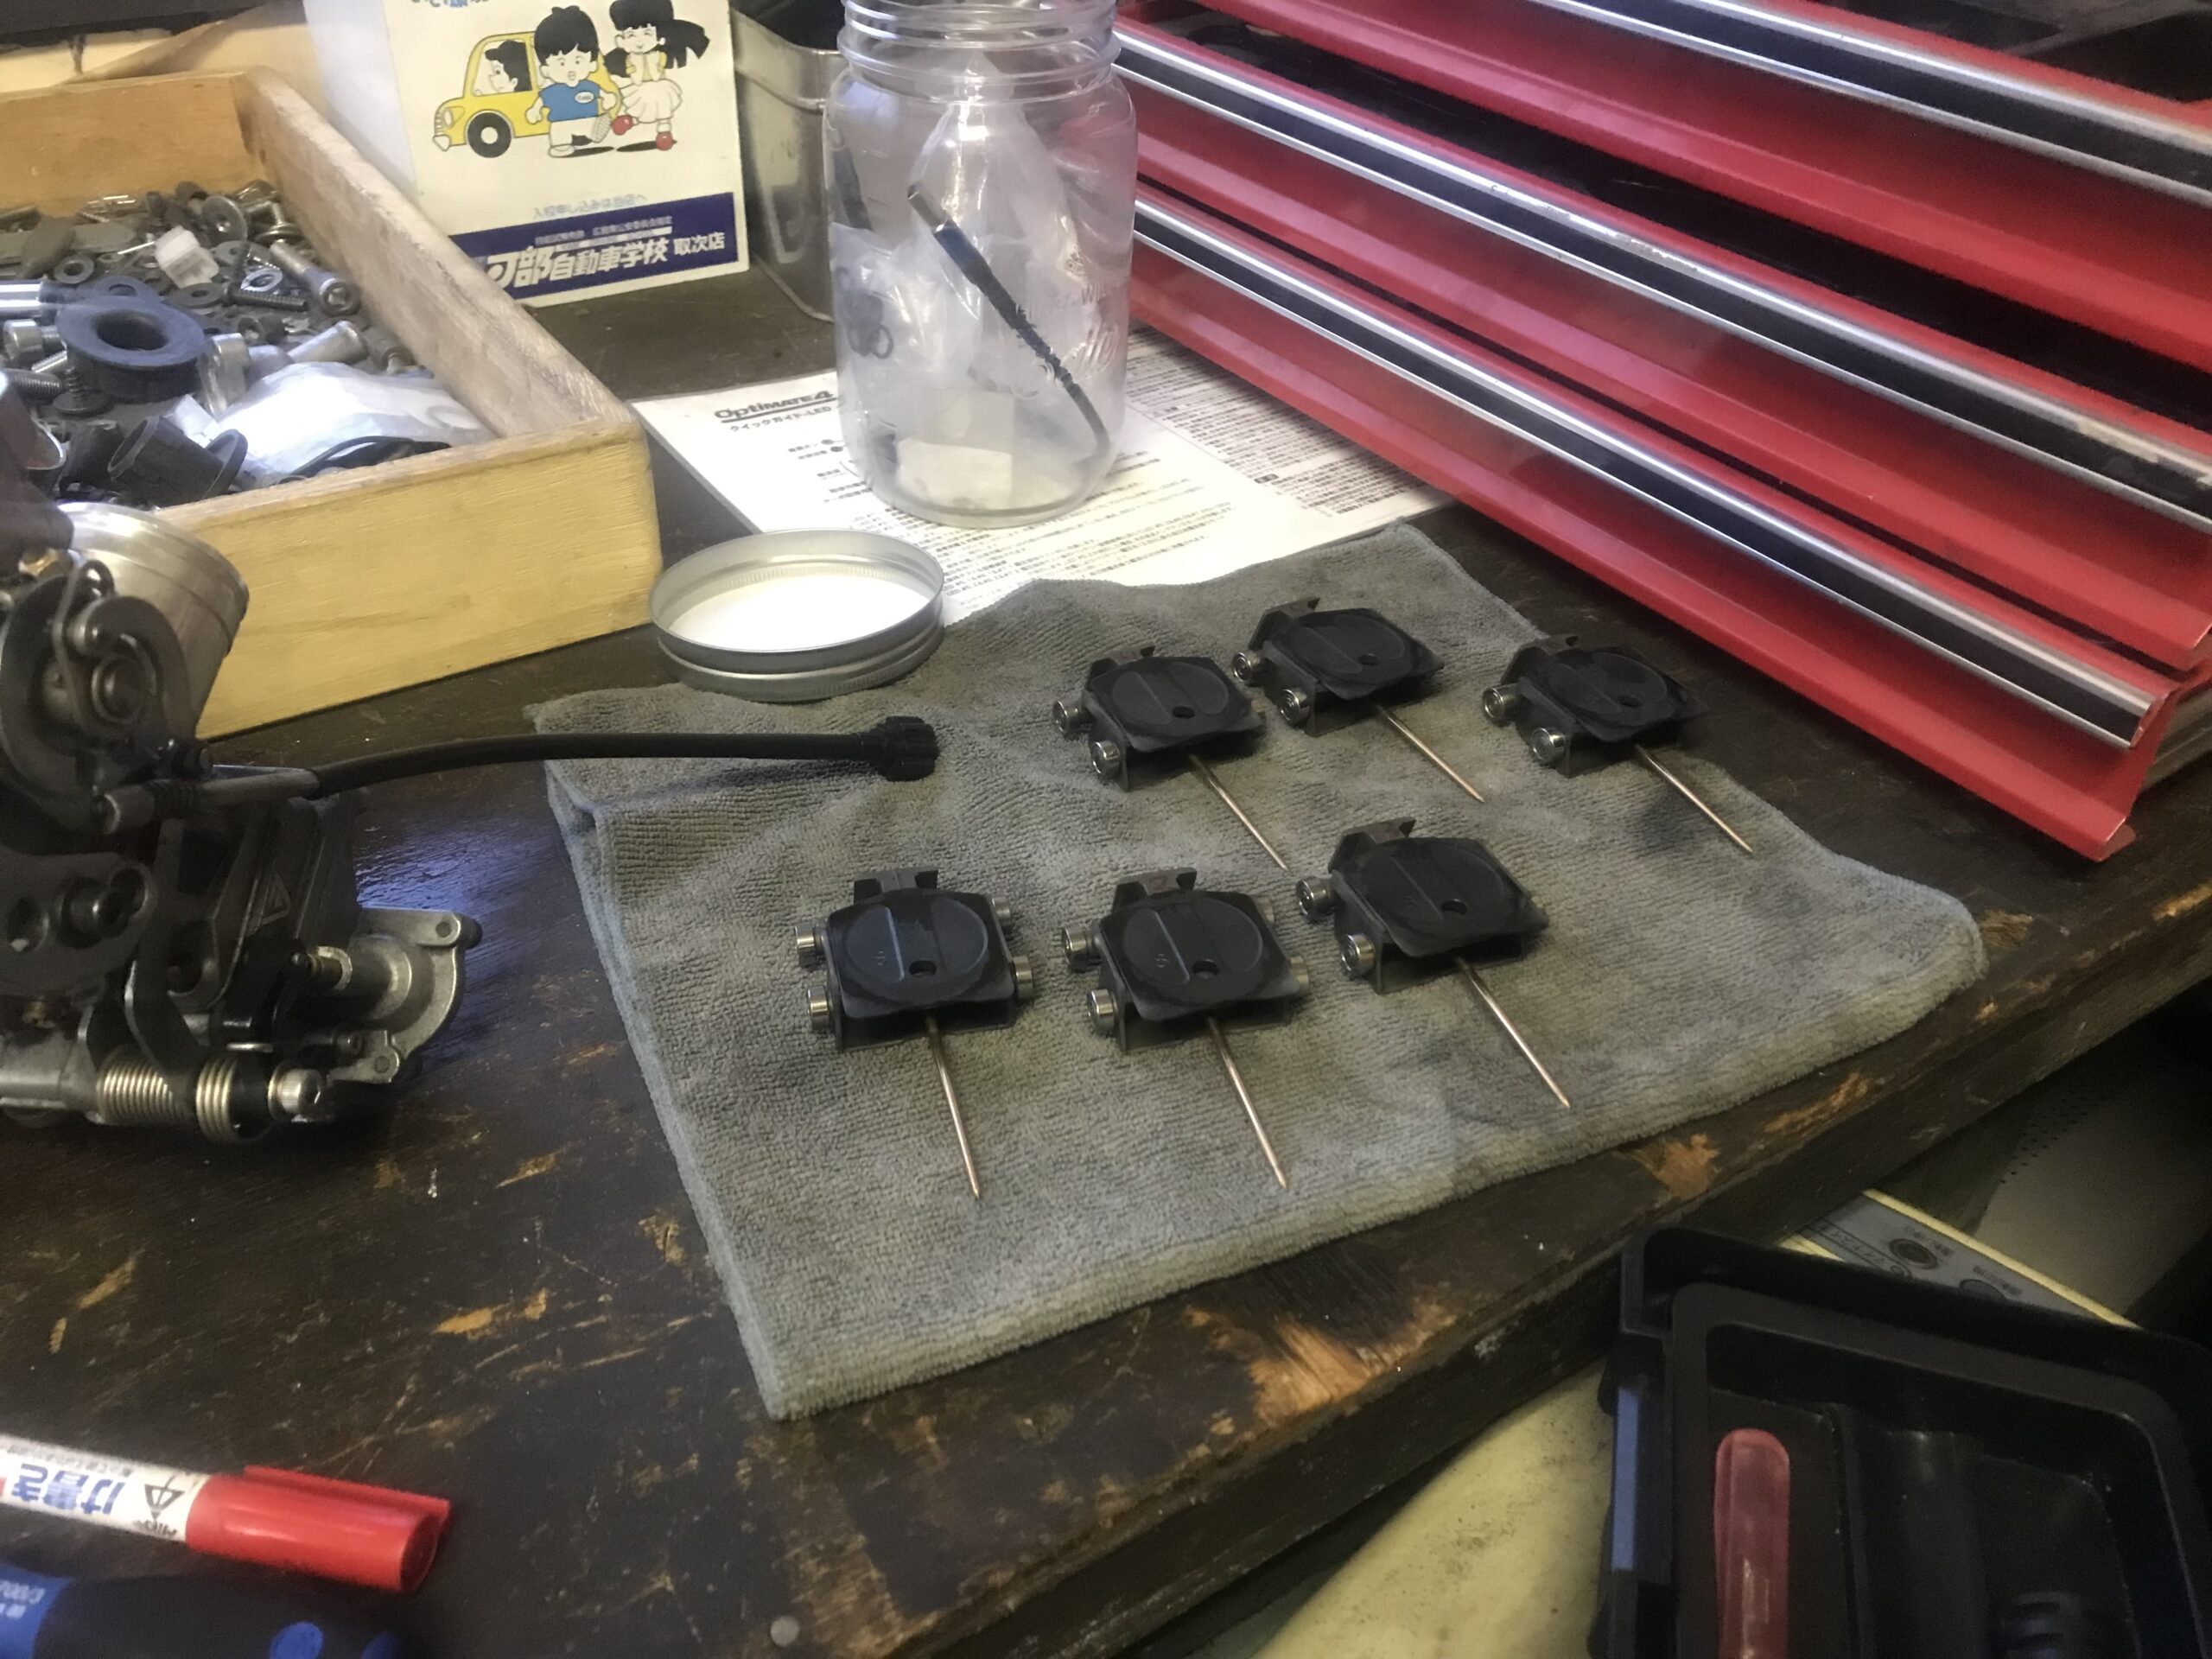
Due to financial considerations, I'm using what is probably an aftermarket vacuum release plate instead of the genuine one. At least, it's better than the one that’s been in use for over 20 years.
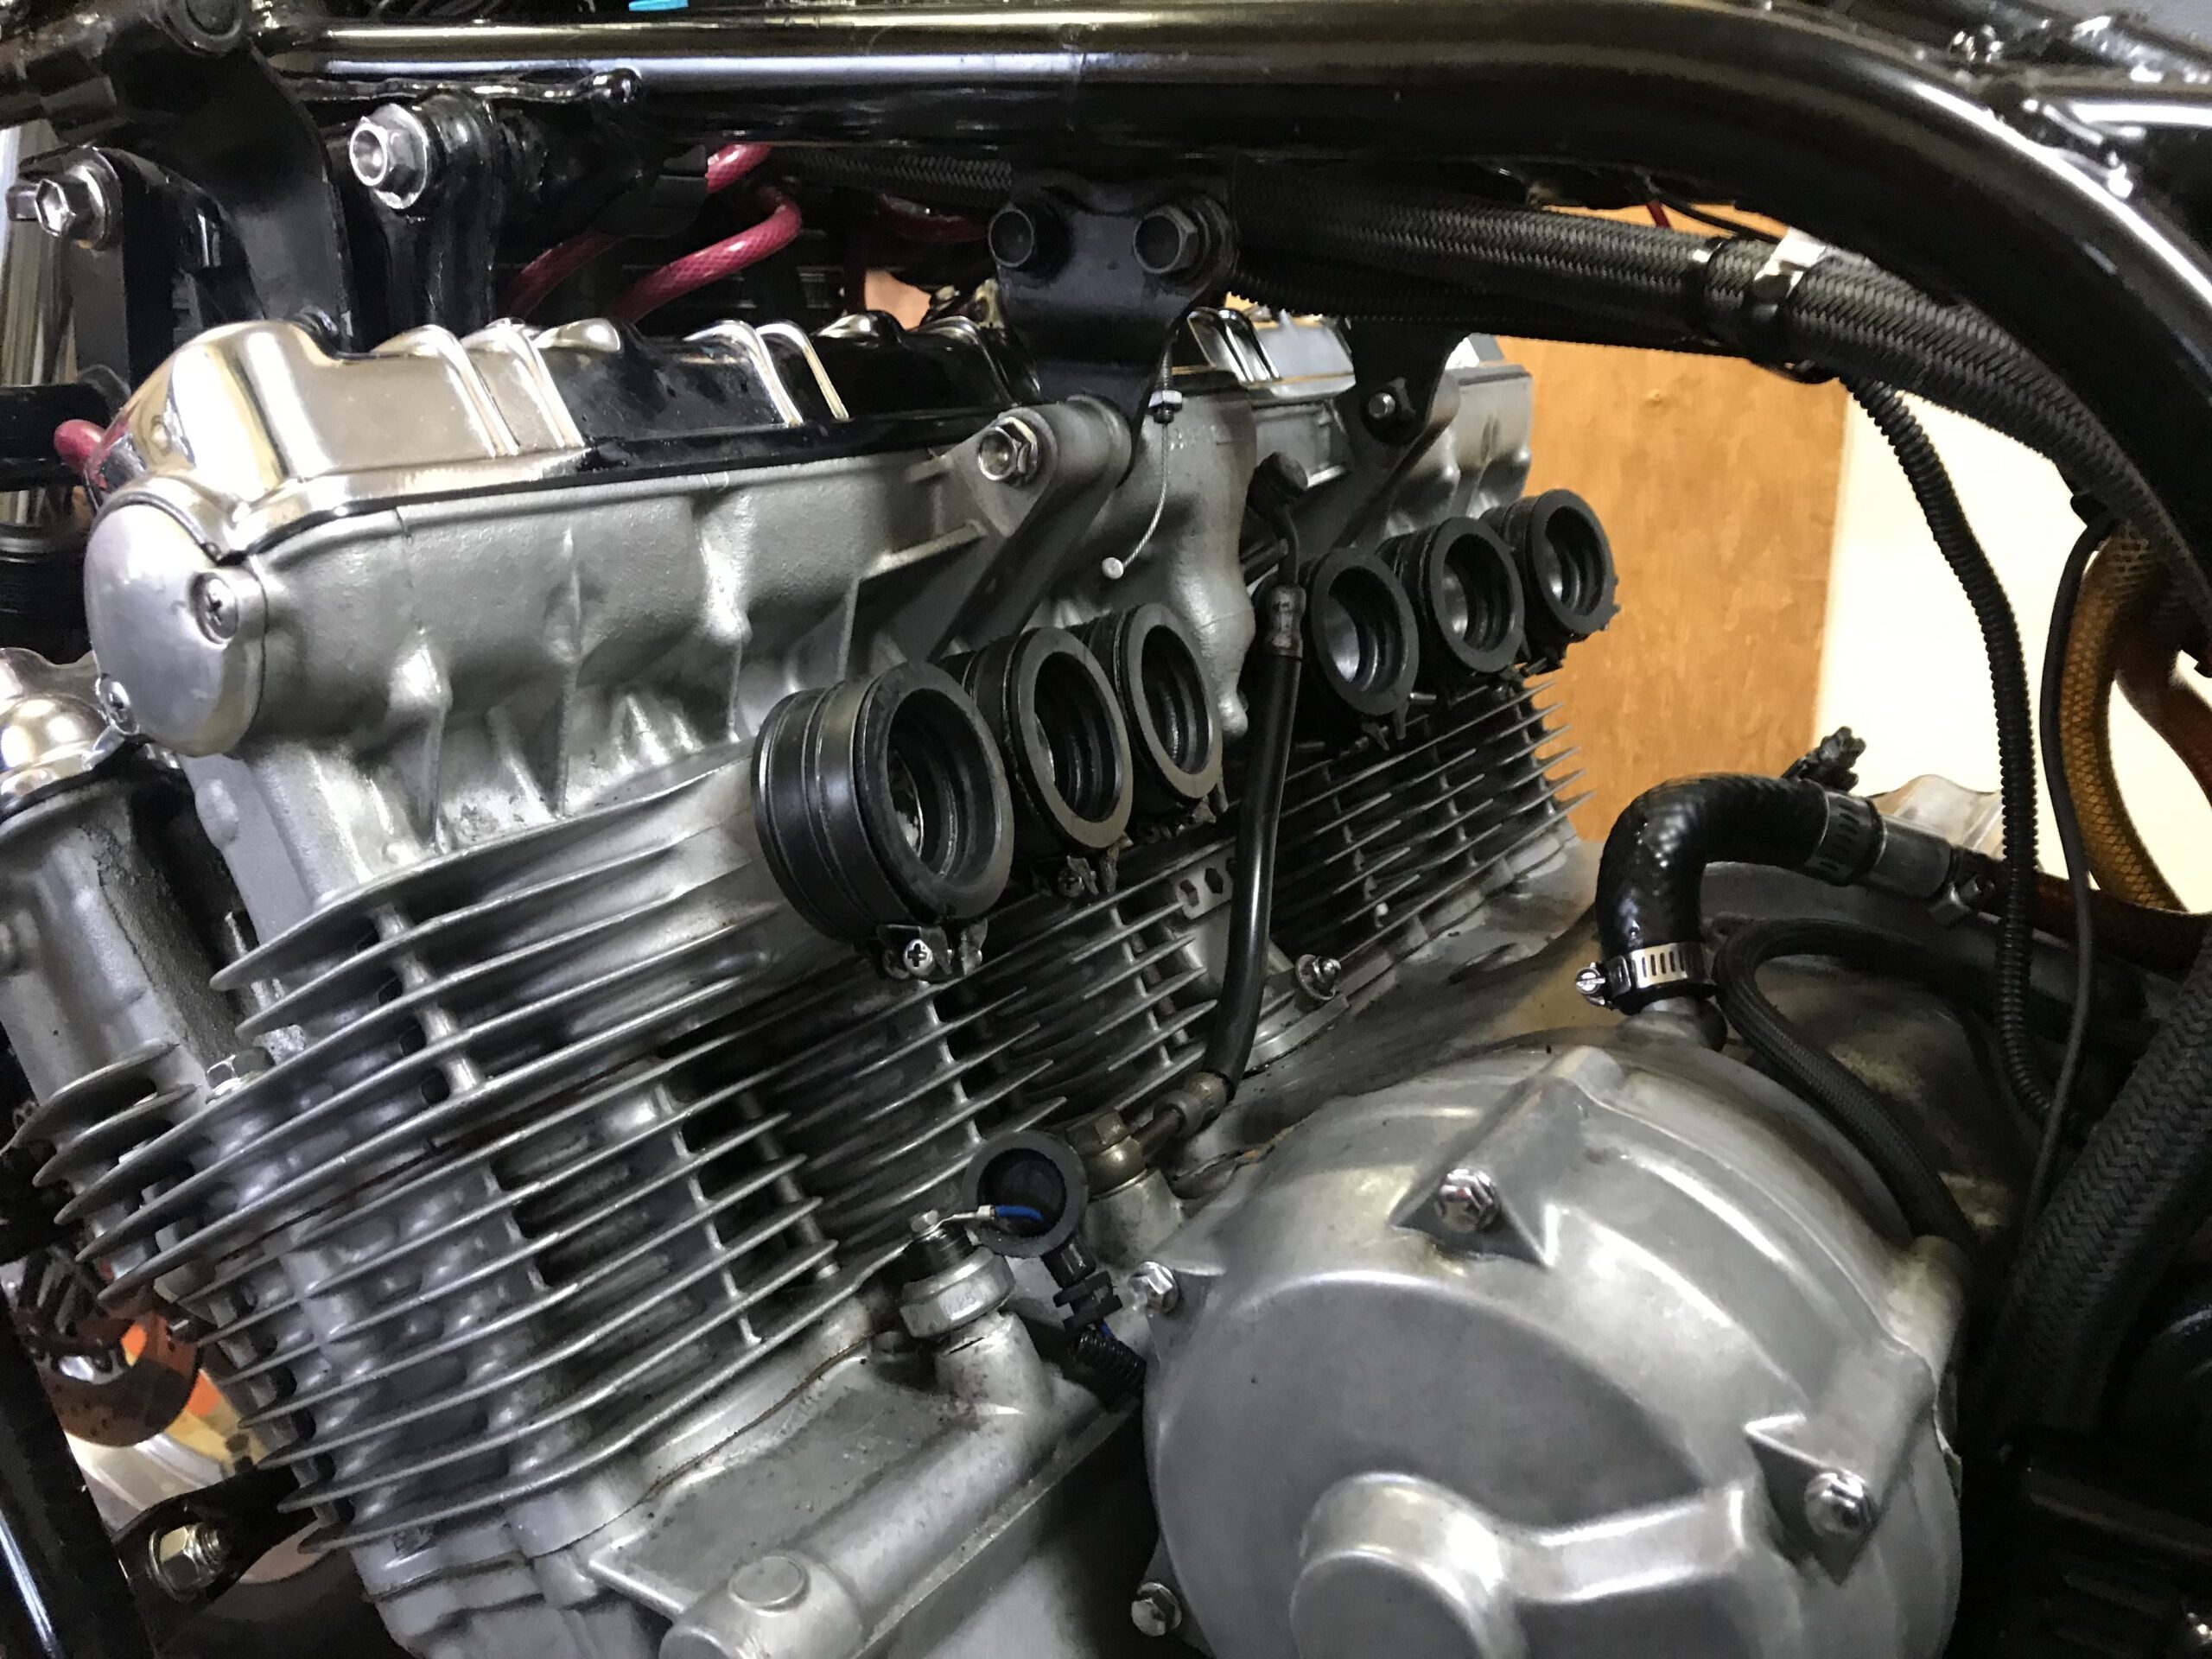
As for the insulators, I compared them with the new ones, and since there were no signs of hardening or cracks, I decided to keep using them. I’ll keep the new ones in stock for future use.
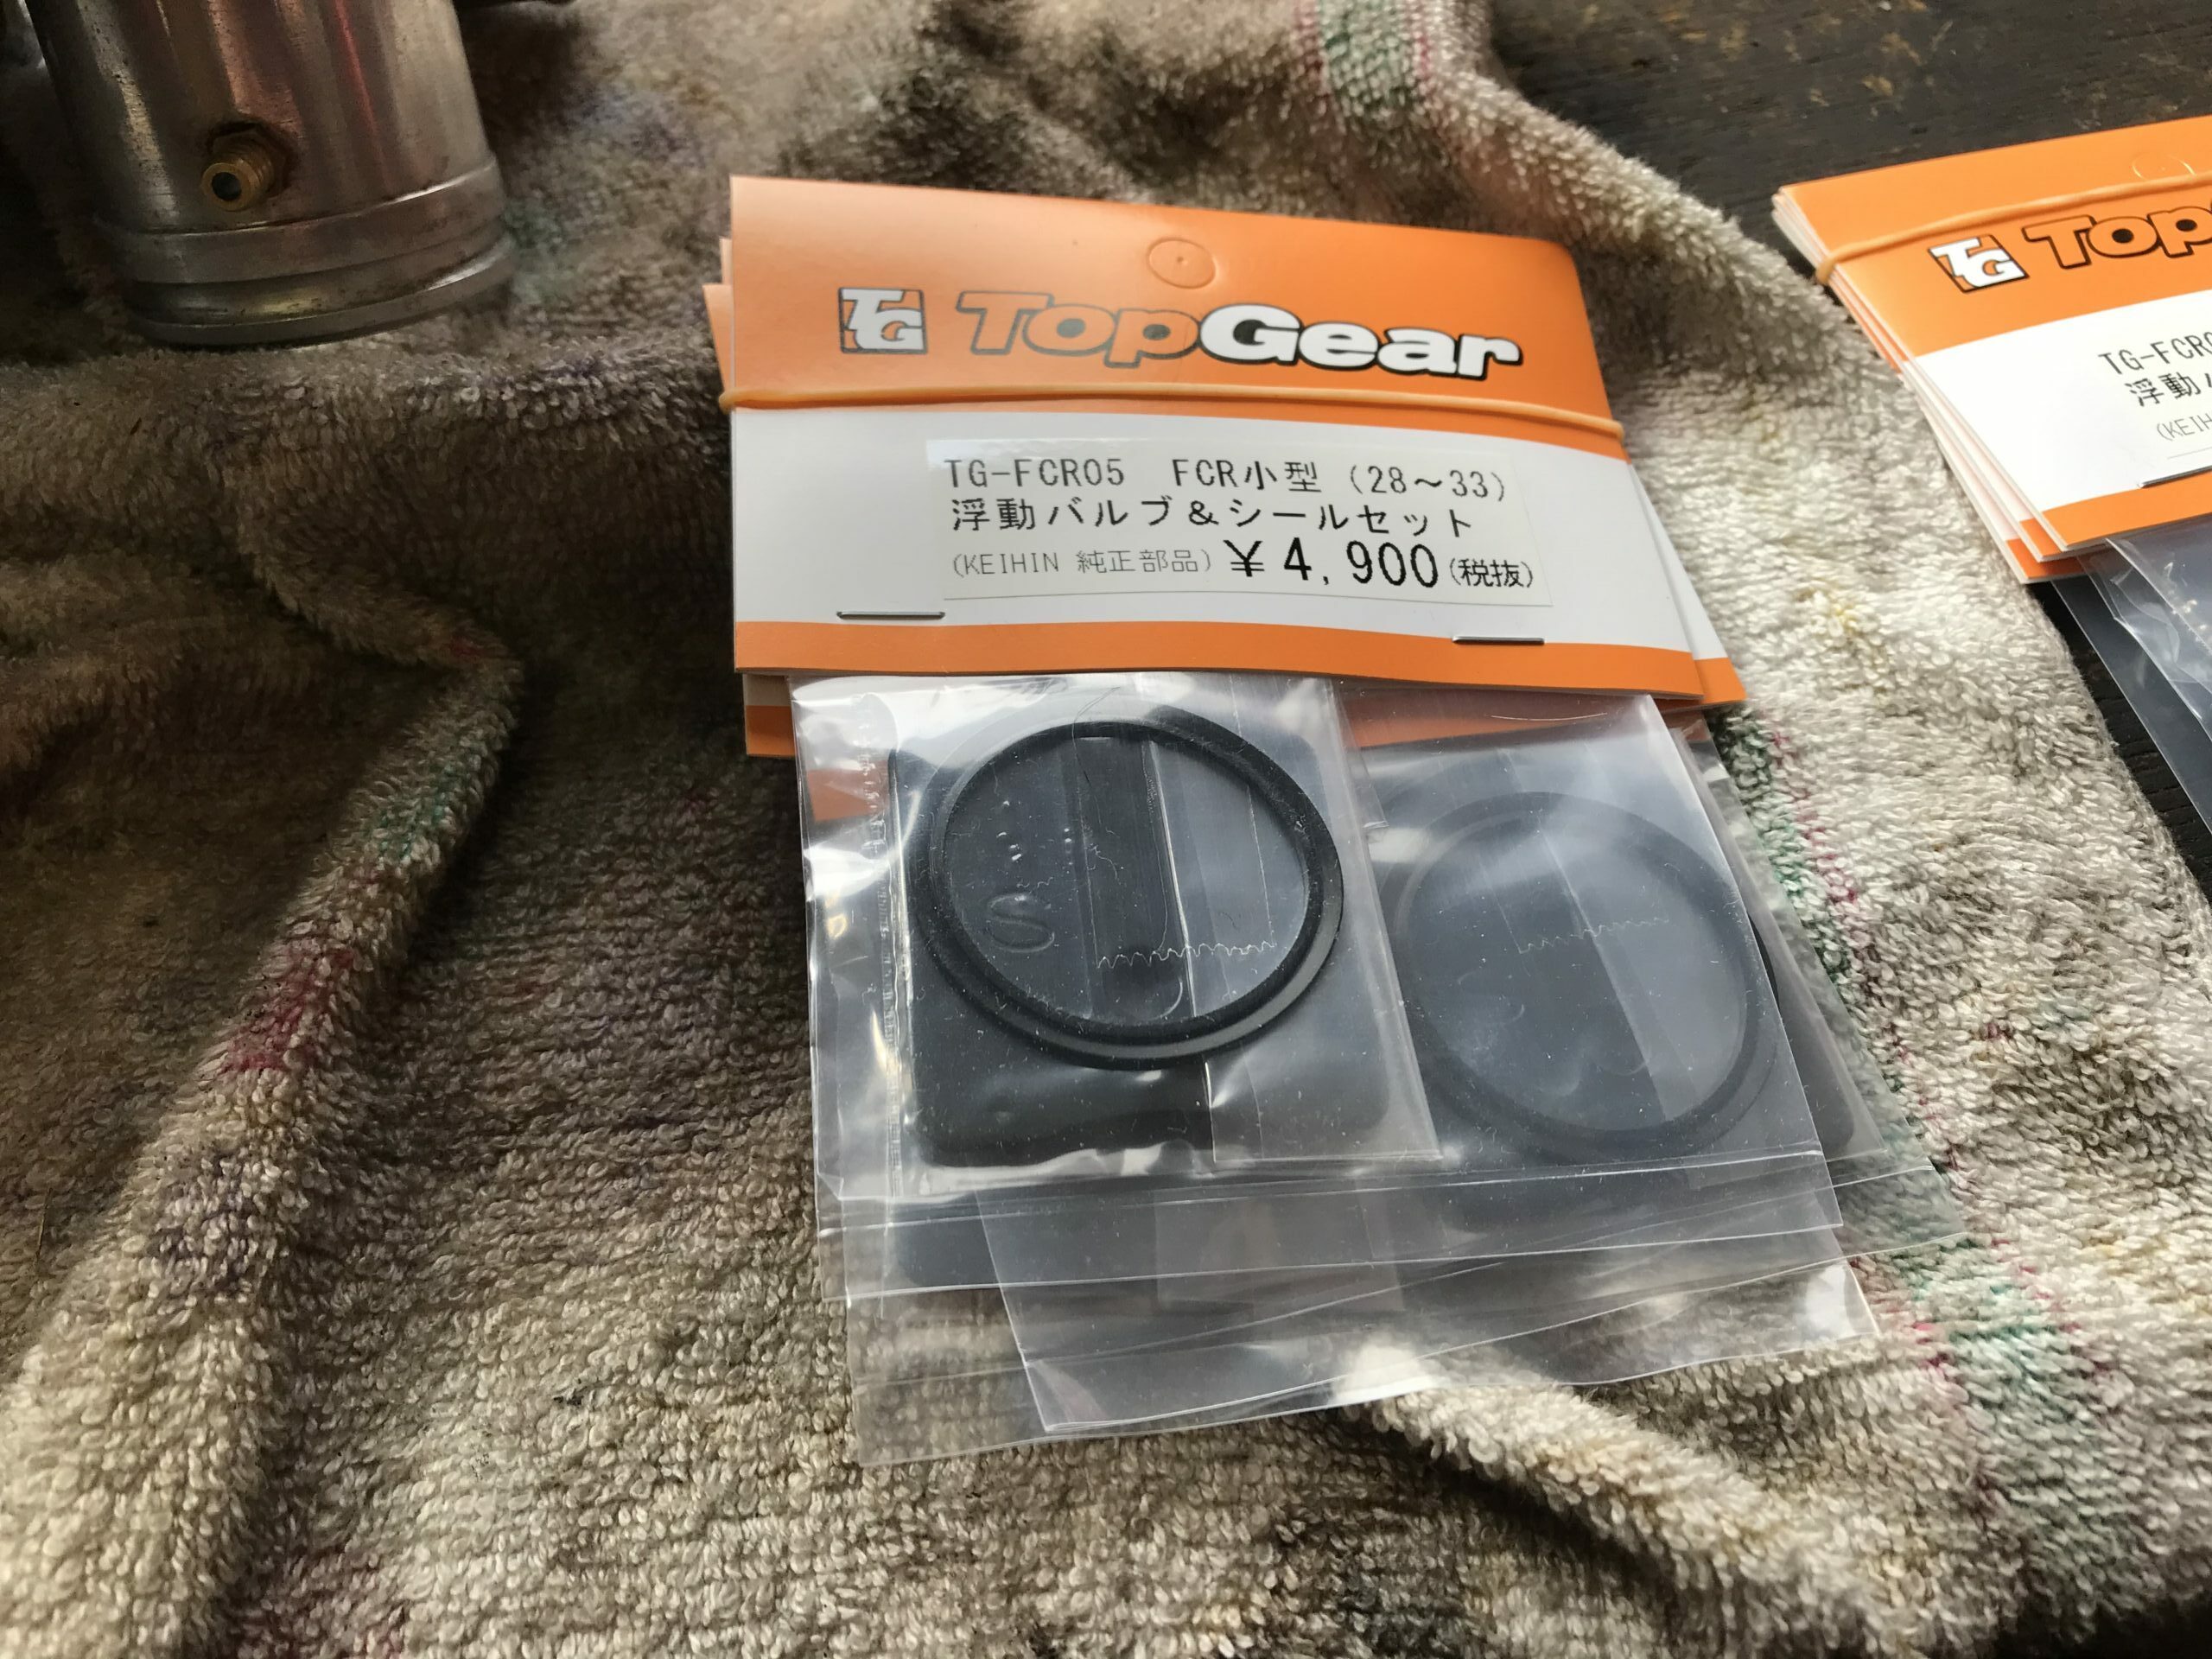
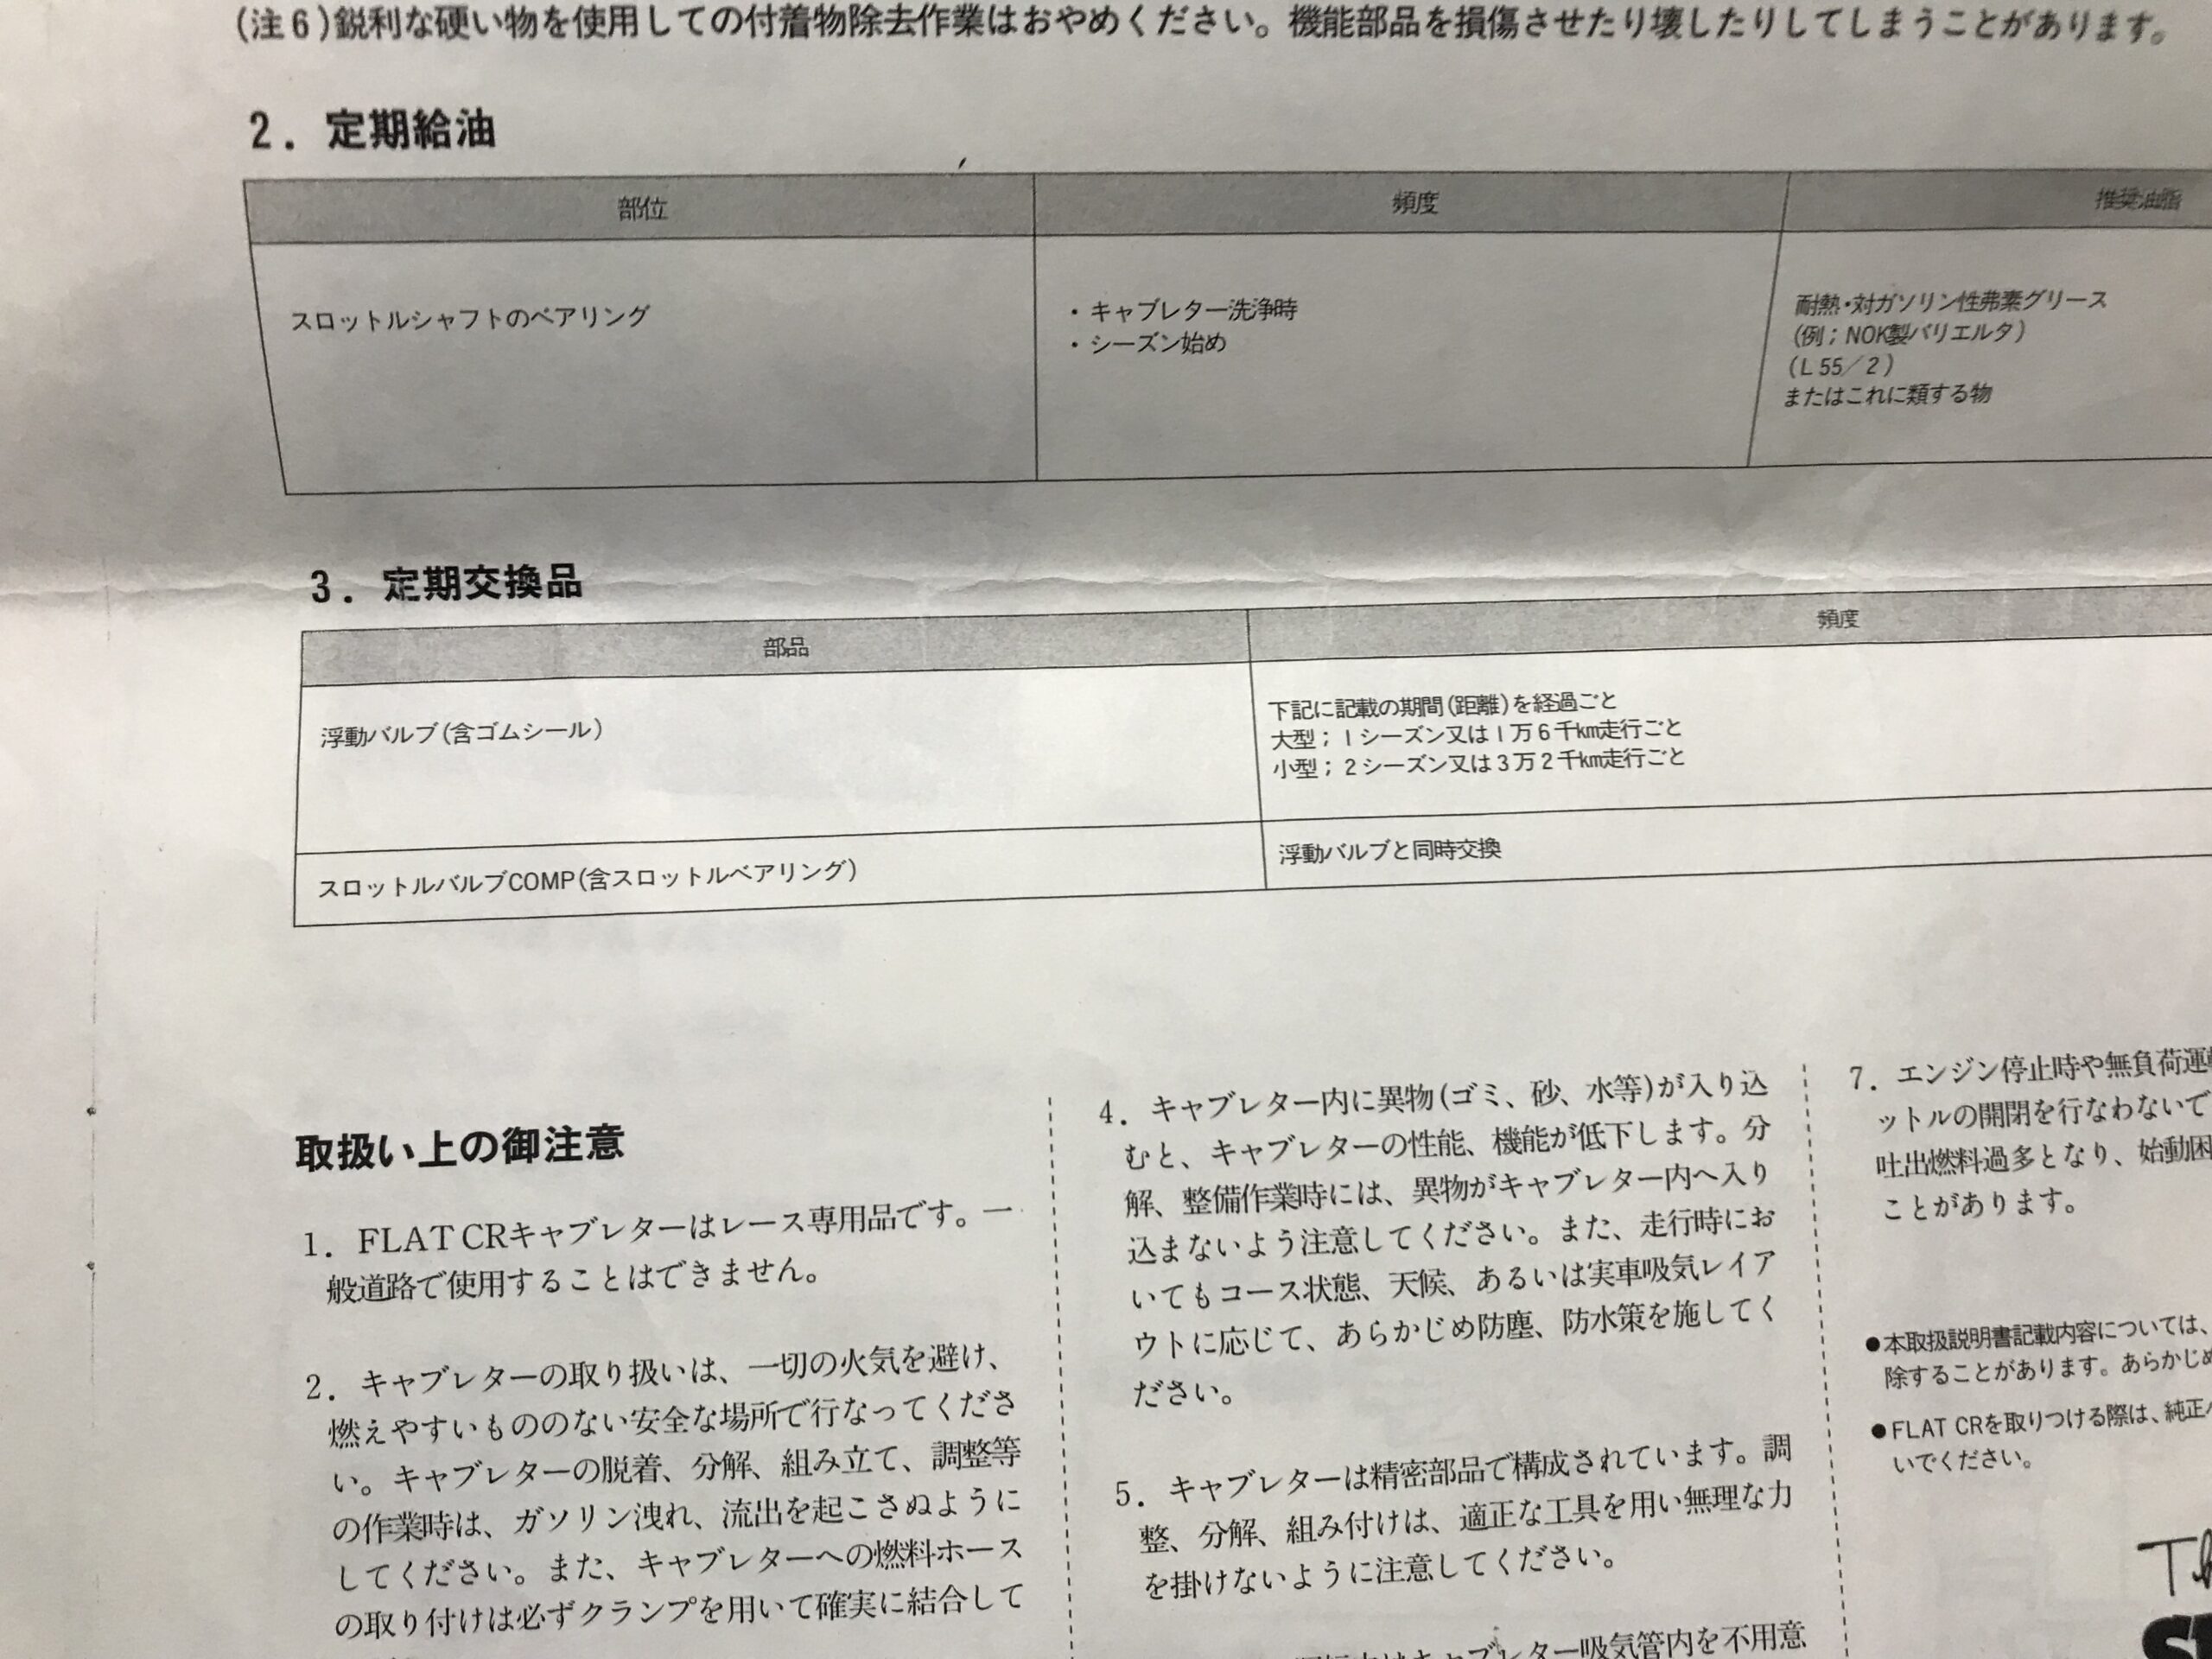
The lip seals have been in place for two seasons (two years), and although I feel there might be a slight difference in operation, it doesn't seem necessary to replace them. However, since they aren’t too expensive, I’ll go ahead and replace them just to be safe. As for the vacuum release plate, it looks slightly worn, but not excessively so. The surface coating is peeling in some areas, and while it’s met its replacement period, it hasn’t yet reached the replacement mileage. If the storage conditions aren’t great, it might be wise to strictly adhere to the replacement period, but if the storage conditions are good, you may not need to worry too much about the timeline.
Riding 32,000 kilometers in two years is quite impressive. In my case, since I spend a lot of time disassembling for maintenance, I don't cover much distance.
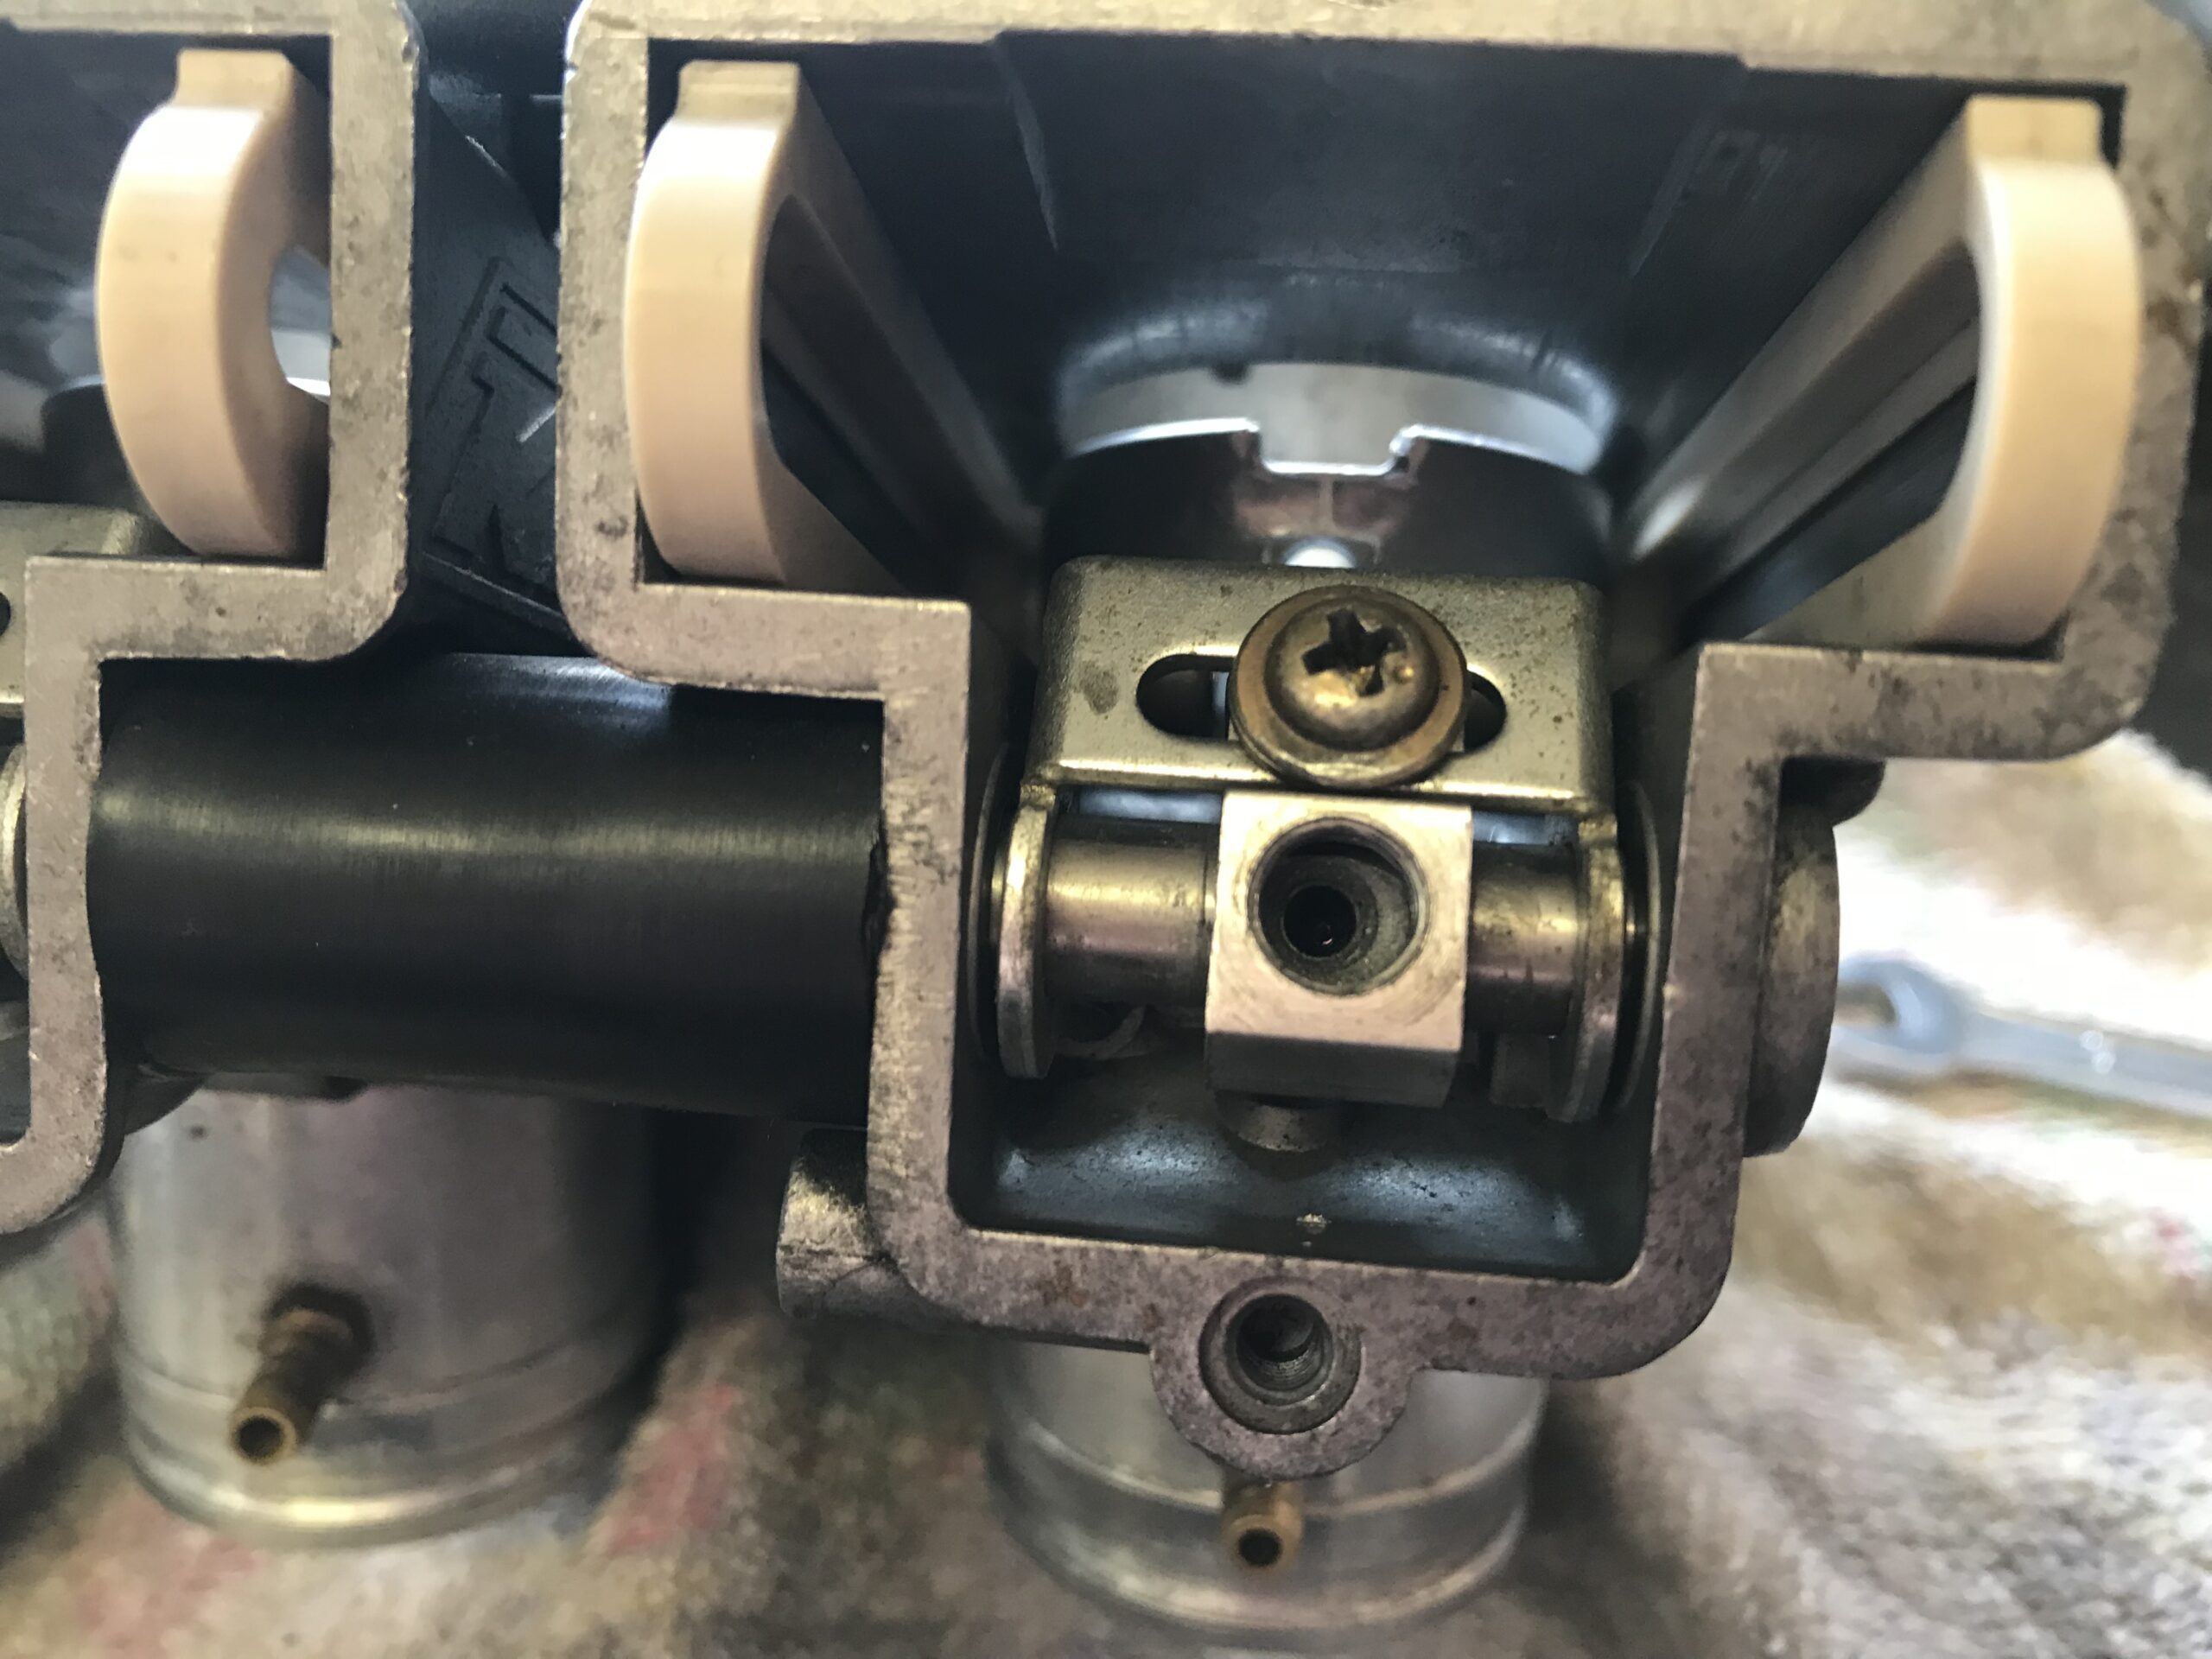
I checked, and the bearings are moving smoothly. I also cleaned up the area around the vacuum release plate and SEP bearing guide, where some debris had accumulated, and reassembled everything.
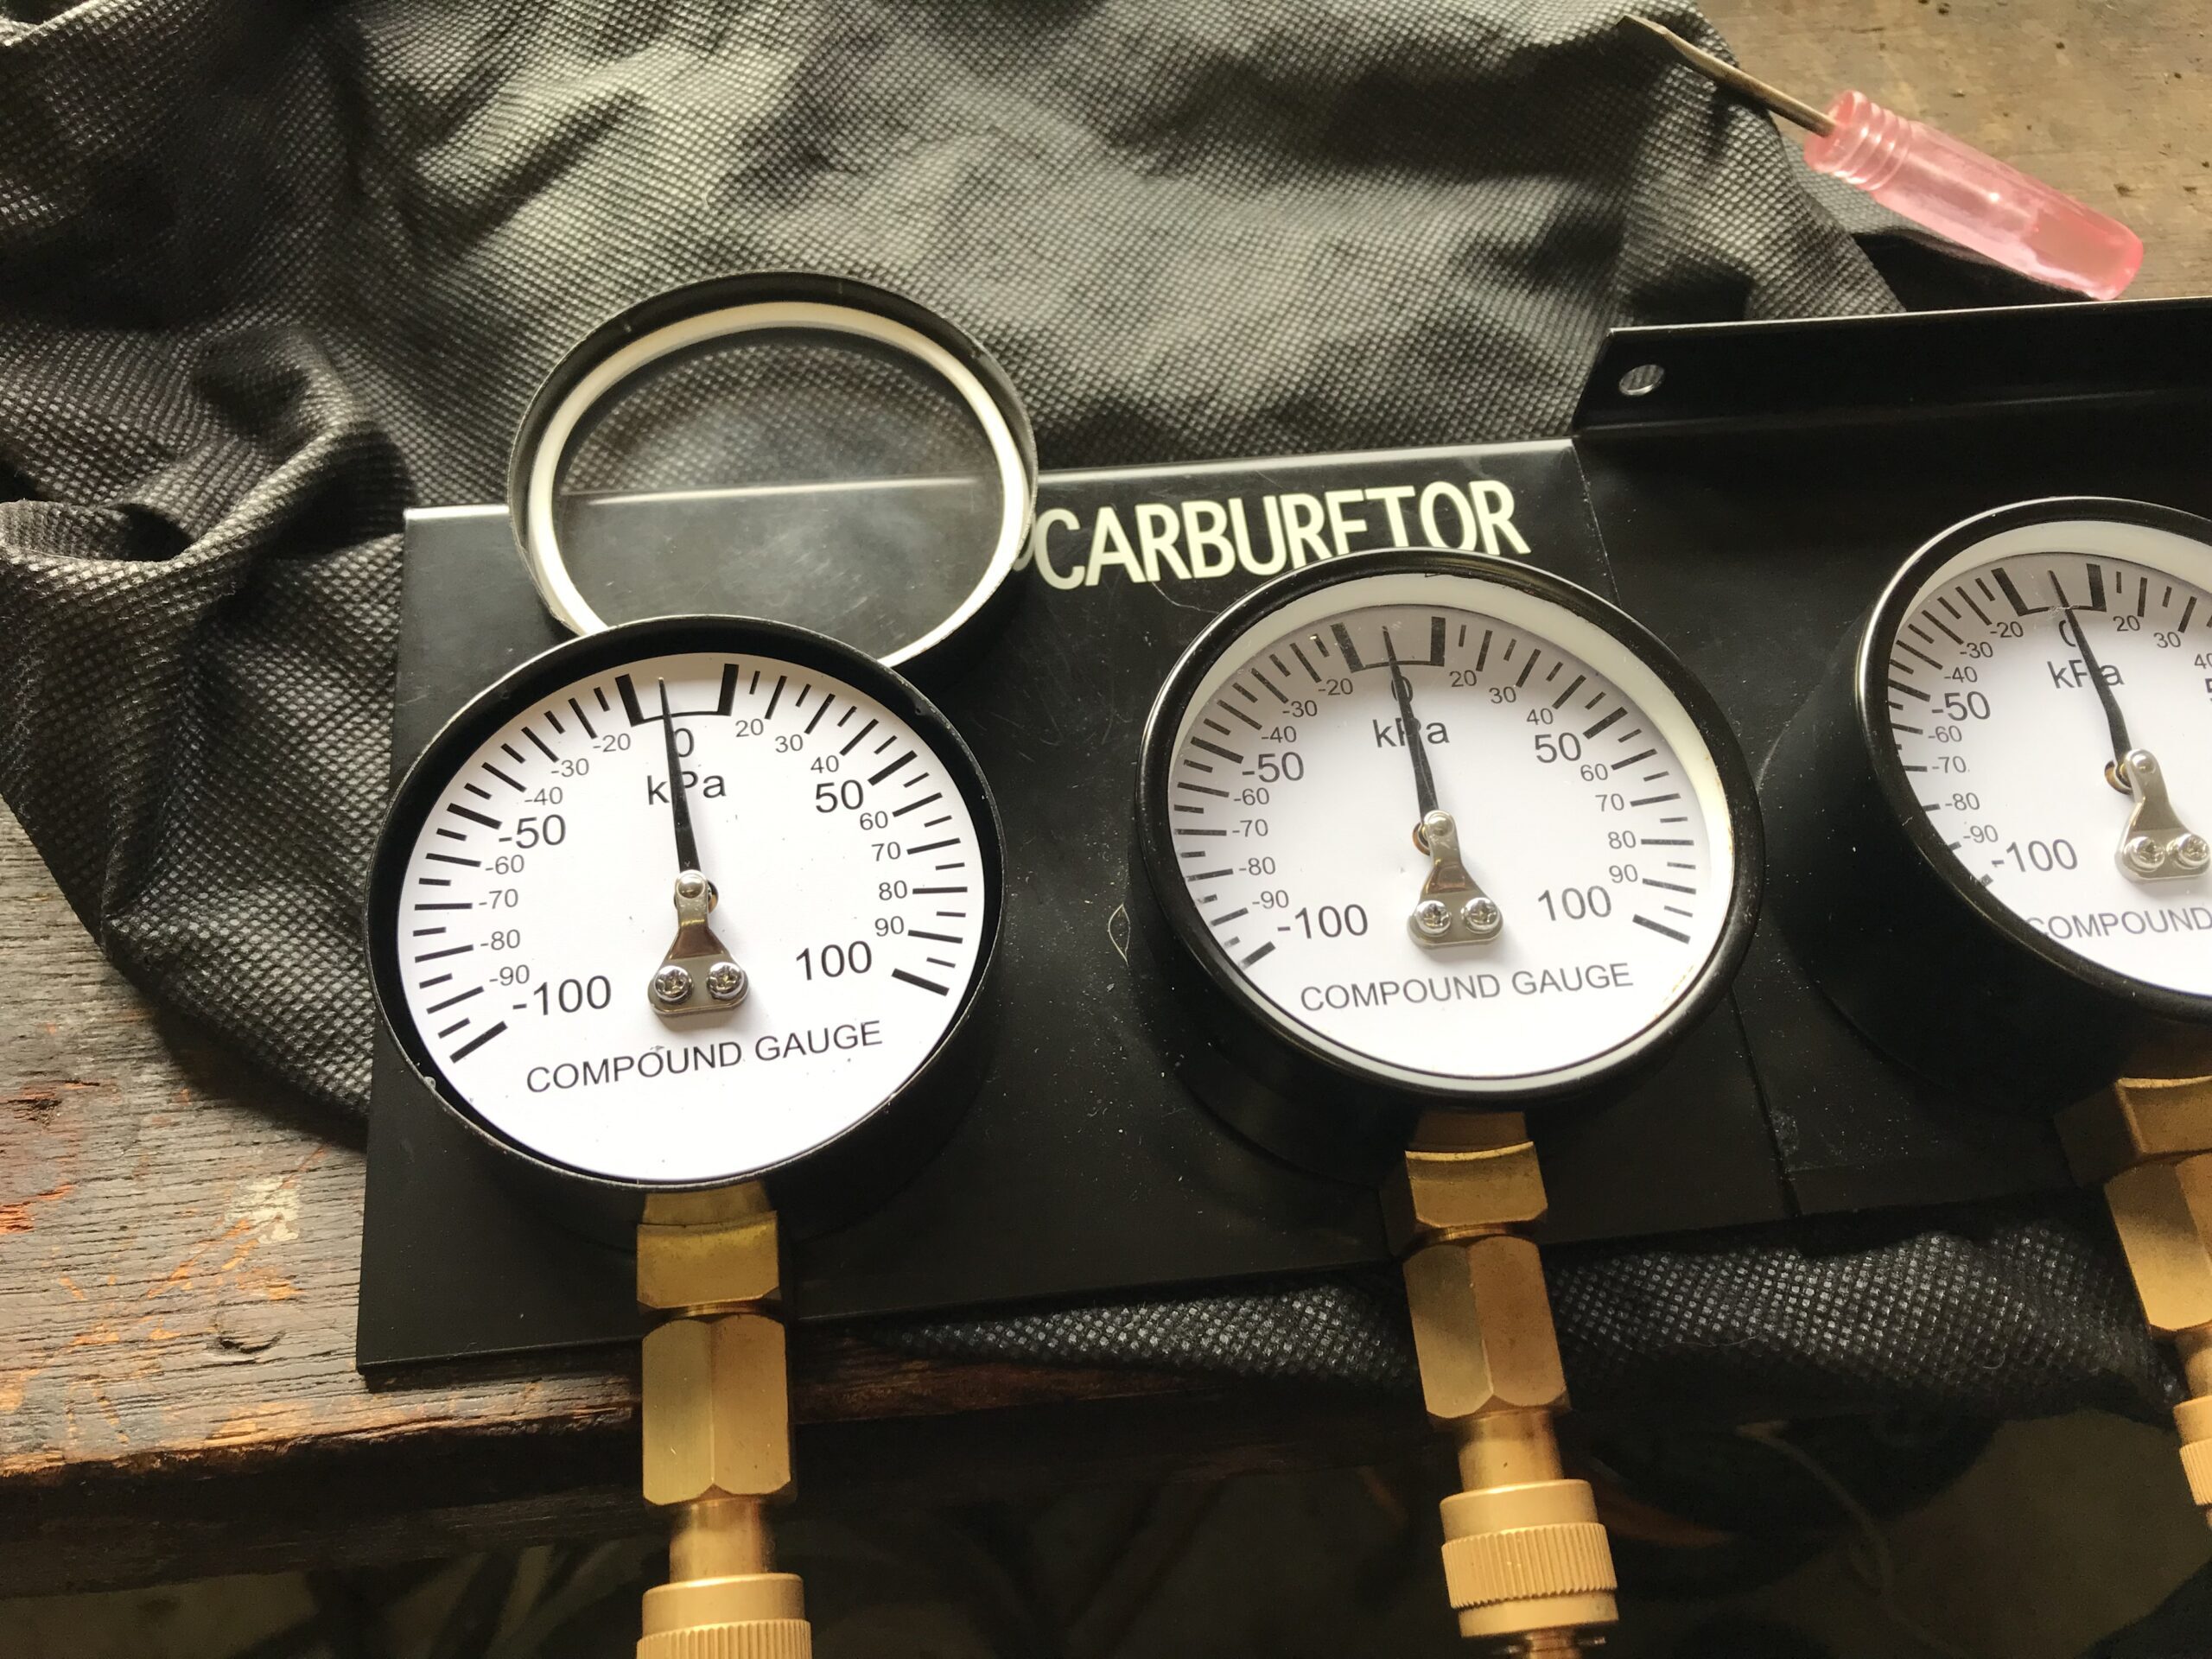
The next task is synchronization, so I carefully calibrated the zero point on the multi-vacuum gauge. The multi-vacuum gauge was quite out of calibration when I bought it new, so calibration before use is essential.
Since I took the opportunity to remove the sync screw and sync nut, I also matched the height of the starting point of the threads. I then adjusted the tension of the throttle wire and the initial throttle opening using the idle stop screw, ensuring everything aligns perfectly at full throttle. I minimized throttle play as much as possible, and now everything is ready to go.
However, since the battery is dead, the synchronization work will have to wait until tomorrow.
Oh my God!
FCR – Vacuum release plate and lip sealFCR-Vacuum release plateFCR-Vacuum release plateFCR-Vacuum release plateFCR setting manualCalibration of the needles on a multi-vacuum gaugeRemove the FCR synchronization nut and synchronization screwRemove the FCR synchronization nut and synchronization screwFCR-Vacuum release plate Replacement
Preparation for Front Tire Replacement
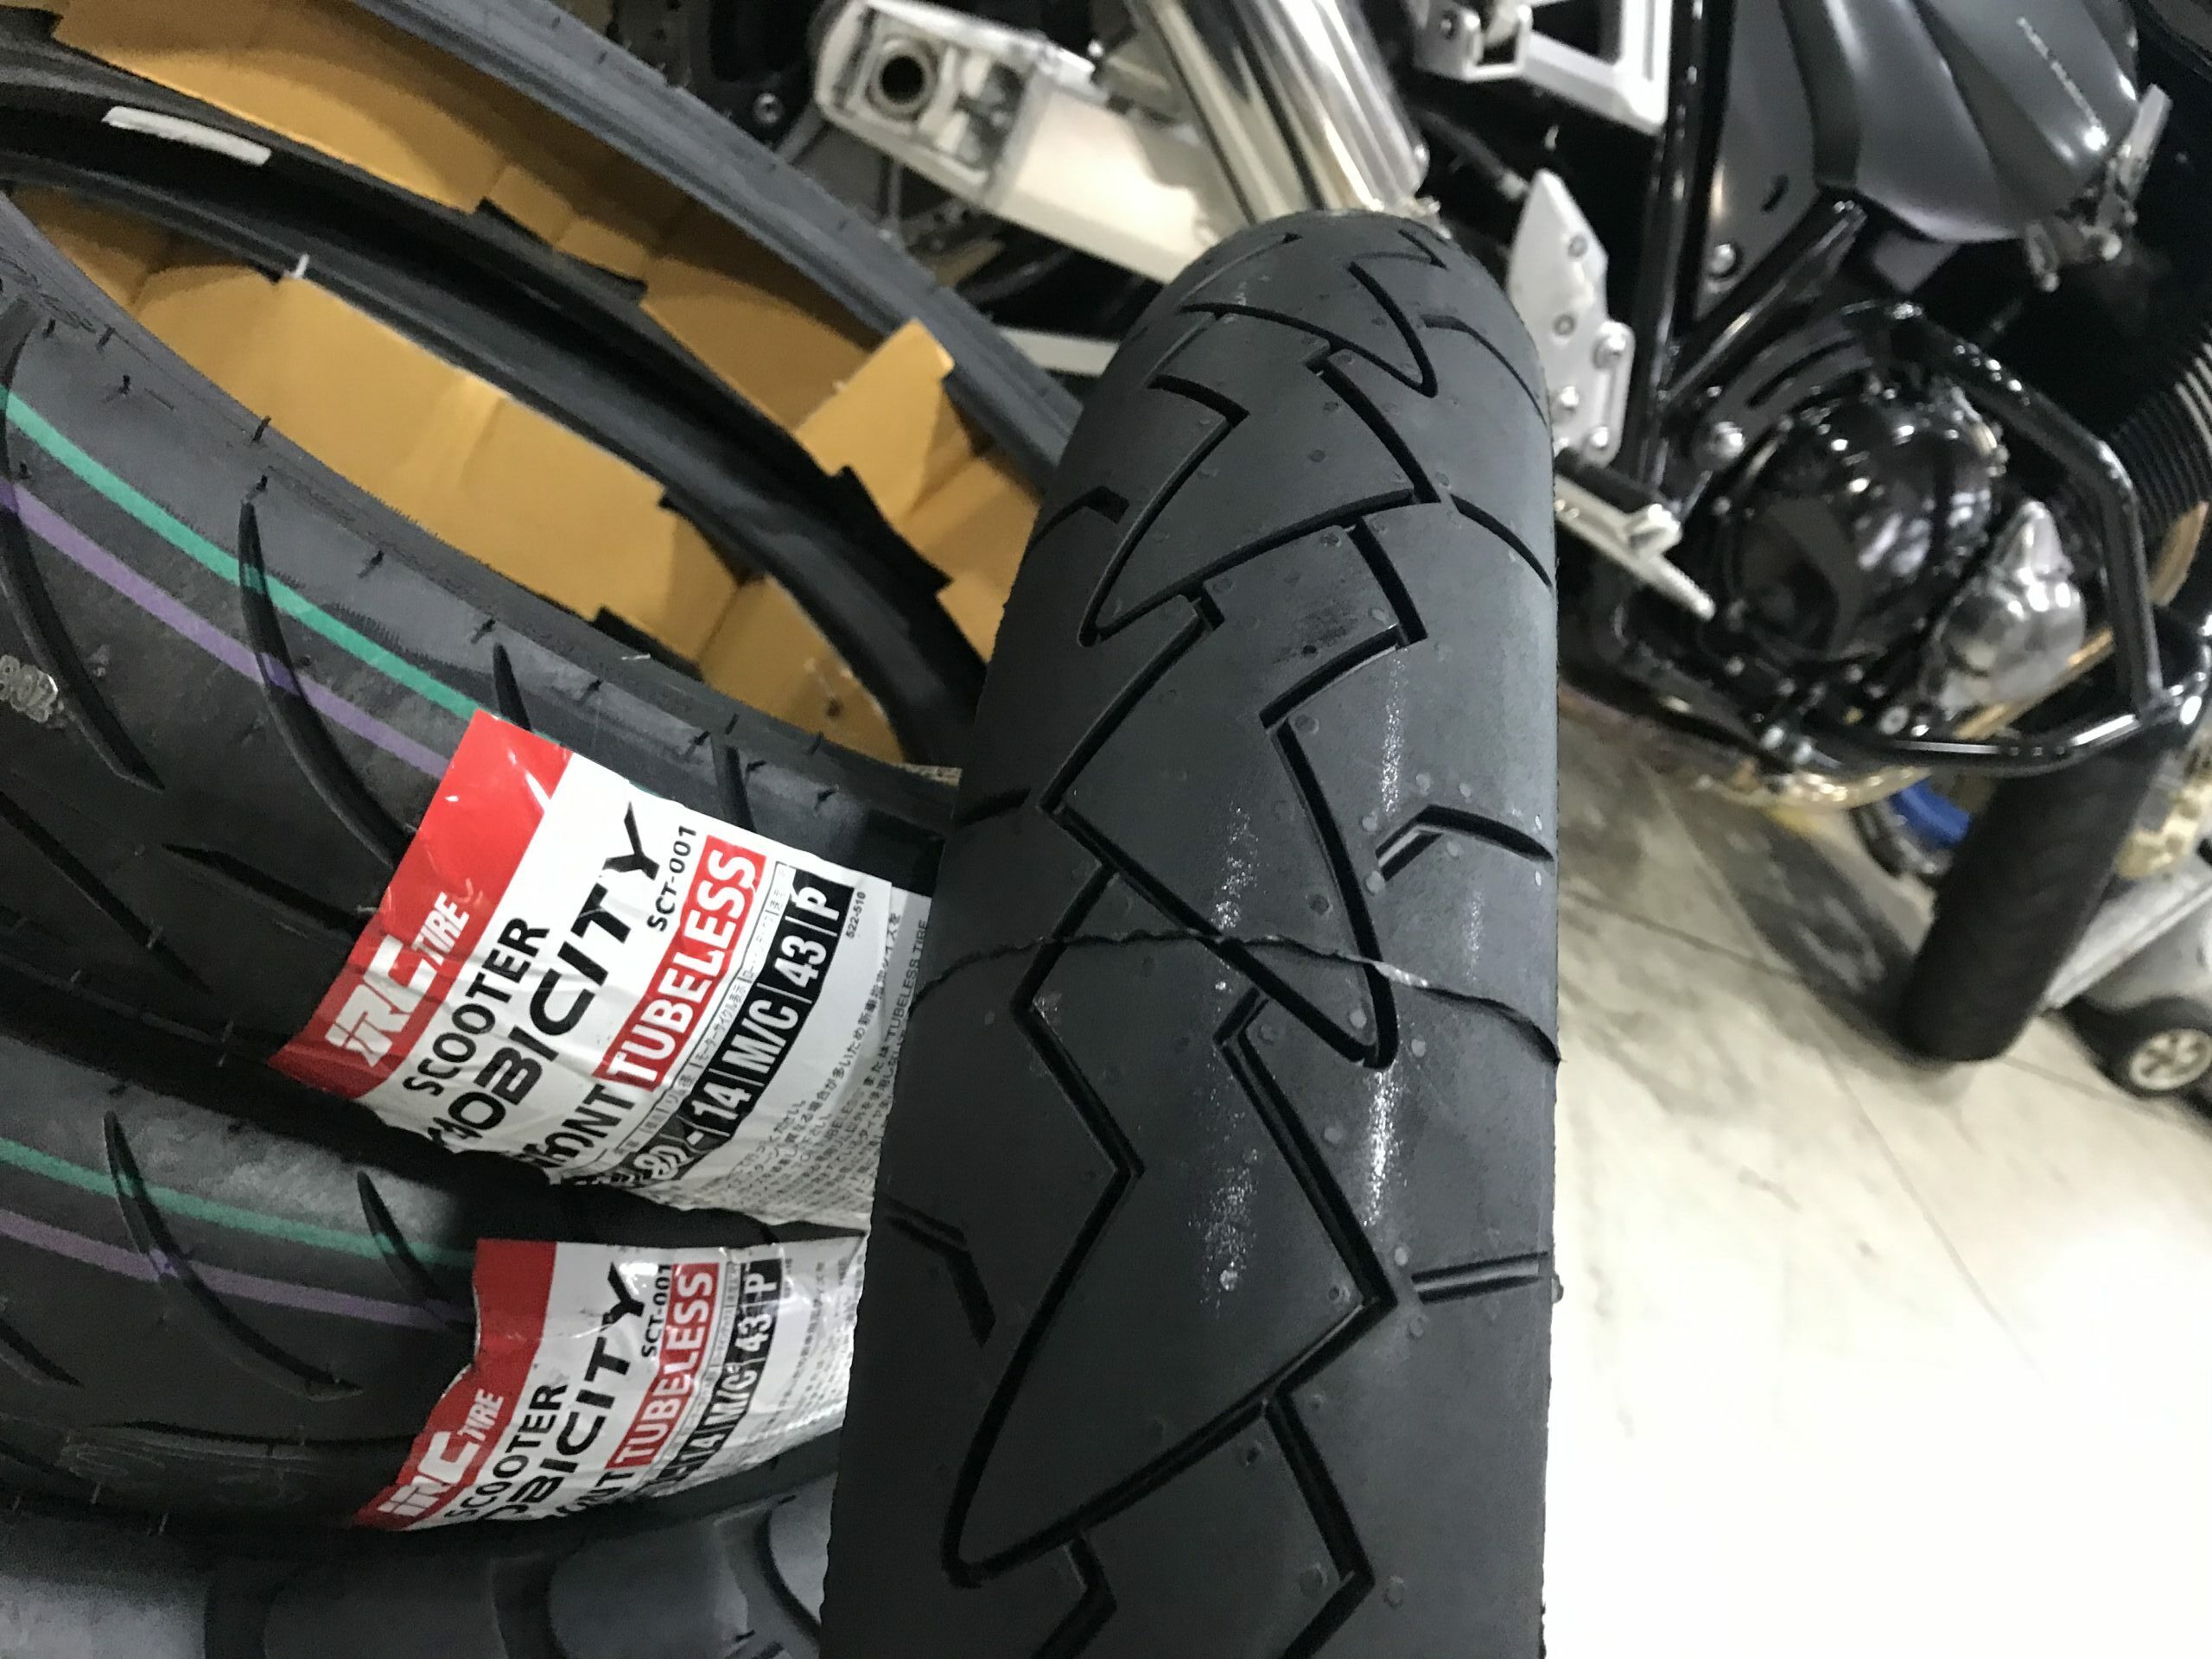
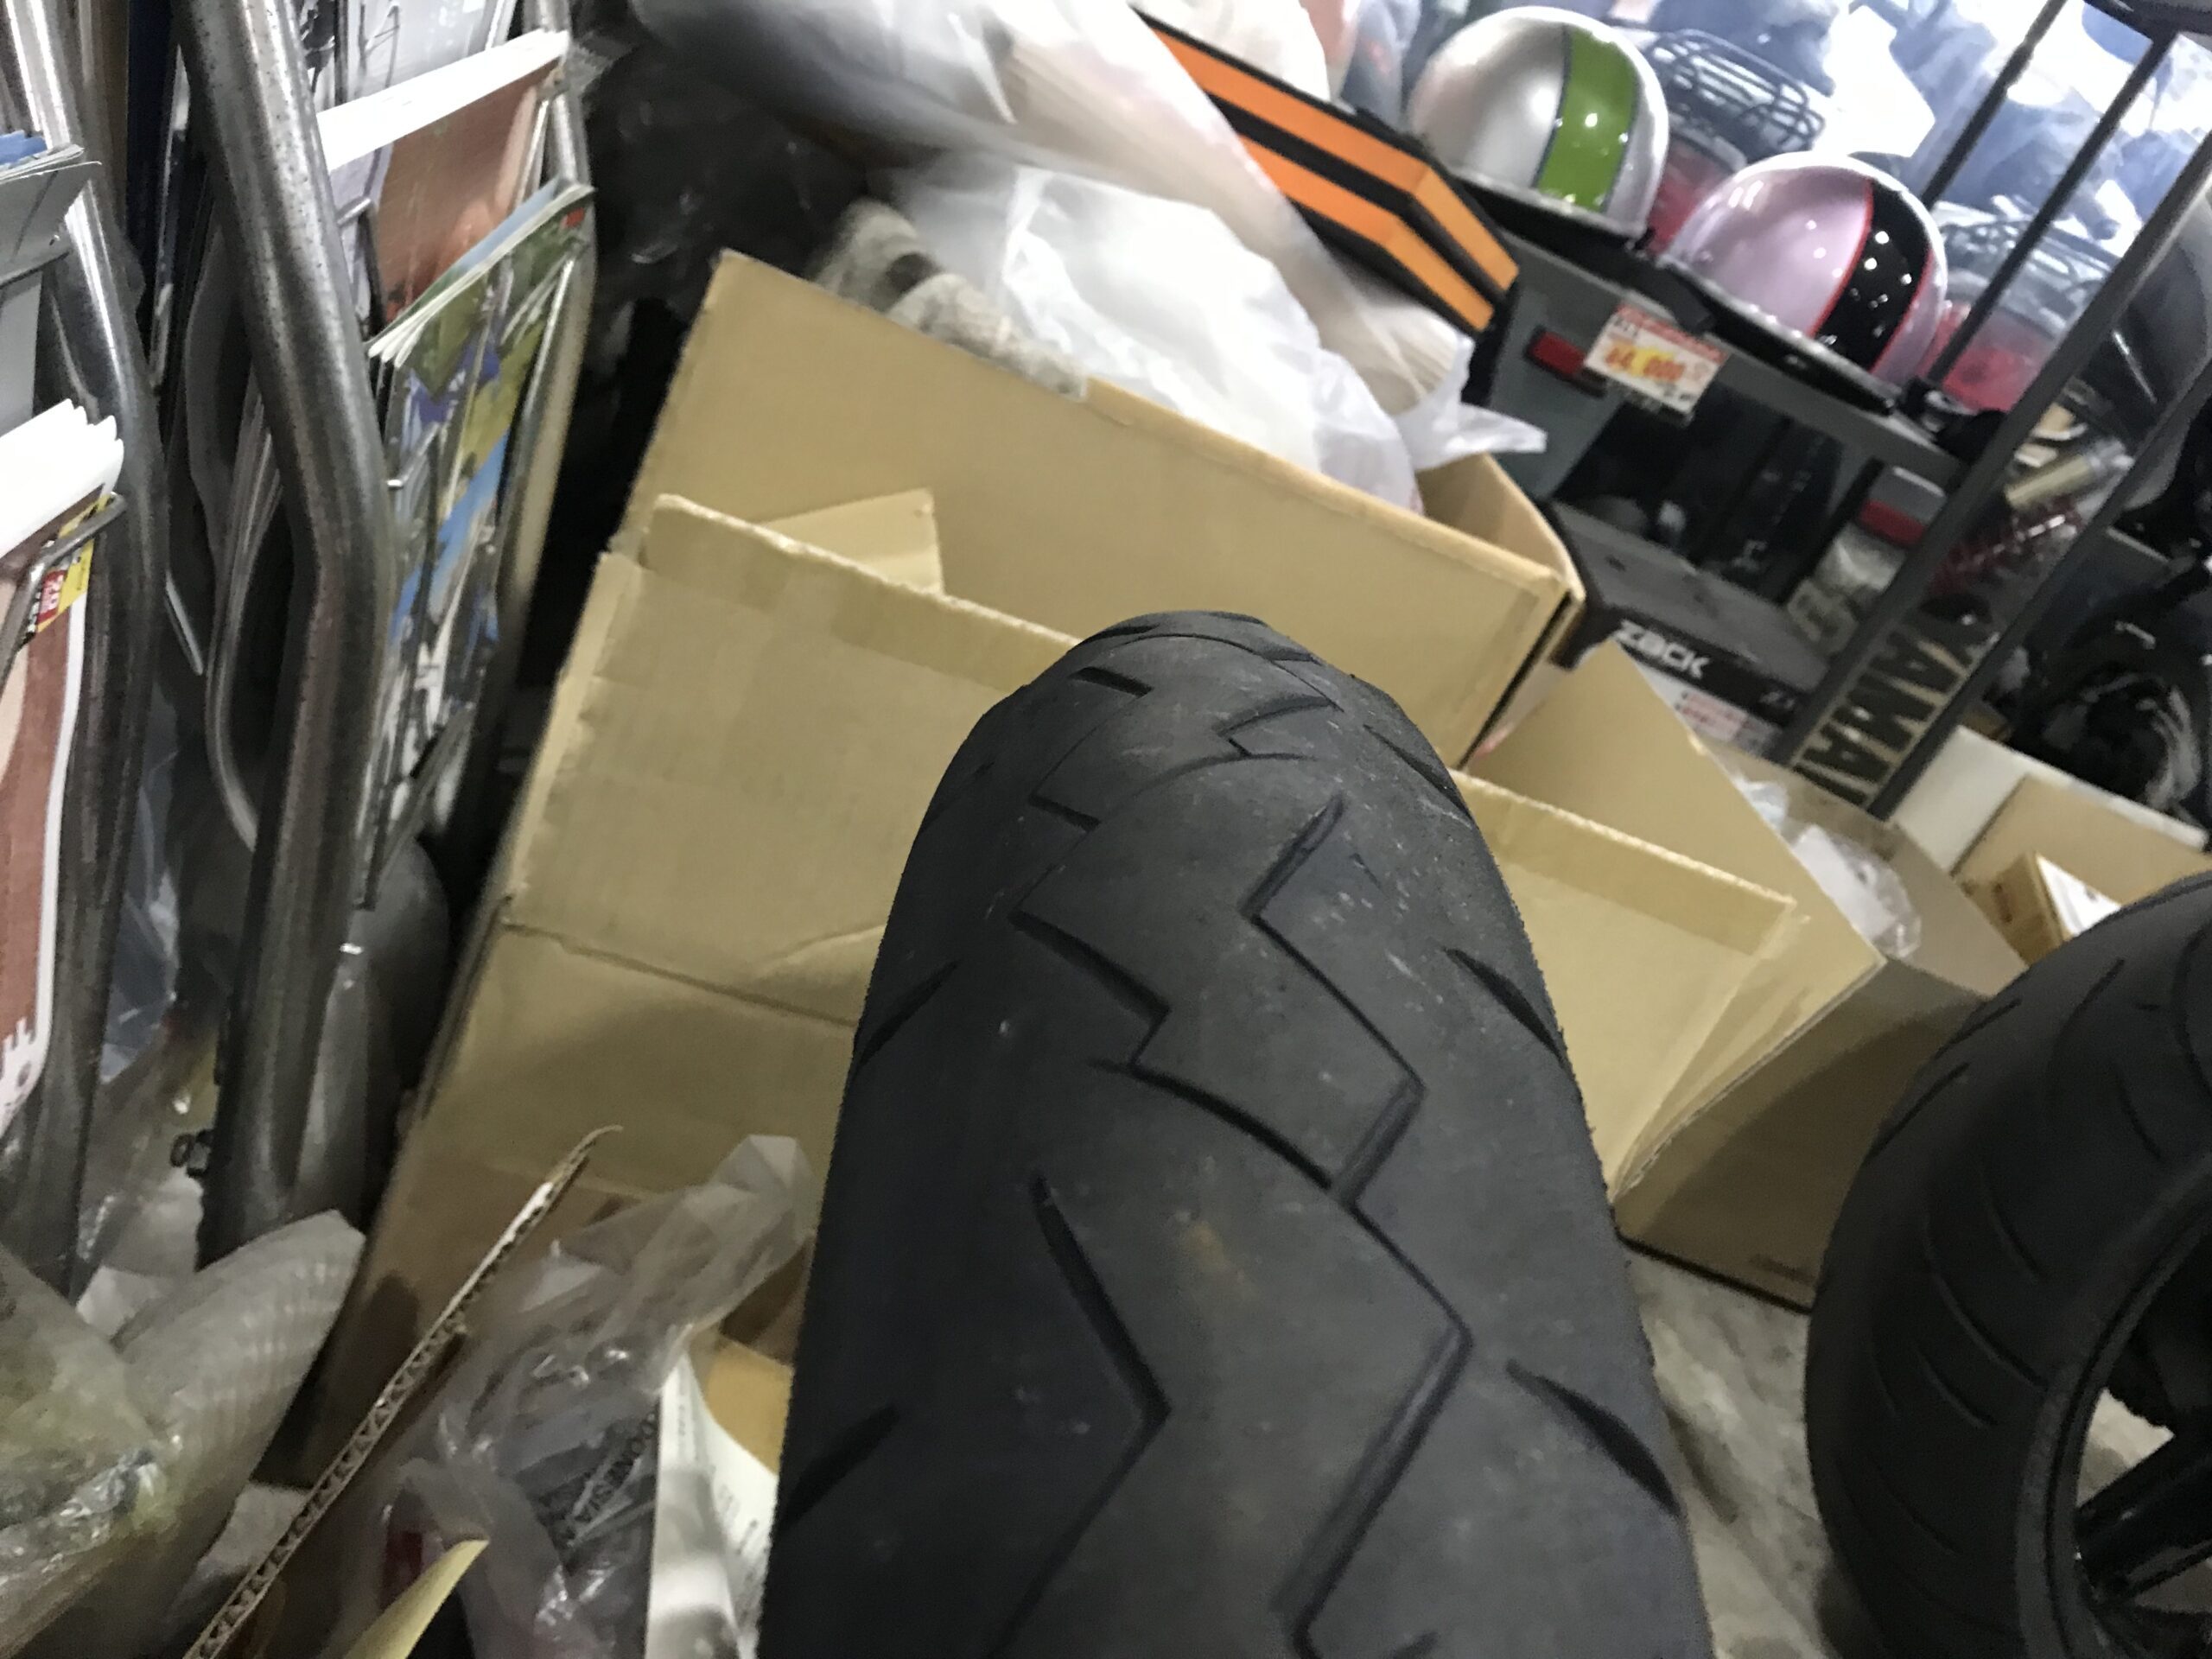
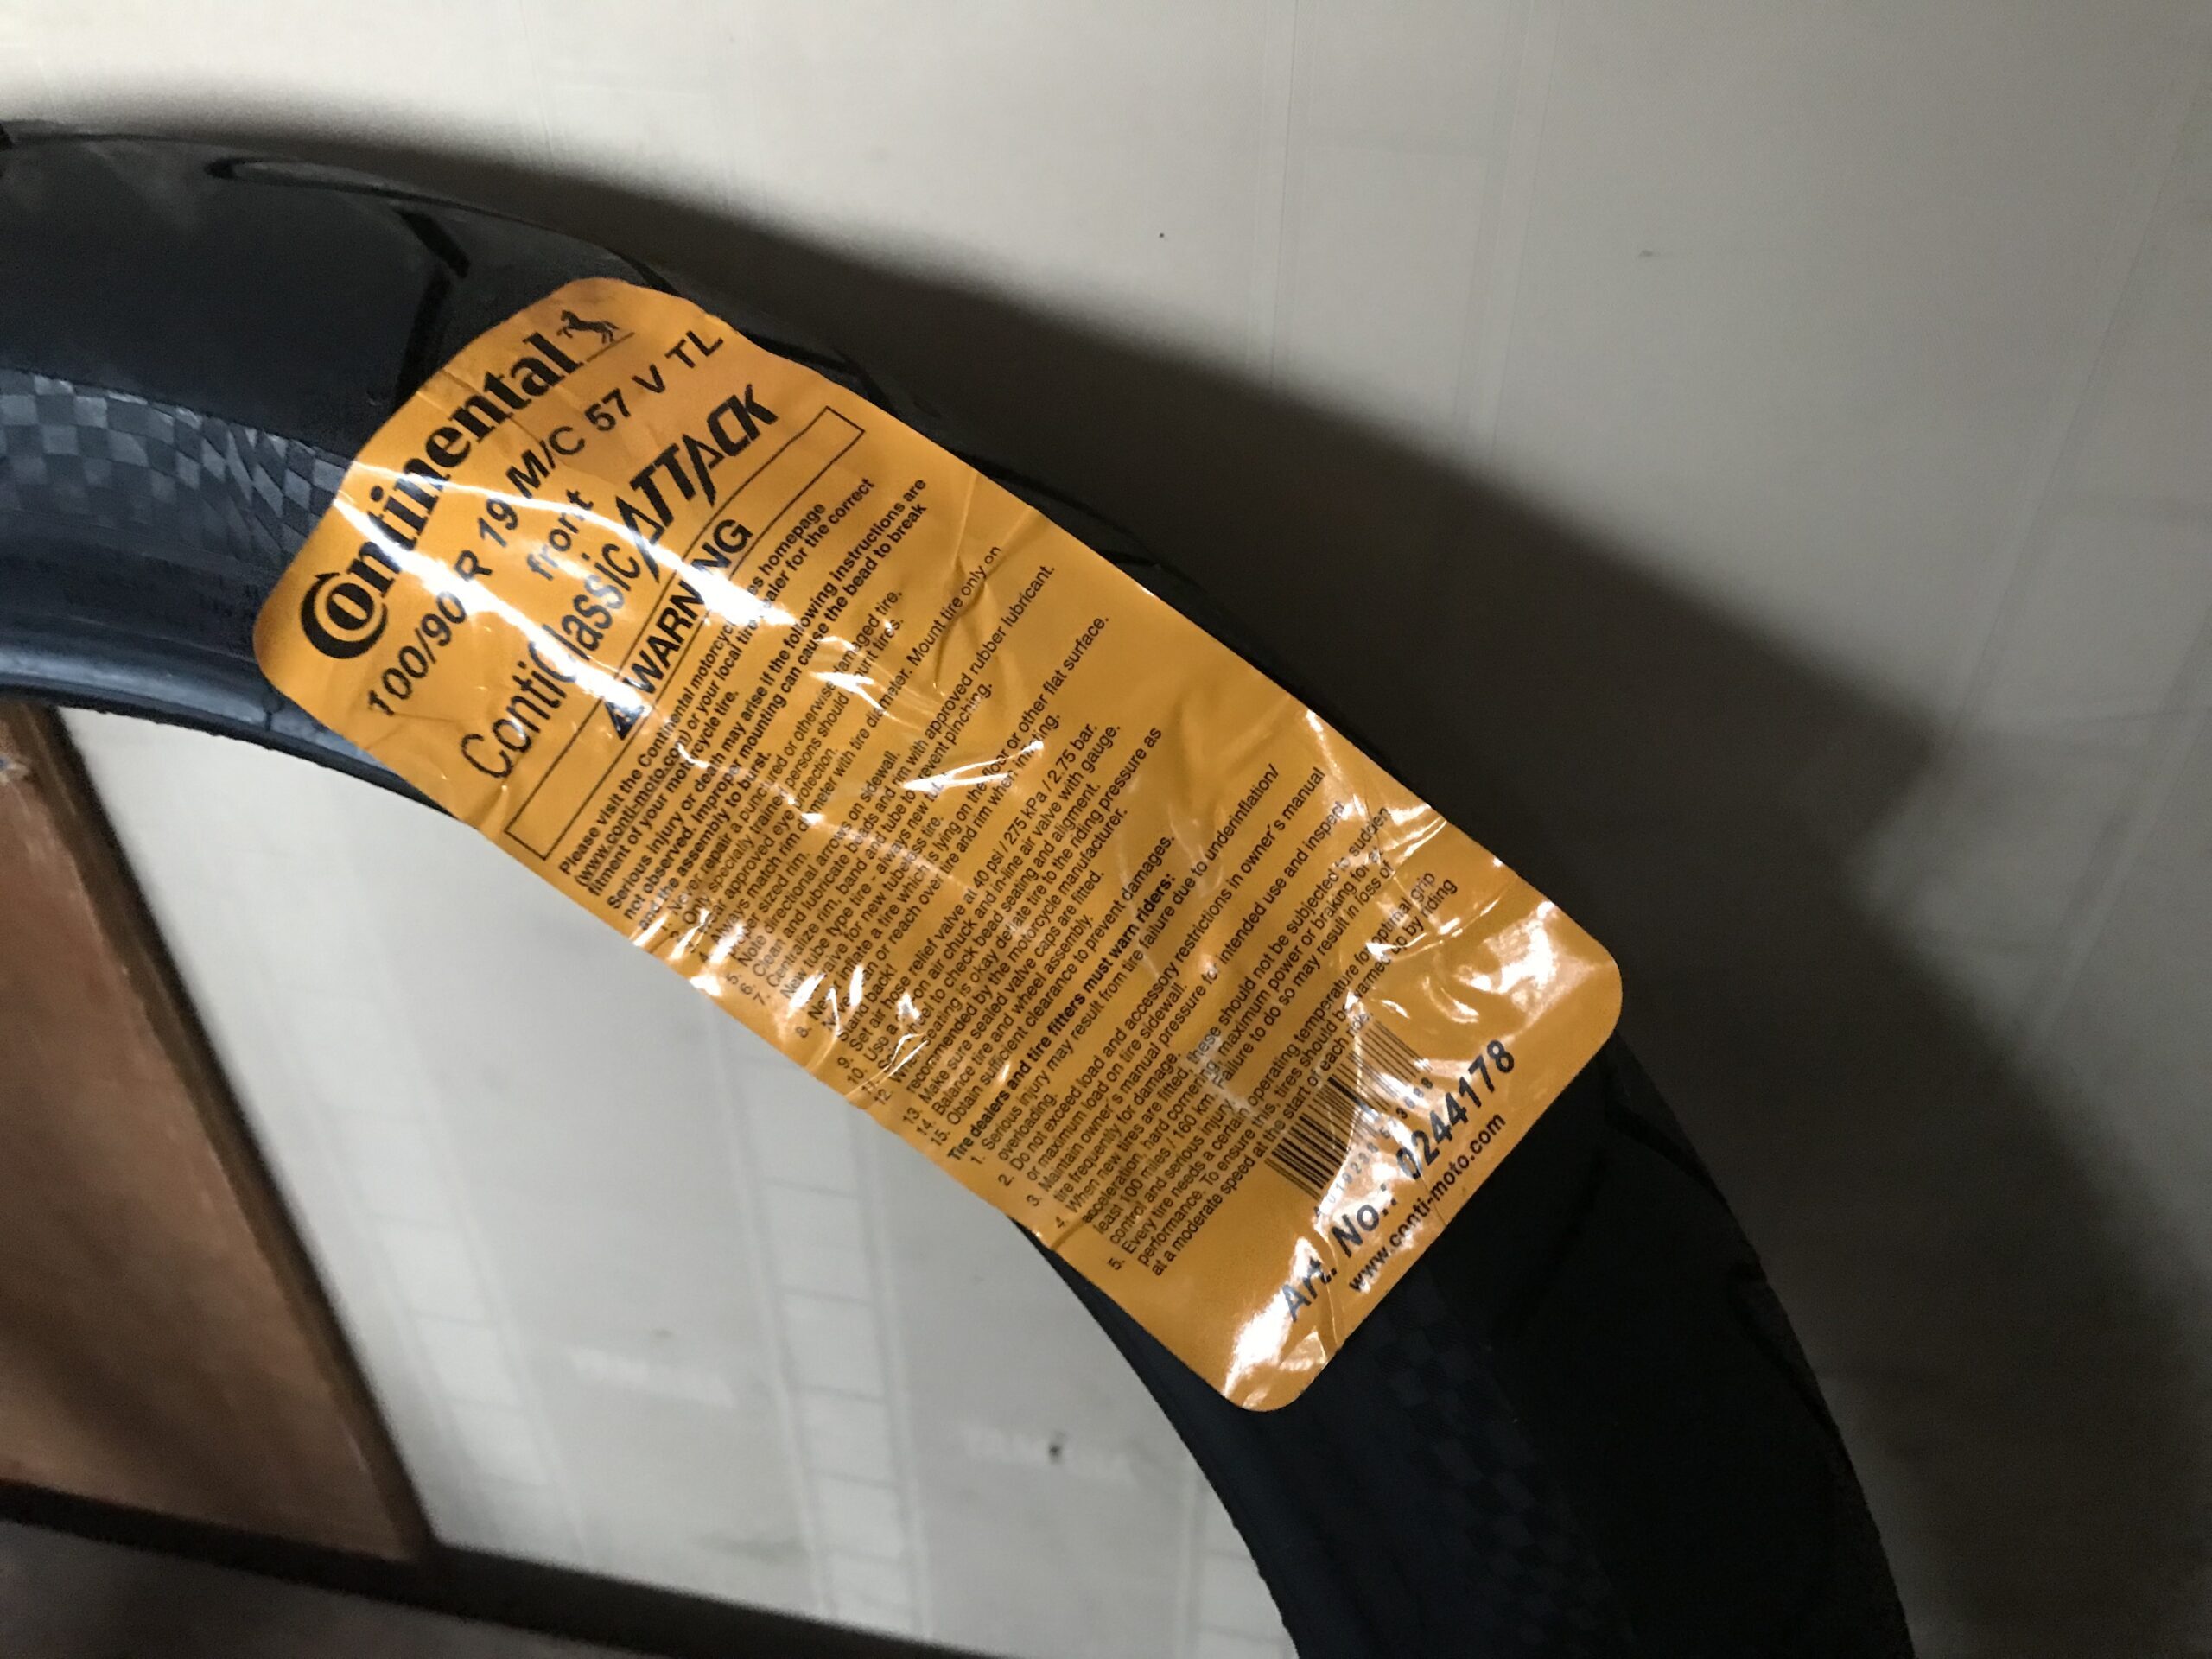
One of the main goals for this time is to replace the front tire. Although I haven't ridden a lot of distance, the tire seems to be showing signs of uneven wear, which is bothering me, so I'm going to replace it. The wear is mostly on the outer edges of the front tire. It's likely that the tire pressure was too low; I was maintaining it at around 2.1 kPa, but it seems insufficient. The appropriate range seems to be between 2.4 and 2.6 kPa. I didn't notice much of a problem before putting on the fairing, but maybe the front load increased? It's unclear if I was riding with incorrect tire pressure all along, but at least it's showing uneven wear due to low pressure. The tire brand is Continental Classic Attack, which is currently the only radial tire available in 19 inches. Previously, I used Dunlop TT100GP tires, and since switching to Continental, I've been using them for quite a long time—this will be my third set. The TT100GP has a lifespan of around 6000 km in my experience. Last year, I replaced the rear tire, which was heavily worn in the center and almost showing wires.

By the way, I had a bit of trouble removing and replacing the front tire because the front stand was too low, so I used a support board and redid the work. Then, the caliper support interfered, so I had to remove the caliper before I could take off the wheel. Since I've done this task at least once before, I should have remembered the procedure more clearly. I remembered that I had shims behind the caliper support, but I didn't recall the shortest steps for removal and installation. I regret that.
Continental – ContiClassicAttack – NewContinental – ContiClassicAttack – Uneven WearContinental – ContiClassicAttackCBX1000 front tire removalCBX1000 front tire removalContinental – ContiClassicAttack
Work at the rental pit on 2023-03-25 – Installing the FCR and removing the front tire【summary】
I wanted to spend a long time on the work today, but since I managed to get the tire replacement and synchronization work done up to a certain point, I decided to end today's work. I also wanted to do some tasks like the oil change and reinstallation of the dashcam, but to avoid getting overwhelmed, I decided to wrap up for the day without skipping any steps.
Tomorrow, I plan to continue with the synchronization work and tire installation. I also want to replace the spark plugs and polish the front wheel, so progress might be slow. After that, I'll replace the clutch outer and the counter gear seals. Once the engine guard is removed and replaced, I'll reinstall the dashcam, and that will complete the work.
I aim to finish the winter maintenance, including test rides, by spring.