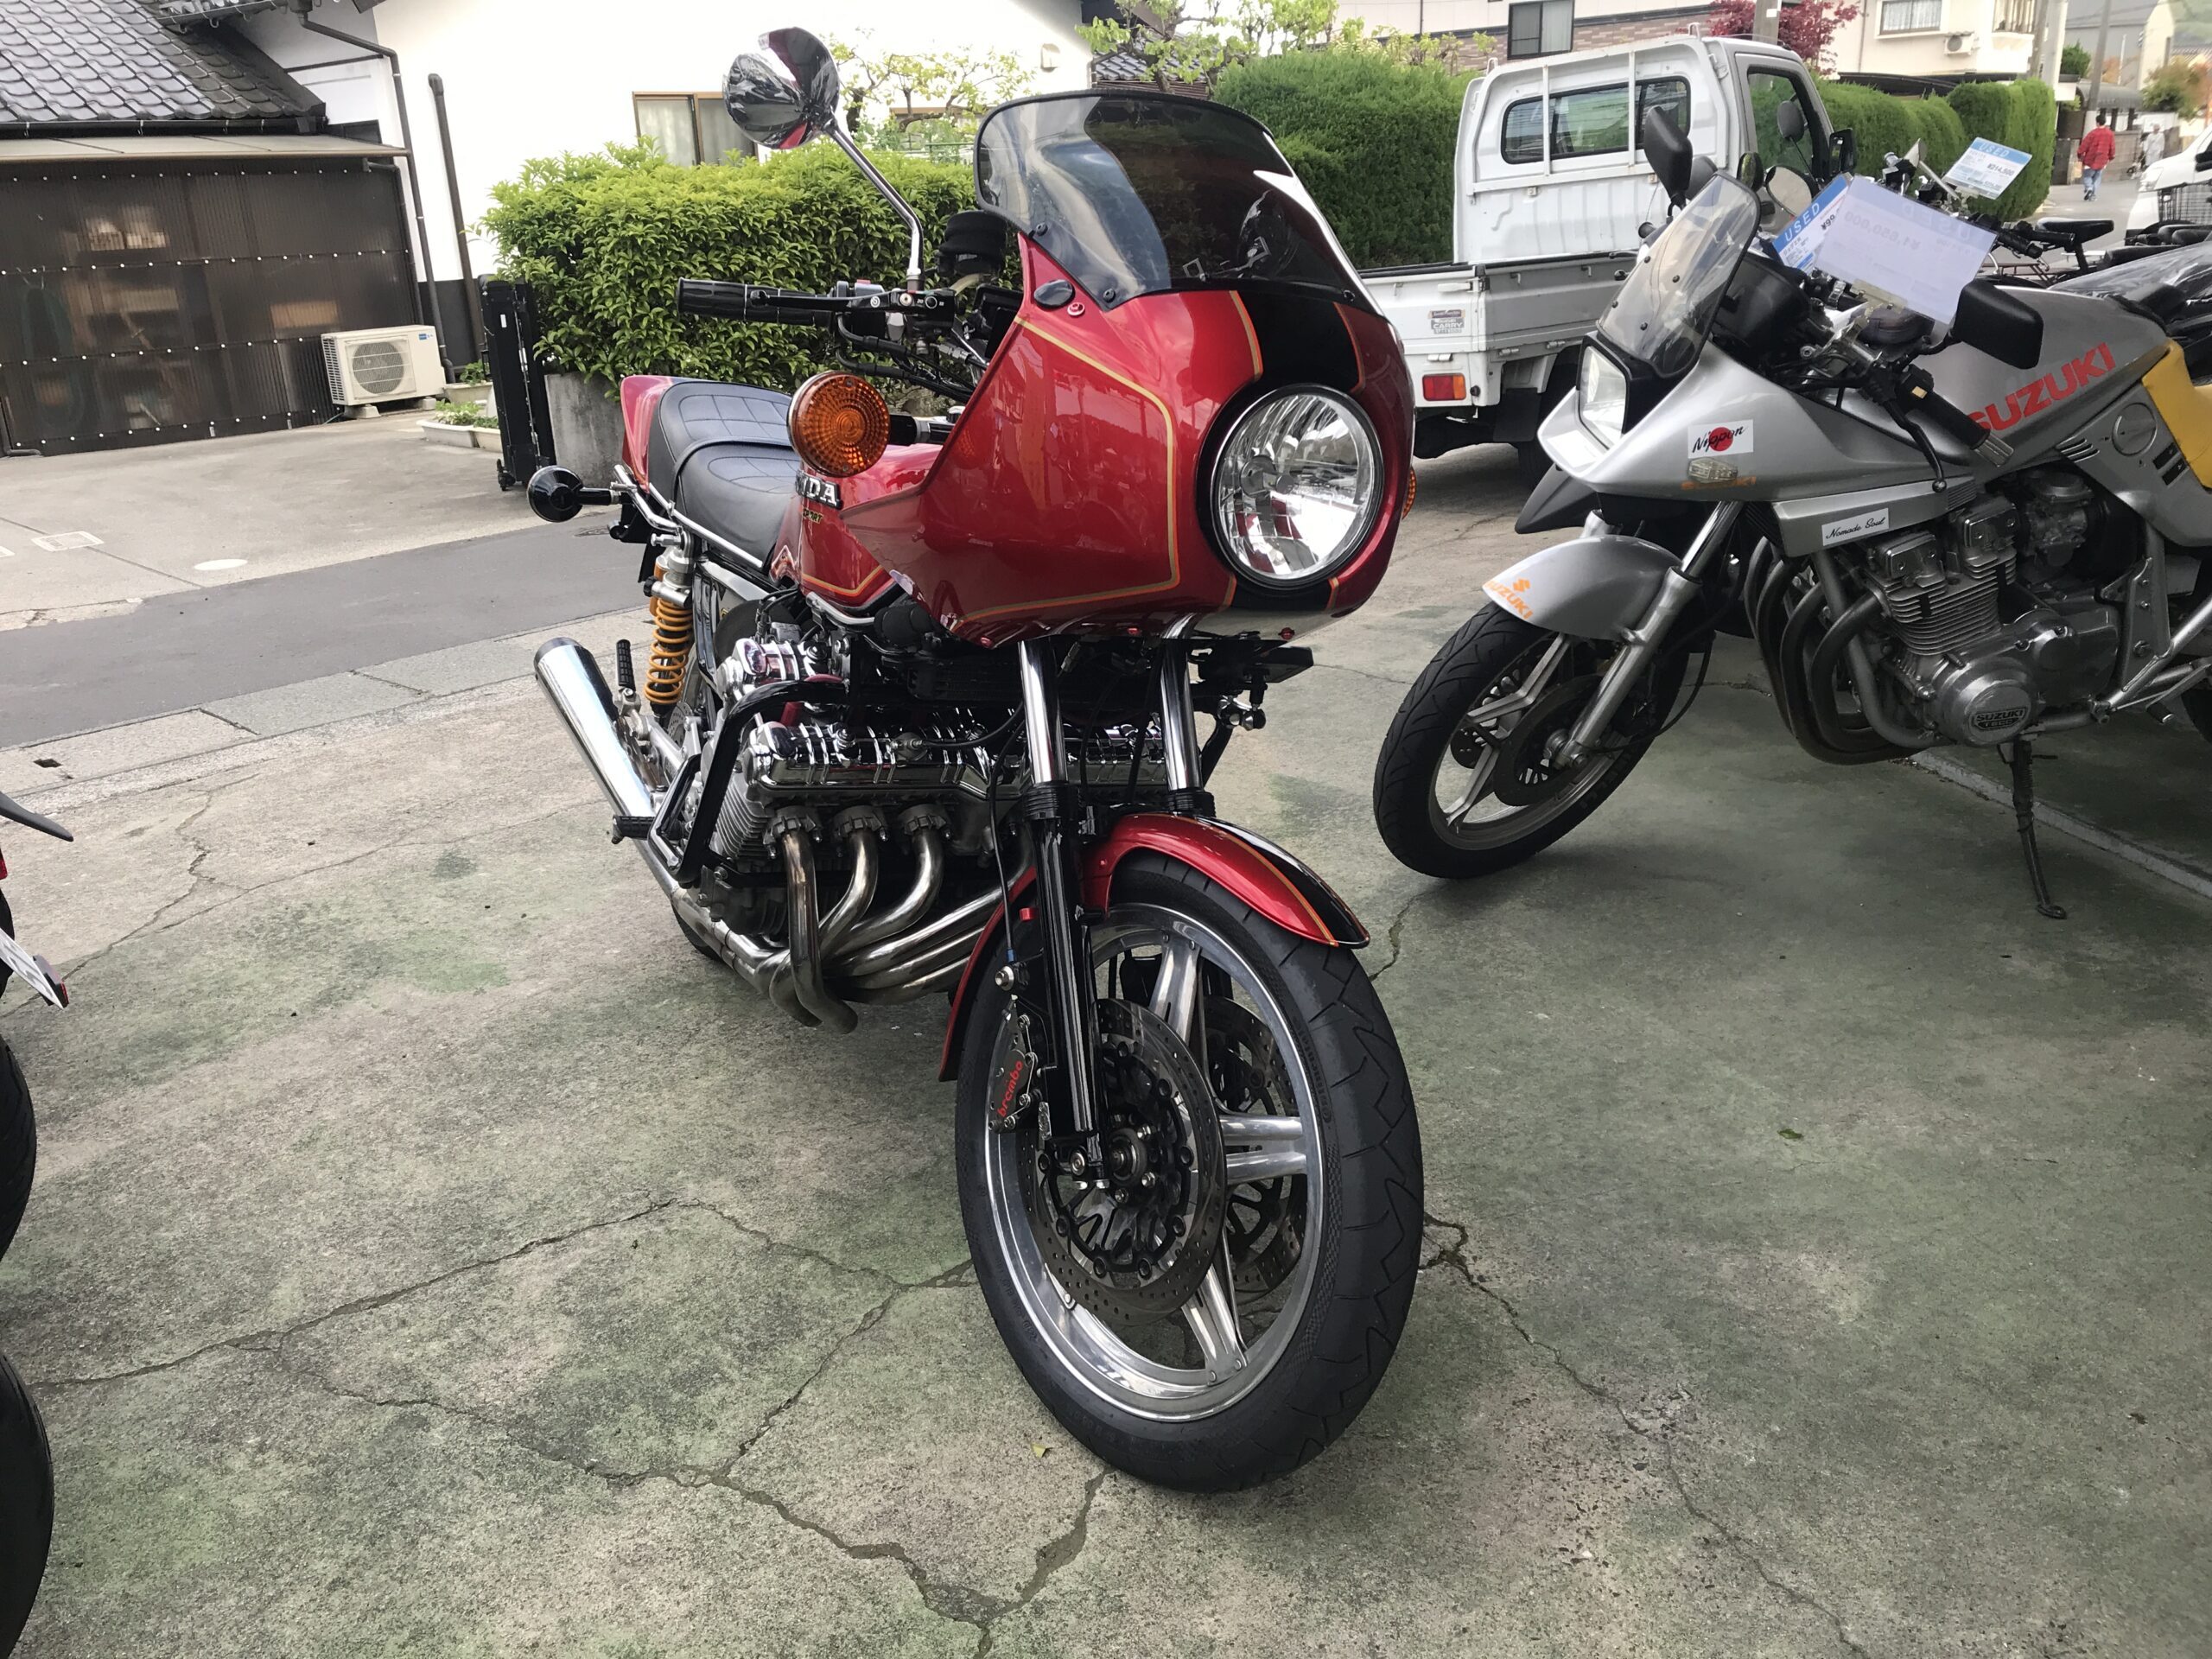
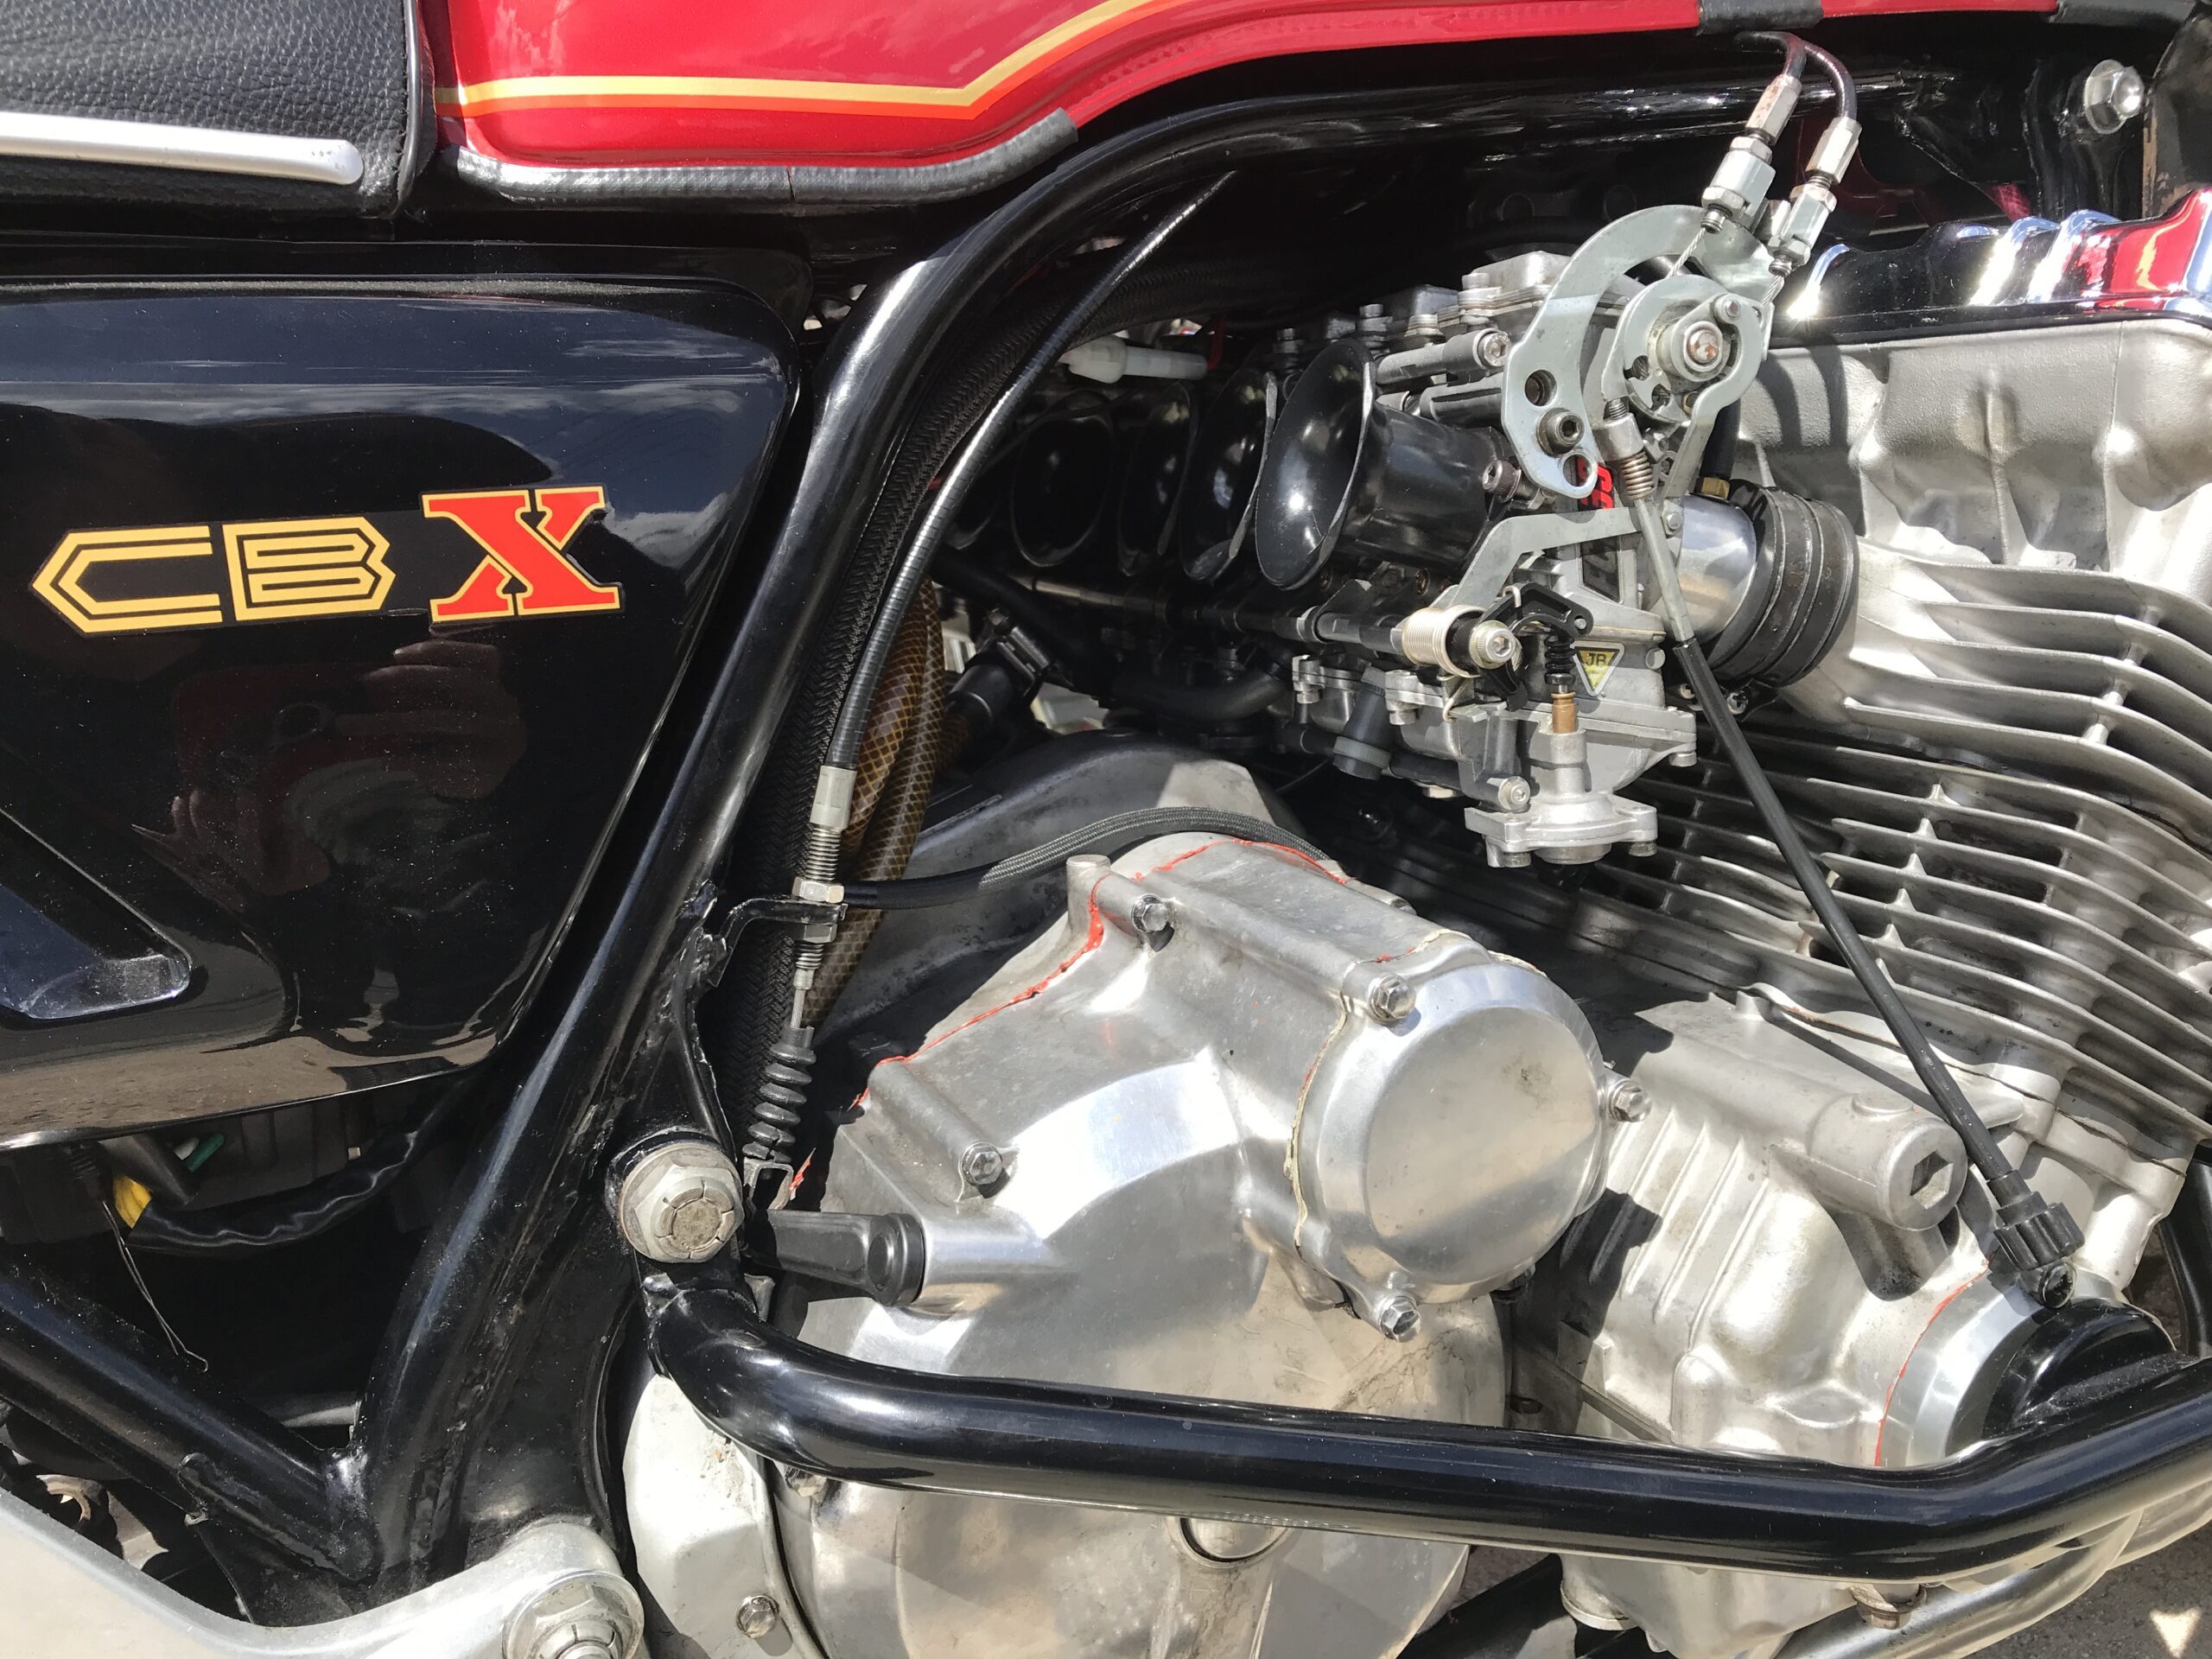
I am the owner of a Honda motorcycle [CBX1000] who lives in Hiroshima City, Japan. I am posting about FCR carburetor and CBX1000 customization. I also post about things other than cars and motorcycles. We will post information that will make bikers around the world happy.
My impression of changing the CBX1000’s clutch housing to the later model(SC06).
I will write about the clutch housing that I replaced during the winter maintenance of my CBX1000. This is about changing the clutch housing from the early model to the later model. I’ll start by sharing my impressions.
It feels like it’s become quieter. The rattling noise seems to have decreased. I’ve had no issues reaching speeds of up to 160 km/h during riding.
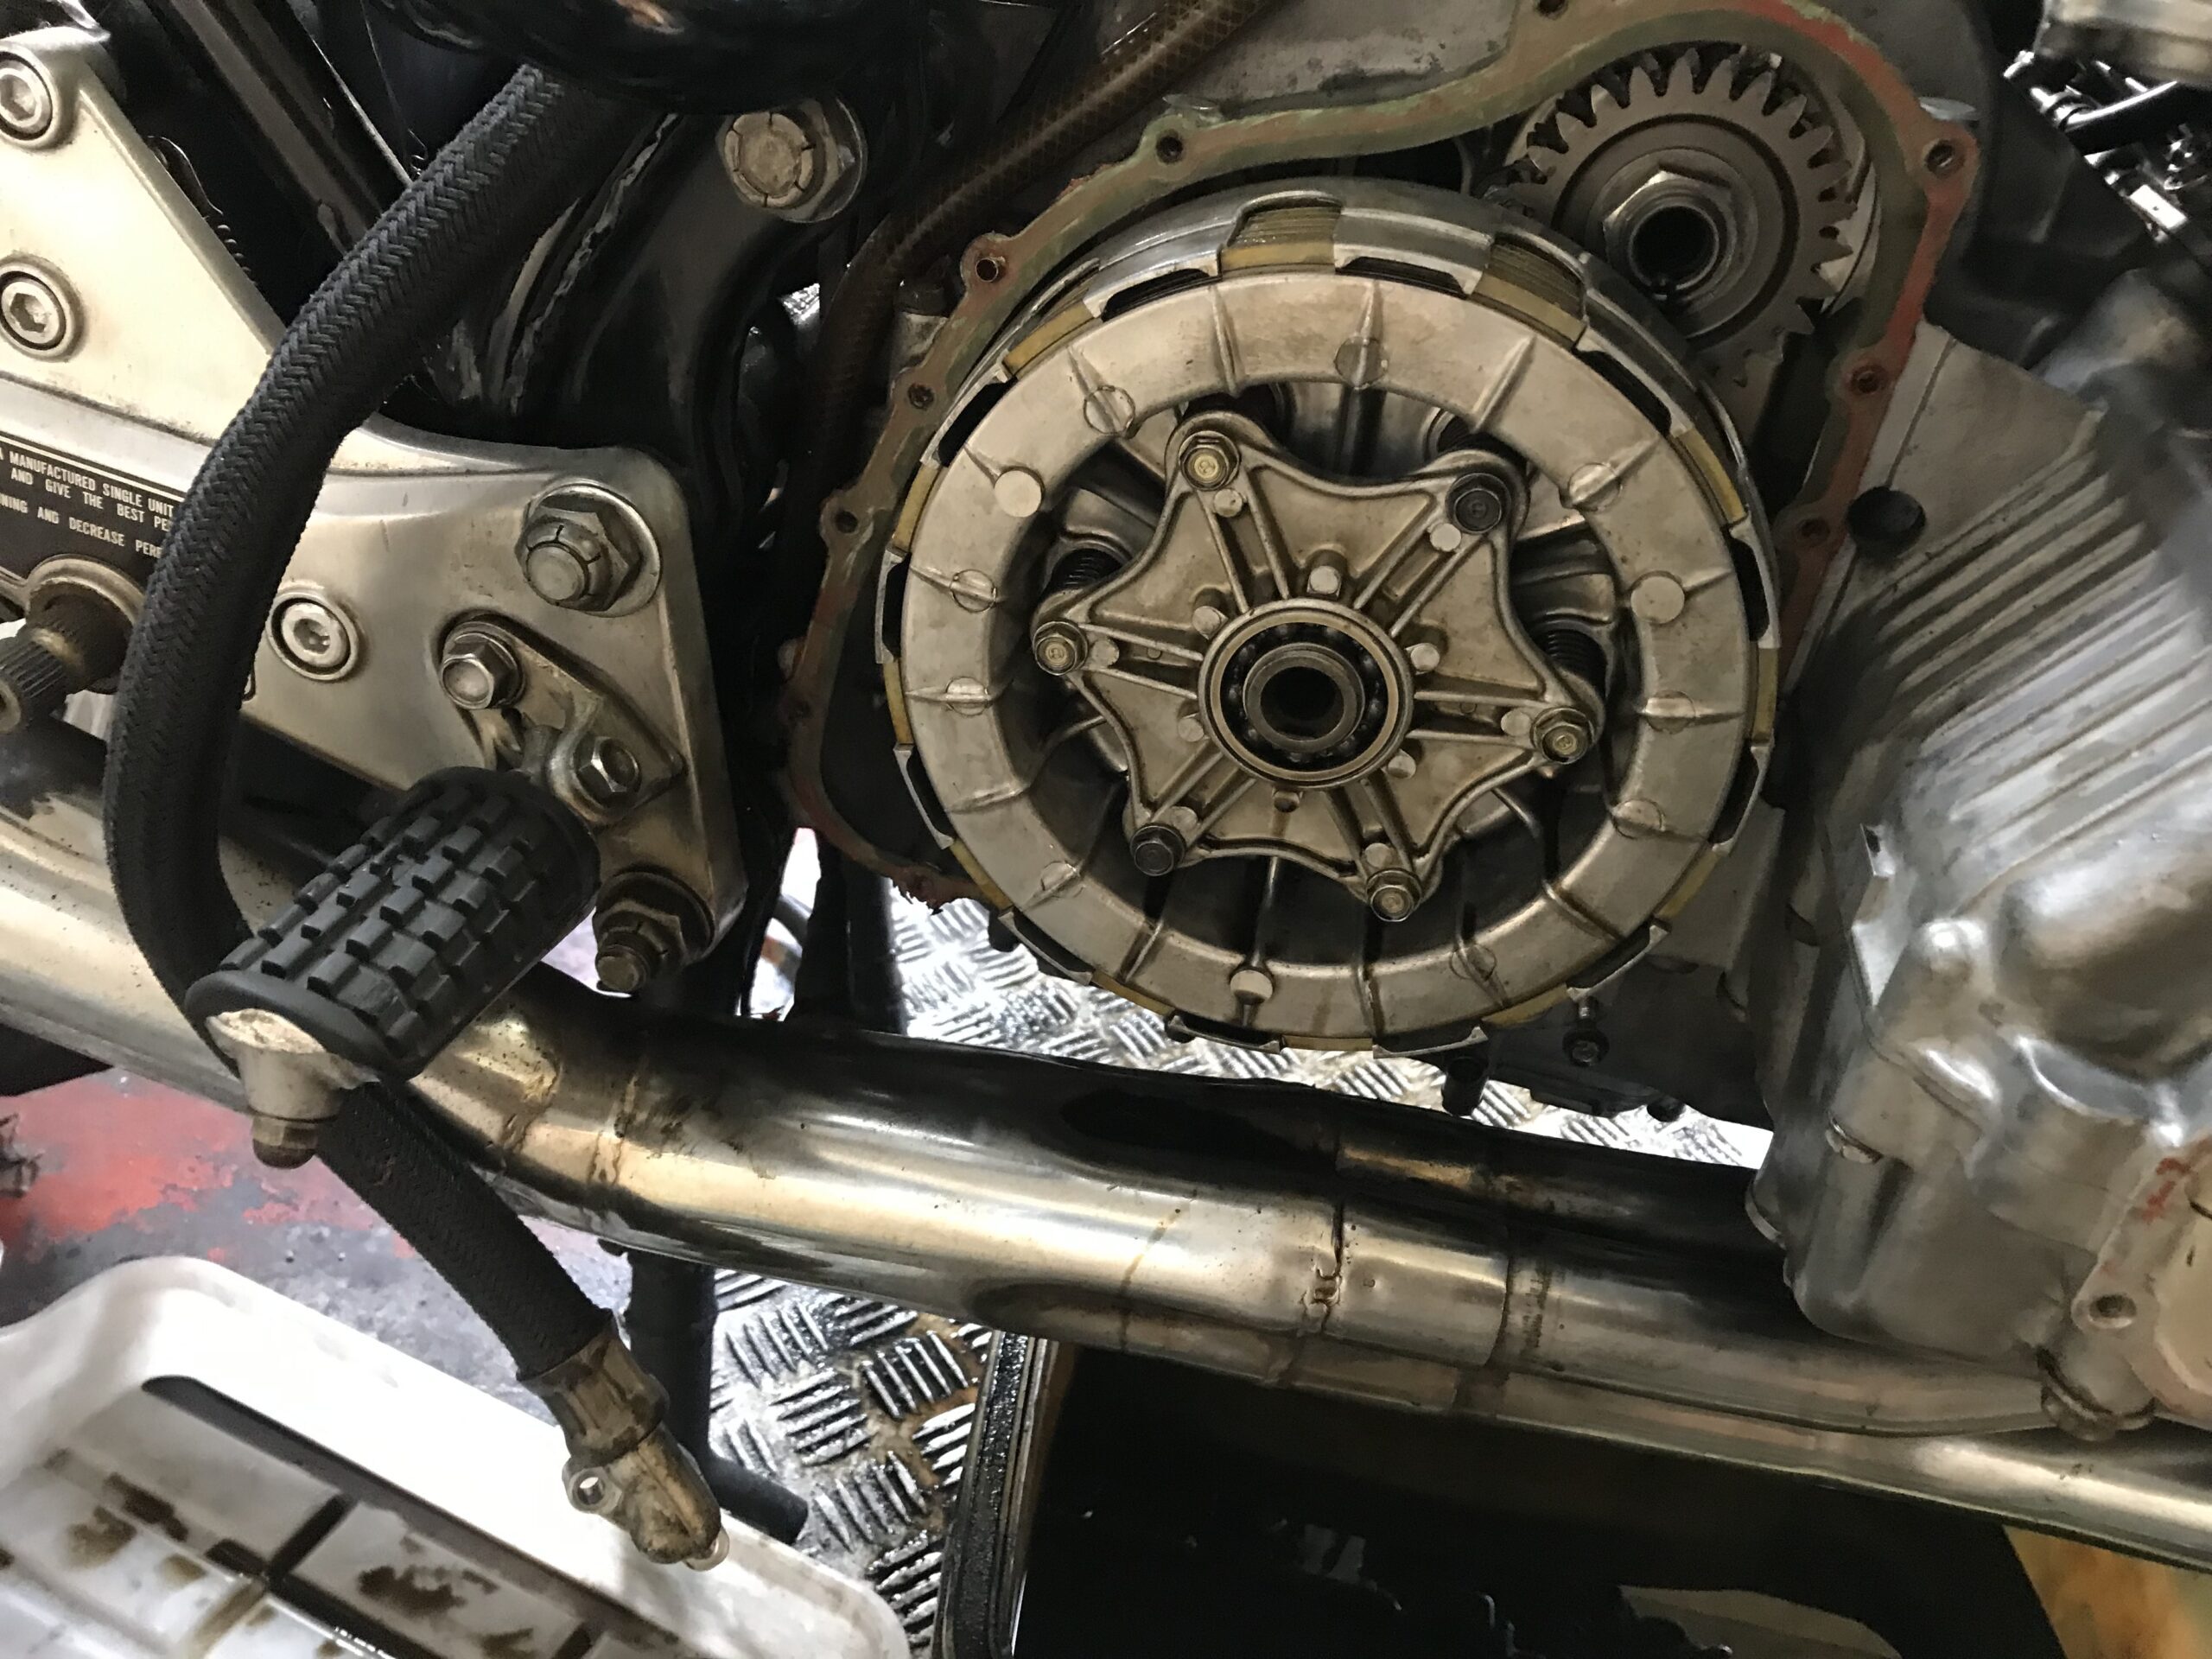
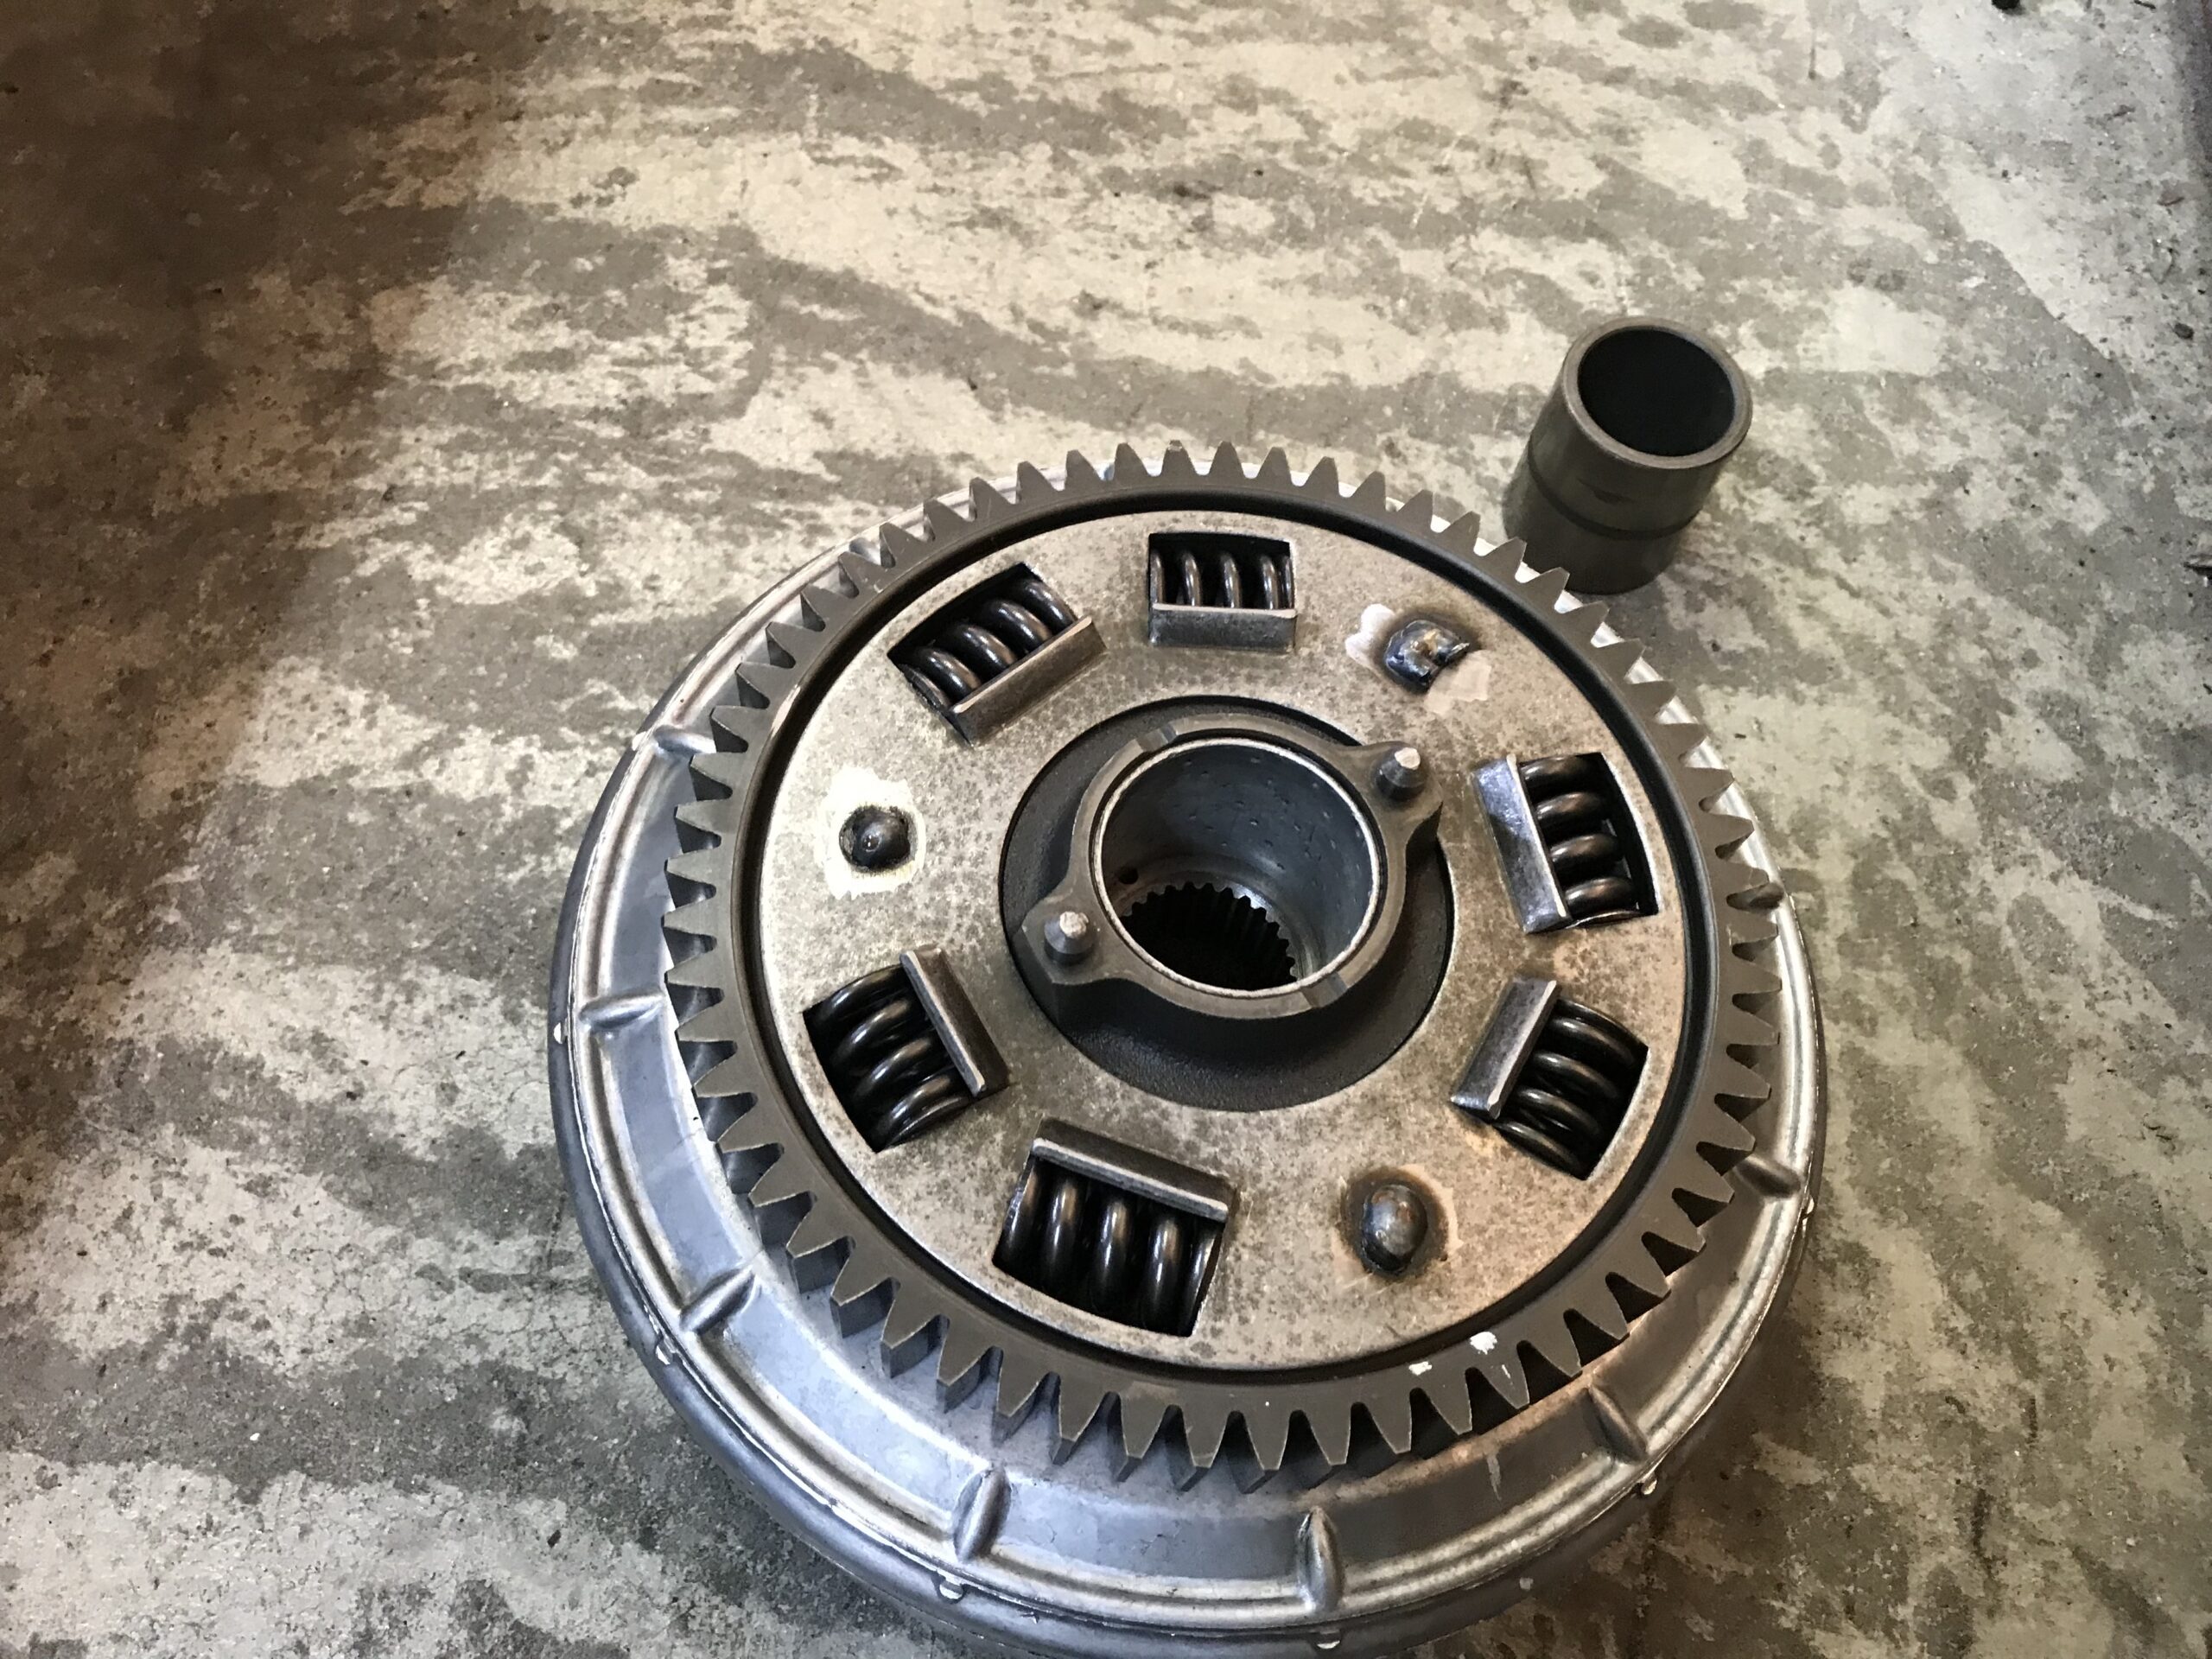
Now, let’s talk more about the clutch housing, including the differences between the early and later models. The early model [CB1] [SC03] uses rubber bushings to absorb vibration. In contrast, the later model [SC06] uses springs for vibration absorption. I’m not a technical expert, so it’s hard for me to provide a detailed explanation. There may be pros and cons to both types, or it might simply be an evolution in response to the times. The rubber bushings seem less durable than metal parts like springs, especially when considering aging.
Clutch housing wear can also become an issue. As for the CBX1000’s idle noise, I don’t believe it’s solely a problem related to the dampers.
If you ride a CBX1000 for a long time, you’ll eventually need to either rebuild the clutch housing or replace it with a later model. Even with the later model, it’s better to rebuild it when the time comes.
This time, I’m focusing more on my impressions after the replacement, rather than how to go about the replacement itself.
How to deal with clutch problems?
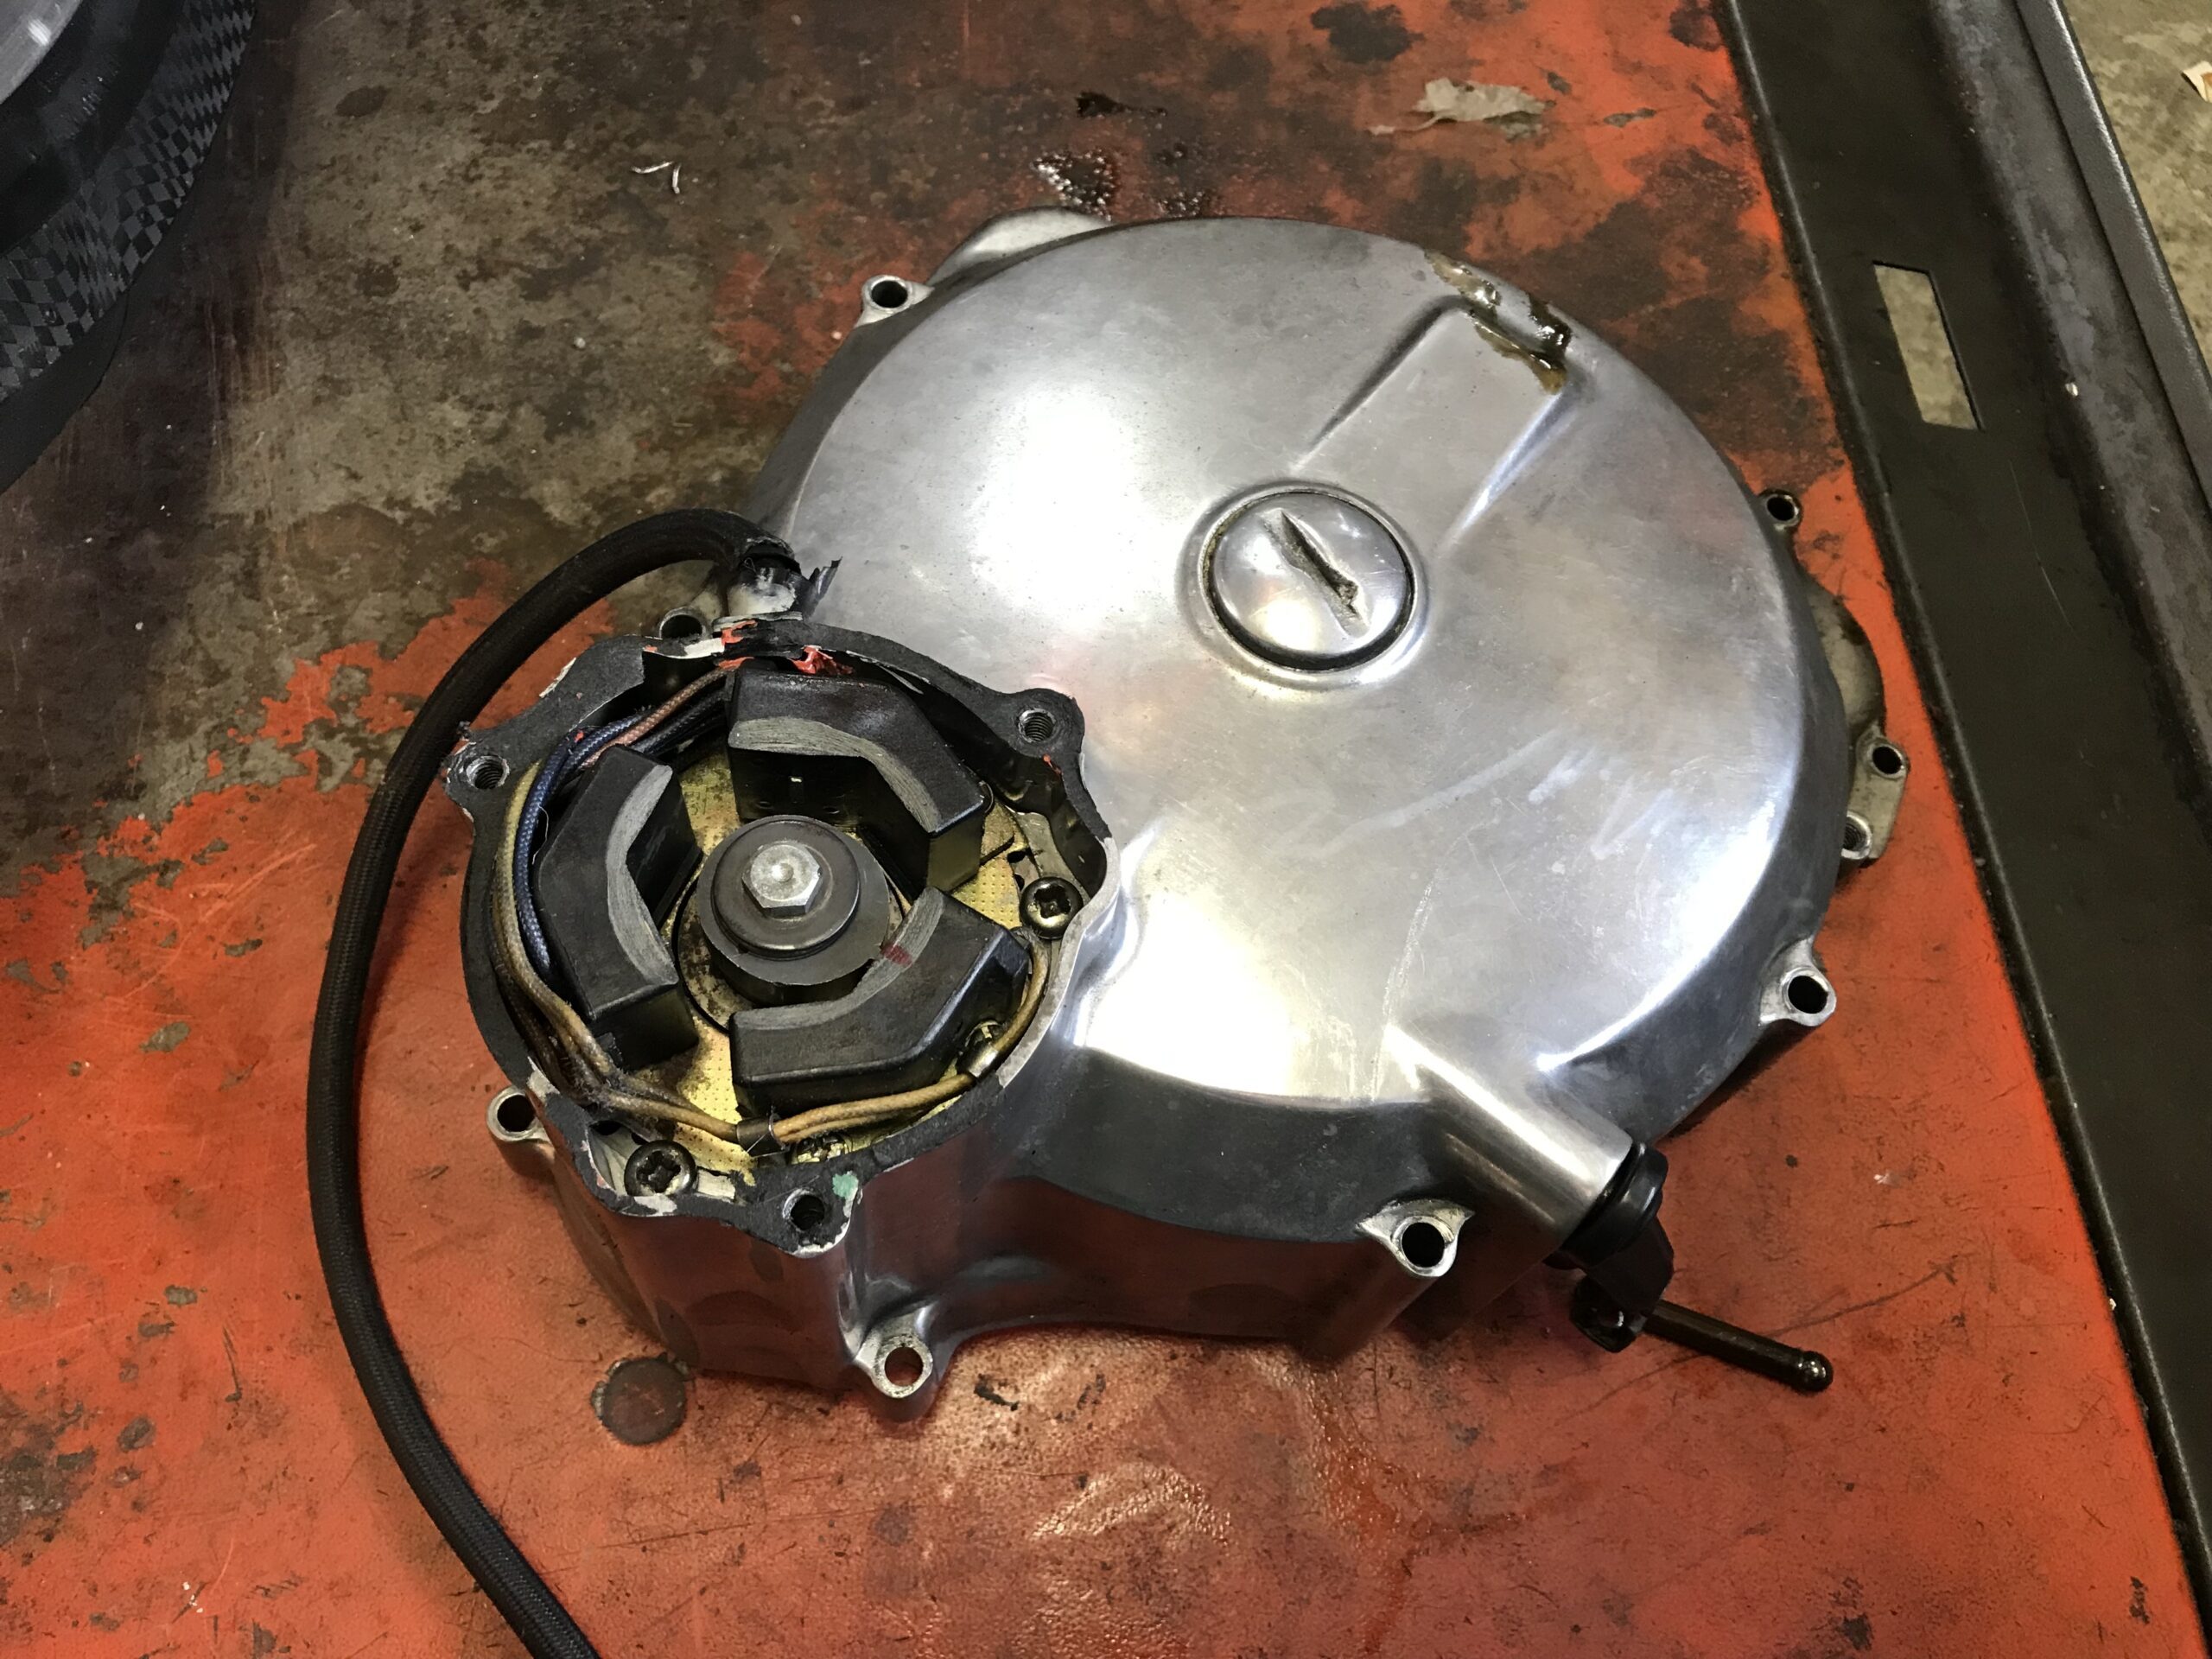
It comes down to either rebuilding or replacing the clutch. Rebuilding can take time and primarily involves replacing the dampers. It’s also better to have new clutch plates on hand. In conclusion, it’s advisable to replace all parts that can be replaced with new ones. However, this is not an easy task. The most troublesome issue is damage to the clutch housing or inner components, as they are often not readily available when you need them.

For that reason, if a clutch housing is available at an auction, it’s worth bidding on it and keeping it as a spare. I have previously experienced clutch damage, so I currently have spares on hand. Preparing in advance, such as rebuilding or machining parts for a future replacement, can save you a lot of trouble.

Regarding the clutch plates, I was able to purchase aftermarket A and B plates. Unfortunately, B plates are no longer available from Honda.
No issues with replacing the clutch housing from the early model to the later model.
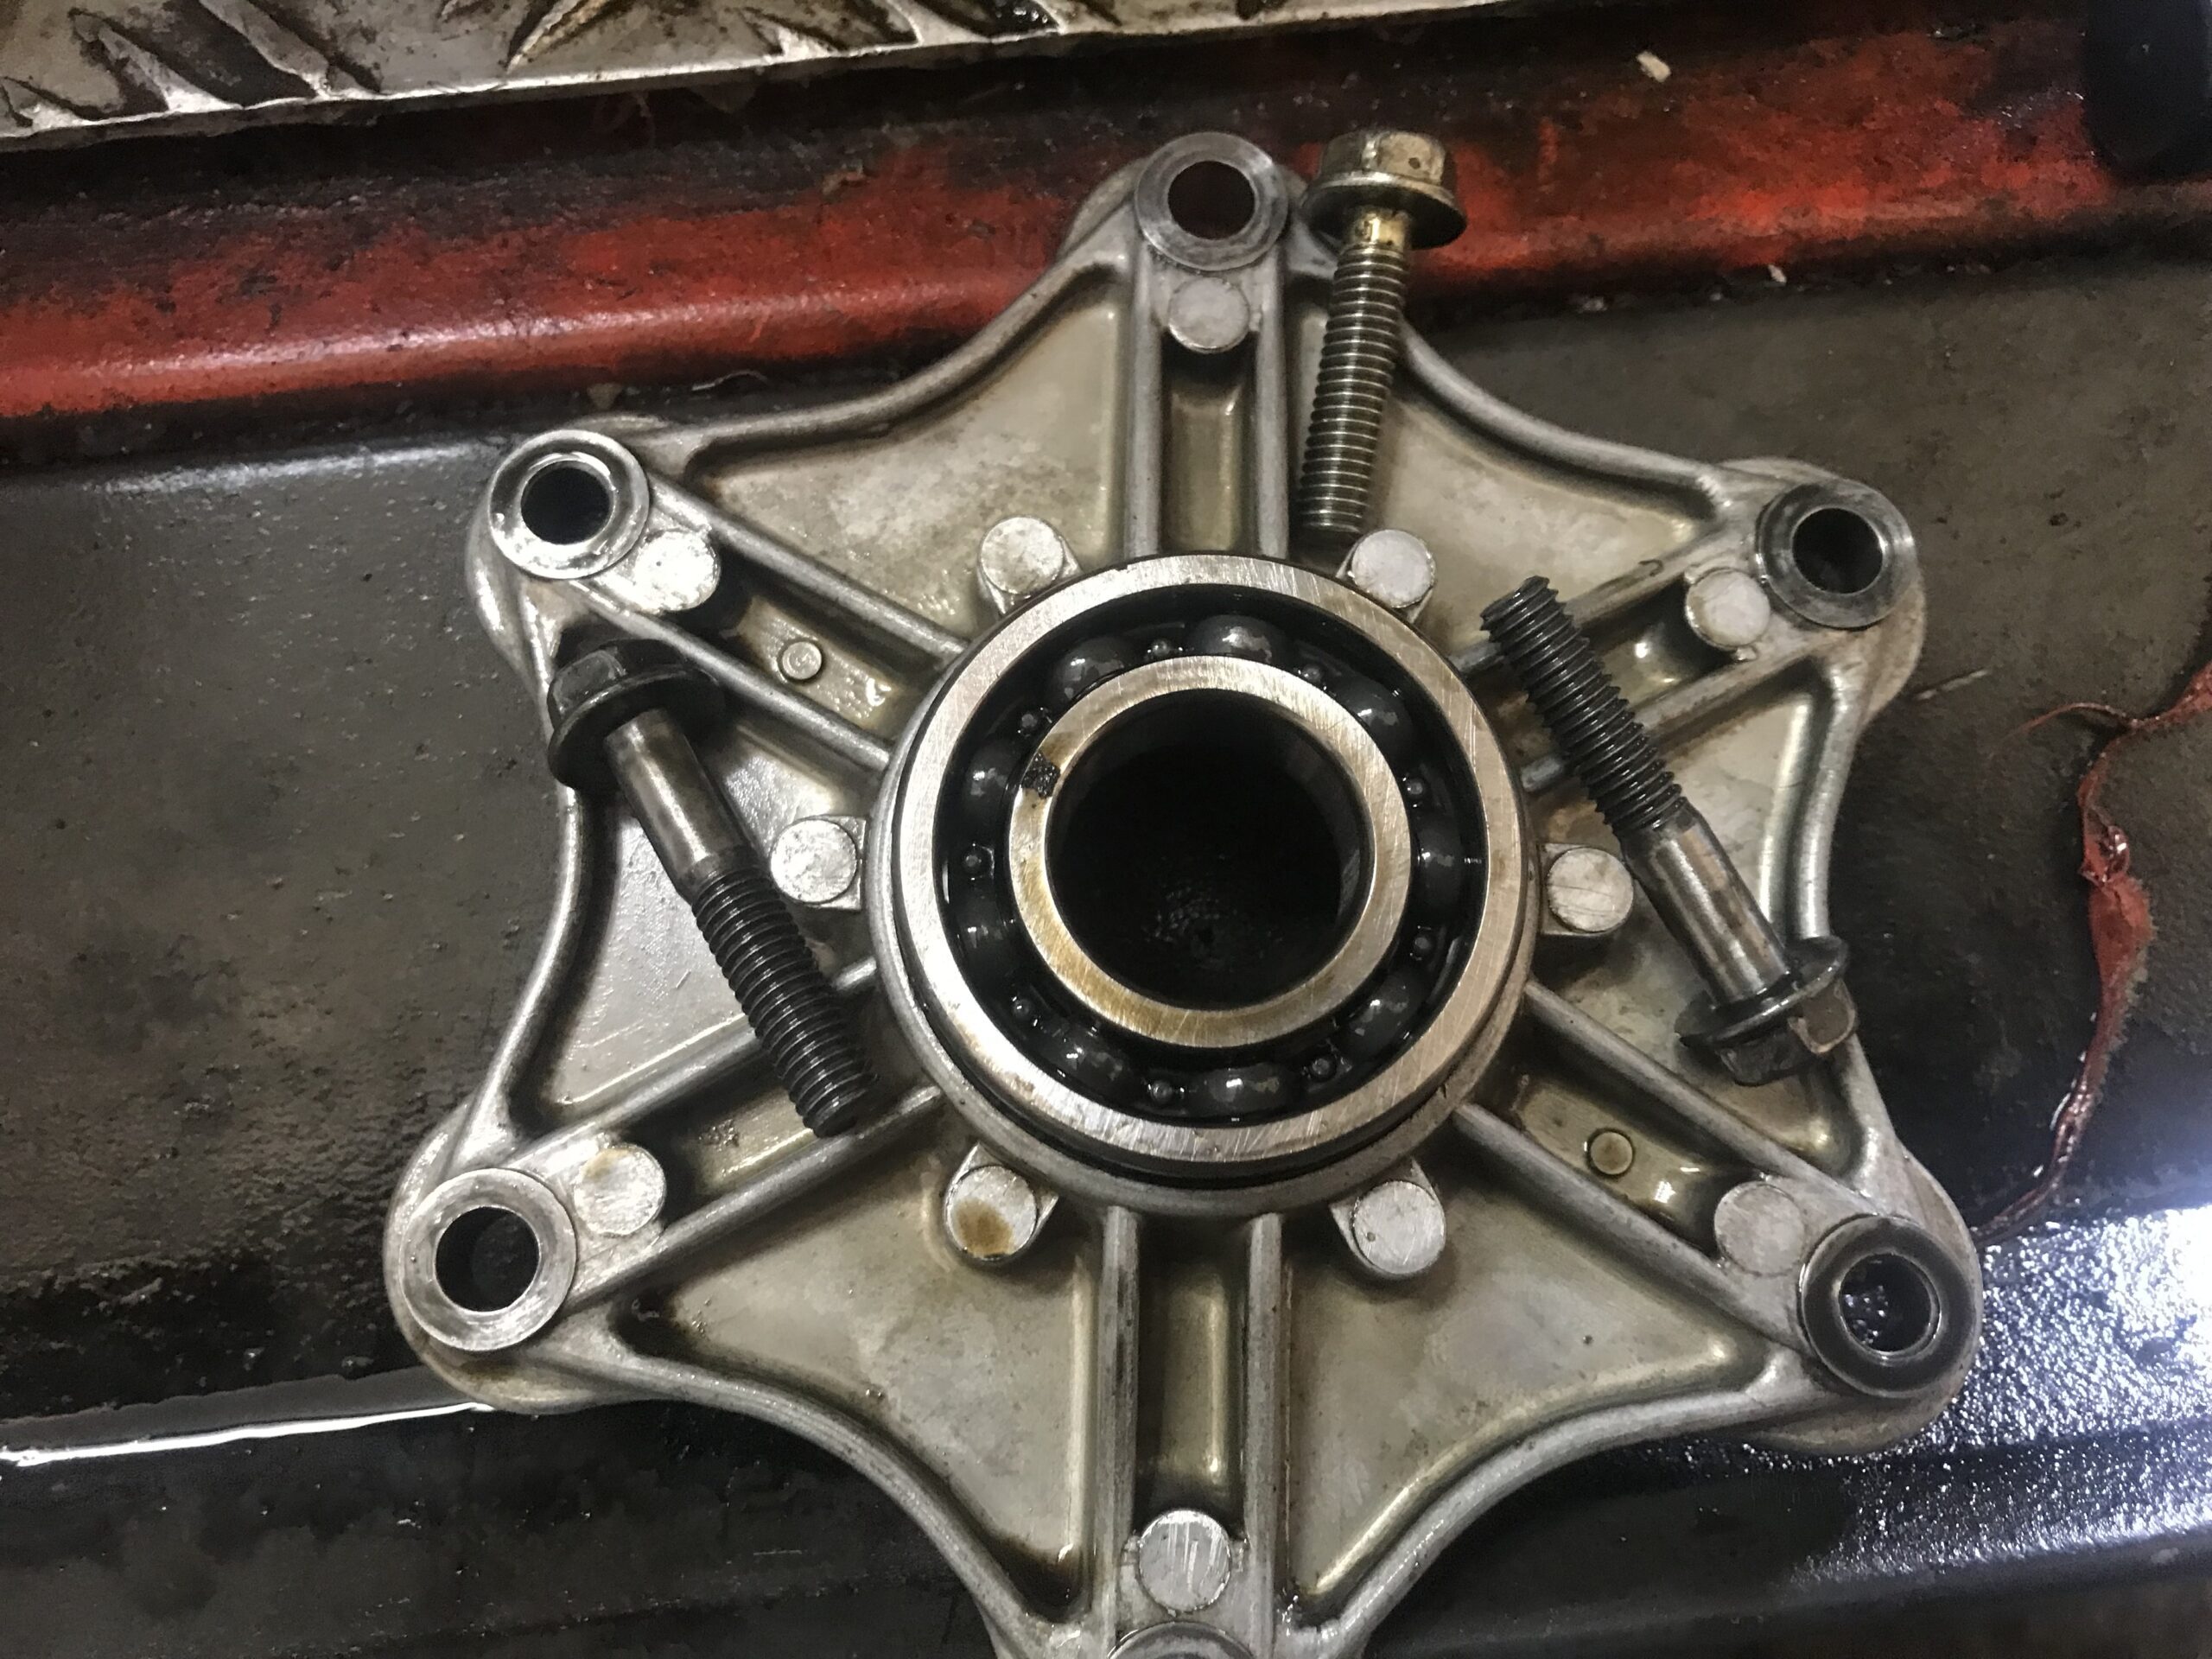
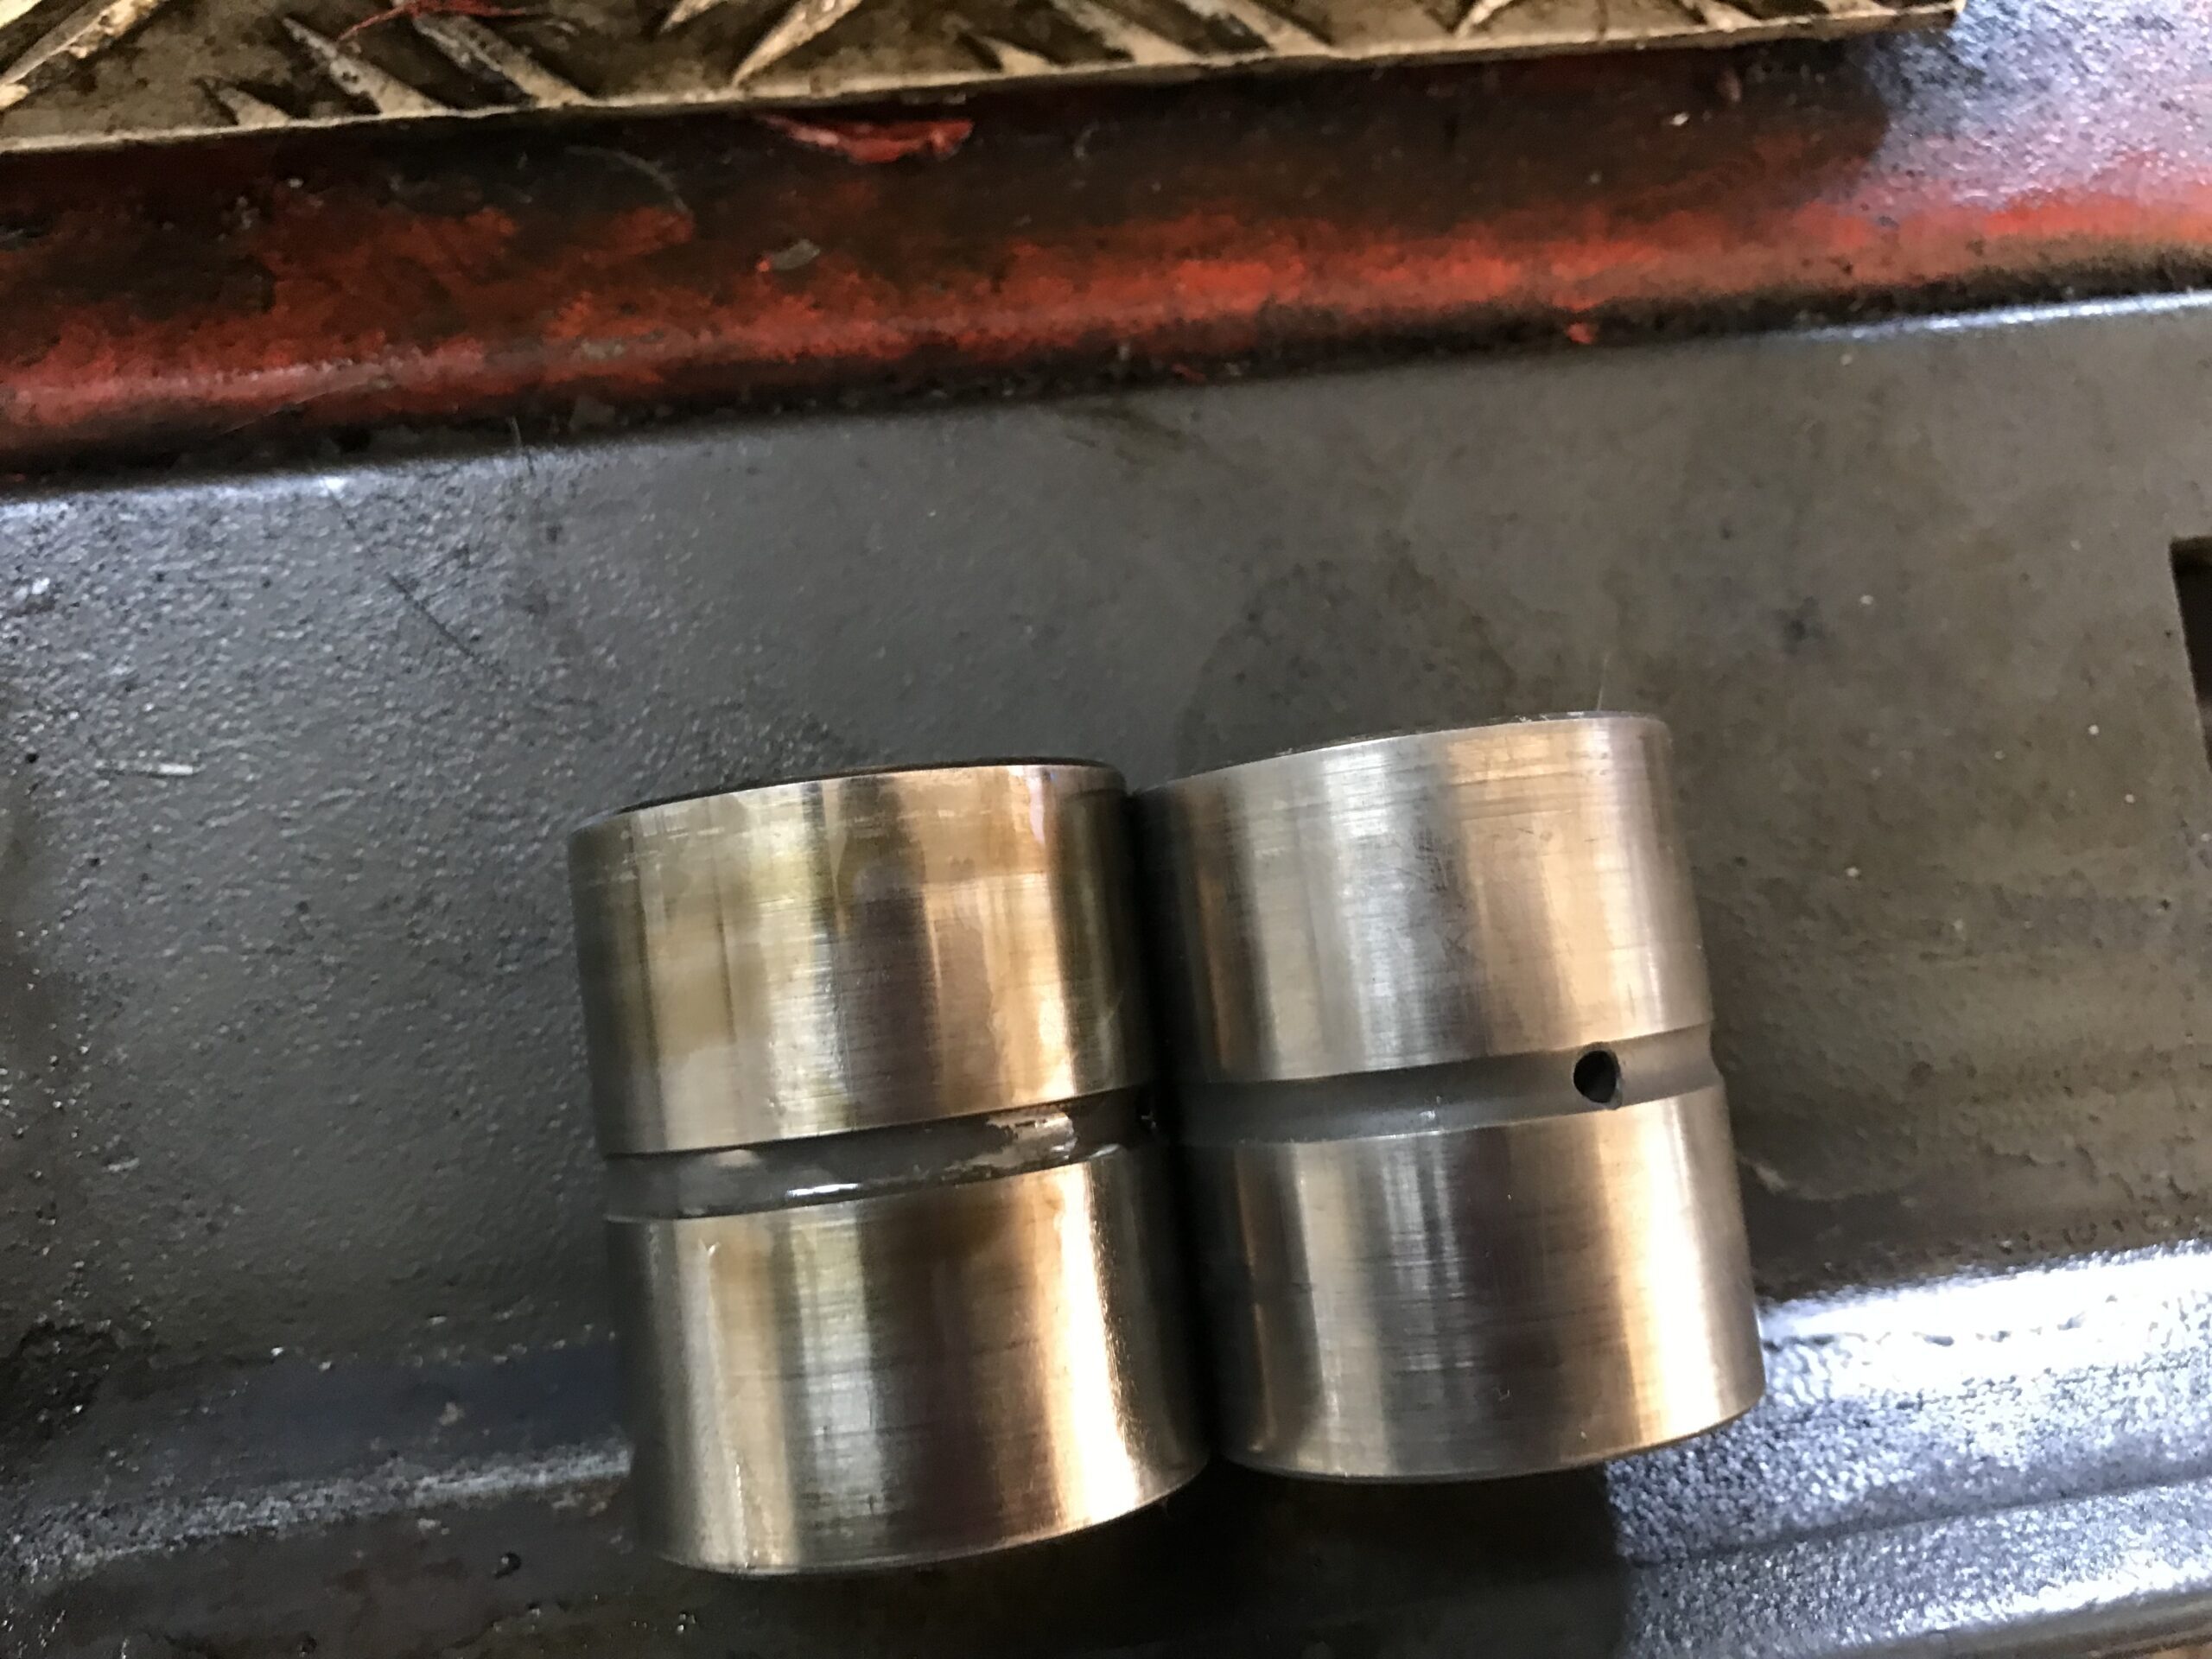
When replacing the clutch housing from the early model to the later model, the sizes of the inner guide and spring are different. Some may feel a bit anxious about whether it’s okay to proceed with the replacement. In my current CBX1000, I haven’t encountered any issues even when pushing the speed a bit. It seems likely that there won’t be any problems with durability either.
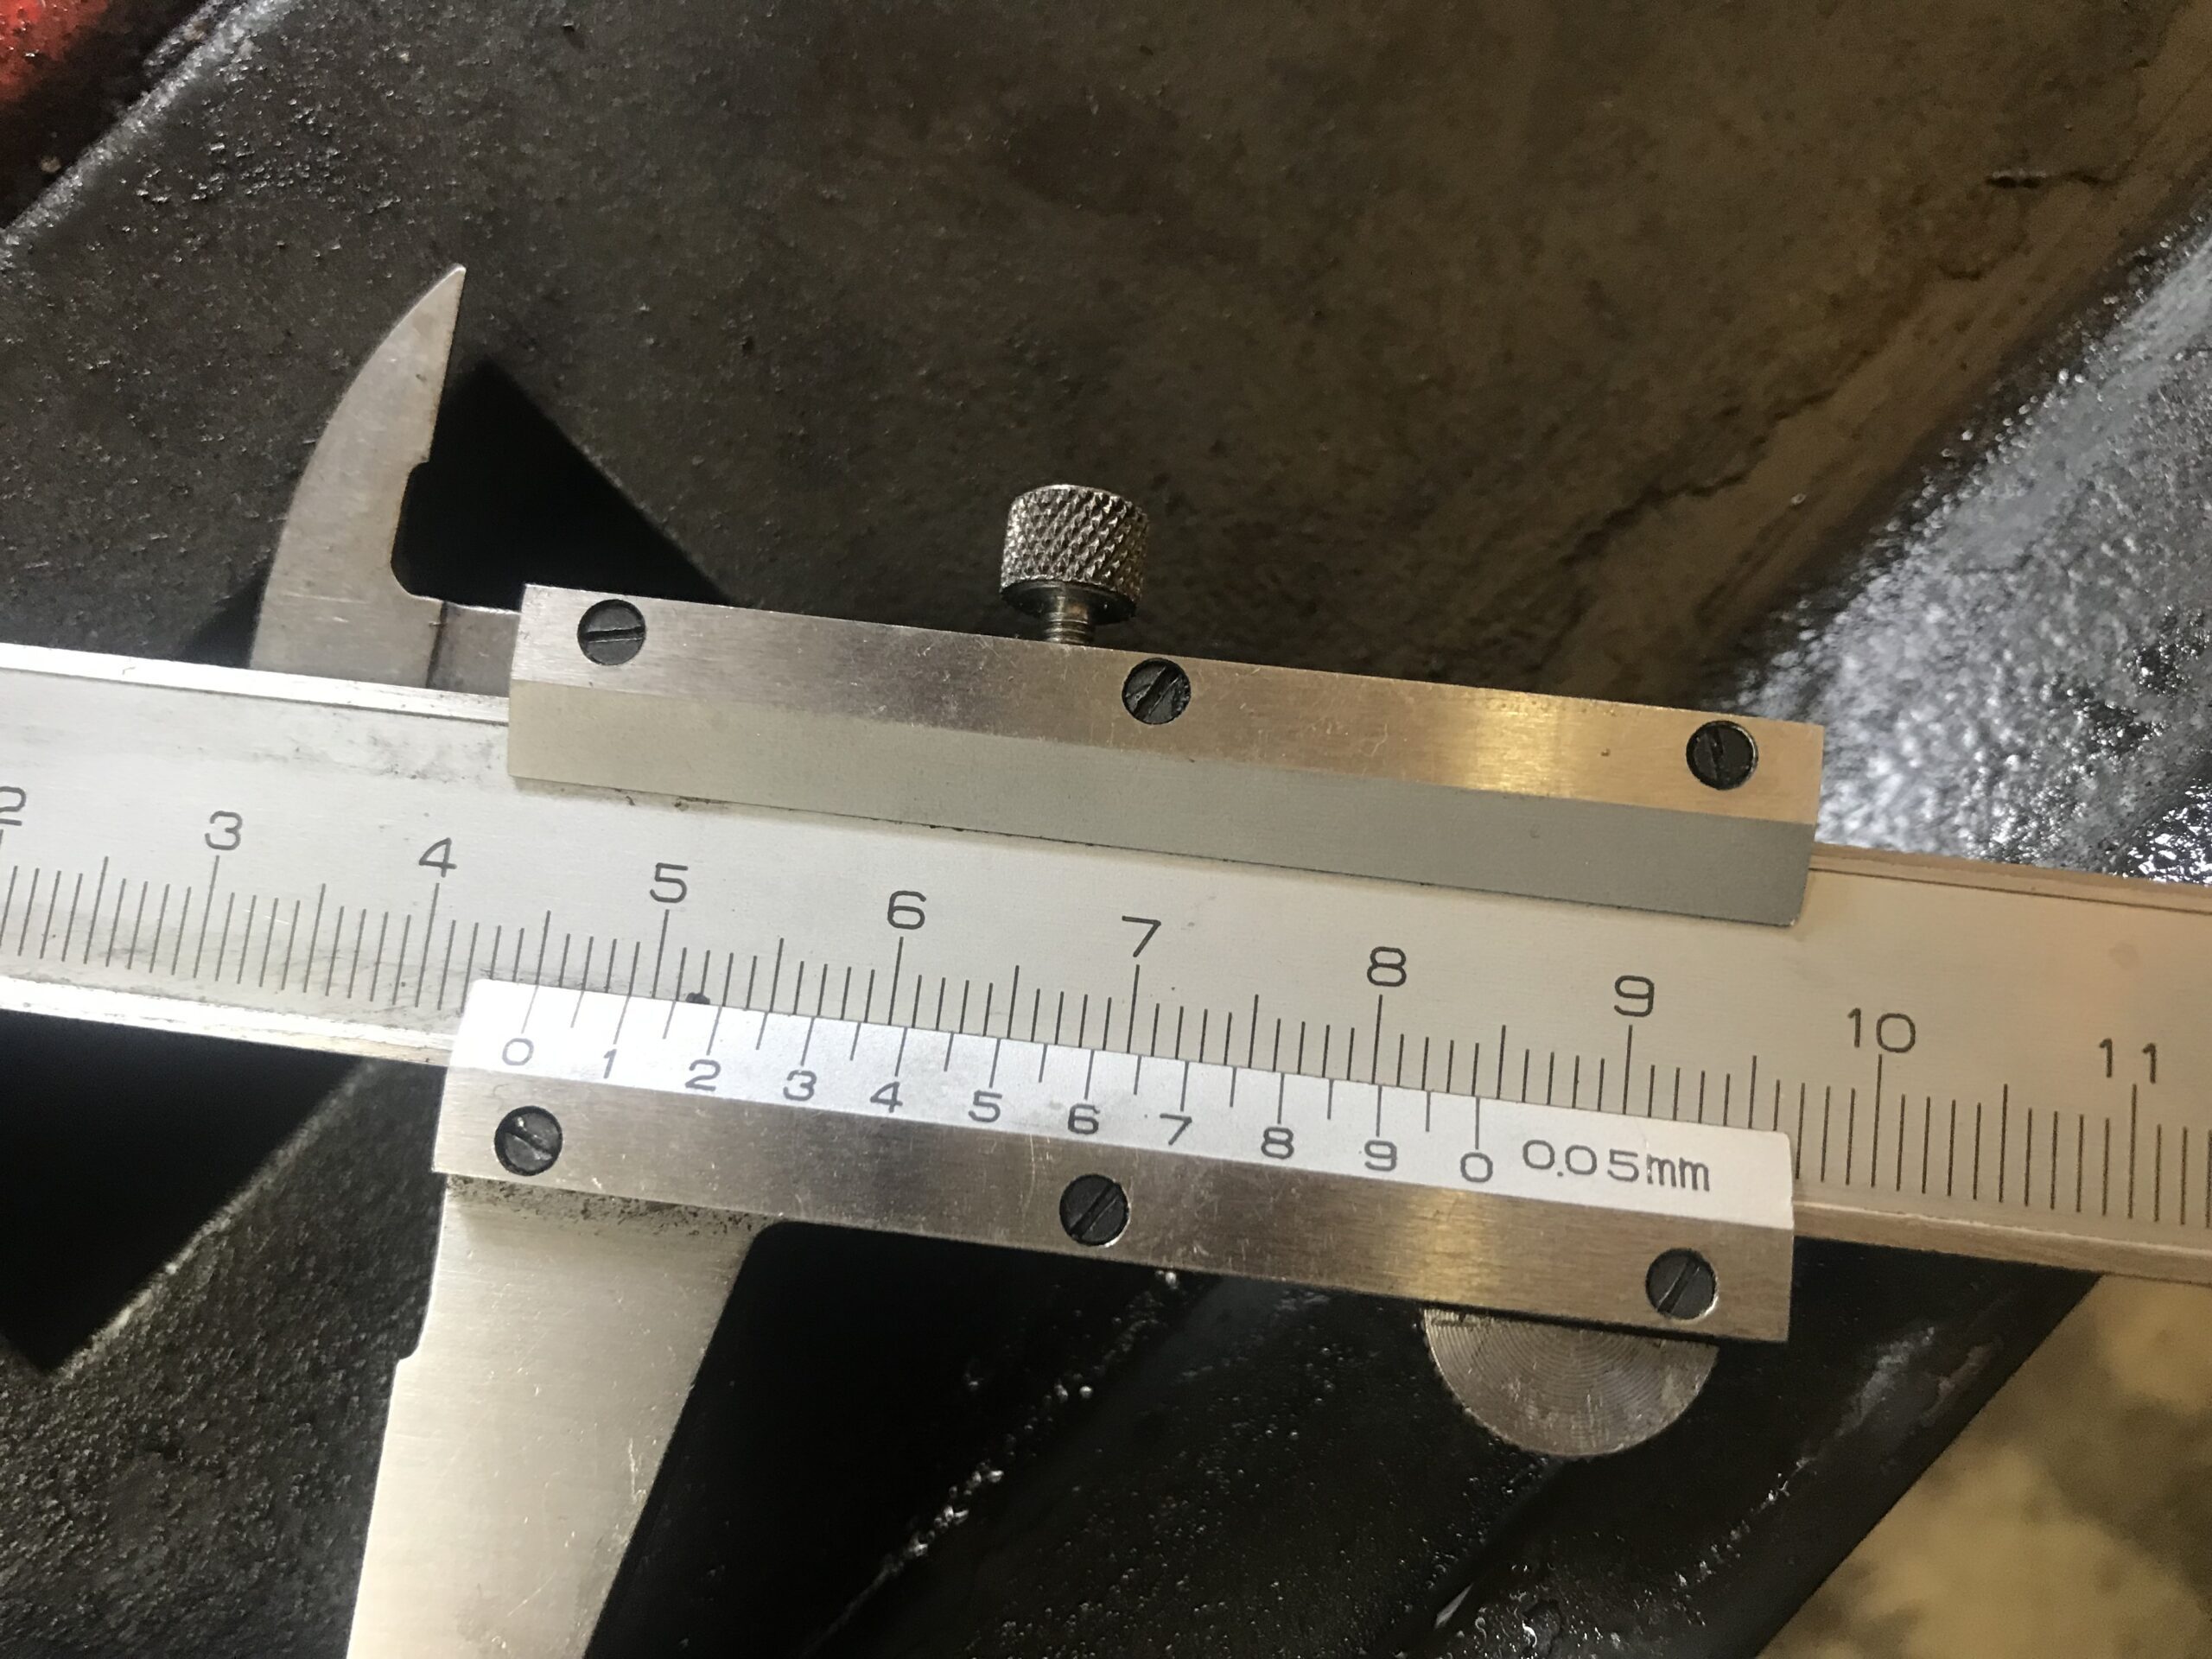
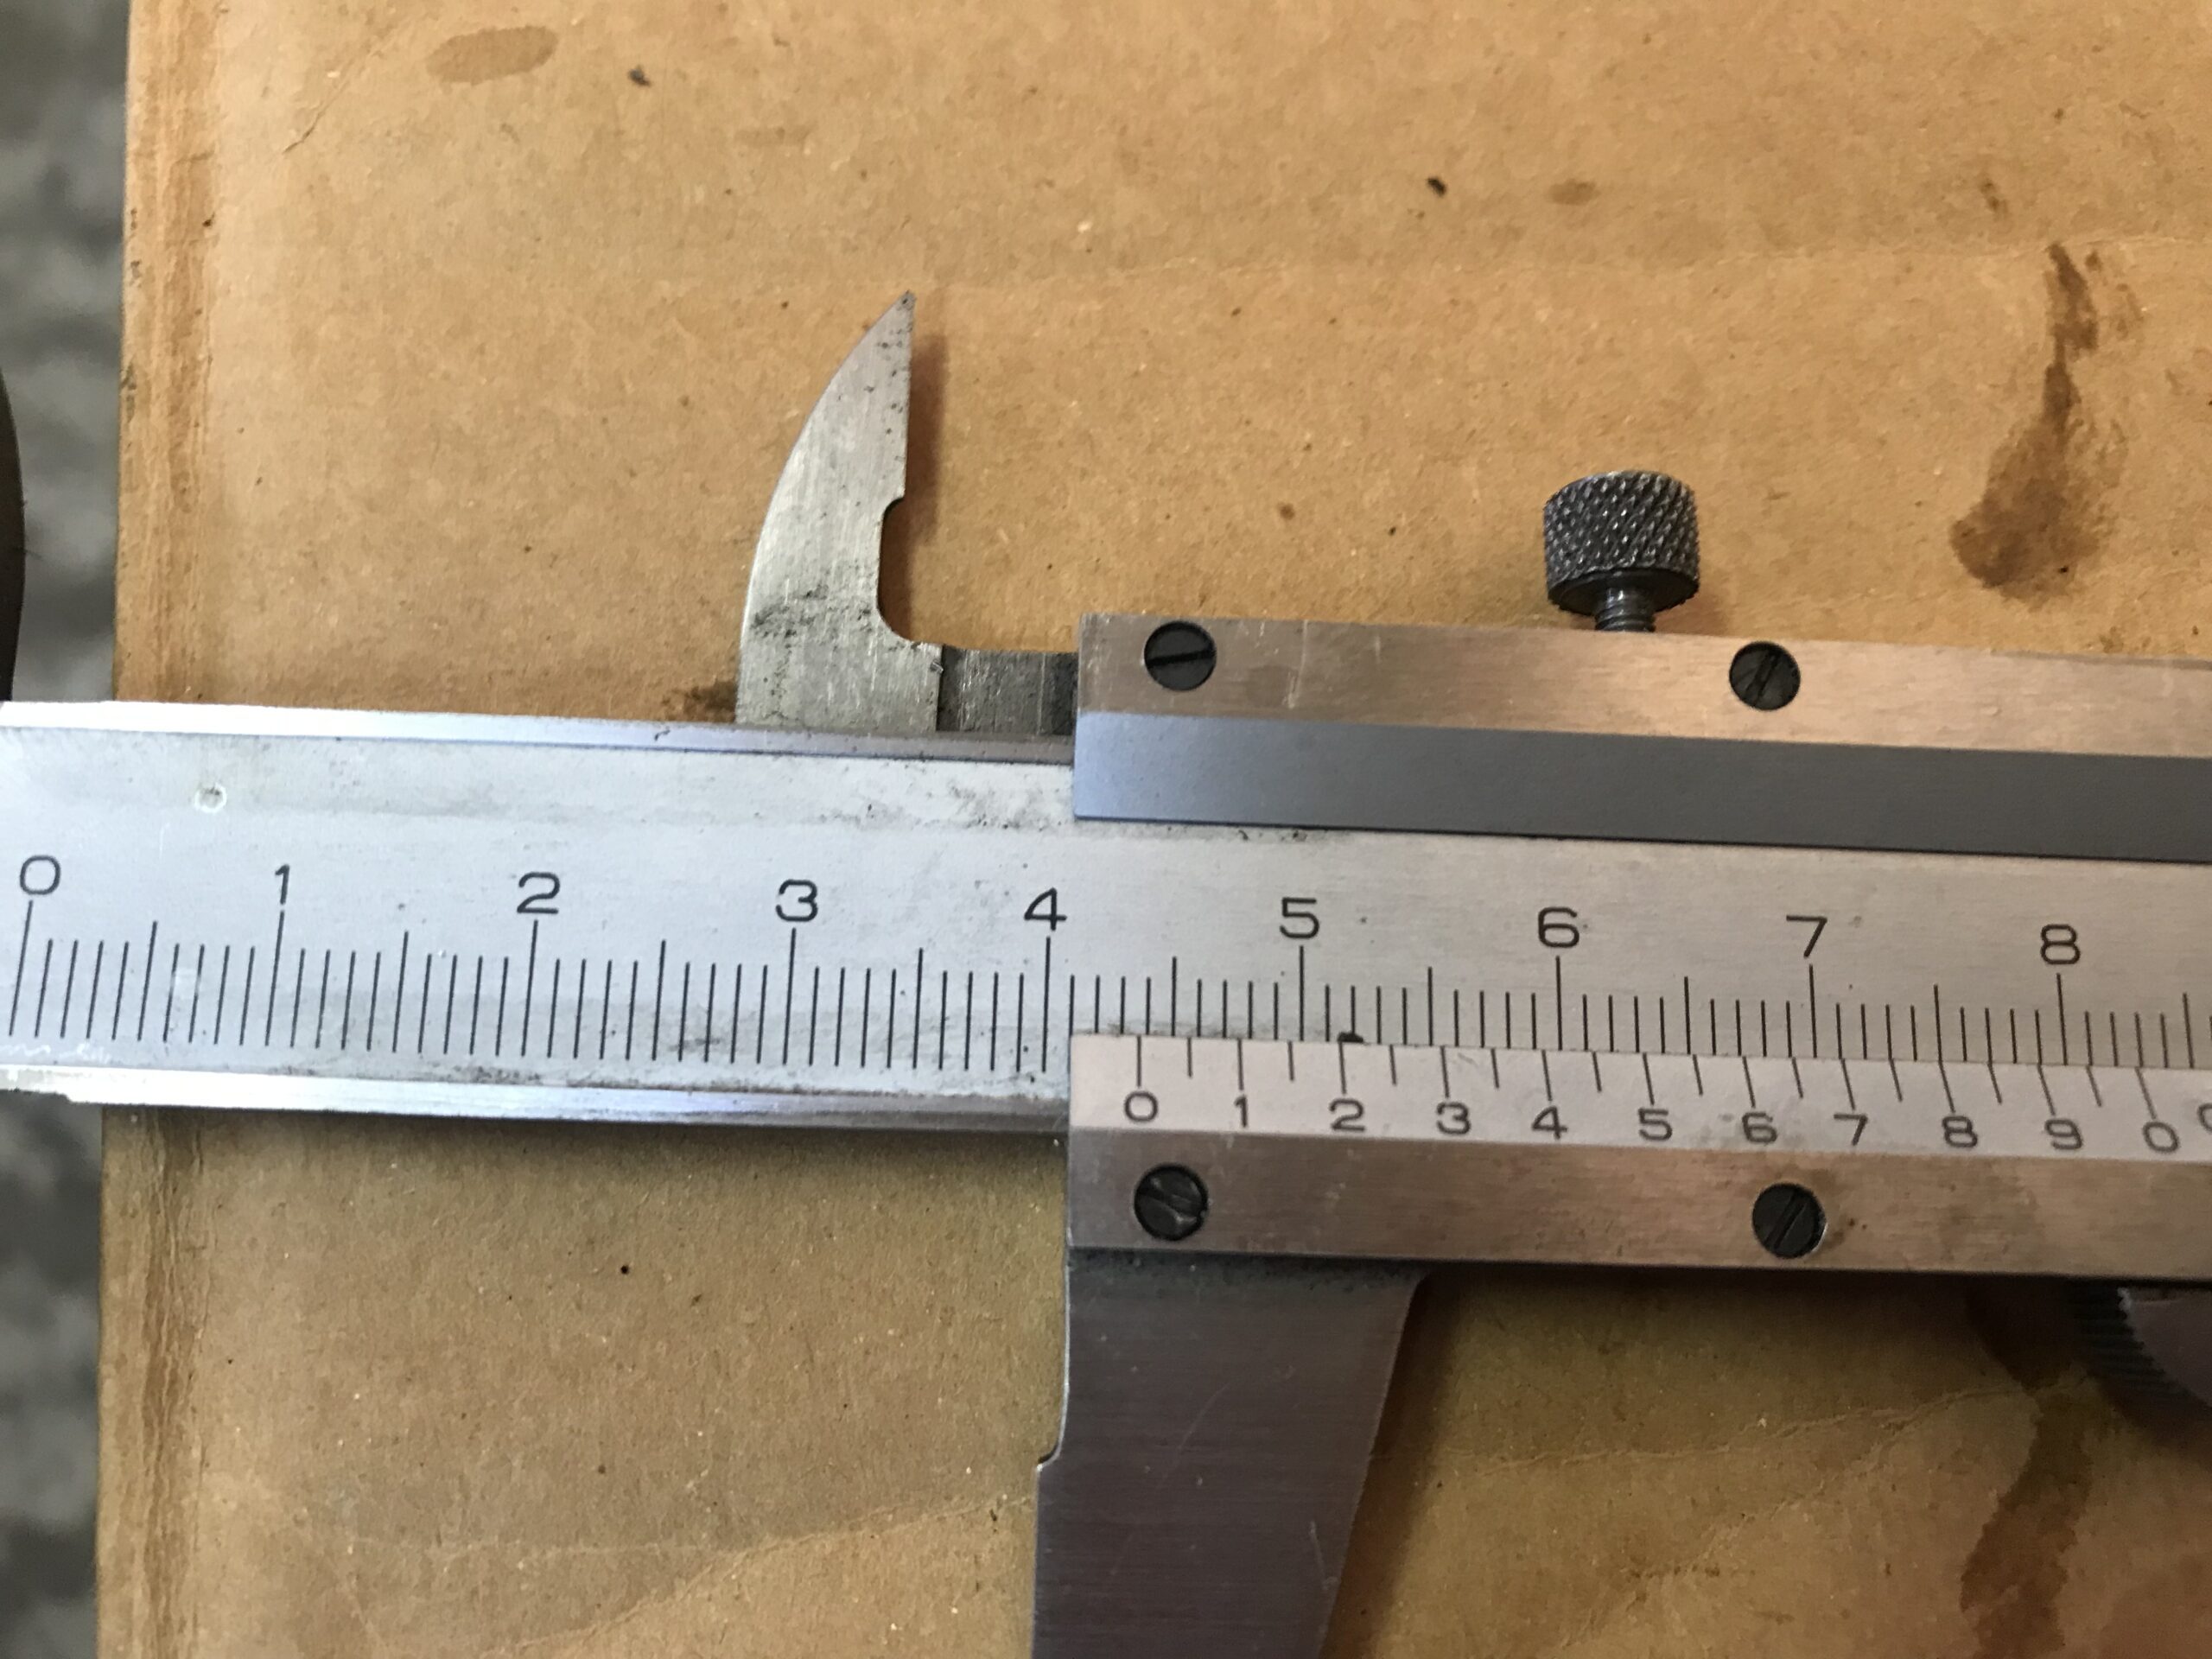
Keep in mind that the inner guide is shorter in the later model (43.8mm compared to the early model's 45mm). I mentioned this in a previous blog post, and after comparing the parts lists, I found there are slight differences.
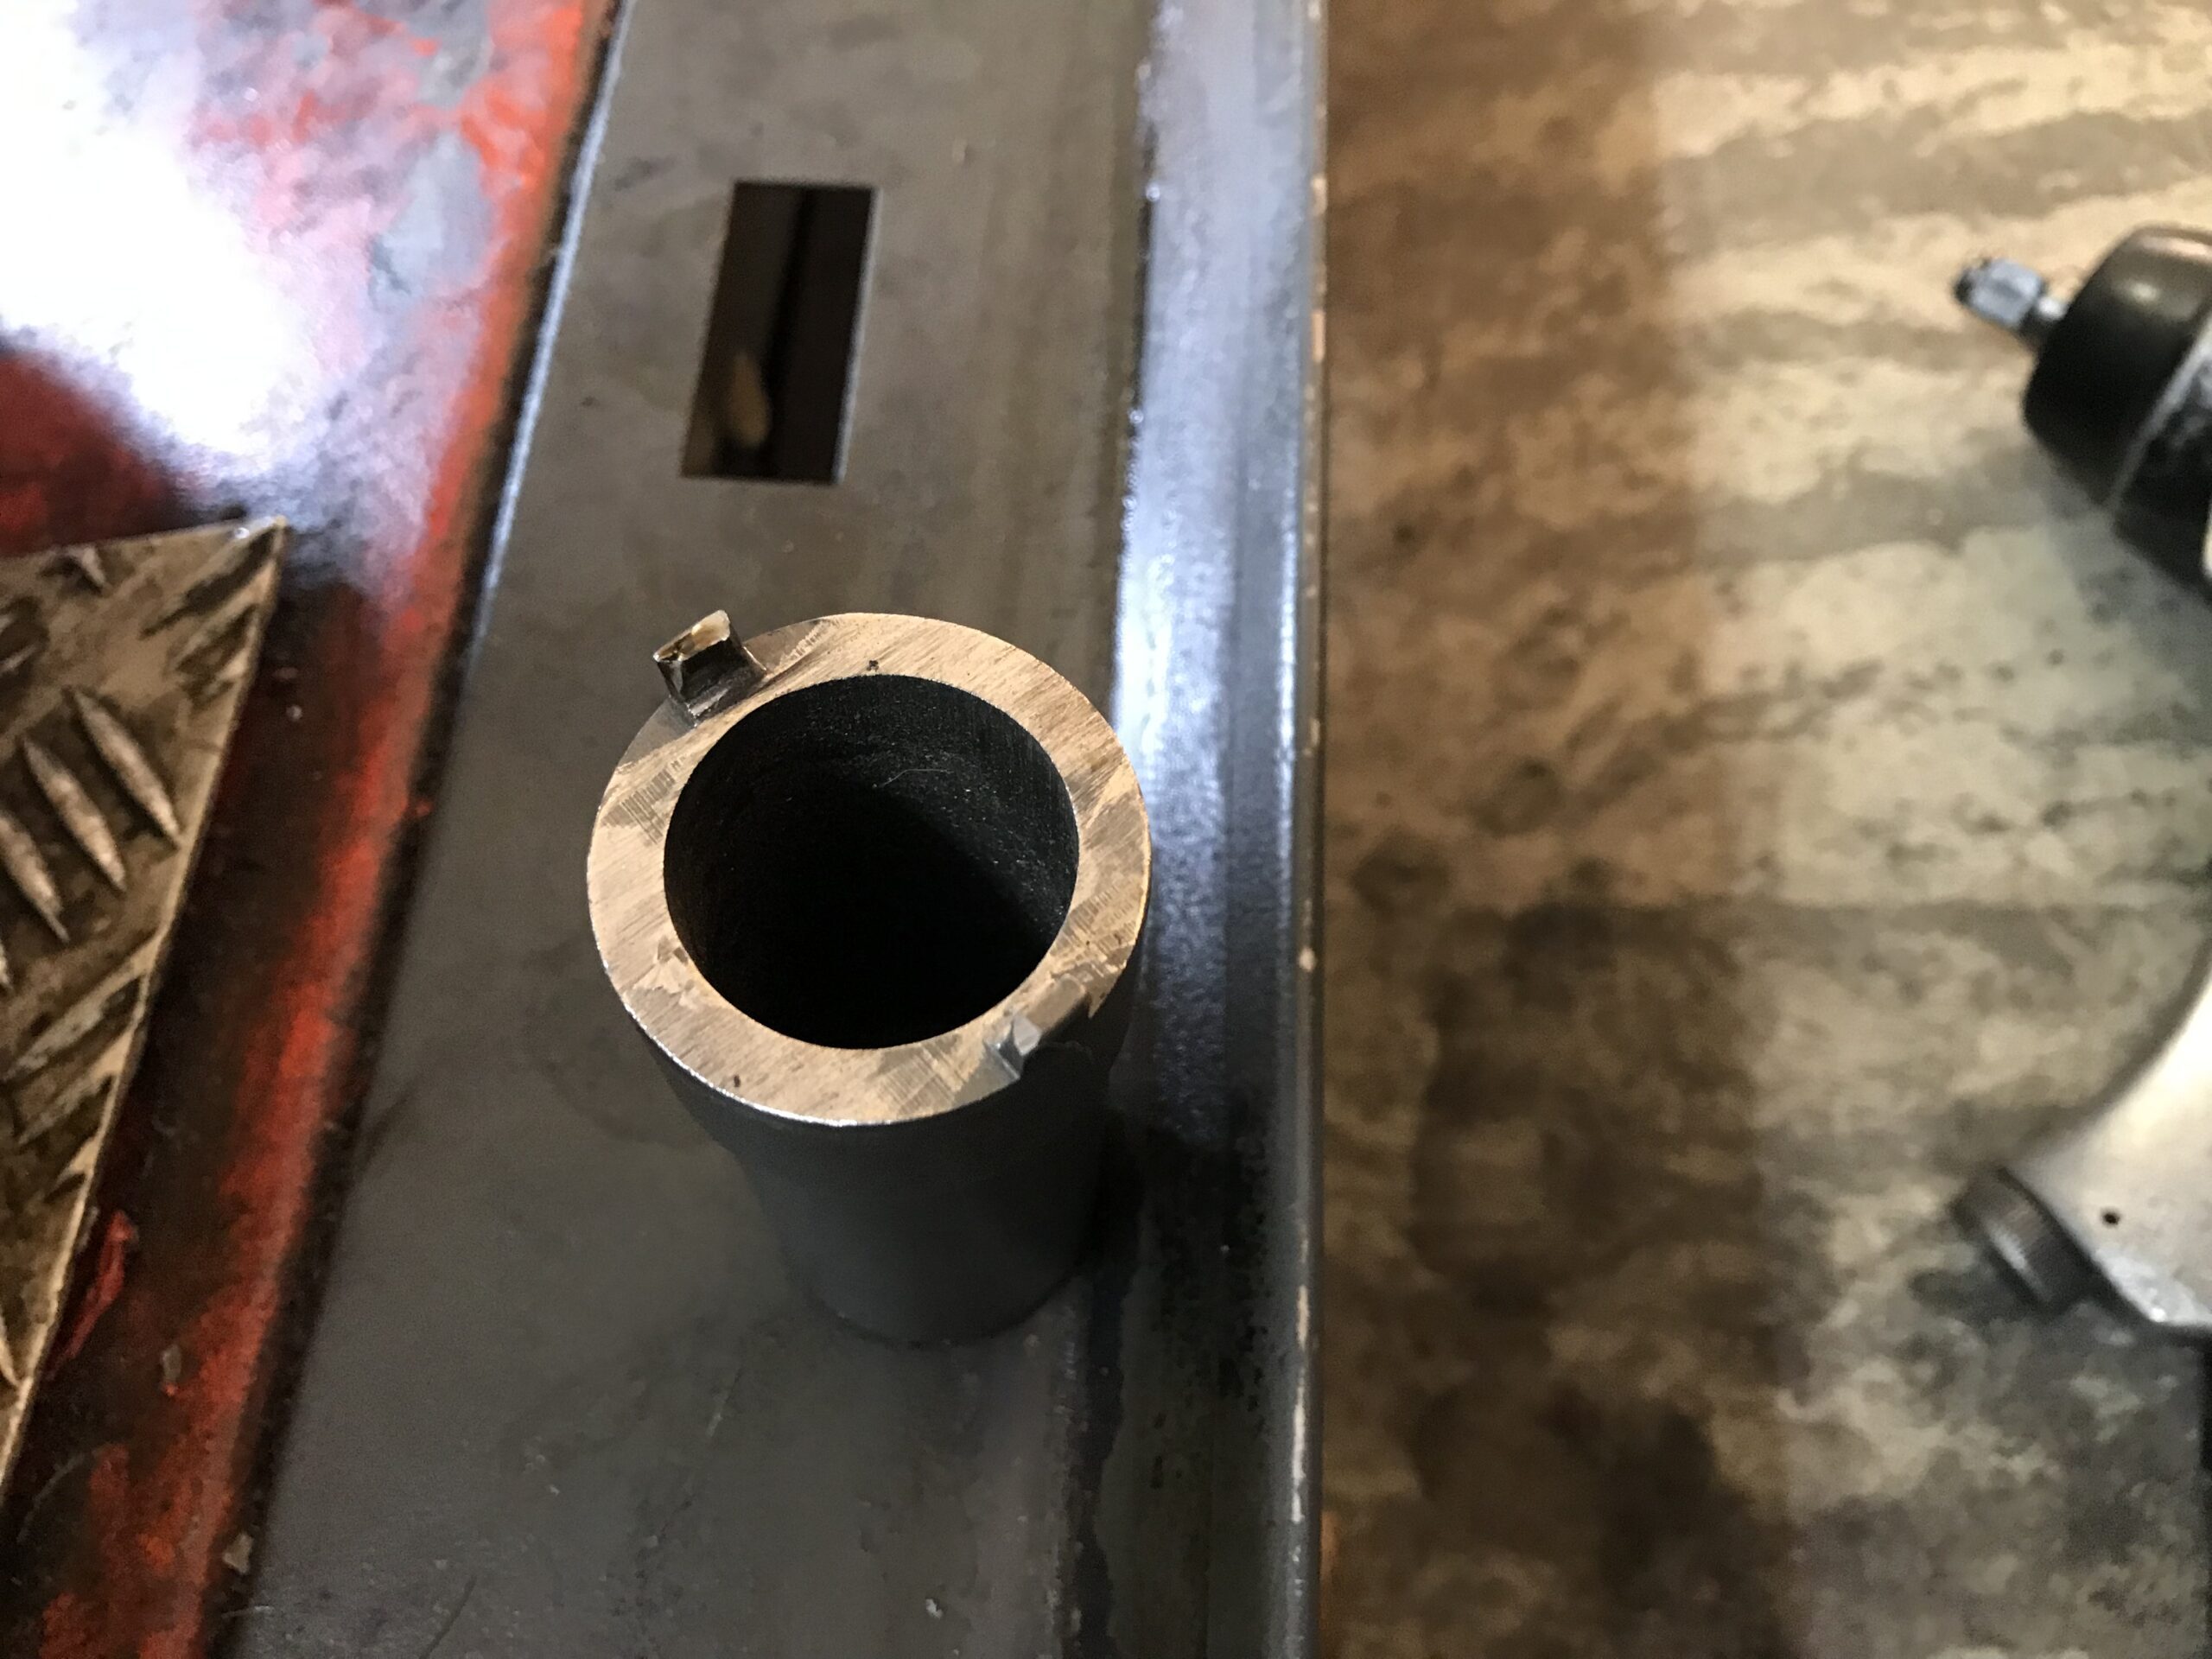
Operations and Precautions When Replacing the Clutch
For those doing personal DIY, you might find yourself a bit confused, so I’ll outline some points. When the center stand is upright and in neutral, the power is completely disconnected. However, even when in first gear and fully pulling the clutch lever, the power is not fully cut, and the rear wheel may still rotate slightly. Even if you apply the rear brake to prevent the rear wheel from moving, the engine won’t stall. However, simply pulling the clutch lever doesn’t completely disconnect the power.
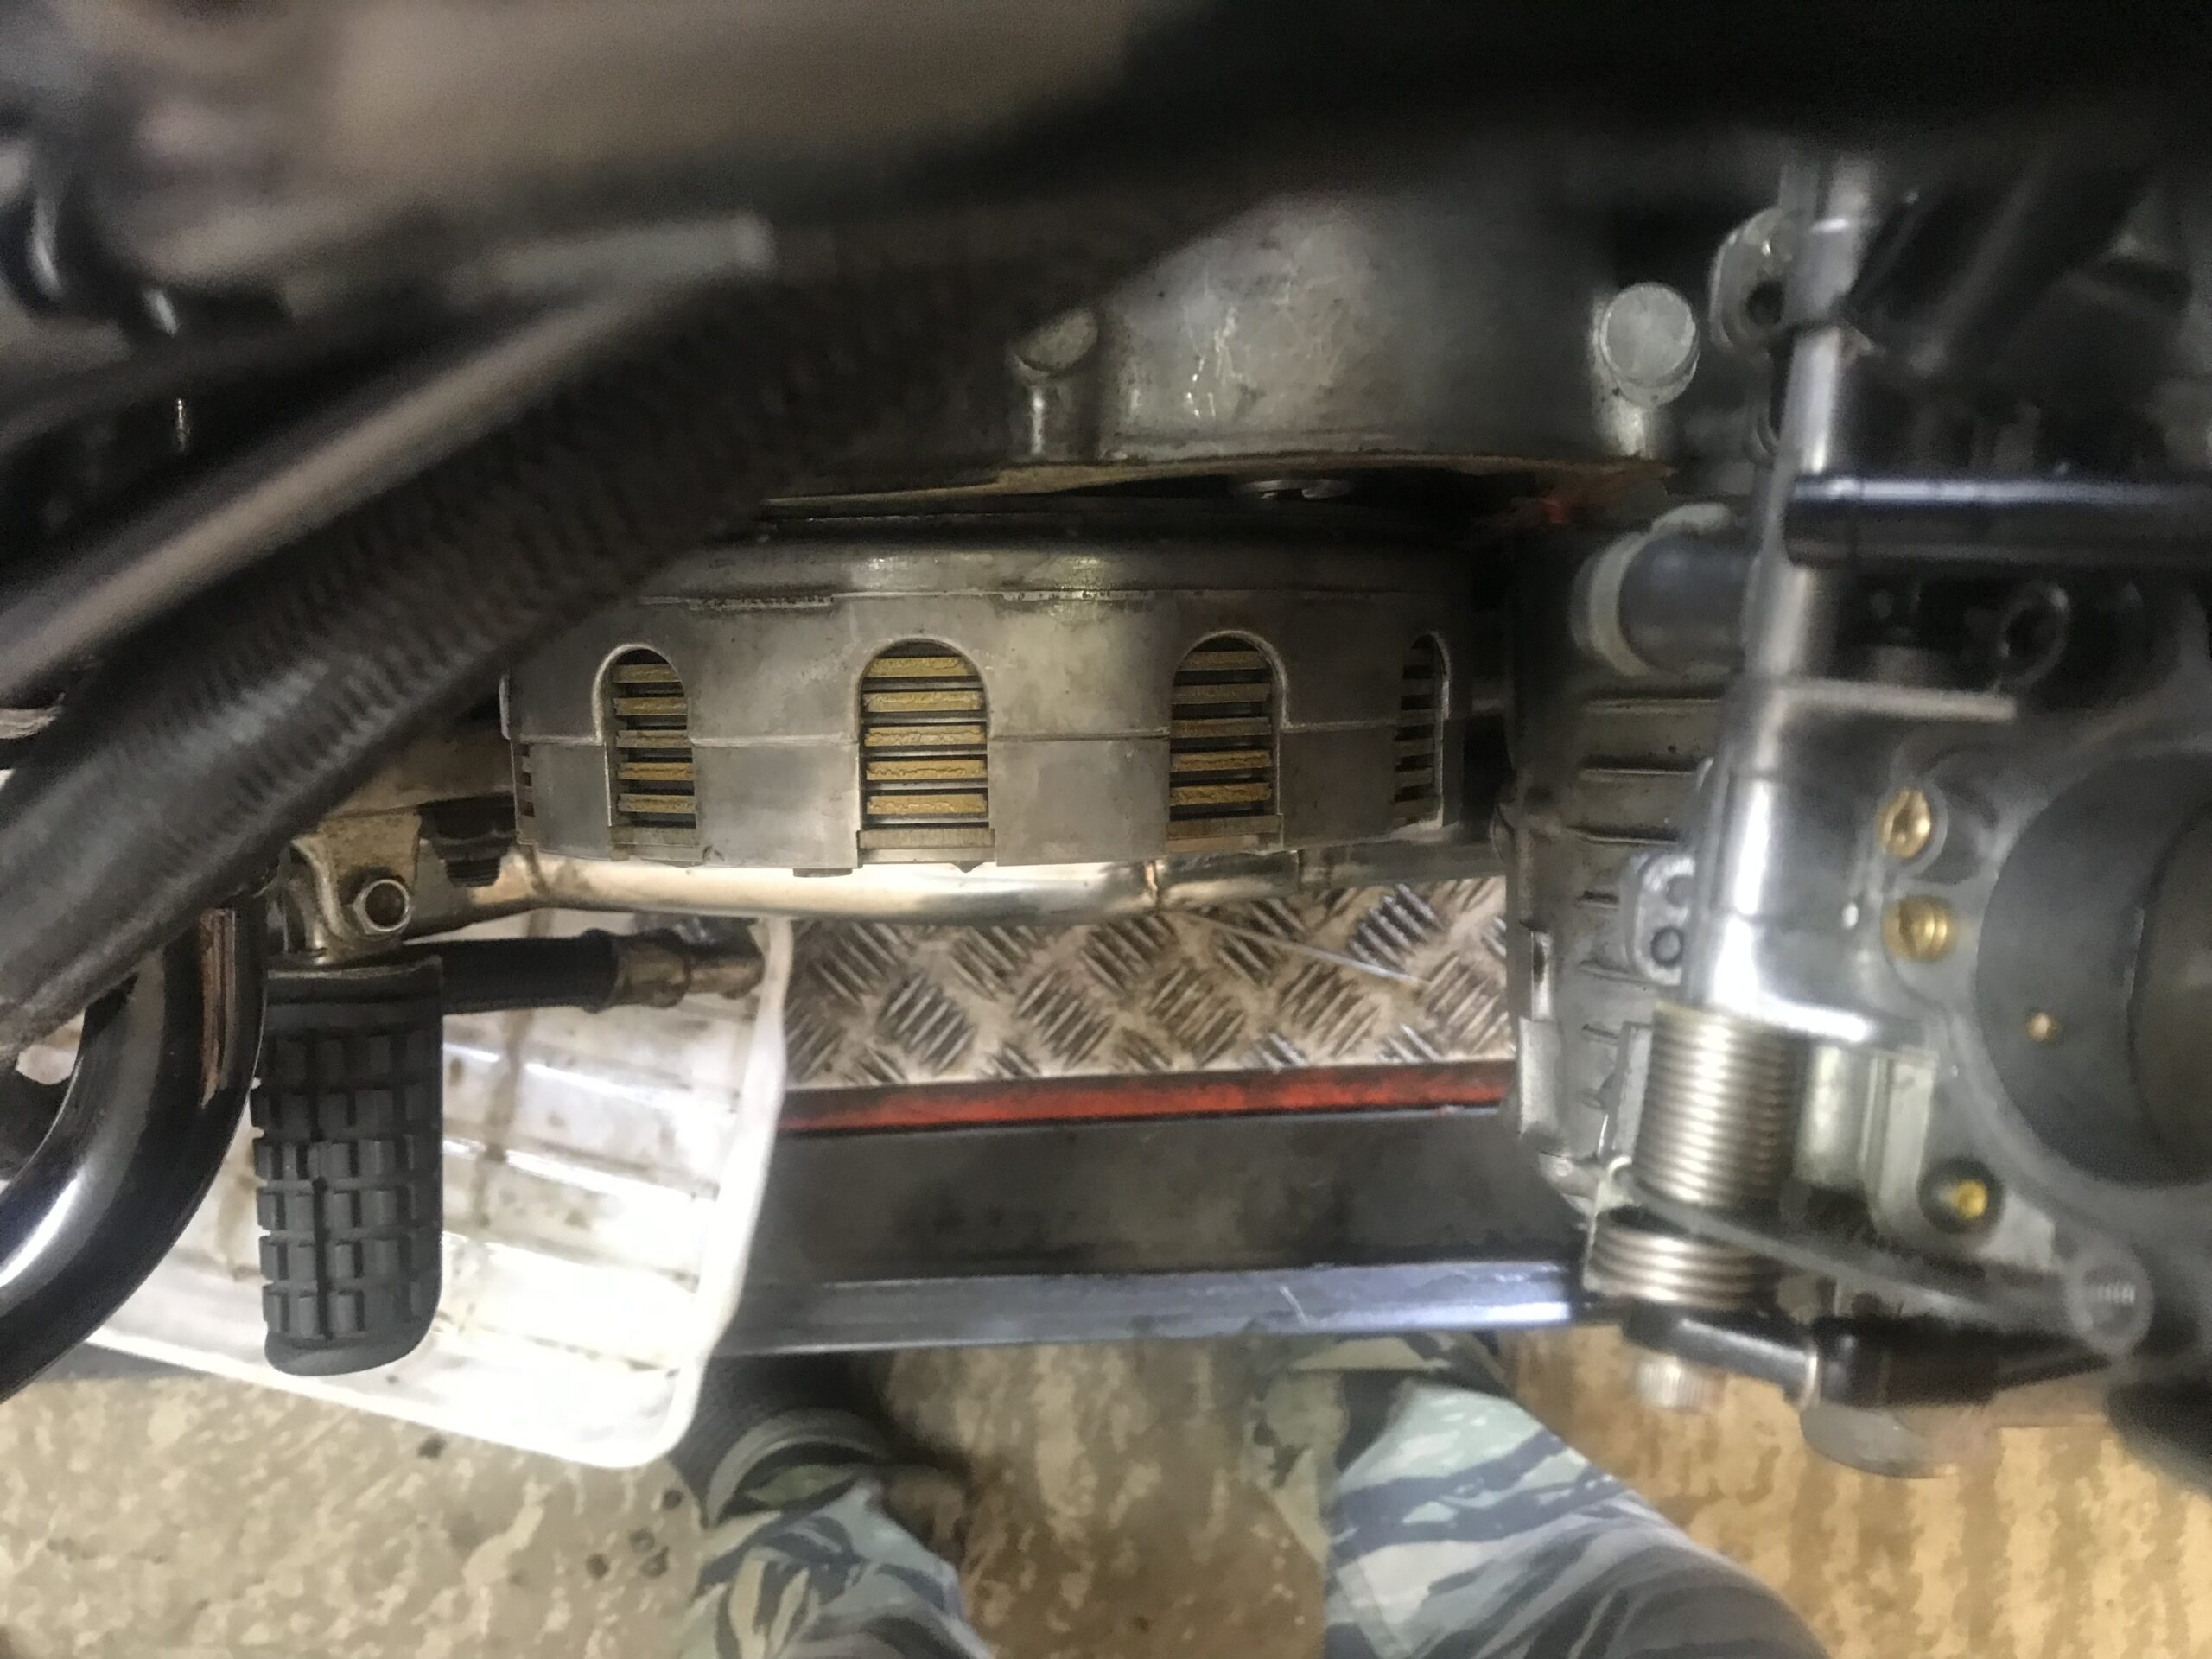
Before replacing the clutch plates, please make sure to apply oil in advance to prevent burning. The friction plates consist of a total of 8 pieces: 1 + 7. One of these has a different size, so please check the parts list. All but the one with the different size can be ordered from Honda. If you want to assemble everything with new parts, aftermarket clutch plate sets are also available.
It doesn’t matter whether you align the grooves of the friction plates or alternate them; I’ve tried both, and there were no issues. However, the parts list and service manual specify a direction for installation. I currently install them with the grooves aligned.
Out of the six bolts that secure the springs, two are longer. Be careful not to over-tighten them, as this may cause damage. The springs differ in size between the early and late models. The washers installed under the lock nuts have a specified orientation, marked as OUTSIDE. These are the points to pay attention to.
My impression of changing the CBX1000’s clutch housing to the later model(SC06).【summary】
A few days ago, I posted a similar article. When I write about similar topics after some time, the content can often be updated. The last post was made right after the assembly, while this one comes after completing the test ride. So, in that sense, the content may change a bit.

Replacing the clutch housing and exterior parts is a very enjoyable task. I can finally use the parts I've been collecting in the warehouse for over a decade. Currently, there are no parts waiting to be replaced, which are recommended for the maintenance. In the future, I might need to plan whether to prioritize maintenance or focus on customizing parts like the exhaust, wheels, and footpegs.

If I had enough available funds, I would like to try installing BITO's magnesium wheels. However, it seems that won't be possible for a while. This blog post is about the successful ride after replacing the clutch housing.

Well then, see you again!
CBX1000 Photo Gallery
I will extract and display photos of the clutch replacement and other related activities from past posts.
CBX1000 – Clutch CaseCBX1000 – Clutch Plates – Different Bolt Lengths and MarkersCBX1000 – Clutch Plates – Different Bolt Lengths and MarkersCBX1000 – Clutch InstallationCBX1000 – SC06 Late Model Clutch HousingCBX1000 – Special Tool for Clutch RemovalImpact WrenchClutch – The longer one is for the early model, and the shorter one is for the late model.CBX1000 – CB1 Early Model Clutch CollarCBX1000 – SC06 Late Model Clutch CollarCBX1000-clutch replacement